manuals.online logo
Brands
  1. Home
  2. •
  3. Brands
  4. •
  5. Coleman
  6. •
  7. Portable Generator
  8. •
  9. Coleman Battery Generator 500 User manual

Coleman Battery Generator 500 User manual

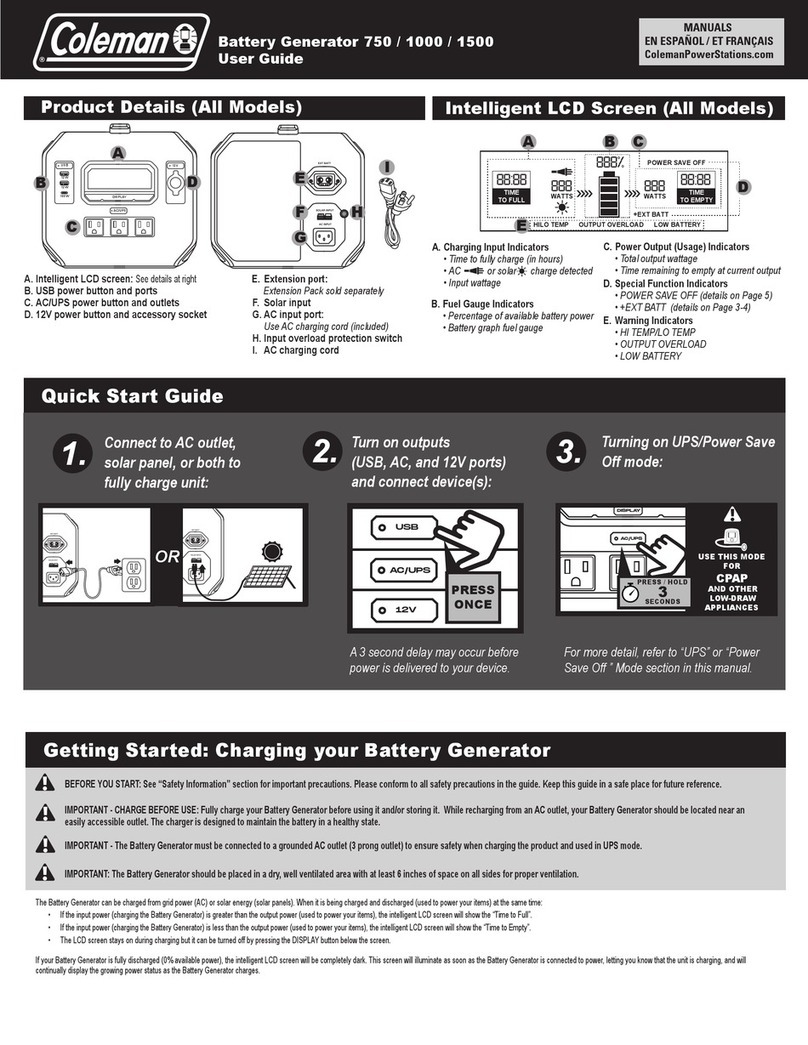
Product Details Intelligent LCD Screen
Quick Start Guide
Connect to AC outlet,
solar panel, or both to
fully charge unit:
1. Turn on outputs
(USB, AC, and 12V ports)
and connect device(s):
For more detail, refer to “Power Save Off ”
Mode section in this manual.
2.
USB
AC/UPS
12V
PRESS
ONCE
USE THIS MODE
FOR
CPAP
AND OTHER
LOW-DRAW
APPLIANCES
AC/UPS
USB 12V
DISPLAY
2.4 A
2.4 A
3.0 A
3
SECONDS
PRESS / HOLD
Activating “Power Save Off”
Mode:
3.
OR
RED
EXT BATT SOLAR INPUT
AC INPUT
RED
SOLAR INPUT
AC INPUT
A. Intelligent LCD screen: See details at right
B. USB power button and ports
C. AC power button and outlets
D. 12V power button and accessory socket
C
120V AC
USB 12V
DISPLAY
BD
AE F
E. AC input port: Use AC charging cord
(included)
F. Solar charge controller
G. AC charge cord B. Fuel Gauge Indicators
• Percentage of available battery power
• Battery graph fuel gauge
C. Power Output (Usage) Indicators
• Total output wattage
• Time remaining to empty at
current output
D. Warning Indicators
• HI TEMP/LO TEMP
• OUTPUT OVERLOAD
• LOW BATTERY
A. Charging Input Indicators
• Time to fully charge (hours to full)
• AC or solar charge detected
• Input wattage
2.4 A
2.4 A
3.0 A
SOLAR INPUT
88:88
HILO TEMP OUTPUT OVERLOAD LOW BATTERY
HOURS
TO FULL
888%
888888
WATTS WATTS
88:88
HOURS
TO EMPTY
A B C
G
RED
D
Getting Started: Charging your Battery Generator
IMPORTANT: your Battery Generator should be placed in a dry, well ventilated area with at least 6 inches of space on all sides for proper ventilation.
BEFORE YOU START: See “Safety Information” section for important precautions. The user should conform to all safety precautions in the guide. Keep this guide in a safe place for future reference.
IMPORTANT - CHARGE BEFORE USE: Fully charge your Battery Generator before using it and/or storing it. Keep the unit plugged in when not in use
so it is ready when you need it. The charger is designed to maintain the battery in a healthy state.
Your Battery Generator can be charged from grid power (AC) or solar energy (solar panels).
• When it is being charged and discharged (used to power your items) at the same time:
• If the input power (charging your Battery Generator) is greater than the output power (used to power your items), the intelligent LCD screen will show the “Hours to Full”.
• If the input power (charging your Battery Generator) is less than the output power (used to power your items), the intelligent LCD screen will show the “Hours to Empty”.
• The LCD screen stays on during charging but it can be turned off by pressing the DISPLAY button below the screen.
If your Battery Generator is fully discharged (0% available power), the intelligent LCD screen will be completely dark. This screen will illuminate as soon as your Battery Generator is connected to power, letting you
know that the unit is charging, and will continually display the growing power status as your Battery Generator charges.
MANUALS
EN ESPAÑOL / ET FRANÇAIS
ColemanPowerStations.com
Battery Generator™ 500
Portable Power Station User Guide
NOTE: The internal 80W charger can deliver a net charge of up to 70W to the battery, so the maximum charging wattage that will show on the intelligent LCD screen is “70W” (this is normal).
NOTE: The 7 hour charge time may vary depending on your AC outlet power and the climate (Battery Generator may charge more slowly in very high or low temperatures).
Charging your Battery Generator from an AC outlet
Estimated Charge Time: 7 hours to full
Plug the AC charging cord into
the AC input on the back of
your Battery Generator. Plug the other
end of the cord into an AC outlet.
1
The intelligent display will show the
AC icon, the input power and the
battery charge level.
(Press the DISPLAY button to turn off this
screen if desired)
2
You may keep your Battery Generator
plugged into your AC outlet for maintenance
charging. The internal charger is designed to
optimize power without overcharging the
battery. We recommend keeping your
Battery Generator charged so it provides
maximum power when you need it.
Keep charged for
immediate use
HOURS
TO FULL WATTS
Battery fuel gauge bars will flash
as the charge level increases
RED
Charging your Battery Generator from a solar panel
Estimated Charge Time: 4 hours to full
The estimated 4-hour charge time is based on a 200
Watt solar panel in ideal clear, sunny conditions.your
Battery Generator is compatible with all standard solar
panels. You may also use smaller, lower-wattage solar
panels to charge your Battery Generator (charge times
will vary according to the wattage of your panel).
To obtain the fastest charge time, position your solar
panel where it will receive the maximum exposure to
direct sunlight. If the solar panel is placed in shade or is
used in cloudy conditions, it may take significantly
longer to charge your Battery Generator.
You may also keep your Battery Generator connected
to the solar panel for continued charging. It is
recommended to keep your Battery Generator charged
so it is ready any time.
Optimizing Your
Solar Charging
1 2
NOTE: The built-in MPPT solar control will automatically optimize the voltage and current to provide the most efficient charging to your Battery Generator.
The intelligent LCD screen will show
the solar icon, the input power and
the battery charge level. (Press the
DISPLAY button to turn off this screen if desired)
Connect your solar panel*
(200W max) to the Solar Input
port in the back of your Battery
Generator.
* The solar panel and cable are sold separately.
NOTE: The 4 hour charge time may vary depending on solar exposure and the climate (Battery Generator may charge more slowly in very high or low temperatures).
HOURS
TO FULL WATTS
Battery fuel gauge bars will flash
as the charge level increases
Getting Started (cont’d)
When you are done using the outlet(s) and USB port(s), press the
button again to turn them off. This will keep the internal battery from
passively draining.
Additionally, when an output is not used for more than five hours it
will automatically turn off to conserve battery power. To bypass this
feature, please see “Power-Save Off” section on next page.
Conserving Battery Power
You can power and charge several items at once using any
combination of available AC/12V outlets and USB ports, as long
as the total combined power draw of all connected items does
not exceed the rated Output Power.
Please note: The more items that are connected, the faster your
Battery Generator will consume its available battery power and
needs to be recharged.
Connecting Multiple Items
Using your Battery Generator
Each output type (USB, AC, DC) has a separate power button with an indicator light to show that it is on. When any port is on the intelligent LCD screen will also turn on.
You can turn off the intelligent LCD screen at any time by pressing the DISPLAY button below the screen.
2
The intelligent LCD screen will
show output power and “Hours To
Empty”. (Press the DISPLAY button to turn
off this screen if desired)
Plug your item(s) into your Battery
Generator and press the
button to activate the outlets.
(Example shown: USB ports)
NOTE: If your device's power cycles between
high and low modes, the “Hours To Empty”
time will also cycle. The actual run time will
be an average.
120V AC
USB
12V
DISPLAY
2.4 A
2.4 A
3.0 A
WATTS HOURS
TO EMPTY
1
Power-Save Off Mode
USE THIS
MODE FOR
CPAP
AND
OTHER
LOW-DRAW
APPLIANCES
To conserve power, each output is designed to automatically turn off if there is less than 5W-AC or 100mA-USB/12V power output for more than five hours. However, you can over-ride this
power save feature by simply pressing and holding the corresponding On/Off button (AC/USB/12V) for 3 seconds.
1Press the On/Off button located
near the output. Hold for three
(3) seconds.
3Turning the output “Off” will
reset the port to its default
power save mode.
2 While in over-ride mode, the
output LED will flash.
120V AC
USB 12V
DISPLAY
2.4 A
2.4 A
3.0 A
120V AC
USB
DISPLAY
2.4 A
2.4 A
3.0 A
120V AC
USB
DISPLAY
2.4 A
2.4 A
3.0 A
3
SECONDS
1 2 3
PRESS / HOLD TURN OFF
TO RESET
Getting Started (cont’d)
Reference
Product Specifications
Battery
Chemistry Li-Ion
Capacity 11.07V, 478 Wh
Input
AC Input 120V AC, 60Hz, 80 Watt
Solar Input MPPT, 13-30 V Max, 17 A, 200W Max
AC Outlet
Number of outlets 3
AC Output 120 VAC, 60Hz, Pure Sine Wave
AC Output (continuous) 500W
AC Output (5 min PowerBoost) 650W
AC Output (3 sec PowerBoost) 1000W
DC Outlet
12V Port (1x) 9V-12.6V⎓10A Max
USB Ports
USB Output (Type-A) (2x) 5V⎓2.4A per port (2 ports total 4.8 A)
Type-C PD Output (1x) 5V⎓3A/9V⎓3A/12V⎓3A/15V⎓3A/20V⎓3A
Operating Temperatures
Charging 0° — 45° C / 32° — 113° F
Discharging (in use) -10° — 45° C / 14° — 113° F
Certifications
Safety ANSI/CAN/UL2743
Efficiency CEC/NRcan/DOE
EMI FCC Part 15
Dimensions and Weight
Dimensions (LxWxH) 27.0 x 22.7 x 20.0 cm / 10.6 x 8.9 x 7.9 in
Weight 5.0 kg / 11.0 lb
LED string lights 3.3W 140 hours
LED light bulb (100 W Equivalent) 14W 30 hours
LED Light bulb (60 W Equivalent) 8W 50 hours
Incandescent light bulb 59W 7 hours
CPAP 53W 16 hours
TV (42" LED) 48W 8.5 hours
Cable modem + Wi-Fi router 13W 30 hours
Table fan 53W 8.5 hours
Bar fridge (1.7 cu ft) ~50W 8 hours
Dorm fridge/Mini fridge (3.7 cu ft) ~40W 10 hours
Full size refrigerator (18 cu ft) 78W 9 hours
Ice maker 90W 4.5 hours
Blender 212W 2.25 hours
Sump pump (1/4HP) 250W 1.5 hours
Laptop 51Wh Battery 7 charges
Smartphone 11 Wh Battery 35 charges
Household Items: Approximate Run Times
Important Note:
Important Note:
High power draw devices such as air
conditioners, space heaters, rice cookers, hot
plates, circular saws, and large sump pumps
(over 1/4 hp) may result in shorter run times.
Refer to the Specification Table for output
power ratings.
The power draw and run times of these
household items are examples only and
actual results may vary.
Device Continuous draw (Watts) Run Time
In order to keep your Battery Generator operating efficiently, periodically clean and maintain your unit using the simple steps below.
Maintenance
• Clean the surface of the Battery Generator when necessary. Always use a soft sponge or cloth for
cleaning. A mild, non-abrasive cleaning detergent may be used to remove stubborn dirt.
• Avoid using your Battery Generator in dirty conditions where foreign matter such as dust, dirt and
moisture can clog the AC and USB outlets and charging ports. Keep the Battery Generator in a
well-ventilated area away from direct exposure to outside elements whenever possible.
• Do not attempt to insert anything into the Battery Generator’s openings to clean them, as this may
result in injury or damage to the Battery Generator and void the warranty.
• Do not attempt to repair the Battery Generator yourself, as this may result in injury or damage to the
Battery Generator and void the warranty.
Reference (cont’d)
This section contains important safety information. Before using the product, READ ALL instructions and cautionary markings on or provided with the product, and all appropriate sections of this guide. The product contains no
user-serviceable parts. SAVE THESE INSTRUCTIONS.
Safety Information
WARNING: NO USER SERVICEABLE PARTS
•There are no user serviceable parts in this unit, DO NOT attempt to open the Battery Generator; this is
dangerous and will void the warranty.
WARNING: HEAT GENERATION DURING CHARGING AND USE
• Charging and discharging generates heat and requires proper air flow. Use in a ventilated area and
ensure adequate clearance for the ventilation grills. Blocking the grills may cause overheating and
damage to the unit.
WARNING: RISK OF ELECTRIC SHOCK INJURY
• Do not operate or store in moist conditions to avoid electric shock.
• If the unit gets wet wait for it to dry completely before using it.
• Do not insert foreign objects into any of the ports or openings.
WARNING: RISK OF ELECTRIC SHOCK OR FIRE HAZARD
• Review the specifications of the Battery Generator ports and all connected devices you intend to use.
• The output ports can generate dangerous voltages.
• Do not use the Battery Generator if it is damaged or any of the input or output cords are damaged.
IMPORTANT SAFETY INSTRUCTIONS - SAVE THESE INSTRUCTIONS
WARNING – When using this product, basic precautions should always be followed, including the following:
a) Read all the instructions before using the product.
b) To reduce the risk of injury, close supervision is necessary when the product is used near children.
c) Do not put fingers or hands into the product.
d) Do not expose Battery Generator to rain or snow.
e) Use of an attachment not recommended or sold by Battery Generator manufacturer may result in a risk of fire,
electric shock, or injury to persons.
f) To reduce risk of damage to the electric plug and cord, pull the plug rather than the cord when disconnecting the
Battery Generator.
g) Do not use the Battery Generator or appliance that is damaged or modified. A damaged or modified
Battery Generator may exhibit unpredictable behavior resulting in fire, explosion or risk of injury.
h) Do not operate the Battery Generator with a damaged cord or plug, or a damaged output cable.
i) Do not disassemble the Battery Generator, take it to a qualified service person when service or repair is
required. Incorrect reassembly may result in a risk of fire or electric shock.
j) To reduce the risk of electric shock, unplug the Battery Generator from the outlet before attempting any
instructed servicing.
PERSONAL PRECAUTIONS
a) When charging the internal battery, work in a well ventilated area and do not restrict ventilation in any way.
b) Do not expose a Battery Generator to fire or excessive temperature. Exposure to fire or temperature above 130°C /
266°F may cause explosion.
Your Battery Generator features several built-in protection features to ensure safe and efficient operation. Below is a guide which shows the typical faults that occur during normal operation and how to correct them and resume use.
If a fault occurs, the following warning(s) will appear on the intelligent LCD screen. Please refer to the table below to safely correct any problems and allow your Battery Generator to reset and resume operation. If you have additional
questions, please contact Customer Service at 888-617-5884.
Troubleshooting Guide
Fault Type What it means What to do
HI TEMP / LO TEMP Your Battery Generator is too hot or too cold (operating temperature range is -10° to 45° C / 14° to 113° F) Move the Battery Generator to a cooler or warmer location as needed
OUTPUT OVERLOAD Excessive power draw Remove some of the connected items to lower the total draw on the Battery Generator, then turn it on again.
LOW BATTERY Low battery voltage (<9V) Charge the Battery Generator
Flashing icon Solar Input range exceeded (See Product Specifications) Check solar panel configuration
Shuts down after 5 hours Shuts down to save battery charge when it detects low power need Press and hold power button to go into Power Safe Off mode, LED flashes in this mode.
Turning port off cancels the Power Save Off mode.
Support And Warranty
UM-1019-R2 REV DATE 20230512
©2023 The Coleman Company, Inc.
Coleman® is a registered trademark of The Coleman Company, Inc., used under license.
This product (Product) is warrantied (Limited Warranty) by Battery-Biz Inc. (Distributor) against defects in material and
workmanship under normal use and service to the original purchaser (Purchaser) for a period of 2 (two) years
(Warranty Period) from the original date of purchase. The Limited Warranty does not extend to any subsequent owner
or other transferee of the Product. Purchaser shall retain the dated sales receipt as evidence of proof and date of
purchase as it will be required for any warranty claim or service. In order to keep the Limited Warranty in effect, the
Product must have been handled and used as described in the instructions accompanying this Limited Warranty. The
Limited Warranty does not cover any damage due to accident, improper storage, improper installation, modifications,
unauthorized repair, normal wear and tear, failure to observe product specifications or safety warnings, force majeure,
misuse, abuse or negligence. This Limited Warranty shall be null and void if Product’s label(s) have been defaced,
altered, or removed.
Remedies Under Warranty
With respect to a defective Product during the Warranty Period, Distributor in its sole and absolute discretion, will
either: (a) repair or replace such Product (or the defective part) free of charge or (b) refund the purchase price of such
Product. Distributor will pay for shipping and handling fees to return the repaired or replacement product to the
Purchaser during the Warranty Period.
Disclaimer Of Warranty
The Limited Warranty described herein is Purchaser’s sole remedy. To the extent permitted by law, Distributor disclaims
all other implied or express warranties on Product including all warranties of merchantability and/or fitness for any
particular purpose.
Two Year Limited Warranty
Limitation Of Liability
Except to the extent of repairing or replacing Product as expressly stated in the Limited Warranty described herein,
Distributor shall not be liable for any damages, whether direct, indirect, incidental, special, consequential, exemplary, or
otherwise, including lost revenues, lost profits, loss of use of software, loss or recovery of data, rental of replacement
equipment, downtime, damage to property, and third-party claims, arising out of any theory of recovery, including
statutory, contract or tort. Notwithstanding the terms of any limited or implied warranty or in the event that the Limited
Warranty fails in its essential purpose, in no event will Distributor’s entire liability exceed the purchase price of the
Product. Some states and provinces do not allow the exclusion or limitation of incidental or consequential damages so
the above limitations or exclusions and as a result may not apply to Purchaser. This Limited Warranty gives Purchaser
specific legal rights. Purchaser may have other rights which vary from state to state and province to province.
In order to be considered for coverage under this Limited Warranty, all warranty returns of Product to Distributor must
include (1) a copy of the original receipt for the purchase of Product, (2) a letter from Purchaser referencing the Return
Merchandise Authorization number issued by Distributor to Purchaser with a description of the problem, and (3)
Purchaser’s contact information including phone number and shipping address. Purchaser is responsible for the cost of
the warranty return shipping and handling as well as any related claims that may arise.
Contacting Customer Support
Battery-Biz is committed to environmental responsibility and recommends that electronic devices be disposed of properly.
Please contact your local city offices for information on recycling and disposal programs for e-waste.
For instructions on how to recycle this product visit http://www.call2recycle.org.
Recycling Information
If you experience any problems or have any questions regarding your product, free technical support is available.
Call from a phone where you have access to your product.
Be prepared to provide the following information:
• Name, address and telephone number
• Name of the product
• Make and model of any items or devices that you are using with the product
• Symptoms of the problem(s) and what led to them
Technical Support is available by telephone: 1-888-617-5884
or by email: [email protected]
Written inquires should be directed to:
Battery-Biz Inc.;
Coleman Product Inquiry
1380 Flynn Road, Camarillo, CA 93012, USA
This device complies with part 15 of FCC Rules. Operation is subject to the following two conditions: (1) This device may not cause harmful interference, and (2) this device must accept any
interference received, including interference that may cause undesired operation.
Changes or modifications not expressly approved by the party responsible for compliance could void the user’s authority to operate the equipment.
NOTE: This equipment has been tested and found to comply with the limits for a Class B digital device, pursuant to part 15 of the FCC Rules. These limits are designed to provide reasonable protection against
harmful interference in a residential installation. This equipment generates, uses and can radiate radio frequency energy and, if not installed and used in accordance with the instructions, may cause harmful
interference to radio communications. However, there is no guarantee that interference will not occur in a particular installation. If this equipment does cause harmful interference to radio or television reception, which
can be determined by turning the equipment off and on, the user is encouraged to try to correct the interference by one or more of the following measures:
• Reorient or relocate the receiving antenna. • Connect the equipment into an outlet on a circuit different from that to which the receiver is connected.
• Increase the separation between the equipment and the receiver. • Consult the dealer or an experienced radio/TV technician for help.
CAN ICES-003 (B) / NMB-003 (B)
FCC / ISED Information
Product Registration
For complete warranty coverage, please register your Coleman product
within fourteen days of purchase.
Visit ColemanPowerStations.com/Register
or scan the QR code to register.
SCAN
NOW
Other Coleman Portable Generator manuals

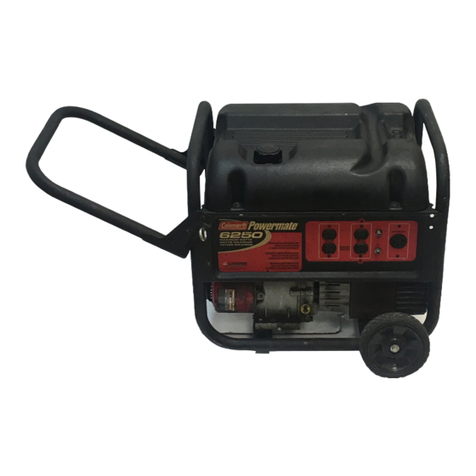
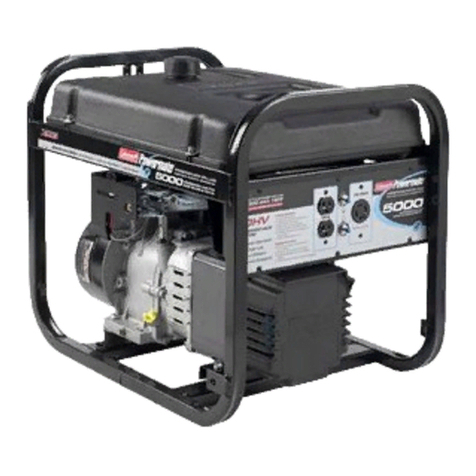
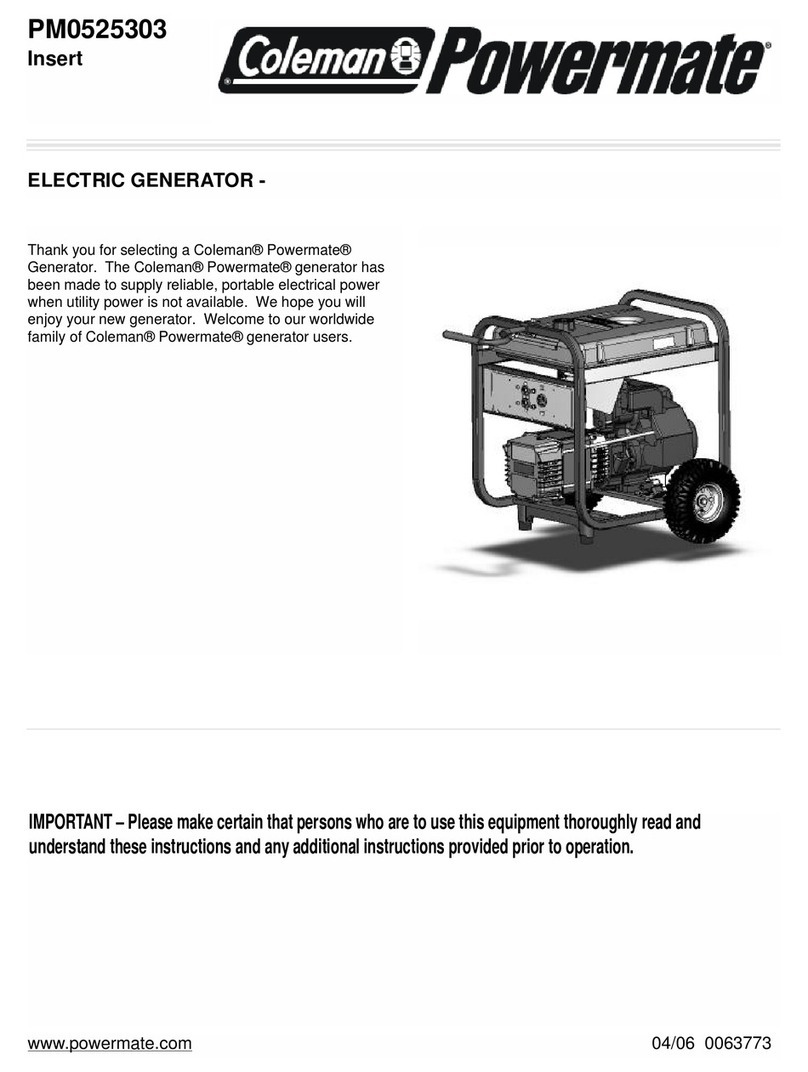
Coleman Powermate PM0525303 User manual

Coleman

Coleman Powermate PM0525303 User manual

Coleman PMC606750 User manual

Coleman

Coleman PMC606750 User manual

Coleman Coleman PM0435005 User manual

Coleman

Coleman Coleman PM0435005 User manual

Coleman Powermate PM0106004 User manual

Coleman

Coleman Powermate PM0106004 User manual

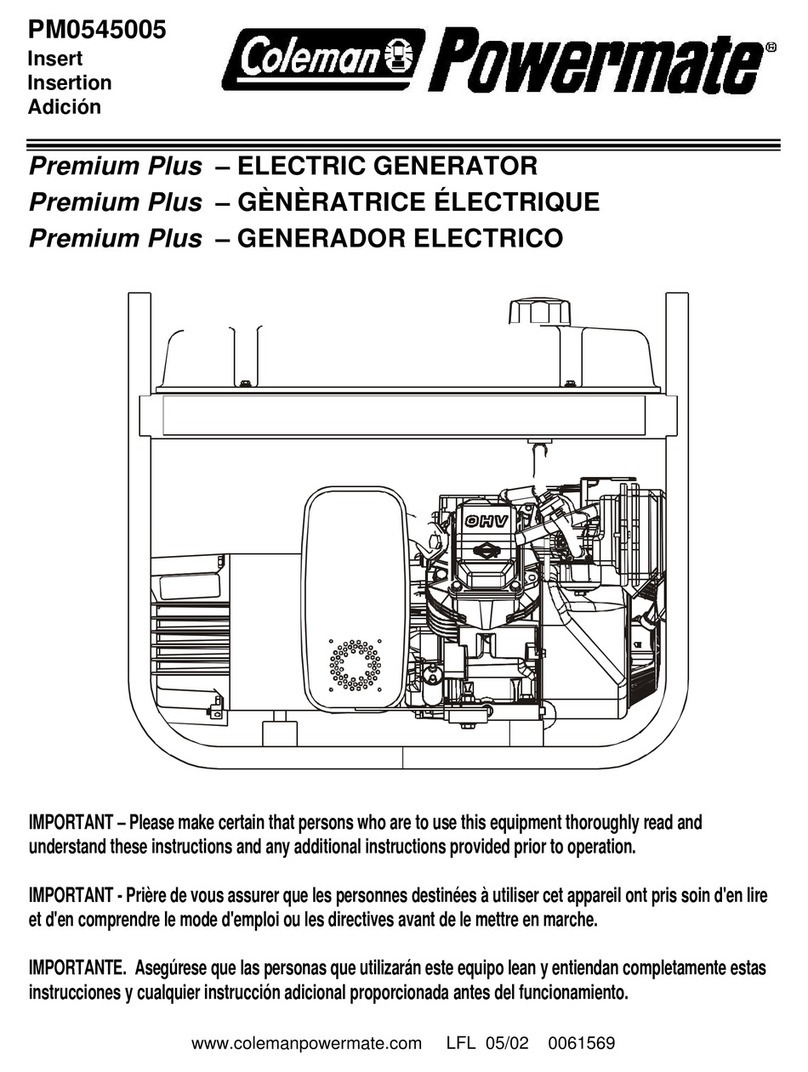
Coleman POWERMATE PM0545004 User manual

Coleman

Coleman POWERMATE PM0545004 User manual

Coleman Powermate PM0401856 User manual

Coleman

Coleman Powermate PM0401856 User manual

Coleman Powermate PM0545010 User manual

Coleman

Coleman Powermate PM0545010 User manual

Coleman Powermate PM0525312 User manual

Coleman

Coleman Powermate PM0525312 User manual

Coleman Powermate Ultra PM0421100 Insert User manual

Coleman

Coleman Powermate Ultra PM0421100 Insert User manual

Coleman Powermate PMA525302.02 User manual

Coleman

Coleman Powermate PMA525302.02 User manual

Coleman Powermate PM0545002.02 User manual

Coleman

Coleman Powermate PM0545002.02 User manual

Coleman Powermate PM0422505.01 User manual

Coleman

Coleman Powermate PM0422505.01 User manual

Coleman Maxa ER User manual

Coleman

Coleman Maxa ER User manual

Coleman Powermate PM0525302.18 User manual

Coleman

Coleman Powermate PM0525302.18 User manual

Coleman Powermate PM0463300.01 User manual

Coleman

Coleman Powermate PM0463300.01 User manual

Coleman CM04101 User manual

Coleman

Coleman CM04101 User manual

Coleman Powermate PM0545007 Insert User manual

Coleman

Coleman Powermate PM0545007 Insert User manual

Coleman Powermate PM0525300 User manual

Coleman

Coleman Powermate PM0525300 User manual

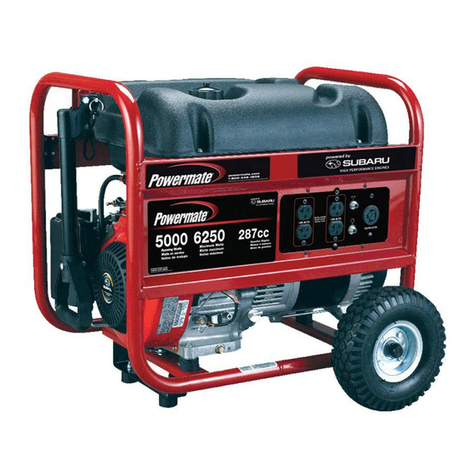
Coleman POWERMATE PM0545005 User manual

Coleman

Coleman POWERMATE PM0545005 User manual

Coleman Powermate PM0496504 User manual

Coleman

Coleman Powermate PM0496504 User manual

Coleman Powermate PMC545008 User manual

Coleman

Coleman Powermate PMC545008 User manual

Coleman PC0422507 Powermate User manual

Coleman

Coleman PC0422507 Powermate User manual

Coleman Powermate PM0525300.18 User manual

Coleman

Coleman Powermate PM0525300.18 User manual

Coleman CMBG750 User manual

Coleman

Coleman CMBG750 User manual

Popular Portable Generator manuals by other brands

Harvia LTY45-U1 Instructions for installation and use

Harvia

Harvia LTY45-U1 Instructions for installation and use

Phoenix Mecano Okin POWER PACK 1800 Installation instruction

Phoenix Mecano

Phoenix Mecano Okin POWER PACK 1800 Installation instruction

Honeywell HW4000L - Portable Generator owner's manual

Honeywell

Honeywell HW4000L - Portable Generator owner's manual

Generac Power Systems 0595-0 owner's manual

Generac Power Systems

Generac Power Systems 0595-0 owner's manual

Winco DP5000/T Installation and operator's manual

Winco

Winco DP5000/T Installation and operator's manual

Westerbeke 7.6kw-60Hz EDT Service manual

Westerbeke

Westerbeke 7.6kw-60Hz EDT Service manual

Endress ESE 206 HS-GT operating instructions

Endress

Endress ESE 206 HS-GT operating instructions

dji D6000i user guide

dji

dji D6000i user guide

Champion 200964 quick start guide

Champion

Champion 200964 quick start guide

Troy-Bilt 1923 owner's manual

Troy-Bilt

Troy-Bilt 1923 owner's manual

Analog Devices Hittite HMC-T2220 user manual

Analog Devices

Analog Devices Hittite HMC-T2220 user manual

Kubler CODIX 533 manual

Kubler

Kubler CODIX 533 manual

Powermate PMV 7000 owner's manual

Powermate

Powermate PMV 7000 owner's manual

Sportsman GEN7000LP instruction manual

Sportsman

Sportsman GEN7000LP instruction manual

Mosa GE 6000 DES/GS L - AVR Use and maintenance manual

Mosa

Mosa GE 6000 DES/GS L - AVR Use and maintenance manual

ECO-MATIC COMM 2400 Installation & operation instructions

ECO-MATIC

ECO-MATIC COMM 2400 Installation & operation instructions

Kohler 8.5RMY Service manual

Kohler

Kohler 8.5RMY Service manual

Wen 56500 manual

Wen

Wen 56500 manual

manuals.online logo
manuals.online logoBrands
  • About & Mission
  • Contact us
  • Privacy Policy
  • Terms and Conditions

Copyright 2025 Manuals.Online. All Rights Reserved.