TABLE OF CONTENTS
1.0 INTRODUCTION
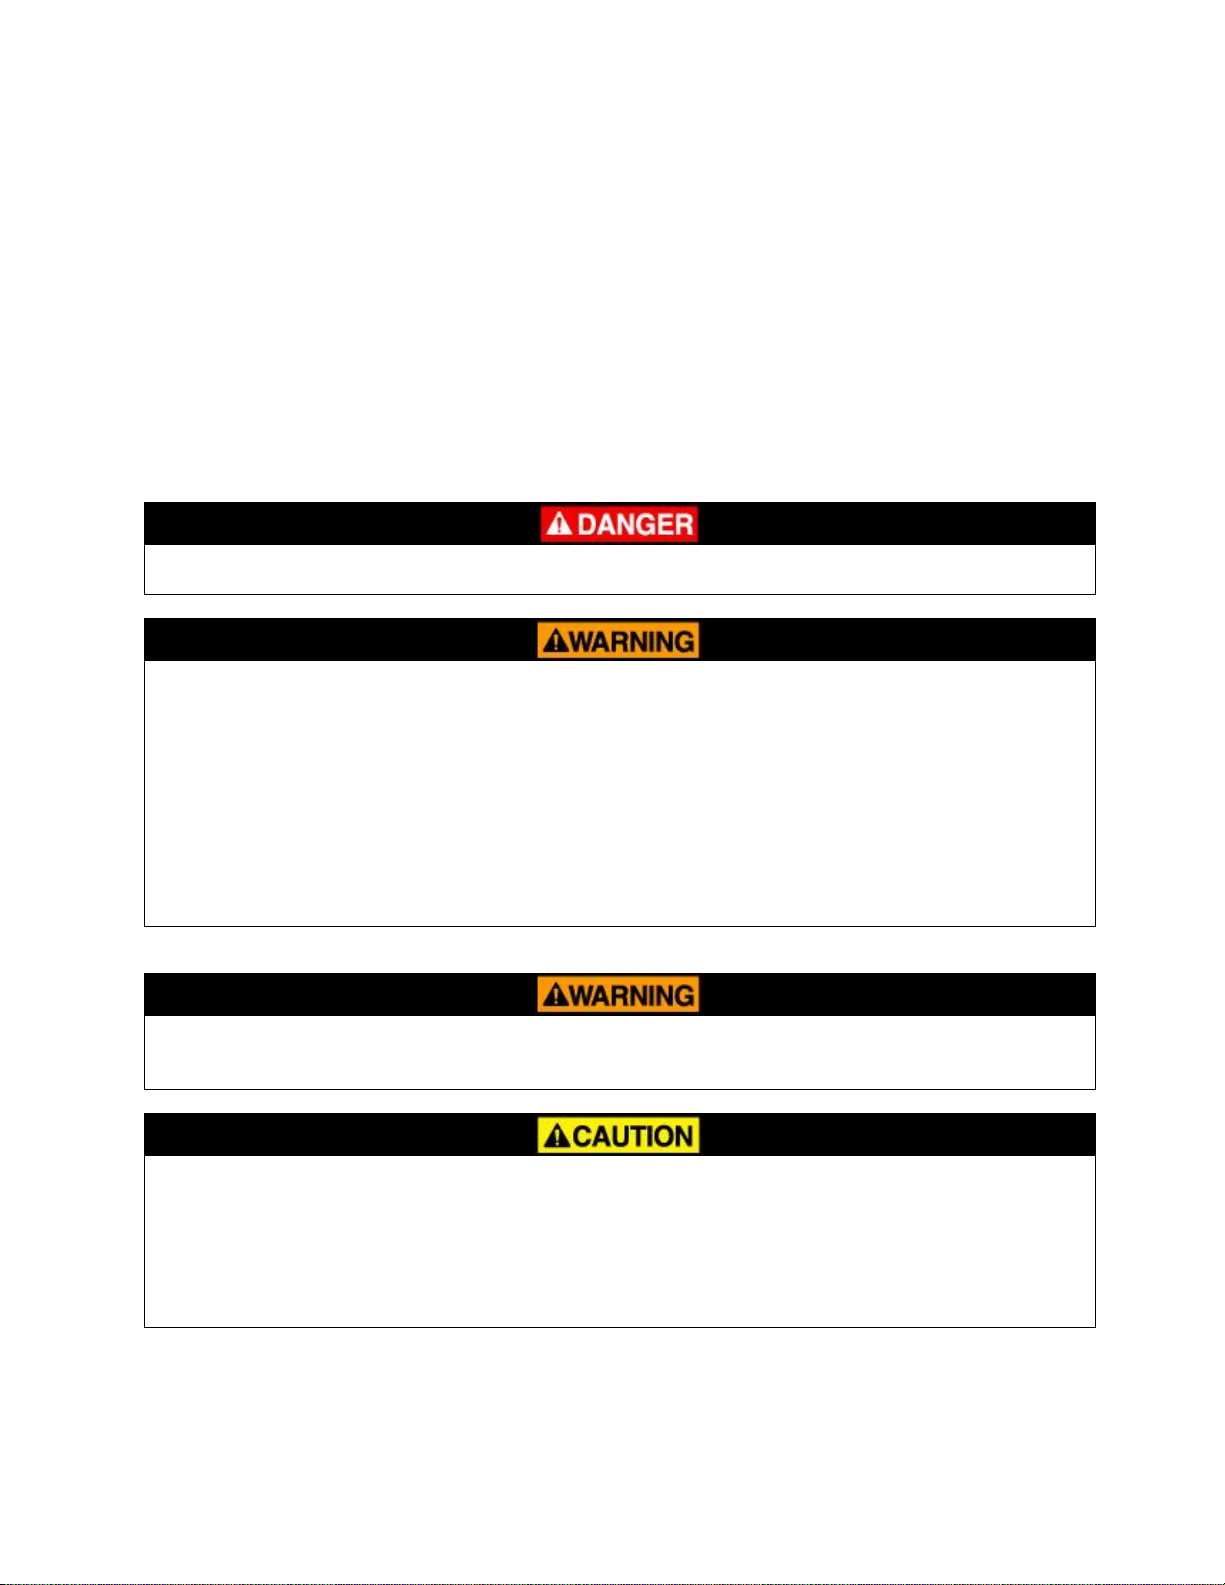
1.1 SAFETY MESSAGES
1.2 VEHICLE DESCRIPTION
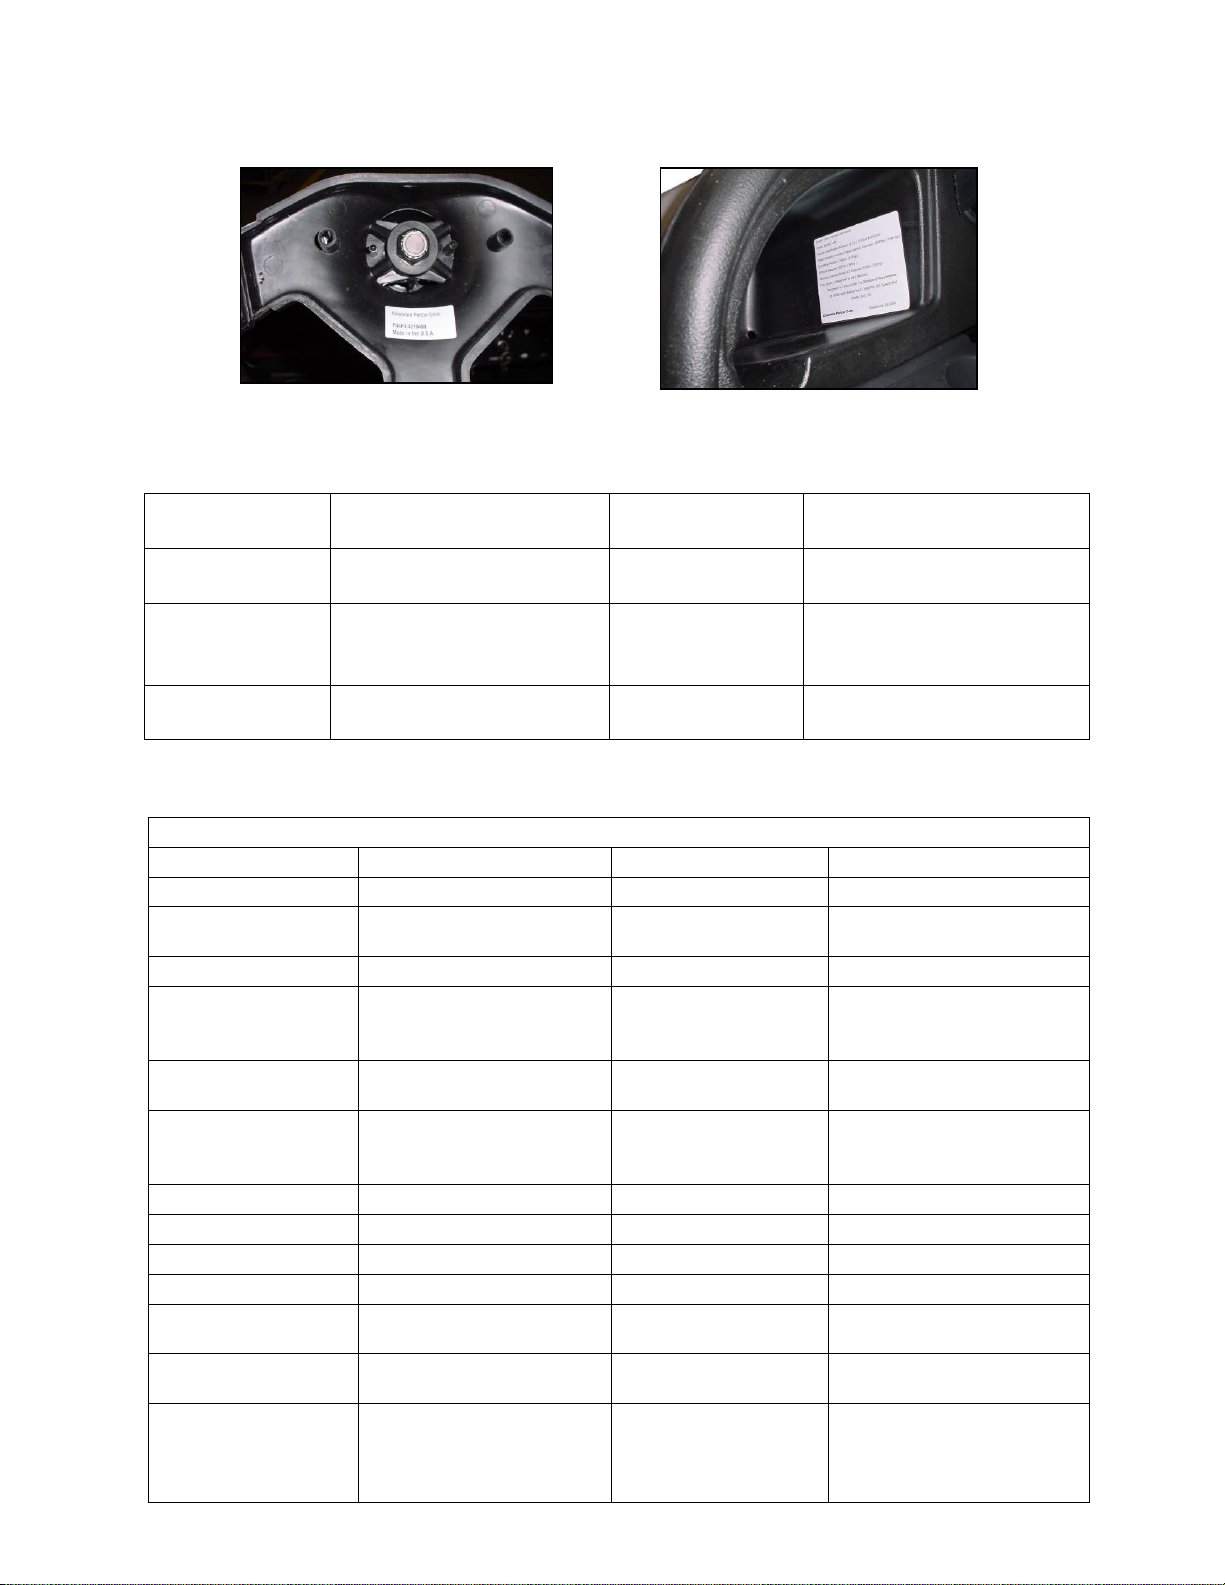
1.3 VEHICLE IDENTIFICATION NUMBER (VIN)
1.4 VIN MATRIX
1.5 VEHICLE SPECIFICATIONS
2.0 SAFETY
2.1 GETTING STARTED
2.2 SAFETY VEHICLE STATEMENTS
2.3 SAFETY WARNINGS
2.4 SAFETY CONCERNS
3.0 OPERATIONS AND CONTROLS
3.1 IMPORTANT FIRST STEP
3.2 INSPECTING THE VEHICLE
3.3 VEHICLE CONTROLS
3.3.1.A POWER KEY SWITCH
3.3.1.B DIRECTION SELECTOR
3.3.1.C HIGH/LOW SPEED SWITCH (OPT)
3.3.1.D LIGHT SWITCH
3.3.1.E ACC SWITCH (OPT)
3.3.1.F HOUR METER
3.3.1.G BATTERY STATUS INDICATOR
3.3.1.H SYSTEM STATUS LED
3.3.1.I 12V POWER OUTLET
3.3.1.J WARNINGS/OPERATING
INSTRUCTIONS
3.3.1.K WINCH CONTROL
3.3.2 BRAKE PEDAL/PARKING BRAKE
3.3.3 ACCELERATOR PEDAL
3.3.4 CHARGER RECEPTACLE & REMOTE LED
3.3.5 STEERING WHEEL
3.3.6 HORN BUTTON
3.4 DRIVING THE VEHICLE
3.5 PRE-OPERATION CHECKLIST
4.0 ELECTRIC SYSTEM
4.1 IMPORTANT INFORMATION
4.2 BATTERY INSPECTION & MAINTENANCE
4.3 BATTERY CLEANING
4.4 CONDITIONS WHICH AFFECT CHARGING
4.5 DELTA-Q BATTERY CHARGING
4.5.1 CHARGER OPERATING INSTRUCTIONS
4.5.2 RED LIGHT CHARGER ERROR CODES
4.5.3 CHECK / CHANGE CHARGING
ALGORITHM
4.6 EXCESSIVELY DISCHARGED BATTERIES
4.7 SPECIFIC GRAVITY TEST
4.8 TIPS FOR MAINTAINING YOUR BATTERIES
4.9 SINGLE POINT WATERING SYSTEM
4.10 BATTERY DISCONNECT METHODS
4.11 BATTERY REMOVAL & INSTALLATION
5.0 SERVICING YOUR VEHICLE
5.1 MAINTENANCE GUIDELINES
5.2 MECHANICAL BRAKE SYSTEM
5.3 HYDRAULIC BRAKE SYSTEM
5.4 BRAKE FLUID MAINTENANCE
5.5 TIRE CARE
5.6 WHEEL & TIRE REMOVAL/INSTALLATION
5.7 CLEANING
5.8 LUBRICATION
5.9 MAINTENANCE SCHEDULE -
OWNER/OPERATOR
5.10 MAINTENANCE SCHEDULE –QUALIFIED
TECHNICIAN
5.11 VEHICLE TROUBLESHOOTING
5.12 CONTROLLER TROUBLESHOOTING
6.0 TOWING & TRANSPORTING
6.1 TOWING YOUR VEHICLE
6.2 TRANSPORTING YOUR VEHICLE
7.0 VEHICLE STORAGE
7.1 BATTERY PREPARATION
7.2 VEHICLE PREPARATION
7.3 RETURNING VEHICLE TO SERVICE
8.0 WINCH OPERATON
9.0 VEHICLE LIMITED WARRANTY