Installing the Optical Wireless Mouse Set 5
Filename: s3adwmpEU1.doc Title: Self Cover [short version]
Template: HP-Print2K.dot Author: JimL Last Saved By: kimt
Revision #: 31 Page: 5 of 76 Printed: 03/07/03 11:59 AM
English
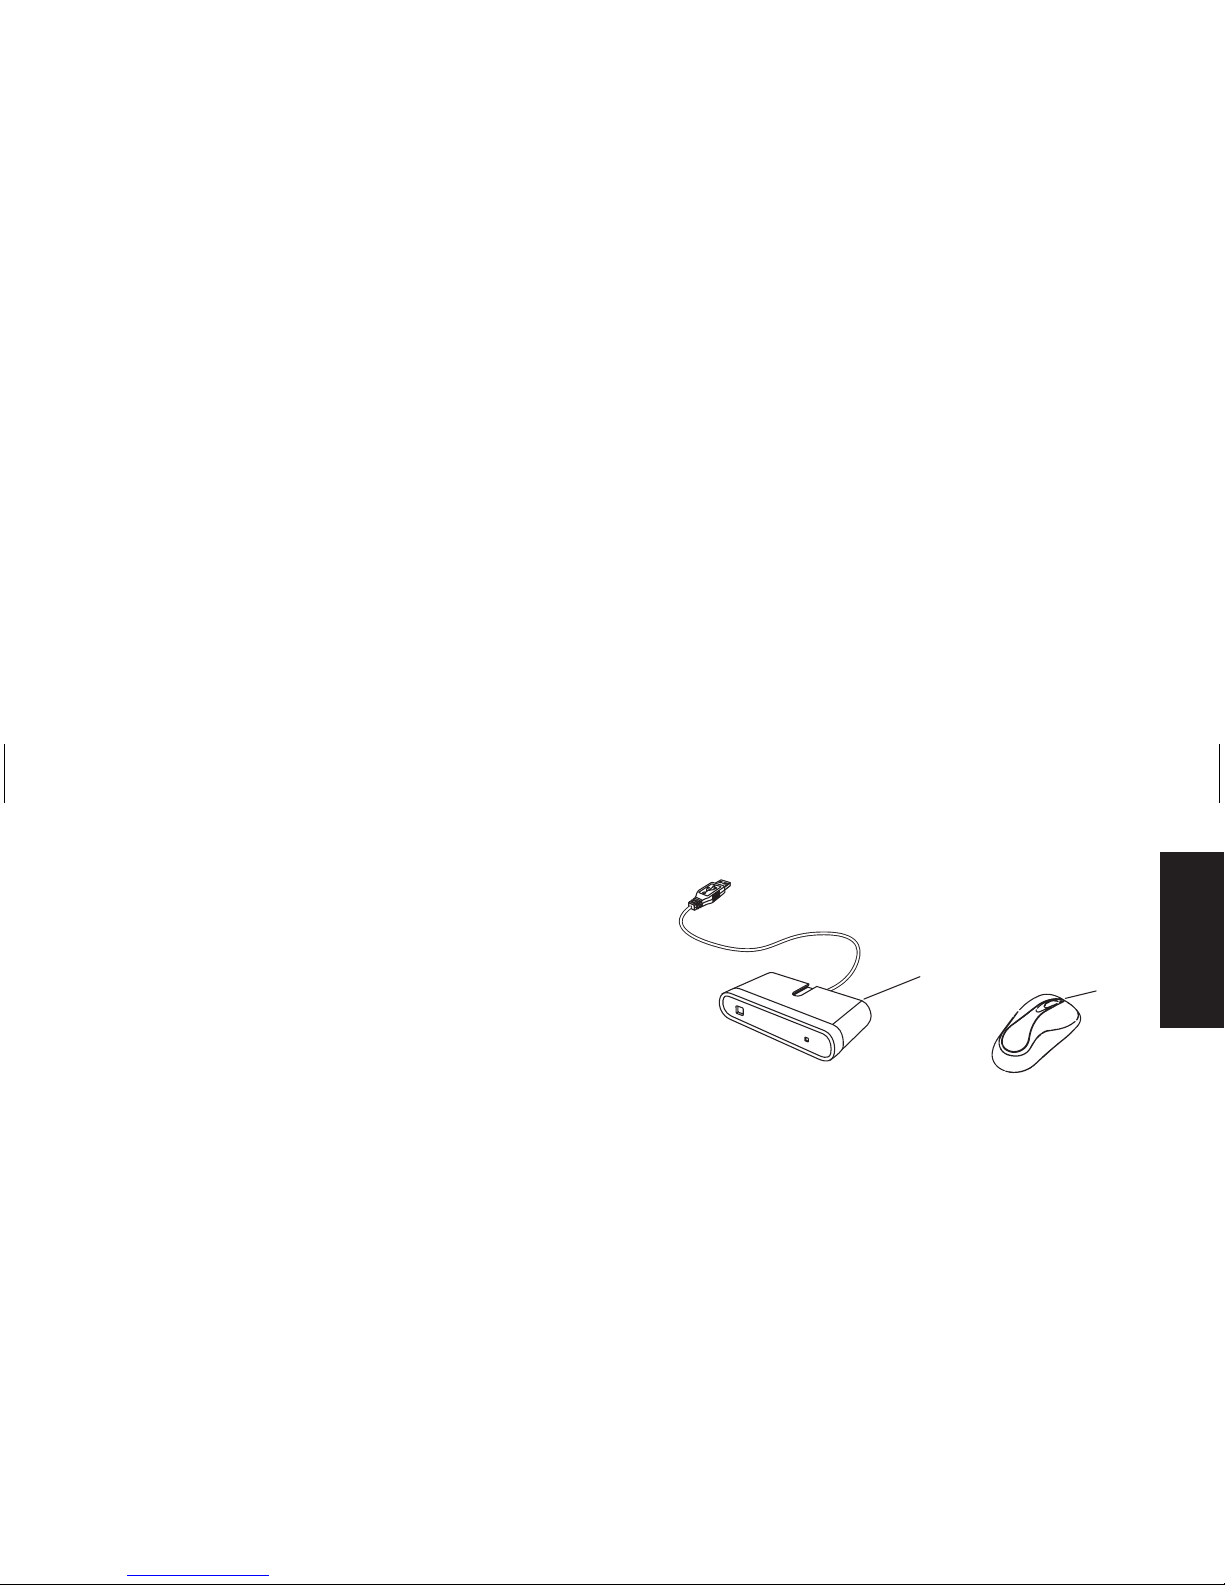
Note: This is one example of the setup. Other
setup positions are also possible. The
wireless keyboard is not included in the
wireless mouse set.
Warning: To avoid causing interference,
keep the receiver at least 20 cm (8 inches)
away from the monitor.
Setting Up the Wireless Set
The mouse has 255 IDs that are randomly
selected when you press the ID button. This helps
protect against interference from other wireless
devices in the same area.
Important: The word CONNECT is the label for
the ID button on the bottom of the mouse.
To press the ID button, use a blunt pointed
object, like the tip of a ballpoint pen.
1 Turn on the computer.
Important: If the ID button is pressed more than
one time during the setup, you must start
over with step 2.
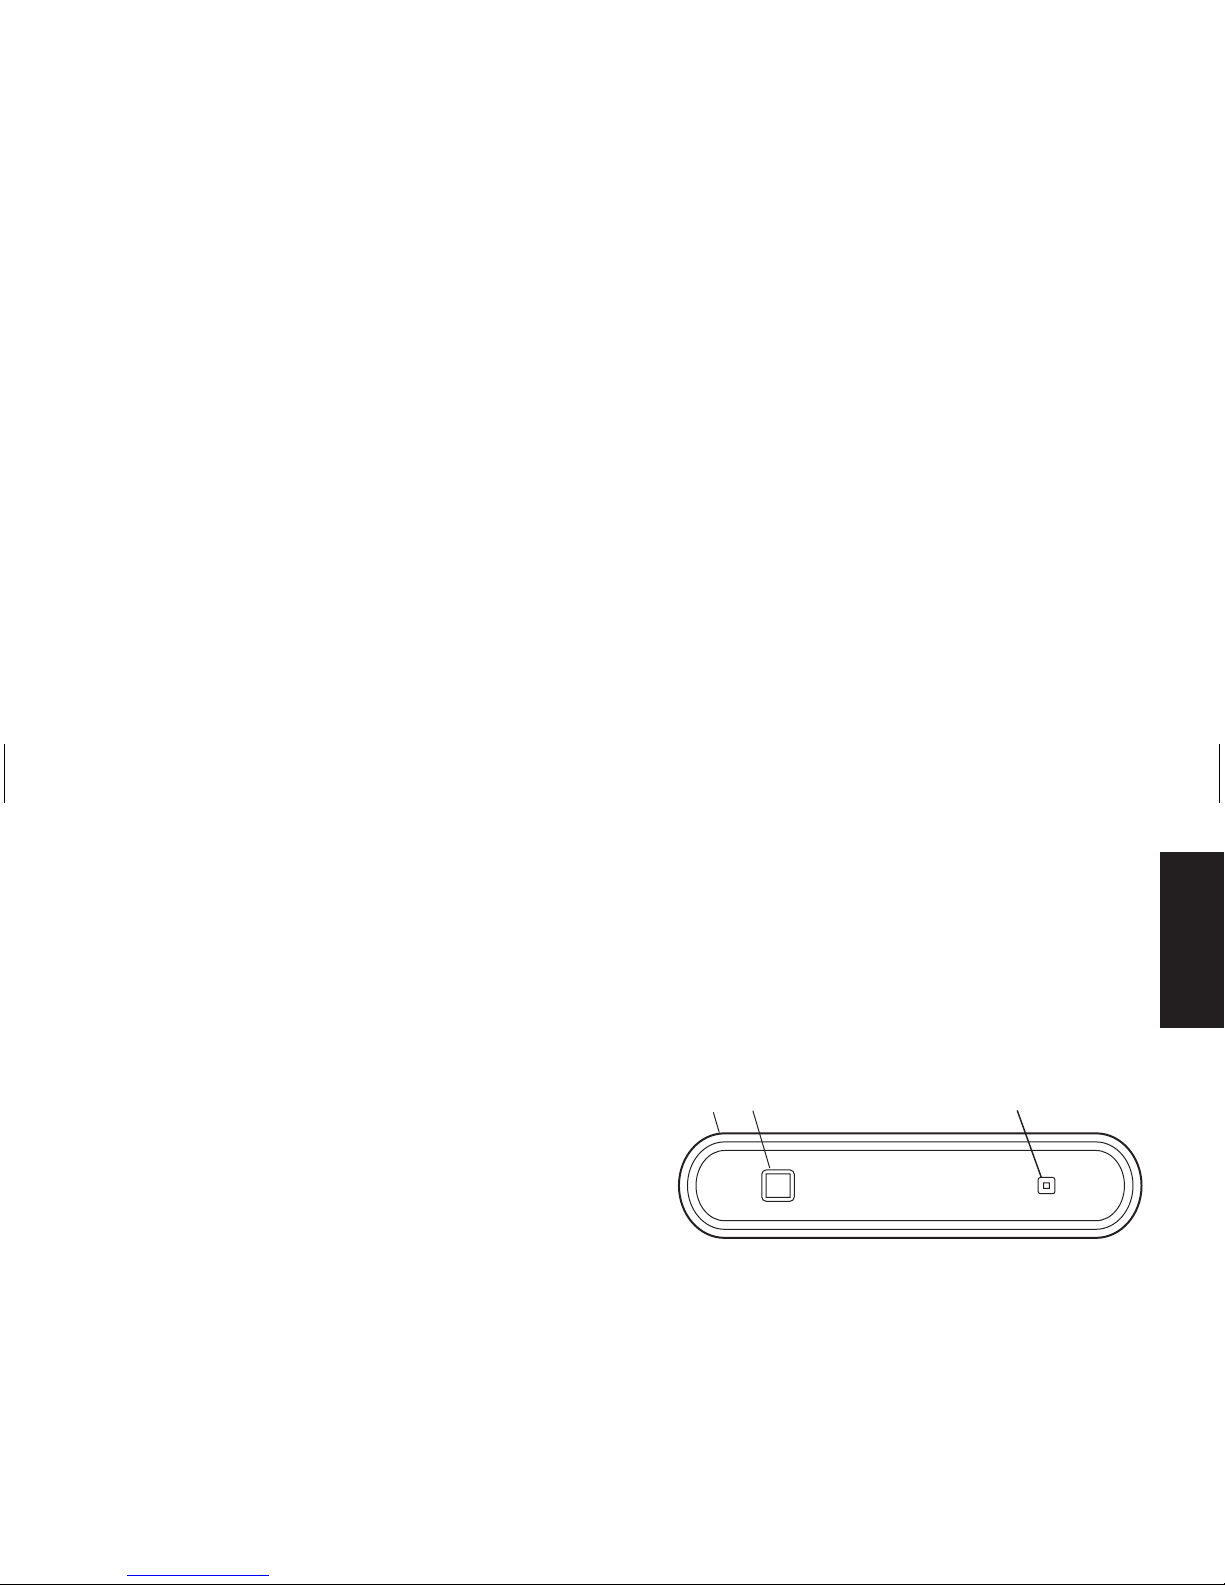
2 On the front of the receiver (D), press the
ID button (E) once.
The blue activity light (J) on the receiver starts
flashing, and continues flashing until the next
step is completed, or until 30 seconds pass.
E
D
J
Important: If 30 seconds pass before you
complete step 3, you must repeat step 2
and step 3 to set the mouse ID. If the ID
button is pressed more than one time during
the mouse setup (step 3), you must start
over with step 2 and set the receiver ID.