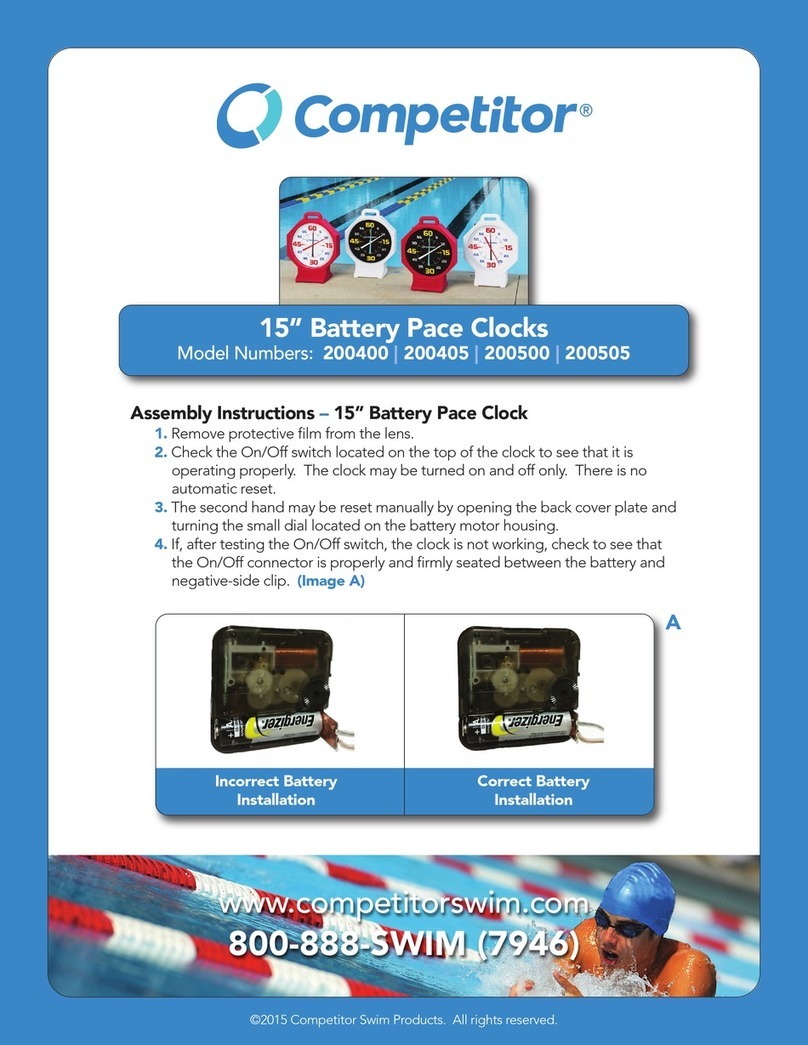
BATTERY PACE CLOCKS
MODEL NO. 200400 & 200405
1. Remove clock from shipping carton. Lay clock flat with the lens side facing up. Remove four
screws from clock lens. Set the lens aside.
2. Remove foam clock hand protection from the Minute Hand (black) and the Second Hand (red).
CAUTION: Do not bend or twist the hands. Mount the Second Hand assembly onto the needle
shaft located at the center of the exposed motor shaft. Slide the hub over the needle using light
pressure. The hub should not be forced all the way down or the clock will not operate.
3. Gently push on center hub of the Second Hand to make sure it is properly seated.
4. Open the back access panel of the clock. Locate the battery motor and copper contact that
hang down from the On/Off switch. Install the AA battery into the proper position. Carefully
slide the copper contact between the negative side of the AA battery and the metal contact of
the battery motor.
5. Check the On/Off switch located on the top of the clock to see that it is operating properly. The
clock may be turned on and off only; there is no automatic reset. The second hand may be reset
manually by opening the back cover plate and turning the small dial located on the battery
motor housing.
6. If, after testing the On/Off switch, the clock is not working, check to see that the On/Off
connector is properly and firmly seated between the battery and negative-side clip. Also check
the motor to see if the master switch is in the On position.
7. Remove protective film from the clock lens and set lens in the same position with the four holes
on the lens matching up with the four holes located on the clock housing. You may have to
rotate the lens to find the correct position. Reinstall the four screws.
Copper Contact Assembly
Copper
Contact
Assembly
ELECTRIC PACE CLOCKS
MODEL 200302
Congratulations on your purchase of the Competitor Electric Pace Clock. Please read the assembly
instructions carefully before attempting to put your new Pace Clock into service.
1. Remove the lens from housing and discard the protective lens film.
2. Remove foam shipping blocks from hands, careful not to bend the hands.
3. Replace the lens with the four self-tapping screws.
4. DO NOT OVER TIGHTEN as you may damage the lens.
The 31" pace clock can be wall mounted or attached to our Roll-A-Way Stand for easy removal and
storage. Sweep minute and second hands are made of a newly designed alloy to resist warping and
damage. A clear Plexiglas® lens protects the face and hands from splashing and weather.
ASSEMBLY INSTRUCTIONS
ELECTRIC PACE CLOCK HANDS REPLACEMENT
ELECTRIC HANDS (#200309 | #200310)
Minute Hand Instructions
lPut black minute hand (#200310) on shaft of motor.
lApply knurled nut onto threaded oblong shaft and gently tighten with pliers.
Second Hand Instructions
lApply brass hex nut to the rough threaded shaft.
lTurn hex nut so seven threads are visible above the hex nut.
lPut red second hand on the shaft and turn clockwise to screw hand onto the shaft until it
meets the brass hex nut.
lThe brass hex nut may be moved up or down if necessary.
lKeep maximum distance between the hands so they do not strike each other.
On/Off Switch
ASSEMBLY INSTRUCTIONS
BATTERY PACE CLOCK HANDS REPLACEMENT
BATTERY HANDS (#200402 | #200403)
Minute Hand Instructions
lPut black minute hand (#200403) on shaft of motor.
lApply knurled nut onto threaded oblong shaft and gently tighten with pliers.
Second Hand Instructions
lThe red second hand (#200402) is pre-mounted on a brass fitting.
lSlide the perpendicular shaft that extends down from the second hand over the needle shaft
located inside the minute hand shaft of the motor.
lGently, but firmly, press the hand down onto the shaft.
lTurn motor on to make sure minute hand and second hand do not strike each other.


