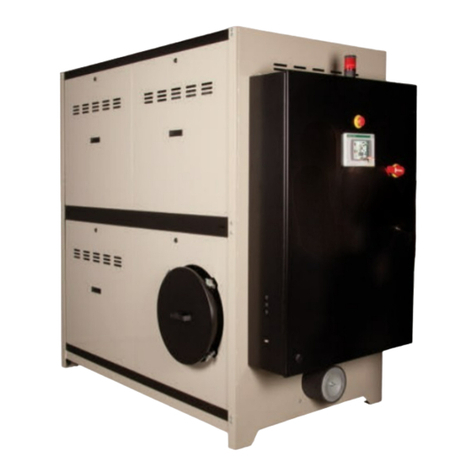
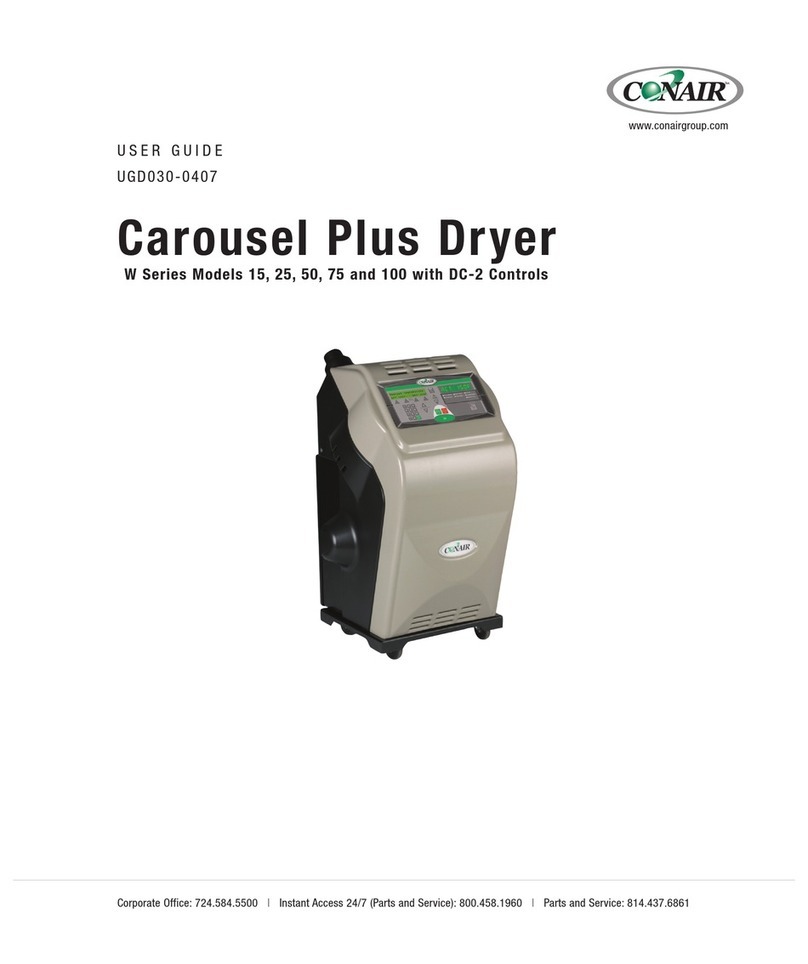
Conair Carousel Plus W Series User manual

Carousel Plus Dryer
W Series odels 150, 200, 300 and 400 with DC-T Controls
Corporate Office: 724.584.5500 lInstant Access 24/7 (Parts and Service): 800.458.1960 l Parts and Service: 814.437.6861
U S E R U I D E
U D051-0414
www.conairgroup.com

Please record your equipment’s
model and serial number(s) and
the date you received it in the
spaces provided.
It’s a good idea to record the model and serial number(s) of your equipment and the date
you received it in the User Guide. Our service department uses this information, along with
the manual number, to provide help for the specific equipment you installed.
Please keep this User Guide and all manuals, engineering prints and parts lists together for
documentation of your equipment.
Date:
Manual Number: UGD051-0414
Serial Number(s):
Model Number(s):
*Display firmware Version:
*Display Menu Version:
* Control Firmware Version:
NOTE: Displayed upon initialization, during power up, or on a data tag inside the door.
DISCLAI ER: Conair shall not be liable for errors contained in this User uide or for incidental, consequen-
tial damages in connection with the furnishing, performance or use of this information. Conair makes no
warranty of any kind with regard to this information, including, but not limited to the implied warranties of
merchantability and fitness for a particular purpose.
C o p y r i g h t 2 0 1 4 l C on a ir l A ll r ig h ts r es e r v e d
✐

Ta b le o f Co n t e n t s l i
Ta b l e o f Conte n t s
1-1 I n t r o d u c t i o n
Purpose of the User uide. . . . . . . . . . . . . . . . . . . . . . . . . . . . . . . . . . . . . . . 1-2
How the uide Is Organized . . . . . . . . . . . . . . . . . . . . . . . . . . . . . . . . . . . . . 1-2
Using the Carousel Plus W Series as a Central Dryer. . . . . . . . . . . . . . . . . . . 1-2
Your Responsibility as a User. . . . . . . . . . . . . . . . . . . . . . . . . . . . . . . . . . . . . 1-3
ATTENTION: Read this so no one gets hurt . . . . . . . . . . . . . . . . . . . . . . . . . . 1-4
How to Use the Lockout Device. . . . . . . . . . . . . . . . . . . . . . . . . . . . . . . . . . . 1-6
2-1 D e s c r i p t i o n
What is the Carousel Plus W Series Dryer?. . . . . . . . . . . . . . . . . . . . . . . . . . 2-2
Typical Applications . . . . . . . . . . . . . . . . . . . . . . . . . . . . . . . . . . . . . . . . . . . 2-2
How the Carousel Plus W Series Dryer Works. . . . . . . . . . . . . . . . . . . . . . . . 2-4
Specifications: Carousel Plus W Series Dryer . . . . . . . . . . . . . . . . . . . . . . . . 2-6
Carousel Plus W Series Dryer Options. . . . . . . . . . . . . . . . . . . . . . . . . . . . . . 2-7
3-1 I n s t a l l a t i o n
Unpacking the Boxes . . . . . . . . . . . . . . . . . . . . . . . . . . . . . . . . . . . . . . . . . . .3-2
Preparing for Installation . . . . . . . . . . . . . . . . . . . . . . . . . . . . . . . . . . . . . . . .3-3
Positioning the Dryer on the Floor. . . . . . . . . . . . . . . . . . . . . . . . . . . . . . . . . 3-3
Removing the Cable Tie from the Desiccant Wheel . . . . . . . . . . . . . . . . . . . . 3-3
Connecting the Main Power . . . . . . . . . . . . . . . . . . . . . . . . . . . . . . . . . . . . . 3-4
Connecting the RTD probe . . . . . . . . . . . . . . . . . . . . . . . . . . . . . . . . . . . . . . 3-5
Connecting the Setback RTD Probe . . . . . . . . . . . . . . . . . . . . . . . . . . . . . . . 3-5
Checking for Proper Air Flow . . . . . . . . . . . . . . . . . . . . . . . . . . . . . . . . . . . . 3-6
Connecting the Air Hoses . . . . . . . . . . . . . . . . . . . . . . . . . . . . . . . . . . . . . . . 3-9
Connecting the Dryer to the Hopper . . . . . . . . . . . . . . . . . . . . . . . . . . . . . . . 3-9
Connecting Air Hose Adapters. . . . . . . . . . . . . . . . . . . . . . . . . . . . . . . . . . . 3-10
Connecting the Aftercooler . . . . . . . . . . . . . . . . . . . . . . . . . . . . . . . . . . . . . 3-11
Mounting a Loader on the Hopper . . . . . . . . . . . . . . . . . . . . . . . . . . . . . . . 3-12
Testing the Installation . . . . . . . . . . . . . . . . . . . . . . . . . . . . . . . . . . . . . . . . 3-12
Using Communications (Optional) . . . . . . . . . . . . . . . . . . . . . . . . . . . . . . . . 3-13
4-1 O p e r a t i o n
The Dryer System control panel . . . . . . . . . . . . . . . . . . . . . . . . . . . . . . . . . 4-2
How to navigate the control screens . . . . . . . . . . . . . . . . . . . . . . . . . . . . . . . 4-3
DC-T Control Panel . . . . . . . . . . . . . . . . . . . . . . . . . . . . . . . . . . . . . . . . . . . . 4-6
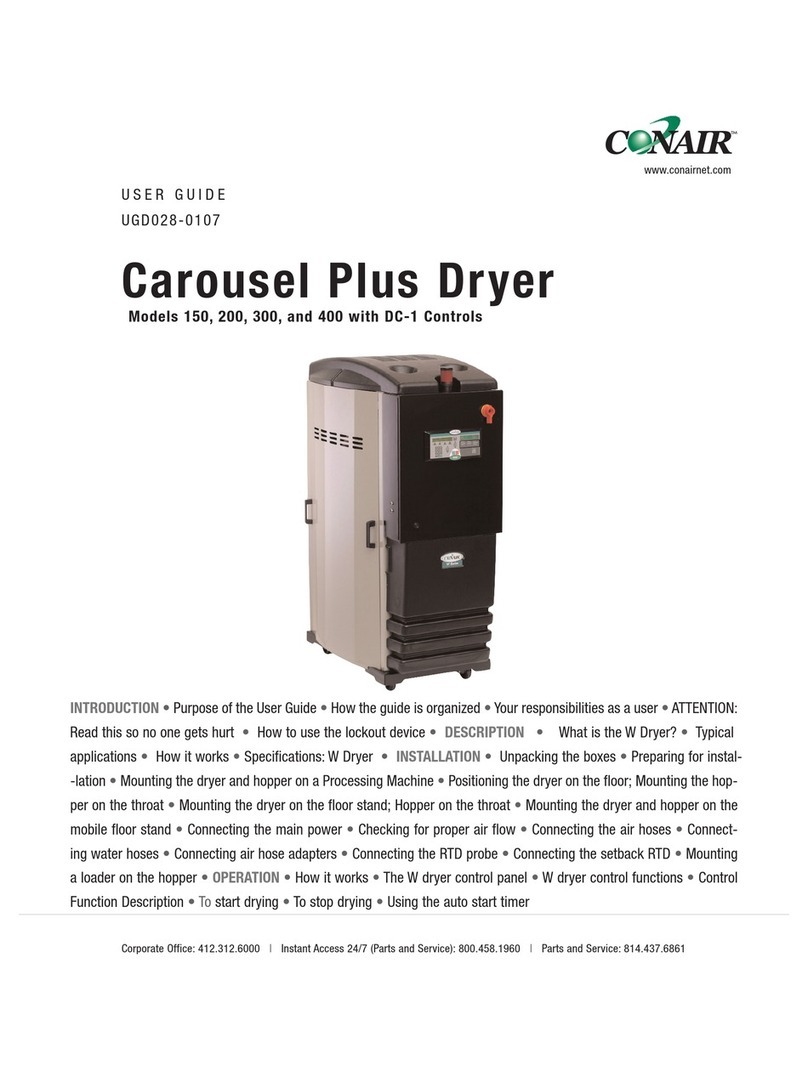
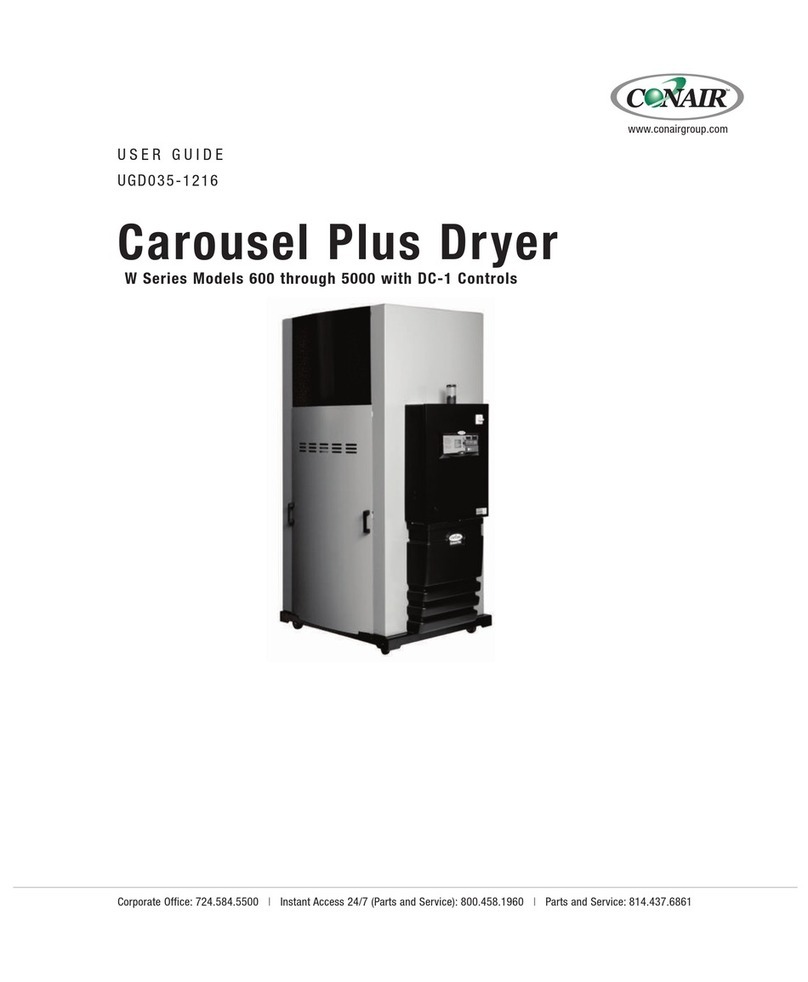
i i l Table of Contents
Operation - ResinWorks Configuration . . . . . . . . . . . . . . . . . . . . . . . . . . . 4-7
Control Function Flow Charts. . . . . . . . . . . . . . . . . . . . . . . . . . . . . . . . 4-8
Control Function Descriptions - ResinWorks Configuration. . . . . . . . . 4-16
Operation - Stand Alone Dryer Configuration . . . . . . . . . . . . . . . . . . . . . 4-45
Control Functions Flow Chart. . . . . . . . . . . . . . . . . . . . . . . . . . . . . . . 4-46
Control Function Descriptions - Stand Alone Configuration . . . . . . . . 4-56
General Operation - Stand Alone and
ResinWorks Dryer Configuration . . . . . . . . . . . . . . . . . . . . . . . . . . 4-81
DC-T Security Levels . . . . . . . . . . . . . . . . . . . . . . . . . . . . . . . . . . . . . 4-82
Starting the Dryer . . . . . . . . . . . . . . . . . . . . . . . . . . . . . . . . . . . . . . . 4-83
Adjusting the temperature setpoint . . . . . . . . . . . . . . . . . . . . . . . . . . 4-84
Stopping the Dryer . . . . . . . . . . . . . . . . . . . . . . . . . . . . . . . . . . . . . . 4-85
Stopping the Dryer in an emergency . . . . . . . . . . . . . . . . . . . . . . . . . 4-86
Understanding the Control LED Lights . . . . . . . . . . . . . . . . . . . . . . . . 4-86
Alarm Email and Text Notification . . . . . . . . . . . . . . . . . . . . . . . . . . . 4-87
Ethernet TCP/IP Adress Setup to Enable Email/Text Notification . . . . . 4-87
Email Alarm Activation and Address Setup. . . . . . . . . . . . . . . . . . . . . 4-88
Configuring the Email and Text Addresses . . . . . . . . . . . . . . . . . . . . . 4-89
Text Messaging Addressing . . . . . . . . . . . . . . . . . . . . . . . . . . . . . . . . 4-90
Enabling and Disabling Notification for Individual Alarms. . . . . . . . . . 4-90
DC-T Web Access Logon and Security . . . . . . . . . . . . . . . . . . . . . . . . 4-94
Web Server Setup Screen . . . . . . . . . . . . . . . . . . . . . . . . . . . . . . . . . 4-95
5-1 Maintenance
Preventative Maintenance Checklist . . . . . . . . . . . . . . . . . . . . . . . . . . . . . . . 5-2
Checking Dewpoint . . . . . . . . . . . . . . . . . . . . . . . . . . . . . . . . . . . . . . . . . . . . 5-3
Cleaning the Hopper . . . . . . . . . . . . . . . . . . . . . . . . . . . . . . . . . . . . . . . . . . . 5-4
Cleaning the Process Filter . . . . . . . . . . . . . . . . . . . . . . . . . . . . . . . . . . . . . . 5-5
Cleaning the Regeneration Filter . . . . . . . . . . . . . . . . . . . . . . . . . . . . . . . . . . 5-7
Cleaning the Aftercooler Coils . . . . . . . . . . . . . . . . . . . . . . . . . . . . . . . . . . . . 5-8
Cleaning the Precooler Coils . . . . . . . . . . . . . . . . . . . . . . . . . . . . . . . . . . . . . 5-9
Cleaning the Volatile Trap on the Demister. . . . . . . . . . . . . . . . . . . . . . . . . . 5-10
Inspecting Hoses and askets . . . . . . . . . . . . . . . . . . . . . . . . . . . . . . . . . . . 5-11
Cleaning the DC-T HMI Screen . . . . . . . . . . . . . . . . . . . . . . . . . . . . . . . . . . 5-12

6-1 Troubleshooting
Before Beginning . . . . . . . . . . . . . . . . . . . . . . . . . . . . . . . . . . . . . . . . . . . . . 6-2
A Few Words of Caution . . . . . . . . . . . . . . . . . . . . . . . . . . . . . . . . . . . . . . . 6-3
Diagnostics
How to Identify the Cause of a Problem. . . . . . . . . . . . . . . . . . . . . . . . . . . . 6-4
Shutdown Alarms . . . . . . . . . . . . . . . . . . . . . . . . . . . . . . . . . . . . . . . . . . . . 6-7
Passive Alarms . . . . . . . . . . . . . . . . . . . . . . . . . . . . . . . . . . . . . . . . . . . . . 6-16
Additional Alarms . . . . . . . . . . . . . . . . . . . . . . . . . . . . . . . . . . . . . . . . . . . 6-22
Dewpoint Troubleshooting. . . . . . . . . . . . . . . . . . . . . . . . . . . . . . . . . . . . . . 6-24
Poor Material Drying Troubleshooting . . . . . . . . . . . . . . . . . . . . . . . . . . . . . 6-25
Repair
Replacing Fuses . . . . . . . . . . . . . . . . . . . . . . . . . . . . . . . . . . . . . . . . . . . . . 6-30
Checking Heater Solid State Relays . . . . . . . . . . . . . . . . . . . . . . . . . . . . . . 6-31
Checking or Replacing Temperature Sensors . . . . . . . . . . . . . . . . . . . . . . . 6-32
Replacing the Heaters
Regeneration Heater Tube. . . . . . . . . . . . . . . . . . . . . . . . . . . . . . . . . . . . . . 6-33
Process Heater Tube. . . . . . . . . . . . . . . . . . . . . . . . . . . . . . . . . . . . . . . . . . 6-34
Replacing the Desiccant Wheel. . . . . . . . . . . . . . . . . . . . . . . . . . . . . . . . . . 6-36
Replacing the Desiccant Wheel Motor. . . . . . . . . . . . . . . . . . . . . . . . . . . . . 6-37
AA p p e n d i x
We’re Here to Help . . . . . . . . . . . . . . . . . . . . . . . . . . . . . . . . . . . . . . . . . . . . A-1
How to Contact Customer Service . . . . . . . . . . . . . . . . . . . . . . . . . . . . . . . . A-1
Before You Call... . . . . . . . . . . . . . . . . . . . . . . . . . . . . . . . . . . . . . . . . . . . . . A-1
Equipment uarantee . . . . . . . . . . . . . . . . . . . . . . . . . . . . . . . . . . . . . . . . . . A-2
Performance Warranty. . . . . . . . . . . . . . . . . . . . . . . . . . . . . . . . . . . . . . . . . . A-2
Warranty Limitations . . . . . . . . . . . . . . . . . . . . . . . . . . . . . . . . . . . . . . . . . . A-2
BA p p e n d i x
Installing a Precooler (Optional) . . . . . . . . . . . . . . . . . . . . . . . . . . . . . . . . . . B-1
CAddendum
DC-T Modbus TCP/IP Read Only Data . . . . . . . . . . . . . . . . . . . . . . . . . . . . . . C-1
Ta b le o f Co n t e n t s l iii

i v l Table of Contents

I n t r o d u c t i o n
P u r p o s e of th e Us er u i d e . . . . . . . . . . . . . . . . . 1 - 2
H o w th e u id e Is Or ga ni ze d . . . . . . . . . . . . . . . . 1 - 2
U s i n g th e C ar ou se l Pl us W Se ri es
a s a Ce nt ra l D r ye r . . . . . . . . . . . . . . . . . . . . 1 - 2
Yo ur Re sp on si bi li ti es as a Us er . . . . . . . . . . . . . . 1 - 3
A t t e n t io n: R ea d T hi s s o N o On e e t s H ur t . . . . . . . 1 - 4
H o w to Us e t h e L oc ko ut De vi ce . . . . . . . . . . . . . . 1 - 6
S E C T I O N
1
I n t r o d u c ti o n l 1 - 1
1
I n t r o d u c t i o n

✐
P u r p o s e of t h e Us e r G u i d e
This User Guide describes the Conair Carousel Plus W Series Dryers and explains step-by-
step how to install and operate, maintain, and repair this equipment.
Before installing this product, please take a few moments to read the User Guide and review
the diagrams and safety information in the instruction packet. You also should review manu-
als covering associated equipment in your system. This review won’t take long, and it could
save you valuable installation and operating time later.
H o w t he Gu i d e is Or g a n iz e d
Symbols have been used to help organize the User Guide and call your attention to important
information regarding safe installation and operation.
Symbols within triangles warn of conditions that could be hazardous to users or could damage equip-
ment. Read and take precautions before proceeding.
Numbers indicate tasks or steps to be performed by the user.
A diamond indicates the equipment’s response to an action performed by the user.
An open box marks items in a checklist.
A circle marks items in a list.
Indicates a tip. A tip is used to provide you with a suggestion that will help you with the maintenance and
the operation of this equipment.
Indicates a note. A note is used to provide additional information about the steps you are following
throughout the manual.
U s i n g th e C a r o u se l P lu s W Se r ie s a s a
C e n t r a l Dr y e r
This manual incorporates the information necessary to use the Conair Carousel Plus W
Series dryer as a central dryer. Throughout this manual, information particular to central
dyer application of the W Series dryer is called out by the following treatment.
1
◆
❒
•
✒
1 - 2 l Introduction
This box will contain information or highlight system differences partic-
ular to the application of the W series dryer as a central dryer.

I n t r o d u c ti o n l 1 - 3
1
I n t r o d u c t i o n
Yo u r R e sp o n s ibility as a U s er
You must be familiar with all safety procedures concerning installation, operation, and
maintenance of this equipment. Responsible safety procedures include:
•Thorough review of this User Guide, paying particular attention to hazard warnings,
appendices, and related diagrams.
•Thorough review of the equipment itself, with careful attention to voltage sources,
intended use and warning labels.
•Thorough review of instruction manuals for associated equipment.
•Step-by-step adherence to instructions outlined in this User Guide.

1 - 4 l Introduction
AT T E N T I O N :
R e a d Thi s S o N o O n e Ge t s H u r t
We design equipment with the user’s safety in mind. You can avoid the potential hazards
identified on this machine by following the procedures outlined below and elsewhere in the
User Guide.
WA RN IN G: I m p r o p e r i ns ta ll at io n, o pe ra ti on , o r s er v -
i c i n g ma y r e s ul t in eq ui pm en t da ma ge or p e r s o n a l
i n j u r y.
This equipment should be installed, adjusted, and serviced by qualified techni-
cal personnel who are familiar with the construction, operation, and potential
hazards of this type of machine.
All wiring, disconnects, and fuses should be installed by qualified electrical
technicians in accordance with electrical codes in your region. Always maintain
a safe ground. Do not operate the equipment at power levels other than what is
specified on the machine serial tag and data plate.
WA RN IN G: Vol ta ge h a z a r d
This equipment is powered by three-phase alternating current, as specified on
the machine serial tag and data plate.
A properly sized conductive ground wire from the incoming power supply must
be connected to the chassis ground terminal inside the electrical enclosure.
Improper grounding can result in severe personal injury and erratic machine
operation.
Always disconnect and lock out the incoming main power source before open-
ing the electrical enclosure or performing non-standard operating procedures,
such as routine maintenance. Only qualified personnel should perform trou-
bleshooting procedures that require access to the electrical enclosure while
power is on.

I n t r o d u c ti o n l 1 - 5
AT T E N T I O N :
R e a d Thi s S o N o O n e Ge t s H u r t ( c o n t i n u e d )
We design equipment with the user’s safety in mind. You can avoid the potential hazards
identified on this machine by following the procedures outlined below and elsewhere in the
User Guide.
CA UT IO N: H ot Su rfa ce s.
Always protect yourself from hot surfaces inside the dryer and hopper. Also
exercise caution around exterior surfaces that may become hot during use.
These include the hopper door frame, the exterior of an uninsulated hopper, the
return air hose and the dryer’s process filter housing and moisture exhaust out-
let.
WA RN IN G: D o n ot pl ac e a er os ol , c om pr es se d g as or
f l a m m a b l e ma te ri al s o n or ne ar t h i s e qu ip me nt .
The hot temperatures associated with the drying process may cause aerosols or
other flammable materials placed on the dryer or hopper to explode.
1
I n t r o d u c t i o n

1 - 6 l Introduction
H o w t o U s e th e L o c k o ut De v ic e
CAUTION: Before performing maintenance or repairs on this product, you should discon-
nect and lockout electrical power sources to prevent injury from unexpected energization or
start-up. A lockable device has been provided to isolate this product from potentially haz-
ardous electricity.
Lockout is the preferred method of isolating machines or equipment from energy sources.
Your Conair product is equipped with the lockout device pictured below. To use the lockout
device:
1Stop or turn off the equipment.
2Isolate the equipment from the electric power. Turn the rotary
disconnect switch to the OFF, or “O” position.
3Secure the device with an assigned lock or tag. Insert a lock or tag
in the holes to prevent movement.
4The equipment is now locked out.
WARNING: Before removing lockout devices and returning switches to the ON posi-
tion, make sure that all personnel are clear of the machine, tools have been
removed, and all safety guards reinstalled.
To restore power to the dryer, turn the rotary disconnect back to the ON position:
1Remove the lock or tag.
2Turn the rotary disconnect switch to the ON or “I” position.

D e s c r i p t i o n
W h a t i s t he C a r o us el P lu s W Se ri es Dr y er ? . . . . . . . 2 - 2
Typ ic al A pp li ca ti on s . . . . . . . . . . . . . . . . . . . . . . 2 - 2
H o w It Wo rk s . . . . . . . . . . . . . . . . . . . . . . . . . . 2 - 4
S p e c i f ic a ti on s: Ca ro us el Pl us W Se ri es
D r y er . . . . . . . . . . . . . . . . . . . . . . . . . . . . 2 - 6
C a r o u s el P lu s W Se ri es Dr y er Op ti on s . . . . . . . . . . 2 - 7
S E C T I O N
2
D e s c r i p t io n l 2 - 1
2
D e s c r i p t i o n

W h a t is t h e Ca r ou s el Pl u s W S e r i e s
D r y e r ?
The Carousel Plus W Series dehumidifying dryer produces hot, low-dewpoint air that
removes moisture from hygroscopic plastics. The dryer pulls warm, moist air from a drying
hopper and circulates it through a dehumidifying desiccant wheel. The dryer then heats the
air to the drying temperature you selected and circulates it through the material in the hop-
per.
The dryer’s closed-loop design ensures a continuous supply of hot, dehumidified air while
preventing contamination from moisture in the plant.
Typ i ca l A p p l i ca t io n s
1Dryer on the floor; hopper on the throat.
2opper on a floor stand; the dryer next to it.
3Dryer on the floor, multiple hoppers in central configuration (ResinWorks) with separate
heat source for each hopper.
2 - 2 l D e sc r ip t io n
When supplied for central drying applications,
the W series dryer is not equipped with a
process heater. Therefore, as a central dryer,
the W dryer will only supply dry air to the
hoppers.
( C o n t i n u e d )

Typ i ca l A p p l i ca t io n s( c o n t i n u e d )
The W Series Dryer can be used successfully in applications that require:
•A contamination-free drying environment.
•Drying temperatures within the ranges shown in the following table:
odel Drying Temperature Range
Low temperature (with precooler)* 100° - 150°F {38° - 66°C}
Standard 150° - 240°F {66° - 116°C}
High heat (with aftercooler)* 150° - 375°F {66° - 191°C}
Low-high (with aftercooler & precooler)* 100° - 375°F {38° - 191°C}
* See page 3-13 and Appendix B and C.
•Throughput rates of 150 to 400 lbs {68.1 to 149.2 kg} per hour (some materials can be -
run at a higher rate).
•Dewpoints of -40°F {-40°C}.
Use the aftercooler when:
•You are drying at temperatures over 240°F {116°C}.
•Throughput rates are less than 50% of the dryer’s rated capacity.
•You are pre-drying material at temperatures over 150°F {66°C}
Standard Dryer Features
• Dewpoint monitor / dewpoint control
•Audible and visual alarm
•Temperature setback
D e s c r i p t io n l 2 - 3
2
D e s c r i p t i o n

2 - 4 l D e sc r ip t io n
THE PROCESS (DRYING) CYCLE
The process blower pulls moist air from the top of the drying hopper. The air
passes through the process filter and aftercooler, then into the desiccant
wheel, where moisture is removed. The dry air is delivered to the hopper
(after it passes through the optional precooler, if installed) where a spreader
cone evenly distributes the air through the material.
H o w I t Wo r ks
The W dryer achieves continuous, closed loop drying by passing air simultaneously through
two heaters and a continuously rotating desiccant wheel.
THE PROCESS (DRYING) CYCLE
The process blower pulls moist air from the top of the drying hopper. The air passes
through the process filter and aftercooler into the desiccant wheel, where moisture is
removed. The now dry air moves through the optional precooler (if installed) and process
heater, where it is heated to the drying temperature selected by the operator. The hot, dry air
is delivered to the hopper where a spreader cone evenly distributes the air through the mate-
rial.
The Cooling Cycle
Regenerated desiccant must be cooled before it rotates back into the process cycle. The
process blower pushes a small amount of air through the cooling section of the desiccant
wheel. The cooling air then passes through the aftercooler and repeats the circuit.
The Regeneration Cycle
The regeneration blower pulls air through the regeneration filter into the dryer’s regeneration
heater. The air is heated to 350° F {177° C} before it is pushed into the “wet” section of the
wheel. The hot air purges moisture from the desiccant. The moist air is blown out the
exhaust at the back of the dryer.

D e s c r i p t io n l 2 - 5
2
D e s c r i p t i o n
REGENERATION
AIR FILTER
DESICCANT
WHEEL
REGENERATION
BLOWER
REGENERATION
HEATER
HIGH TEMP
SHUTOFF
REGENERATION
RTD
HOPPER
PROCESS
BLOWER
RETURN
AIR
FILTER
4 PROCESS FILTER STATUS
RETURN
AIR
RTD
PROCESS
RTD
2 SETBACK TEMPERATURE
HIGH TEMP
SHUTOFF
PROCESS
HEATER BOX
7 PRECOOLER
7
DRYER OPTIONS
3 DEWPOINT MONITOR / CONTROL
PROCESS
COOLING
REGENERATION
2
3
4
PROCESS
PROTECTION
RTD
REGENERATION
OUTLET
RTD
6
6 PHASE ROTATION PROTECTION
AFTERCOOLER
ALARM LIGHT
ALARM BELL
5 CURRENT METER
5
5
1 PROCESS CFM MONITOR
1
H o w I t Wo r ks ( c o n t i n u e d )
The components identified by this type of box in the drawing are not supplied with the
W series dryer when it is configured as a central dryer.

2 - 6 l D e sc r ip t io n
S p e c i f ic a ti o ns : C ar o u s e l P lu s W Se r ie s
D r y e r s
MODEL W150 W200 W300 W400
Performance c aracteristics (with full hopper)
Drying temperature
†
All models 100
°
- 375
°
F {38
°
- 191
°
C} with options
Dew point All models -40
°
F {-40
°
C}
Dimensions inches {cm}
A - Height 64.3 {163.3}
B - verall width 29 {73.7}
C - Depth 51.5 {130.8}
utlet/inlet tube size D 2.5 {63.5} 5.0 {127.0} 5.0 {127.0} 5.0 {127.0}
Weig t lbs {kg}
Standard dryer installed 600 {272} 660 {300} 710 {322} 760 {345}
Voltage - Full load amps Standard/Central drying
230 V/3 phase/60 Hz 47.1 / 16.7 57.6 / 19.9 67.7 / 30.0 N/A
400 V/3 phase/50 Hz
*
23.4 / 8.9 32.1 / 10.4 37.9 / 16.2 64.5 / 21.1
460 V/3 phase/60 Hz 21.0 / 8.4 28.9 / 10.0 34.0 / 15.1 56.3 / 18.6
575 V/3 phase/60 Hz 16.8 / 6.7 23.7 / 8.6 27.3 / 12.2 43.2 / 13.0
Water requirements {for aftercooler or optional precooler}
†
Recommended temperature
‡
45
°
- 85
°
F
Water flow gal./min. {liters/min.} 3 {11.4}
Water connections NPT 3/4 inch NPT
SPECIFICATION NOTES:
*Dryers running at 50 Hz will have 17% less airflow, and a 17% reduction in material throughput.
†When drying below 150°F {66°C} a precooler is required.
‡Temperatures above or below the recommended levels may affect dryer performance.
Tower, chiller or municipal water sources can be used.
Specifications may change without notice. Consult a Conair representative for the most current information.
C
B
A
APPLICATION NOTES:
All dryers are supplied with an aftercooler
as standard. The aftercooler reduces the
temperature of the return air from the dry-
ing hopper, improving the efficiency of the
desiccant. The aftercooler must be connect-
ed with the proper water flow rate and tem-
perature to attain the rated throughput.
W en to use central models
Central dryers do not have process
heaters. These models should be used
when drying multiple materials that
require different drying temperatures.
Central models dehumidify the process
air, which is then heated to the correct
setpoint by a Heater Pack mounted on the
hopper and controlled from the dryer.
W en to use additional filtration
The standard return air cartridge filter is
sized for the airflow of each dryer model
and is suited for most applications. You
should consider adding an optional dust
collector and/or volatile trap if:
● The material contains excessive fines. An
additional dust collector or cyclone will
extend time between filter cleaning.
●The material produces volatiles during
drying which condense into a waxy or
oily residue. A volatile trap will help to
protect the desiccant.
TPDX018-0113

D e s c r i p t io n l 2 - 7
( C o n t i n u e d )
2
D e s c r i p t i o n
C a r o u s el Pl u s W S er i es Dr y e r O pt i on s
•Volatile trap (only in conjunction with aftercooler) - The volatile trap is recommended if
drying materials that produce volatile that condense into a waxy or oily residue and/or if
the material contains excessive fines.
•recooler - The precooler reduces the temperature of air flow after the desiccant wheel
and before the process heater.
•Filter check - The Filter check sensor will activate a passive alarm when the process
filter is clogged or needs to be replaced.
•Heater current monitor - The heater current monitor measures the total amperage
across both the process and regeneration heaters and the pre-determined power consump-
tion values for the blowers and the control.
•CFM monitor - The CFM monitor measures the cubic feet per minute of airflow across
the inlet/outlet of the process blower.
•DeviceNet or S I communications - Allows the dryer to be networked to industrial con-
trol systems. DeviceNet communications are standard. Alternate communications are
available.

2 - 8 l D e sc r ip t io n
This manual suits for next models
4
Table of contents
Other Conair Dryer manuals

Conair
Conair 200 User manual

Conair
Conair W600 User manual

Conair
Conair MDCW Carousel Plus W15 User manual

Conair
Conair 150 User manual

Conair
Conair 1002XDIC User manual

Conair
Conair 289 User guide

Conair
Conair HTC 30 User manual

Conair
Conair Carousel Plus UGD043-1216 User manual

Conair
Conair W Series User manual

Conair
Conair 100 User manual
Popular Dryer manuals by other brands

Indesit
Indesit IDCA G35 S instruction manual

Aspes
Aspes ASC800BD user manual

Perry Electric
Perry Electric DUO Instructions for installation and use

Intelligent Facility Solutions
Intelligent Facility Solutions ATC-Premblade15 Installation & user manual

Samsung
Samsung DV36J4000E Series user manual

Beko
Beko DHY 9P56 VW user manual