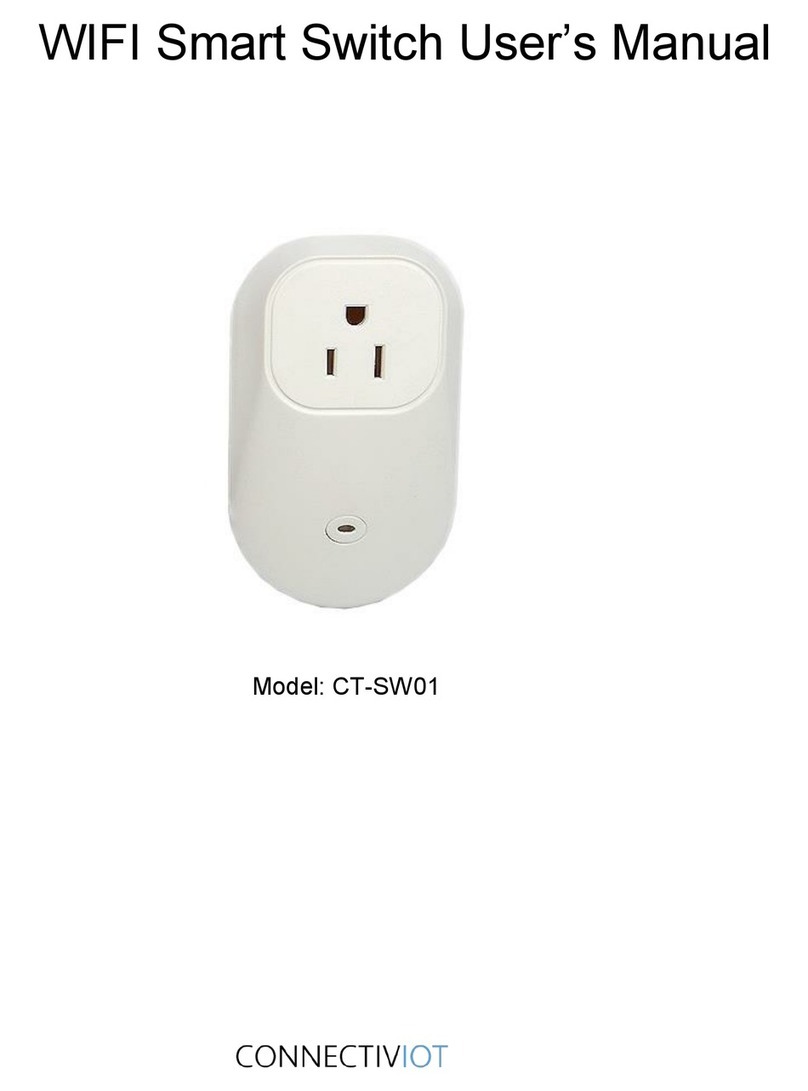
Connectiviot CT-SW01 User manual

Smart Switch User’s Manual
Model: CT-SW01

Smart Switch Device Layout
Button
Description
Switch Button
Press the button to turn on/off the
switch
Press and hold the button until LED
indicator blink fast for 3 times to reset
the Smart Switch and change to set up
mode.
LED Status
Indication
Red
The Smart Switch is switched on.
Blue
The Smart Switch is switched off.
Purple
If purple light is blinking fast, the Smart
Switch is in setup mode.
If purple light is blinking slow, the Smart
Switch is disconnected from Internet.
Switch / LED Indicator

Installation
Download Smart Switch Application
Search and download the Smart Switch application from
Android Google Play Store.
Set up Smart Switch Device
Set up Smart Switch Device for the First Time
1. Plug the Smart Switch into wall socket.
2. The Smart Switch is initially in set up mode for the
first time. Skip “Set Device to Set up Mode” and
proceed to “Configure Device”
Set Smart Switch Device to Set up Mode
1. Press and hold switch button while plug the Smart
Switch into wall socket.
2. Wait until LED indicator blink purple light fast for 3
times and release the power switch.
3. Wait until LED indicator blink purple light slowly.
4. The Smart Switch is now successfully entered into
setup mode.

Configure Device
1. Launch Smart Switch Application.
2. If you have created account with our application
before, login in with your account. Otherwise, create
new account.
.

3. Open device set up page by swipe left side of screen
to right side or click drawer button and select “Add
new device” button.

4. Create new profile for your device. Profile name and
Wi-Fi network information is required. The Smart
Switch supports Open, WEP and WPS2 Wi-Fi security
types.

5. After creating profile, select a device you want to
configure. After the device selection, you can
change the device name as you like, and select
“SETUP” button to finish the configuration. If you
are not able to see the device from the list, please try
to set your device to set up mode again.

6. If device configuration is complete, the device’s LED
indicator will turn stable red light. And the
application will show main screen with added device
showing.

Application Features
Profile Management
Application can manage multiple profiles. Each
profile represents different or same locations that
Smart Switch is placed. When profile is deleted, all
the Smart Switch registered to the deleted profile will
be removed as well. For add new profile, please see
“Configure Device”.
Users can set a profile as “Default Profile” by long
press the profile you wish to make it as “Default
Profile”. If “Default Profile” is set, Application will
always to make connection to the default profile when
it is launched.
Swipe from left
screen to right to
open menu or click
drawer to open
profile menu.

Adding More Smart Switch Device
Application can manage multiple Smart Switch
devices. Users can add more devices into single
profile or multiple profiles. See more detail about
registering new Smart Switch in “Configure Device”
section above.
Select “X”
to remove
profile
Long press
to make
profile as
default.

Change Smart Switch User Password
Smart Switch application allows you to change the
user’s account password. Select “Change password”
from Setting and check verification email from your
email account, and follow the procedure.

Change Smart Switch User Email address
Smart Switch application allows you to change the
user’s email address. Select “Change email” from
Setting and check verification email from your email
account, and follow the procedure.

Change Smart Switch View Order
Smart Switch application allows you to change an
order of Smart Switch devices in Smart Switch
device list view. Select “Change device order” from
the profile menu and change the device order by
long press the device name and drag it up and down
to change the position.
Long press
a device
name you
wish to
change the
position.

Drag the
device
name to
the position
where you
want to
place.

Smart Switch Name Change
Smart Switch application allows you to change a
name of the device by clicking device name at top.
You can set the Smart Switch name to anything you
want.
Smart Switch application does not allow you to set the
device name with emoticons.
Smart Switch application does not allow you to set the
device name with Camel Case while Remote Voice
Control is enabled.

Real-time Power Usage Monitor
Smart Switch application displays Smart Switch
device’s power consumption such as live power
usage, current, line frequency, voltage, and total usage
since it is powered on.
Turn On/Off the switch
To turn on/off the switch, long press the switch view
in application device list view.

Schedule to Turn On/Off switch
Smart Switch application have two methods to add
schedule to Smart Switch device (Quick Run and
Schedule).

1. Quick Run allows you to add instant schedule to
device for certain minutes and hours. When Quick
Run is assigned, Smart Switch device will instantly
switch on, and turn switch off after assigned
minutes/hours later.

2. Schedule allow you to add repeated or one-time
schedule to Smart Switch device. You can set up
the specific time, day, and on/off command to
control the Smart Switch device automatically.

Power Usage Graph
Smart Switch application displays Smart Switch
device’s power consumption with graph view. You
can check the device’s past power usage by hourly,
daily, monthly with graph view.
Other manuals for CT-SW01
1
Table of contents
Other Connectiviot Switch manuals