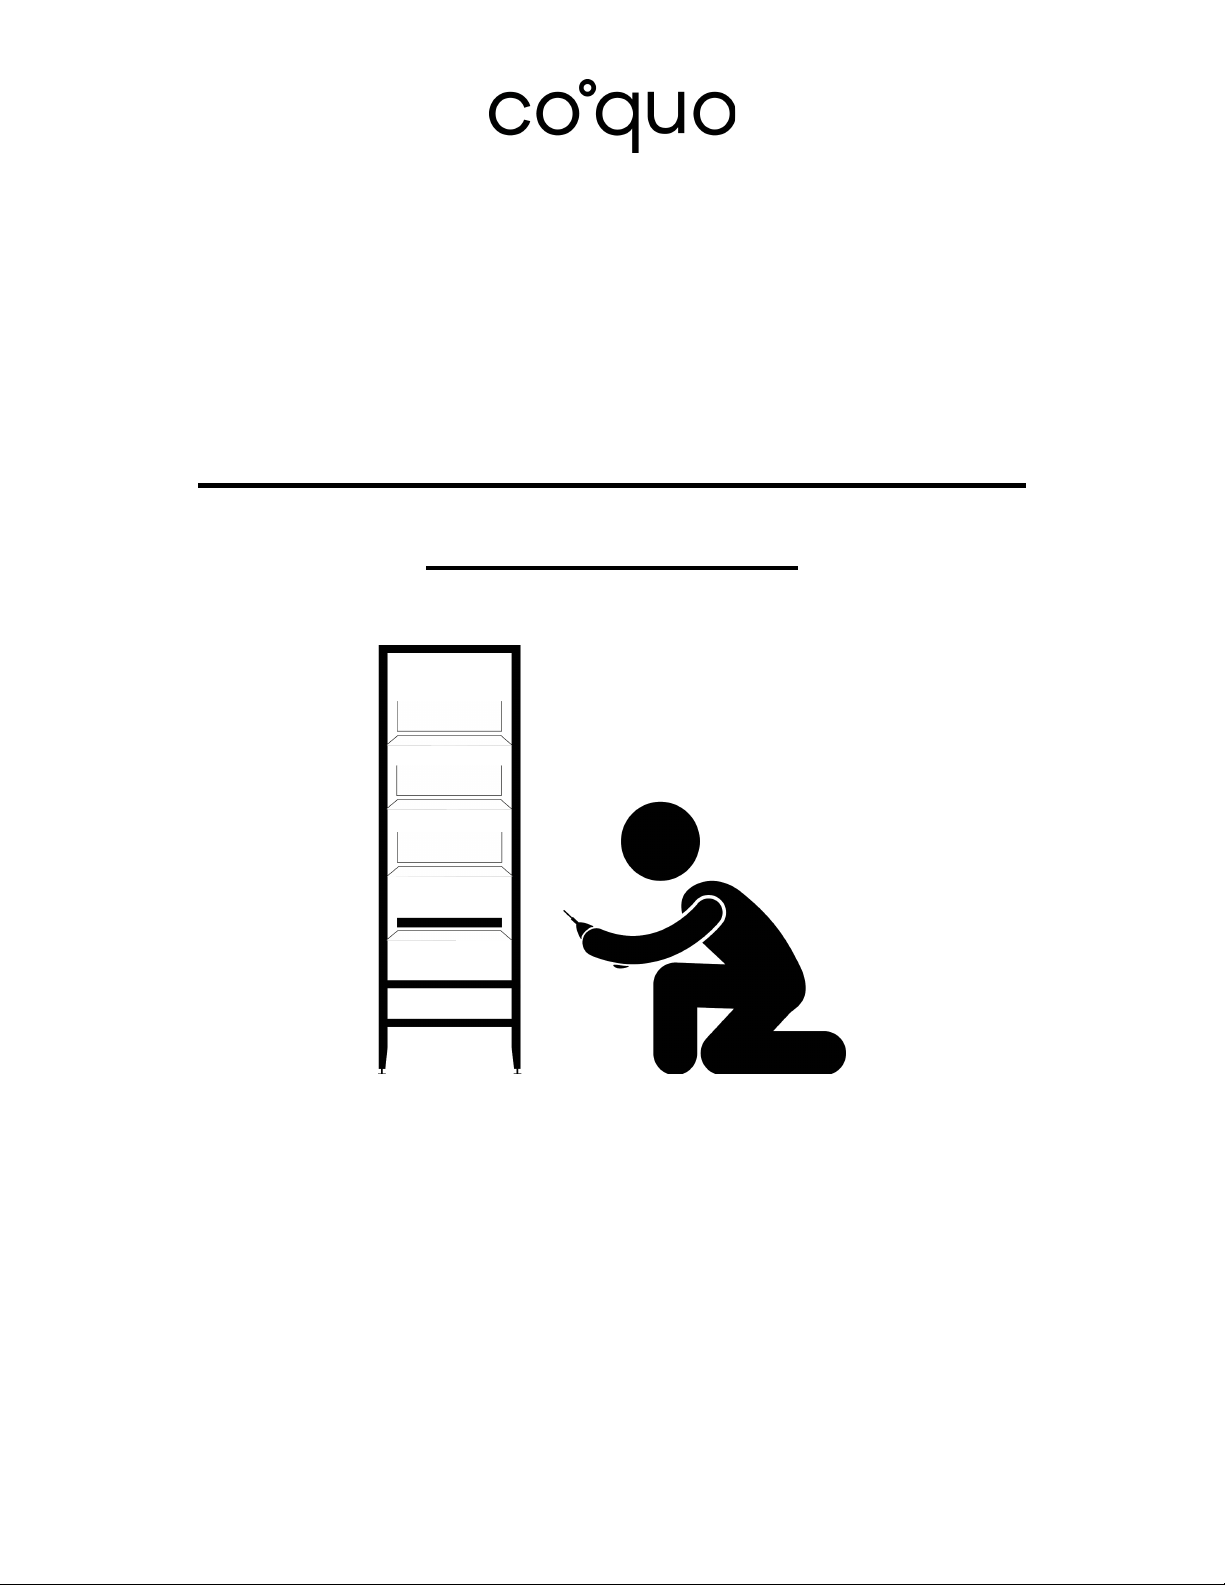
Coquo Voltaire Tall Shelving Unit Operation and maintenance manual

Safety Notice & Installation
Instructions
VOLITARE COLLECTION
Tall Shelving Unit
PLEASE READ AND FOLLOW THE SAFETY NOTICE PRIOR TO ASSEMBLY

Safety Notice
Your safety is a priority for coquo. It is important to always follow the assembly
instructions and to comply with the safety warnings included in your module’s
packaging. These documents are also available free of charge at coquo.ca.
WARNING
Modules that are not secured to the wall with safety clips and appropriate anchors
may tip and/or be a falling hazard, which can lead to accidents and/or serious
injuries. To prevent a module from tipping over, it is essential to use safety clips and
anchors to secure the module to the wall. Safety clips are included in the packaging.
If, however, the clips are missing or misplaced, contact a modular specialist, who will
be happy to send you the necessary clips free of charge. The anchors are not
included in the package as the choice of anchor depends on the wall type that the
modules will be affixed to. Do not hesitate to seek advice from your hardware store to
properly choose the anchors that correspond to your wall type.
The cabinets cannot be used for climbing and they cannot support weight that
exceeds the maximum limit specific to each module.
Safety Recommendation:Prevent children from climbing on or clinging to
furniture, islands, drawers, shelves, or doors.
Watch our installation videos on YouTube for more details:
https://www.youtube.com/channel/UCiz7cfWISKgjyNpUi03Eufw.
At coquo, your safety is our priority. It is very important to always follow the installation instructions and
to conform to the safety notice that is included in the package. These documents are also available free
of charge online at coquo.ca.
1

Safety Notice
TALL SHELVING UNIT: Volitare Collection
The modules must be secured to the wall using the appropriate anchors for your type of wall.
However, if the clips are missing or misplaced, contact a modular specialist, who will gladly
send you the necessary clips free of charge.
Modules that are not secured to the wall with safety clips and appropriate anchors may tip
and/or be a falling hazard, which can lead to accidents and/or serious injuries.
Metal Shelves
Each metal shelf is designed to accommodate a maximum weight of 20 pounds (9 kg). The
height positioning of the metal shelf cannot be changed. The metal shelf is not secured to the
module and can tilt if not properly positioned. Electrostatic painting provides increased
strength but some kitchen accessories may leave a residue or scratch the surface.
Wooden Shelves
Doors are not designed to withstand weight or pressure. Each wood shelf is designed to
accommodate a maximum weight of 20 pounds (9 kg). Oak veneer offers a solid and sturdy
surface, but some kitchen accessories may leave a residue or scratch the surface.
Removable Metal Tray
Each removable metal tray is designed to accommodate a maximum weight of 30 pounds (13
kg). The metal tray is not secured to the module and can tilt if not properly positioned.
Electrostatic painting provides increased strength but some kitchen accessories may leave a
residue or scratch the surface.
Cabinet Structure
The wooden structure of the modules cannot be used for climbing and it cannot support
weight that exceeds the maximum limit specific to each module.
The top surface of the shelf is designed to accommodate a maximum weight of 10 pounds (4
kg) for accessories such as plants and cookbooks.
Watch our installation videos on YouTube for more details:
https://www.youtube.com/channel/UCiz7cfWISKgjyNpUi03Eufw.
At coquo, your safety is our priority. It is very important to always follow the installation instructions and
to conform to the safety notice that is included in the package. These documents are also available free
of charge online at coquo.ca.
2

Metal Feet
It is essential to use the metal feet provided in your packaging to adjust and level the module.
Adjustable metal feet provide more stability. They cannot be replaced by other types of feet
such as casters. The addition of felt pads under the feet is not recommended and may affect
the stability of the module. In order to ensure the stability of the module, the 4 metal feet
should be inserted and screwed in until the thread is no longer visible. The metal feet may
scratch the floor if the modules are moved or dragged. The weight of the modules, counter
and accessories may cause the metal feet to leave a mark on the floor over time.
Watch our installation videos on YouTube for more details:
https://www.youtube.com/channel/UCiz7cfWISKgjyNpUi03Eufw.
At coquo, your safety is our priority. It is very important to always follow the installation instructions and
to conform to the safety notice that is included in the package. These documents are also available free
of charge online at coquo.ca.
3

Installation Instructions
Coquo modules are easy to install! No need to put together a multitude of
components, the modules are shipped already pre-assembled.
Necessary Tools
Before beginning, be sure to have these items on hand:
●A retractable blade knife
●A level
●A pencil
●A tape measure
●Anchors*
●A Phillips screwdriver
* The appropriate anchors should correspond to your type of wall. Anchors are not included as the
choice of anchor depends on your type of wall. Do not hesitate to ask for advice at your hardware store.
Preparation
●Prepare your space to receive the coquo modules and invite some
friends over to help you!
Your package contains:
1. Module (1)
2. Metal shelves (3)
3. Removable metal tray (1)
4. Metal feet (4)
5. Safety clip A (anti-tip kit) (1)
6. coquo safety notice and installation instructions leaflet (1)
Watch our installation videos on YouTube for more details:
https://www.youtube.com/channel/UCiz7cfWISKgjyNpUi03Eufw.
At coquo, your safety is our priority. It is very important to always follow the installation instructions and
to conform to the safety notice that is included in the package. These documents are also available free
of charge online at coquo.ca.
4

Assembly
Step 1—Main box
●Make sure that the arrow indicators for the positioning of the box are
respected.
●Open the front of the box with the retractable blade knife.
●Open the box, then cut the straps using the retractable blade knife.
●Remove the protective cardboard corners as well as the pieces of
corrugated cardboard located at the top, bottom, left and right of the
box.
●Remove the shelving unit from the packaging while being careful not to
scratch your floor.
Step 2—Accessory boxes
●Take out the 2 medium boxes inside the large box.
●Open the boxes with the retractable blade knife.
●Remove the pieces of corrugated cardboard from the sides of the
boxes.
●Take the metal shelves and the removable metal tray out of the boxes
and place them on a flat and clean surface.
●Open the small box inside one of the two medium boxes with the
retractable blade knife.
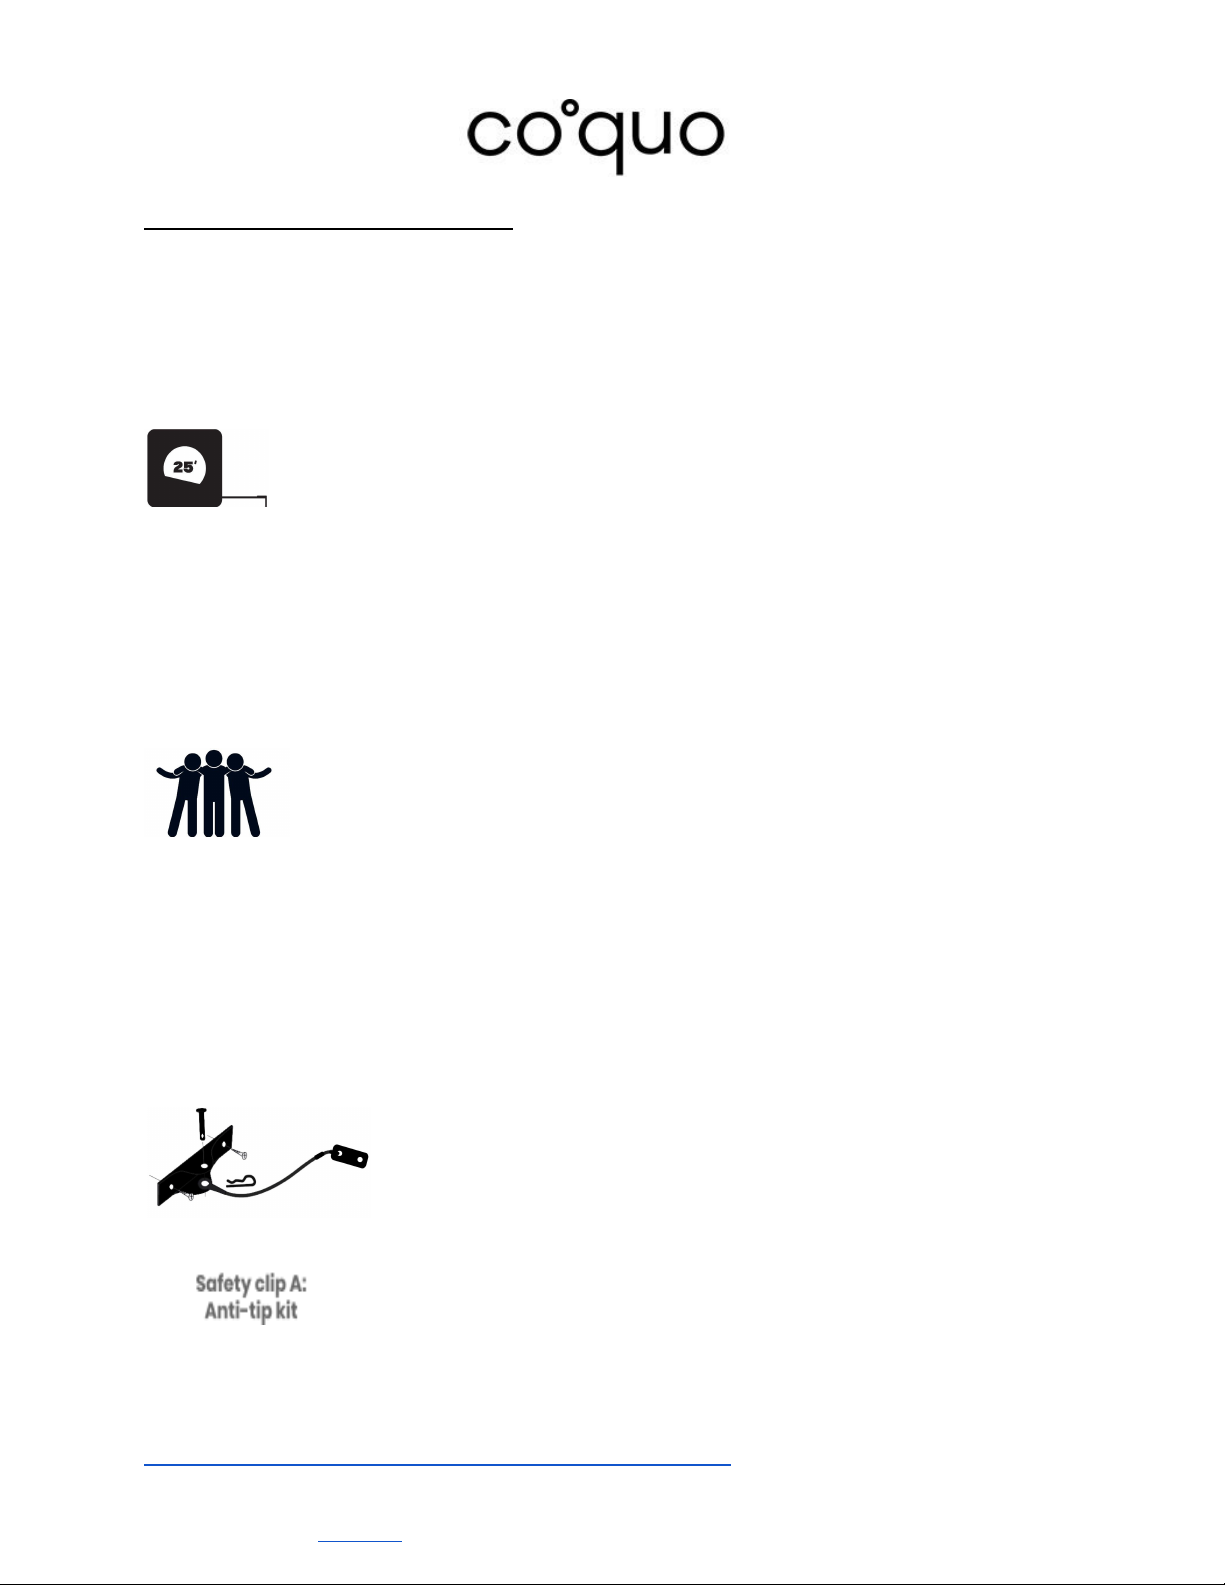
●Take the accessories out of the box (metal feet and safety clip A).
Step 3—Feet and adjustments
●Place the shelving unit on its side on a protected surface.
●In order to ensure the stability of the module, the 4 metal feet should be
inserted and screwed in until the thread is no longer visible.
●For ease of installation, adjust the metal feet so they are roughly 1″from
the wooden leg.
●Place the shelving unit on its feet in the upright position.
●Using a level, adjust the height of the the shelving unit by adjusting the
metal feet until the cabinet is perfectly level.
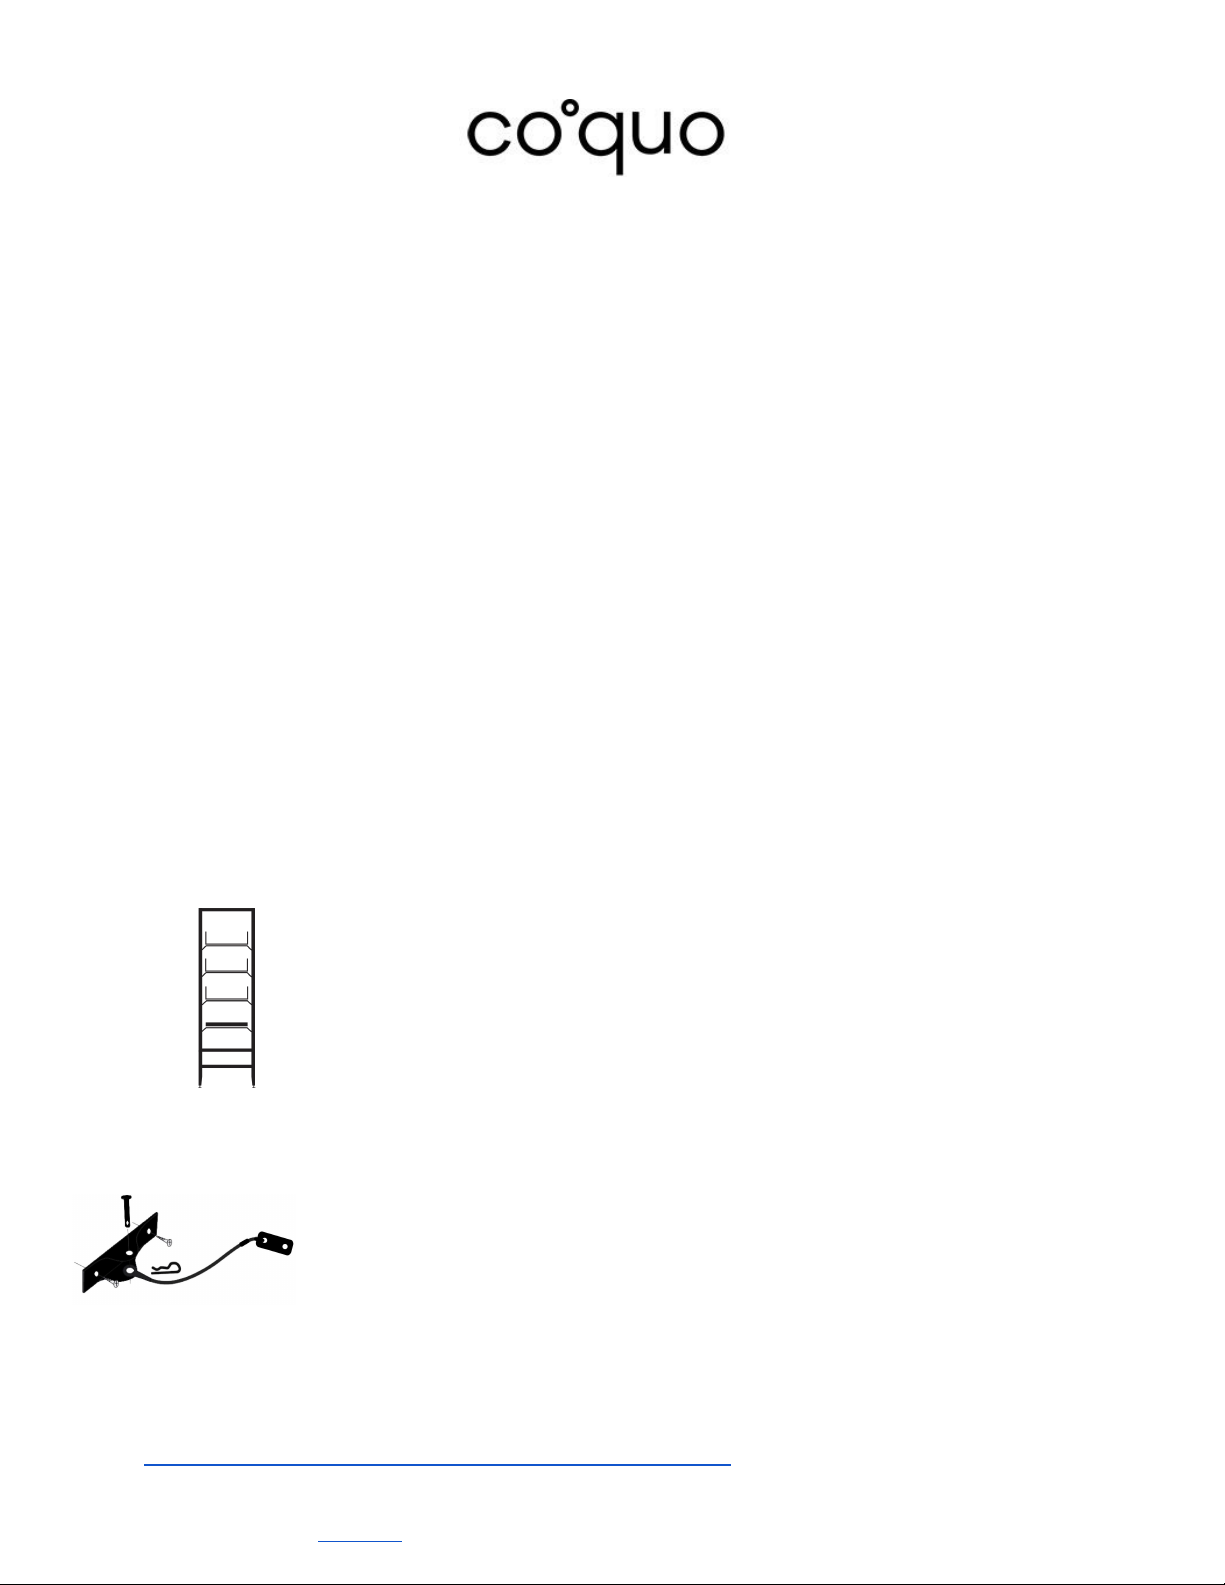
Step 4—Safety clip A: anti-tip kit for modules along a wall
●Once the shelving unit is in place, trace a line on the wall which
corresponds to the threaded slot on the rear crosspiece.
●Remove the shelving unit from its position.
●Remove the contents of the package containing the safety clip A and its
related accessories (anti-tip kit).
●Position the wall plate of the safety clip A (horizontally or vertically) on
the wall opposite the traced line and, using a pencil, make a mark on the
wall where the two screws will be placed.
Watch our installation videos on YouTube for more details:
https://www.youtube.com/channel/UCiz7cfWISKgjyNpUi03Eufw.
At coquo, your safety is our priority. It is very important to always follow the installation instructions and
to conform to the safety notice that is included in the package. These documents are also available free
of charge online at coquo.ca.
5

●Install the bracket to the wall using a screwdriver and the appropriate
anchors for your type of wall.
●Return the shelving unit to its position.
●Insert the dowel pin through the wall bracket and the looped wire and
secure with the clinch pin.
●Attach the metal plate on the other end of the wire to the module by
inserting the screw supplied in the package into the threaded slot on
the crosspiece.
Refer to our YouTube channel for more information on how to install the safety clip A:
https://www.youtube.com/channel/UCiz7cfWISKgjyNpUi03Eufw.
Step 5—Metal rods, shelves and tray
●Remove the pieces of tape located under the metal rods.
●Facing the shelf, place the rear part of the shelf on the rear rod so that
the stoppers positioned under the shelf are in front of the rod.
●Using your thumb and forefinger, pull the front rod slightly to engage the
support mechanism. Position the shelf in the center and repeat the
steps for the other 2 shelves as well as for the metal tray.
●The stoppers under the shelves and the tray should be positioned
between the front and rear rod.
Watch our installation videos on YouTube for more details:
https://www.youtube.com/channel/UCiz7cfWISKgjyNpUi03Eufw.
At coquo, your safety is our priority. It is very important to always follow the installation instructions and
to conform to the safety notice that is included in the package. These documents are also available free
of charge online at coquo.ca.
6
Table of contents
Other Coquo Indoor Furnishing manuals
Popular Indoor Furnishing manuals by other brands

Trinity
Trinity TLS-7202C owner's manual

Furniture of America
Furniture of America FOA-DK5683 Assembly instructions

SEI
SEI Split-Top CK7613 Assembly instructions

Rauch
Rauch M2805 Assembly instructions

Furniture of America
Furniture of America CM3557CH-RT Assembly instructions

Next
Next BRONX 513013 Assembly instructions