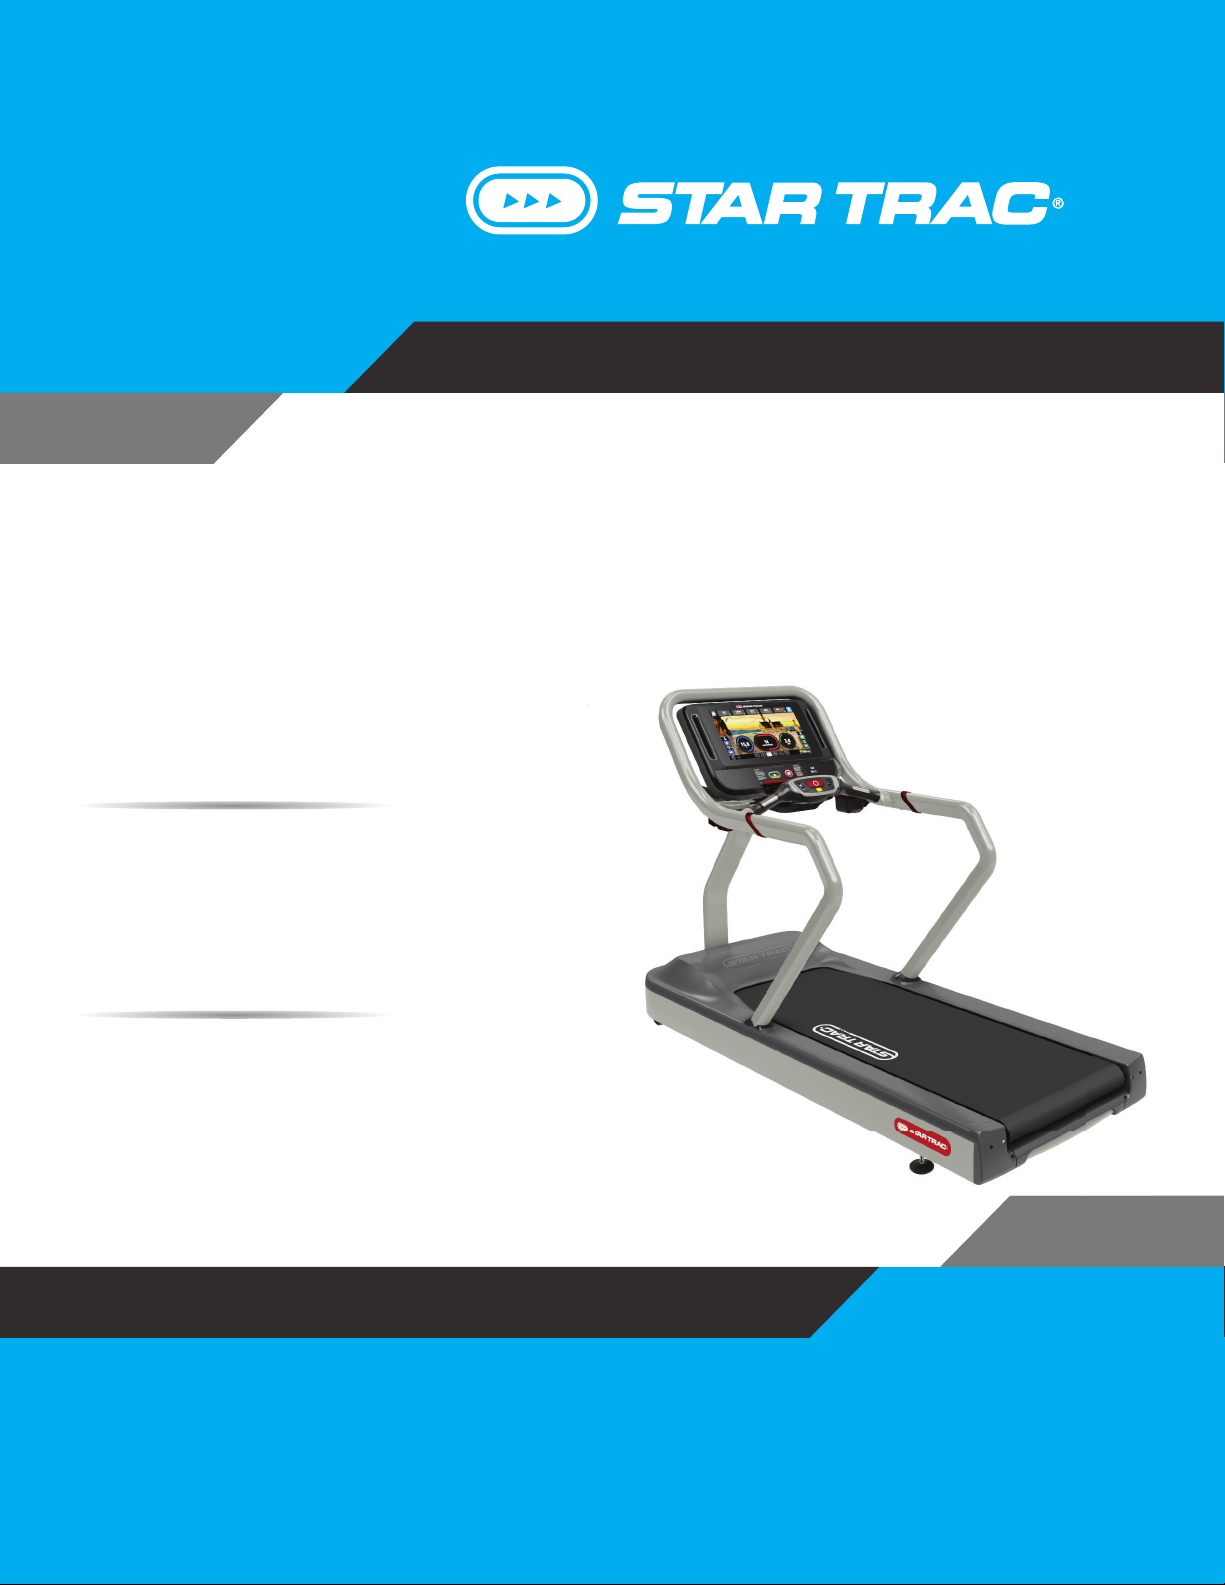
Core Health & Fitness Star Trac 8TR User manual

ASSEMBLY
MANUAL
CORE HEALTH & FITNESS
8TR / 8TRx Treadmills
ls

Page 1
TABLE OF CONTENTS
IMPORTANT SAFETY INSTRUCTIONS................................................................................................................2
PRODUCT SPECIFICATIONS ........................................................................................................................4
ASSEMBLY ........................................................................................................................5
SUPPORT & SERVICE ......................................................................................................................17

Page 2
Before using this product, it is essential to read the ENTIRE Owner’s Manual and ALL
installation instructions. The Owner’s Manual describes equipment setup and instructs
members on how to use correctly and safely.
Read all warnings posted on the machine.
Health related injuries may result from incorrect or excessive use of exercise equipment.
Core Health & Fitness strongly recommends you to encourage your members to discuss their
health program or fitness regimen with a health care professional, especially if you or they
have not exercised for several years, are over 35, or have known health conditions.
WARNING!
IMPORTANT SAFETY INSTRUCTIONS
DANGER - to reduce the risk of electrical
shock:
1. Always unplug the machine from the electrical
outlet before cleaning or servicing.
2. This machine is not intended to be serviced by
the end user, refer servicing to qualified personnel
only.
3. This machine is designed for aerobic exercise in
a gymnasium or heath club environment (FOR
COMMERCIAL USE). It is wired for either 110
VAC 20A OR 230 VAC 15A nominal power input.
It is factory-equipped with a specific electric
cord and plug to permit connection to the proper
electric circuit. Make sure that the treadmill is
connected to a dedicated power line having an
outlet with the same configuration as that of the
plug:
• 20A for 110V models
• 15A for the 230V models
4. If the power supply cord is damaged, it must be
replaced by the manufacturer, its service agent,
or similarly qualified persons in order to avoid
hazard.
5. Do not operate machine in damp or wet locations.
WARNING - to reduce the risk of injury to
person:
24 in (0.6 m)
78.8 in (2.0 m)
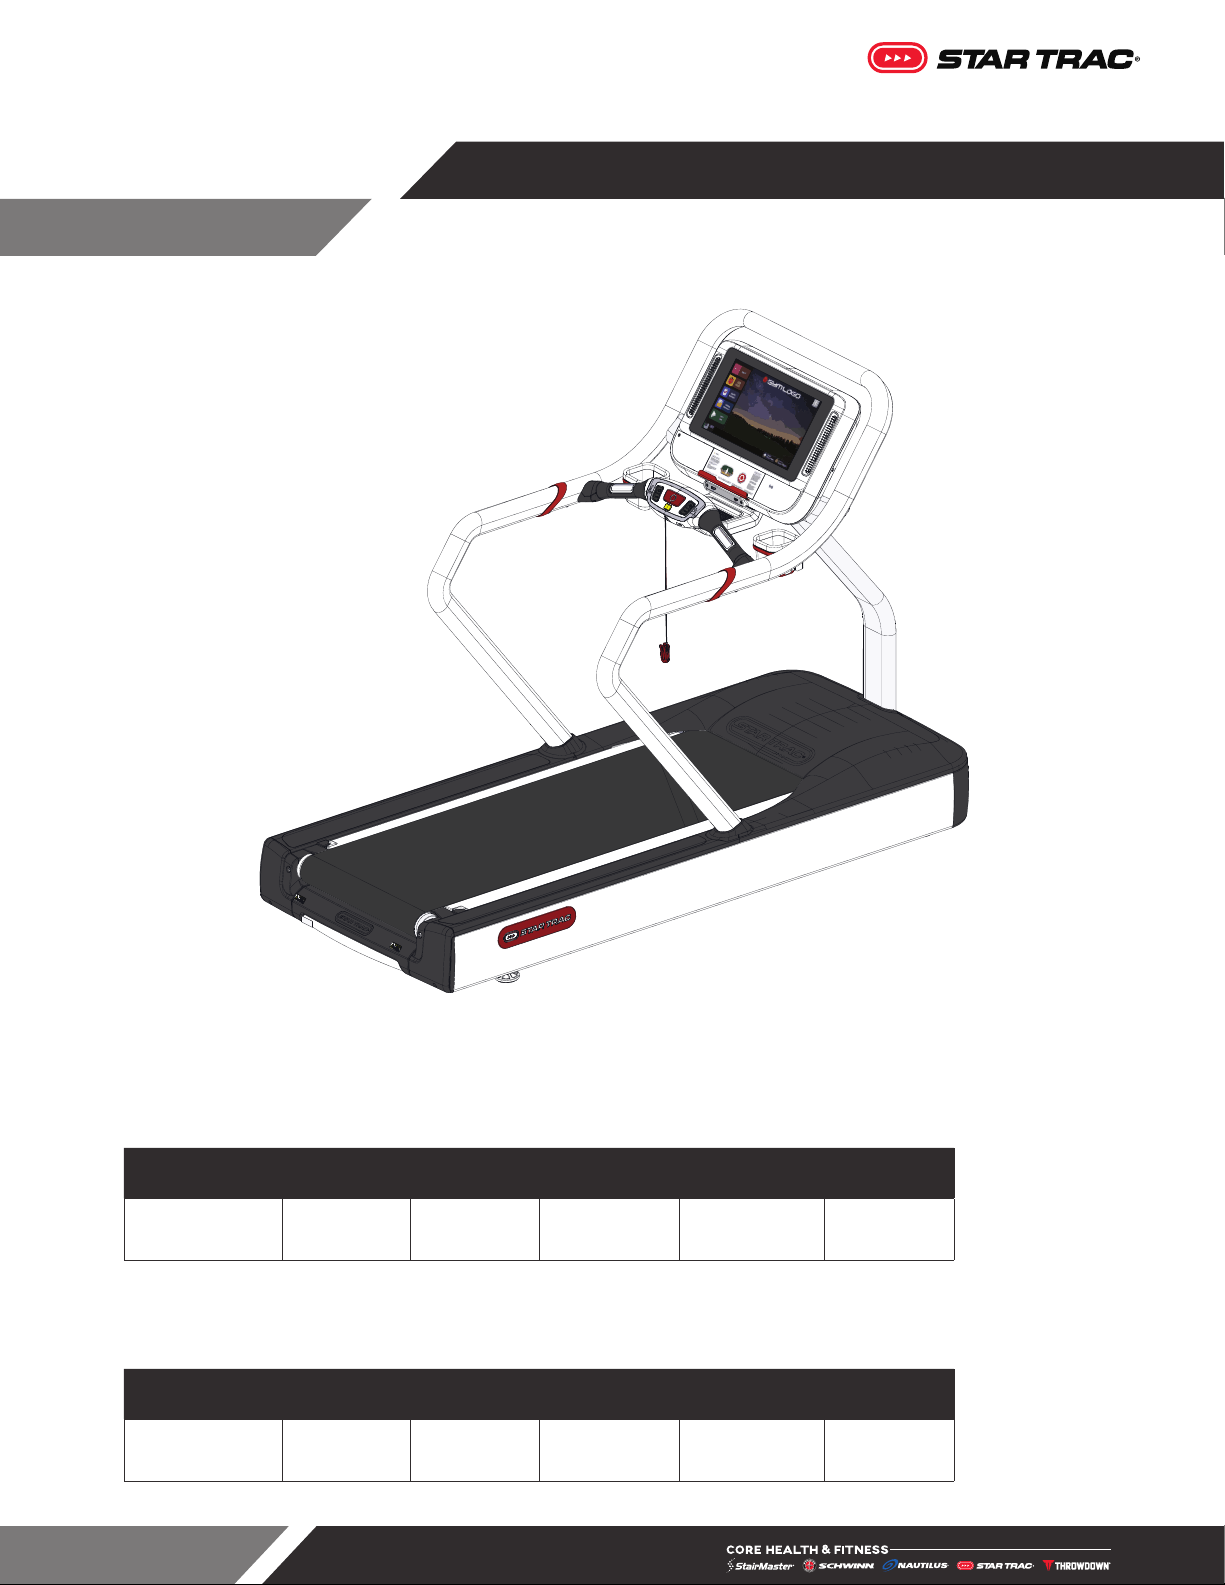
Fig. 1 8TRx Shown - Required Clearance
1. Assemble and operate the machine on a solid
level surface. Position the machine with a
minimum of 23.6 inches (0.6 meters) of clearance
on each side to allow for ease of mounting and
dismounting. Allow for 78.8 inches (2.0 meters) of
clearance behind the machine. Leave a minimum
of 19.7 inches (0.5 meters) between two adjacent
units. These dimensions are the recommended
minimum distances.
The actual area for access and passage shall be
the responsibility of the facility and should take
into account this training envelope, Americans
with Disabilities Act Accessibility Guidelines
(ADAAG) requirements and any required local
codes or regulations (www.access-board.gov/
ada).

Page 3
2. Do not exceed the maximum allowable weight
limit of:
• 8TRx - 500 lbs. / 227 kg.
• 8TR - 500 lbs. / 227 kg.
3. Familiarize yourself with the location of the
STOP buttons on the console. If you experience
difficulties during the workout, pushing the STOP
button will bring the machine to a stop.
4. Lock your treadmill when not in use. Use the
Lockout EN option in MAINTENANCE MODE
to enable or disable treadmill lockout. When
the treadmill is locked, the display shows the
message “TREADMILL LOCKED, PRESS 0 TO
ENTER ID”. The user must press “0”, enter the
3-digit ID number (default=999), then press
ENTER to unlock the treadmill. The treadmill will
then operate as normal (NOTE: The treadmill will
lock back up if it is idle for 30 seconds).
5. Caution: unit is heavy and requires two people for
assembly.
6. After assembly, a complete visual inspection,
and test of the features and functions of the
assembled treadmill must be made prior to use.
7. For complete instructions refer to the owner’s
manual.
SAVE THESE INSTRUCTIONS

Page 4
Fig. 2 Pictured: 8TRx with 19” OpenHub Embedded Console
SKU: 9-9291 110V
9-9294 220V CE/UL/FCC/CSA
Desc: 8TRx Treadmill
Unit Weight Width Length Height Belt Width
Max User
Weight
388 lbs
176 kg
36 in
91 cm
85 in
216 cm
63 in
160 cm
22 in
55 cm
0-500 lbs
0-226 kg
SKU: 9-9281 110V
9-9284 220V, UL/FCC
Desc: 8TR Treadmill
Unit Weight Width Length Height Belt Width
Max User
Weight
425 lbs
193 kg
32 in
81 cm
81 in
209 cm
60 in
150 cm
22 in
55 cm
0-500 lbs
0-226 kg
PRODUCT SPECIFICATIONS

Page 5
PROCEDURE
1. Unpack all parts and inspect for
damage.
2. Use a 6mm allen key to remove the four
(4) M8 x 65mm socket head cap screws
securing the display weldment to the
top rail, then separate the weldment
from the rail.
8TR: Remove the tie wraps securing the
display weldment to the top rail, then
remove the display weldment.
Fig. 3
3. Remove the left and right sidebed
covers as well as the motor shroud.
Fig. 4
Required Tools:
• Metric Socket Set
• Metric Allen Key Set
• #2 Phillips Screwdriver
• 1/2” Open-ended Wrench
• 13mm Open-ended Wrench
Please note that all images are of the 8TRx unless otherwise noted.
ASSEMBLY

Page 6
4. Slide the left side handrail grommet
down onto the left handrail - please
note that the grommets are left-right
specific.
8TR: Skip this step, the grommets on the
8TR are pre-installed onto the handrails.
Fig. 5
5. Slide a beauty ring onto the left
handrail.
Fig. 6

Page 7
6. Use a 1/2” open-ended wrench to
secure the left side handrail to the
frame using three (3) 5/16” x 3/4” hex
head flange screws - DO NOT FULLY
TIGHTEN.
8TR: Please see Figure 8 - Use a 1/2”
open-ended wrench to secure the left side
handrail to the frame using four 5/16” x 3/4”
hex head flange screws.
7. Repeat Steps 4-6 for the right side
handrail.
Fig. 7
8TR: Fig. 8
8. Use a phillips screwdriver to loosen the
six (6) screws (four (4) screws for 8TR)
on top of the cap as indicated, then pull
the nose cap slightly forward to make
room for the mast.
Fig. 9

Page 8
9. Install the mast grommet onto the mast
- note that the grommet is orientation-
specific.
Fig. 10
10. Install the mast into the frame and pull
the ends of the cables from the mast
into the motor compartment.
Fig. 11

Page 9
11. Use a 1/2” open-ended wrench to
secure the mast to the frame using two
(2) of the 5/16” x 3” hex head flange
screws and two (2) 5/16” x 3/4” hex
head flange screws - DO NOT FULLY
TIGHTEN.
8TR: Please see Figure 13 - Use a 1/2”
open-ended wrench to secure the mast to
the frame using four (4) 5/16” x 1 3/4” hex
head flange screws.
Fig. 12
8TR: Fig. 13
If installing an embedded, touch-
screen console, please refer to the
install documentation that came
with the console.
12. Pull the cable bundle from the mast
through the top rail.
Fig. 14

Page 10
13. Install the top rail into the left and right
handrails.
CAUTION: Be careful not to pinch or
damage the hotbar cables while installing
the top rail.
Fig. 15
14. Use a 4mm allen key to secure the top
rail to the left handrail using two (2)
of the M6 x 25mm button head cap
screws - DO NOT FULLY TIGHTEN.
15. Repeat Step 14 for the right side
handrail.
Fig. 16
16. Use a #2 phillips screwdriver to install
the rear console shroud onto the
console weldment using eight (8) of the
M4 flat washers and eight (8) #8-18 x
3/4” pan head machine screws.
Fig. 17

Page 11
17. Install the console weldment grommet
onto the console weldment.
Fig. 18
18. Install the console weldment onto the
top rail, then pull the mast cable bundle
through the console weldment.
CAUTION: Be careful not to pinch the
hotbar cables while installing the display
weldment.
Fig. 19
19. Route the cables from the hotbar
through the hole in the display collar
as shown, then use a #2 phillips
screwdriver to secure the Gen. 2
display collar to the console weldment
(FOR 8TR: use the Gen. 1 display
collar) using two (2) of the M4 flat
washers and four (4) of the #8-18 x 3/4”
pan head machine screws.
Fig. 20

Page 12
20. Use a 13mm open-ended wrench to
secure the console weldment to the
hotbar using two (2) of the M8 x 35mm
hex head flange screws.
Fig. 21
21. Use a 6mm allen key to secure the top
mast bezel to the mast using two (2) M8
x 65mm socket head cap screws - DO
NOT FULLY TIGHTEN.
Fig. 22
22. Use a 6mm allen key to secure the
bottom mast bezel to the mast using
two (2) M8 x 65mm socket head cap
screws - DO NOT FULLY TIGHTEN.
NOTE: The bottom bezel needs to be
mated to the mast prior to the hardware
being installed.
Fig. 23

Page 13
23. Use a 6mm allen key to fully tighten the
screws from Steps 21-22.
Fig. 24
24. Use a 4mm allen key to fully tighten the
screws from Steps 14-15.
Fig. 25
25. Use a 1/2” open-ended wrench to fully
tighten the screws from Steps 6-7.
Fig. 26

Page 14
26. Slide the left side bed cover into
position.
Fig. 27
27. Push the front end of the side bed
cover forward into the handrail while
tucking the finger guard under the belt.
Lift the center of the side bed cover up,
to create a bow, and slide the lip of the
rear side bed cover under the rear end
cap
28. Repeat Steps 26-27 for the right side
bed cover.
Fig. 28
29. Identify the data (A) and I/O (B) cables
pulled into the motor compartment in
Step 10.
B
A
Fig. 29

Page 15
30. Connect the data (A) and I/O (B) cables
to the MCB as indicated in Figure 25.
B
A
Fig. 30
31. Re-seat the nose cap by pushing it
back into place, then secure it in place
by using a #2 phillips screwdriver to
tighten the six (6) screws from Step 8.
Fig. 31
32. Reinstall the motor cover - ensure
that the lip of the motor shroud sits
underneath the side bed covers, then
use a #2 phillips screwdriver to secure
it to the frame using two (2) 10-24 x
3/4” pan head machine screws.
Fig. 32

Page 16
33. Use a #2 phllips screwdriver to secure
the left side cover retaining plate to the
frame using one (1) of the 10-24 x 3/4”
pan head machine screw.
8TR: Please see Figure 34 - Use a #2
phllips screwdriver to secure the left side
cover retaining plate to the frame using one
(1) of the 10-24 x 3/4” pan head machine
screw.
34. Repeat Step 33 for the right side cover
retaining plate.
Fig. 33
8TR: Fig. 34
35. Install the motor shroud cap.
Fig. 35

Page 17
36. Slide the mast and side rail grommets
down into position and ensure they are
tightly seated between the weldments
and the shrouds/covers.
Fig. 36
37. Refer to document 620-8387 contained
with the console documentation to
connect the treadmill cables to the
console front.
38. After connecting the cables, use a
#2 phillips screwdriver to secure the
console front to the console shroud
using ten (10) of the #8-18 x 3/4” pan
head machine screws.
Fig. 37

Page 18
39. Plug the power cable into the power
inlet located on underneath the motor
compartment - be sure to pass the
cable through the power cord retention
clamps.
8TR: Please see Figure 39 - Install the
power cord into the front of the machine,
then tighten the ziptie to secure the power
cord in place.
40. If installing an LCD console, please
continue to Steps 41 + 42, otherwise
please refer the documentation that
came with the console.
Fig. 38

Page 19
41. Perform a Speed Calibration:
a. On the numeric keypad, press and hold the , and keys together. The Service
Menu will display.
b. A beep will sound and “MAINTENANCE MODE” will display momentarily in the Information
Window.
c. Release all keys. “SERIAL NO #####” will display in the Information Window.
d. Use the incline keys to navigate.
e. Navigate to Motor Calibration
f. Tap the key to begin motor calibration.
WARNING: Do not stand on moving surface during calibration.
42. Perform an Elevation Calibration:
a. On the numeric keypad, press and hold the , and keys together. The Service
Menu will display.
b. A beep will sound and “MAINTENANCE MODE” will display momentarily in the Information
Window.
c. Release all keys. “SERIAL NO #####” will display in the Information Window.
d. Use the incline keys to navigate.
e. Navigate to Elev Calibration
f. Tap the key to begin elevation calibration.
WARNING: Do not stand on moving surface during calibration.
This manual suits for next models
5
Table of contents
Other Core Health & Fitness Treadmill manuals