manuals.online logo
Brands
  1. Home
  2. •
  3. Brands
  4. •
  5. CorLiving
  6. •
  7. Indoor Furnishing
  8. •
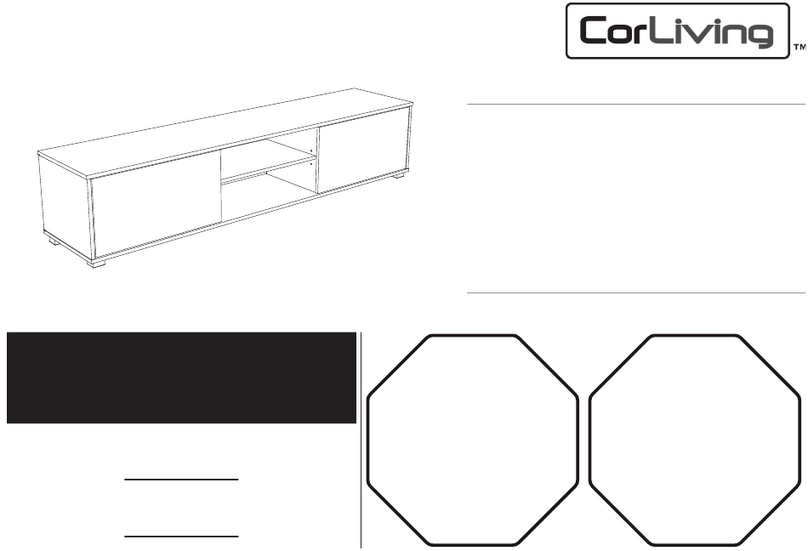
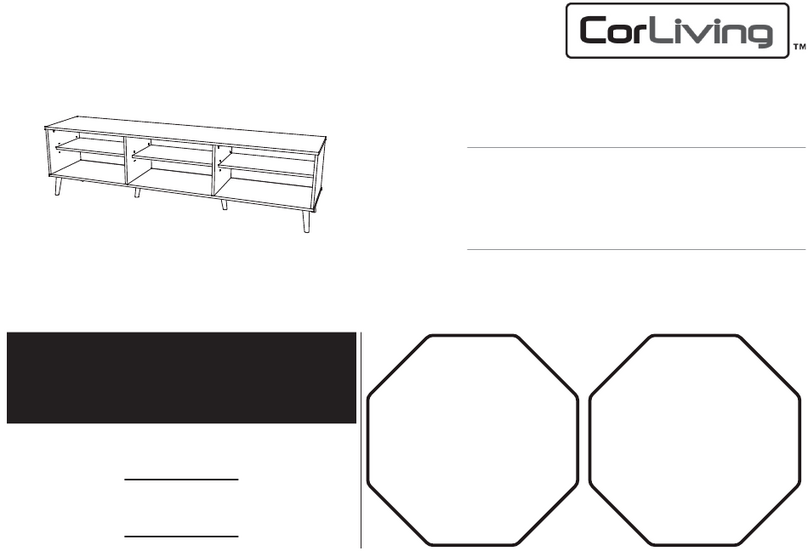
  9. CorLiving TLK-802-B User manual

CorLiving TLK-802-B User manual

Run #: 16267
1
-
800
-
424
-
6710
or email: [email protected]
IF YOU NEED HELP WITH ASSEMBLY OR HAVE ANY PROBLEM
CALL
STOP!
DO NOT RETURN
THIS ITEM TO STORE
If outside pst standard business hours, please
leave a message and our CSR staff will return
your call by the next business day.
1
-
800
-
424
-
6710
[email protected]
Si vous avez besoin d’aide pour
l’assemblage ou si vous éprouvez des
difficultés, veuillez téléphoner au
ou envoyer un courriel à
En-dehors des heures de bureau HNP,
veuillez laisser un message et un représentant
du service à la clientèle retournera votre appel
au cours du prochain jour ouvrable.
ARRÊTEZ!
Ne Pas Retourner Cet
Article Au Magasin
1
-
800
-
424
-
6710
[email protected]
Si usted necesita ayuda con
asamblea o tiene cualquier problema
LLAMADA
ou e-mail
Si fuera pst horario comercial estándar,
por favor? Dejar un mensaje y nuestro
personal RSE le devolverá la llamada
el día hábil siguiente.
¡ALTO!
No volver este
artículo a la tienda
TLK-802-B / TLK-872-B
-1-
During assembly, please take care not to OVERTIGHTEN
any fittings it may cause damage to the product.
Pendant l’assemblage, veuillez prendre soin de ne pas
trop serrer les raccords il peut endommager le produit.
DO NOT ASSUME CHILD SAFETY WITH ANY PIECE OF FURNITURE!
Do not allow children to climb on dressers or in drawers. Do not stand or jump on beds. Improper use can cause death and
or serious injury. If you are placing a TV on top of dressers use safety straps provided with your TV to prevent the risk of a
toppling television. Furniture straps fastened to a wall can also be used to help ensure safety.
Damaged parts or furniture put together incorrectly can lead to serious injuries. Make sure to follow instructions correctly.
N’assumez pas la sécurité des enfants avec n’importe quel meuble ou pièce.
Ne permettez pas aux enfants de grimper sur les meubles ou les tiroirs. Ne pas se tenir debout ou sauter sur le lit.
L’utilisation inexacte peut causer des blessures sévères ou fatales. Si vous placez votre téléviseur au dessus du meuble
assurez-vous d’utiliser les lanières de sécurité (inclus avec votre téléviseur) pour prévenir le risque de basculer le téléviseur.
Les lanières de sécurité pour meuble fixées au mur peuvent aider à assurer la sécurité.
Des pièces endommagées ou un meuble assemblé incorrectement peut mener à des blessures. Assurez-vous de bien
suivre les instructions.
-2-
TWO PEOPLE REQUIRED FOR ASSEMBLY
DEUX PERSONNES REQUISES POUR L’ASSEMBLÉE
TOOLS REQUIRED
OUTILS REQUIS
Read this assembly manual carefully, and verify that you have all the parts listed before you begin.
Keep your assembly manual for future reference.
Lisez ce manuel de montage soigneusement. Soyez sûr que vous avez toutes les pièces
d’équipment avant de commencer. Gardez ce manuel de montage pour futur référence.
Do not place very hot/cold objects on top of any surface. Always use a coaster or mat. Never leave
liquids on the surface: Clean immediately with a mild soap and a damp cloth. Never use scouring
powder based cleanser.
Ne placez pas très chaud/froid d’objets sur une surface. Utilisez toujours un coaster ou de tapis. Ne
jamais laisser liquides sur la surface Nettoyer immédiatement avec un savon doux et d’un chiffon
humide.
Protect finishes by placing furniture pieces on a soft carpeted surface during assembly.
Protégez la finition en plaçant les pièces du meuble sur un tapis doux pendant l’assemblage.
DO NOT USE POWER TOOLS TO ASSEMBLE THIS PRODUCT!
N’UTILISEZ PAS D’OUTILS POUR ASSEMBLER CE PRODUIT!
Move this piece of furniture gently with 2 persons.
Déplacer ce meuble doucement avec 2 personnes.
Missing hardware? Damaged Parts?
Matériel manquant ? Les pièces endommagées ?
1-800-424-6710 www.CorLiving.com/parts
S4
S5
S2
S3
S1
S4
S5
S2
S3
S1
Parts list / Les parties énumèrent
-3-
Hardware list / Liste du matériel
1
2
3
4
5
6
7
8
9
10
11
12
13
53 pcs.
8 pcs.
22 pcs.
10 pcs.
6 pcs.
20 pcs.
32 sets
6 pcs.
2 sets
4 pcs.
2 sets
5 pcs.
3 pcs.
-4-
* Install wood dowels (53 pieces.) into all panels as shown.
* Installer les goujons en bois (53 pièces.) dans tous les
panneaux comme indiqué.
1
×53 pcs.
1
-5-
* Install minifix bolts (4 pieces) into both side panels as shown.
* Installer les boulons minifix (4 pièces) dans les deux
panneaux latéraux comme illustré.
* Install PVC drawer pin (4 pieces) to both side panels, and secure with screws (×8) as shown.
* Installer la tige de tiroir en PVC (4 pièces) sur les deux panneaux latéraux et fixer avec les vis (×8) comme indiqué.
7
×4
3
×8
10
×4
2
-6-
* Install drawer slide (2 pieces / cabinet side) to both side panels,
and secure with screws as shown.
* Installer la glissière de tiroir (2 pièces / cabinet côté) aux deux
panneaux latéraux et fixer avec les vis comme indiqué.
9
×1
2
×4
3
-7-
* Install drawer slide (2 pieces / cabinet side) to both inner side panels,
and secure with screws as shown.
* Installer la glissière de tiroir (2 pièces / cabinet côté) aux deux
intérieure panneaux latéraux et fixer avec les vis comme indiqué.
9
×1
2
×4
4
-8-
* Install minifix bolts (28 pieces) to all panels as shown.
* Installer les boulons minifix (28 pièces) pour tous les panneaux comme indiqué.
7
×28
5
-9-
* Assemble all panels, securing with screws as shown.
* Assembler tous les panneaux, fixant avec les vis comme indiqué.
5
×6 pcs.
6
-10-
* Assemble the bottom cross support as shown.
* Assembler le fond traverser le support comme indiqué.
7
-11-
* Place both outer side panels as shown, securing in place with Minifix.
* Placer les deux panneaux latéraux externe, tel qu’illustré, fixant en place avec Minifix.
7
×4
8
-12-
* Place top panel as shown, securing in place with Minifix (×8).
* Placer le panneau supérieur tel qu’illustré, fixant en place avec Minifix (8 ×).
7
×10
9
-13-
* Assemble the frame panels, securing with Minifix as shown.
* Assembler les panneaux de cadre, fixation avec Minifix tel qu’illustré.
* Carefully flip the cabinet over so that it is face down.
** Take care to ensure protect the surface finish of the stand
by having a soft surface in place for the stand to flip onto.
* Retournez soigneusement le meuble afin qu'il soit face cachée.
** Veillez à protéger la finition de surface du support en
ayant une surface douce en place sur laquelle le support
puisse se retourner.
7
×12
10
11a
-14-
* Attach nail legs (×4) as shown. (star bubble)
* Fixer les ongles de pieds (× 4) tel qu’illustré.
(bubble star)
* Insert back panels,
securing with nails
as shown.
* Insérer les
panneaux arrière,
fixant à l’aide de
clous comme
indiqué.
* Attach L-brackets (×3) with screws (×6) to the cross support and base as shown.
* Joignez équerres (× 3) avec les vis (x 6) pour le support transversal et la base comme indiqué.
3613
×6 ×20
12
×5 ×3
11b
-15-
* Assemble the drawer panels shown, securing with Minifix as shown.
* Assembler les panneaux de tiroir montrés, fixant avec Minifix tel qu’illustré.
S5
S2
S1
7
×3
12
* Insert the drawer bottom as shown.
* Insérez le fond du tiroir, comme illustré.
S4
13
-16-
* Insert the drawer back
panel, securing with
screws as shown.
* Insérez le panneau arrière
du tiroir, fixant avec les
vis comme indiqué. * Insert the drawer slide, securing with screws
(×4) as shown.
* Insérer la coulisse de tiroir, fixant avec les
vis (×4) comme indiqué.
S3
34 9
×4 ×5 ×1
14
-17-
* Attach Minifix Cap (2pieces) to the drawer
side panels as shown.
* Accrocher Minifix Cap (2pieces) sur les
côtés de tiroir comme indiqué.
* Install handles with screws as shown.
* Installer les poignées avec vis comme indiqué.
811
×2
×1
15
-18-
* Attach Minifix Cap to center and side panels as shown.
* Fixez Minifix Cap au centre et les panneaux latéraux.
* Place both drawers into the cabinet as shown.
* Placez les deux tiroirs dans le boîtier comme indiqué.
8
×2
16
-19-
Warranty Information
For warranty information please visit www.corliving.com.
Informations sur la garantie
Pour obtenir des informations sur la garantie, veuillez consulter www.corliving.com.
-20-

This manual suits for next models

1

Other CorLiving Indoor Furnishing manuals

CorLiving PEX-369-T User manual

CorLiving

CorLiving PEX-369-T User manual

CorLiving WLM-100-G User manual

CorLiving

CorLiving WLM-100-G User manual

CorLiving DWP-390-T User manual

CorLiving

CorLiving DWP-390-T User manual

CorLiving BMG-270-B User manual

CorLiving

CorLiving BMG-270-B User manual

CorLiving DPU-101-B User manual

CorLiving

CorLiving DPU-101-B User manual

CorLiving LRB-101-R User manual

CorLiving

CorLiving LRB-101-R User manual

CorLiving DPU-601-B User manual

CorLiving

CorLiving DPU-601-B User manual

CorLiving DRC-875-C User manual

CorLiving

CorLiving DRC-875-C User manual

CorLiving DPU-904-B User manual

CorLiving

CorLiving DPU-904-B User manual

CorLiving BBT-201-D User manual

CorLiving

CorLiving BBT-201-D User manual

CorLiving LOF-208-O User manual

CorLiving

CorLiving LOF-208-O User manual

CorLiving BMG-370-B User manual

CorLiving

CorLiving BMG-370-B User manual

CorLiving BAF-310-B User manual

CorLiving

CorLiving BAF-310-B User manual

CorLiving LDH-101-B User manual

CorLiving

CorLiving LDH-101-B User manual

CorLiving DJS-479-C User manual

CorLiving

CorLiving DJS-479-C User manual

CorLiving WLM-110-G User manual

CorLiving

CorLiving WLM-110-G User manual

CorLiving WFP-280-D User manual

CorLiving

CorLiving WFP-280-D User manual

CorLiving Augustus TBR-200-B User manual

CorLiving

CorLiving Augustus TBR-200-B User manual

CorLiving LHN-711-S User manual

CorLiving

CorLiving LHN-711-S User manual

CorLiving WHR-300-O User manual

CorLiving

CorLiving WHR-300-O User manual

CorLiving TBR-300-B User manual

CorLiving

CorLiving TBR-300-B User manual

CorLiving BBT-113-Q User manual

CorLiving

CorLiving BBT-113-Q User manual

CorLiving BBT-201-S User manual

CorLiving

CorLiving BBT-201-S User manual

CorLiving THW-750-B User manual

CorLiving

CorLiving THW-750-B User manual

Popular Indoor Furnishing manuals by other brands

Costway HW65271 user manual

Costway

Costway HW65271 user manual

Bestar 52414-1131-1231-1331 Assembly instruction

Bestar

Bestar 52414-1131-1231-1331 Assembly instruction

nevins Bio Canvas Assembly guide

nevins

nevins Bio Canvas Assembly guide

DeVorm Big Round installation guide

DeVorm

DeVorm Big Round installation guide

Lightolier Lighting Systems LSBW-10 Specification sheet

Lightolier

Lightolier Lighting Systems LSBW-10 Specification sheet

Costway PV10015 manual

Costway

Costway PV10015 manual

Home Decorators Collection AHWVT4922D Use and care guide

Home Decorators Collection

Home Decorators Collection AHWVT4922D Use and care guide

Forward Industries Smart Side Table REFS-KBBM1115 Assembly instruction

Forward Industries

Forward Industries Smart Side Table REFS-KBBM1115 Assembly instruction

ISLAND RETREAT EZ-CARE TEK-WOOD NU6810 Assembly instructions

ISLAND RETREAT

ISLAND RETREAT EZ-CARE TEK-WOOD NU6810 Assembly instructions

Hülsta MEGA-DESIGN Assembly instruction

Hülsta

Hülsta MEGA-DESIGN Assembly instruction

smirthwaite GROIN HARNESS Instructions for use

smirthwaite

smirthwaite GROIN HARNESS Instructions for use

Kidco Retractable Safeway G2500 user guide

Kidco

Kidco Retractable Safeway G2500 user guide

Luxor AVJ-OH instruction sheet

Luxor

Luxor AVJ-OH instruction sheet

Wenger Gearboss Shelving System installation instructions

Wenger

Wenger Gearboss Shelving System installation instructions

DREAMS Alana manual

DREAMS

DREAMS Alana manual

Home Decorators Collection THORNABY 19091-M24-LW Assembly instructions

Home Decorators Collection

Home Decorators Collection THORNABY 19091-M24-LW Assembly instructions

Coaster CALIFORNIA 300170KW Assembly instructions

Coaster

Coaster CALIFORNIA 300170KW Assembly instructions

Walker Edison W58SCHB2D Assembly instructions

Walker Edison

Walker Edison W58SCHB2D Assembly instructions

manuals.online logo
manuals.online logoBrands
  • About & Mission
  • Contact us
  • Privacy Policy
  • Terms and Conditions

Copyright 2025 Manuals.Online. All Rights Reserved.