manuals.online logo
Brands
  1. Home
  2. •
  3. Brands
  4. •
  5. CORONA
  6. •
  7. Indoor Furnishing
  8. •
  9. CORONA 2 DOOR 1 DRAWER WARDROBE User manual

CORONA 2 DOOR 1 DRAWER WARDROBE User manual

Page 1 of 10
ASSEMBLY INSTRUCTIONS
2 DOOR 1 DRAWER WARDROBE
PLEASE KEEP THESE INSTRUCTIONS FOR FUTURE REFERENCE
ASSEMBLY INSTRUCTIONS:
Please check contents and read instructions carefully before commencing assembly
To avoid damages assemble the item on a soft, clean surface
HEALTH & SAFETY:
DO NOT use this item if any parts are missing, damaged or worn
DO NOT use this item unless all fixings are secured
Always use on a level, even surface
t is recommended that two people handle and assemble the item
CARE & MAINTENANCE: To enjoy yo r f rnit re for many years please follow o r recommendations
below:
This product is manufactured in pine which is a wood with natural characteristics including knots, grains,
clusters or indentations
On unpacking the item you may notice an odour due to the production process. However, this will disappear
after a period of time.
Do not place the item next to a radiator or direct sunlight – this item is manufactured in pine but is susceptible
to temperature change. t is recommended an even room temperature be maintained with no sudden
fluctuations.
Do not place hot or cold items directly onto the surface of the item – always use a placemat or marking will
occur
For general cleaning use a duster or damp cloth (almost dry) not wet – do not use soap and water, detergents,
aerosol sprays or any polish. The use of these materials would invalidate any claims.
You may wish to retreat the surface to maintain the original finish – this can be done using block wax (un-
perfumed). Please follow the manufacturer’s instructions carefully
Do not place the item onto wet or damp flooring as staining may occur to the floor
Periodically check all screws & fixings to ensure they are secure
DO NOT push the item as this will damage the base
Keep any sharp objects away from the item
IMPORTANT: READ THESE INSTRUCTIONS CAREFULLY BEFORE ATTEMPTING TO ASSEMBLE OR
USE YOUR 2 DOOR 1 DRAWER WARDROBE
Page 2 of 10
Page 3 of 10
Parts List Hardware List
Part Description Qty Part Description Qty
1 Right Panel 1 A Wooden Dowel 26
2 Left Panel 1 B 14 mm Screw 52
3 Base/Shelf Panel 2 C 25 mm Screw 10
4 Top Panel 1 D 30 mm Screw 59
5 Back Panel 2 E 35 mm Screw 12
6 Large Spine 1 F 50 mm Screw 7
7 Small Spine 1 G 19 mm Bolt 4
8 Rear Base Plinth 1 H Handle 4
9 Right Front Frame 1 J Hinge 6
10 Left Front Frame 1 K Clip 2
11 Top nner Plinth 1 L
Plug
2
12 Support Plinth 1 M Hanging Rail Support 2
13 Front Base Plinth 1 N
Stud
2
14 Right Door 1 O Corner Bracket 1
15 Left Door 1 P Tack 40
16 Door Divider 1 ** Yo will need a small mallet and a screwdriver
17 Drawer Front 1
18 Drawer Side 2
19 Drawer Back 1
20 Drawer Base 1
21 Top Side Plinth 2
22 Top Outer Plinth 1
23 Base Side Plinth 2
24 Front Plinth 1
25 Drawer Runner 2
26 Cleat 8
27 Hanging Rail 1
Page 4 of 10
Step 1: nsert the right panel (1) into the right front frame (9) ensuring the parts are fully pushed together and
lined up correctly. Place the cleats (26) between the marks as shown and secure using hardware part D and a
screwdriver (not provided)
DO NOT se any power tools as this may damage the frame and will invalidate any claim
Step 2: nsert the left panel (2) into the left front frame (10) ensuring the parts are fully pushed together and
lined up correctly. Place the cleats (26) between the marks as shown and secure using hardware part D and a
screwdriver (not provided)
DO NOT se any power tools as this may damage the frame and will invalidate any claim
Page 5 of 10
Step 3: nsert hardware part A using a small mallet (not provided)
DO NOT se any power tools as this may damage the frame and will invalidate any claim
Step 4: Attach the drawer runners (25) using hardware part F. Secure hardware part M using hardware part B.
You will need to use a screwdriver (not provided)
DO NOT se any power tools as this may damage the frame and will invalidate any claim
Step 5: Attach the base/shelf panels (3), rear base plinth (8), front base plinth (13) and support plinth (12) to
the left panel (2) using hardware part E and a screwdriver (not provided)
DO NOT se any power tools as this may damage the frame and will invalidate any claim
Page 6 of 10
Step 6: Attach the right panel (1) using hardware part E. Secure hardware part O using hardware part B. You
will need to use a screwdriver (not provided)
DO NOT se any power tools as this may damage the frame and will invalidate any claim
Step 7: Attach the top inner plinth (11) using hardware part C and a screwdriver (not provided)
DO NOT se any power tools as this may damage the frame and will invalidate any claim
Step 8: Attach the top side plinths (21) using hardware part D, and the top outer plinth (22) using hardware
part F. You will need to use a screwdriver (not provided)
DO NOT se any power tools as this may damage the frame and will invalidate any claim
Page 7 of 10
Step 9: Attach the top panel (4) using hardware part C and a screwdriver (not provided)
DO NOT se any power tools as this may damage the frame and will invalidate any claim
Step 10: Attach the base side plinths (23) and front plinth (24) using hardware part D and a screwdriver (not
provided)
DO NOT se any power tools as this may damage the frame and will invalidate any claim
Step 11: nsert hardware part N using a small mallet (not provided)
DO NOT se any power tools as this may damage the frame and will invalidate any claim
Page 8 of 10
Step 12: nsert the hanging rail (27)
DO NOT se any power tools as this may damage the frame and will invalidate any claim
Step 13: Attach hardware part J to the right door (14) and left door (15) using hardware part B. Attach the
door divider (16) using hardware part D. You will need to use a screwdriver (not provided)
DO NOT se any power tools as this may damage the frame and will invalidate any claim
Step 14: Position the doors and secure using hardware part B and a screwdriver (not provided)
DO NOT se any power tools as this may damage the frame and will invalidate any claim
Page 9 of 10
Step 15: Attach hardware part H using hardware part G and a screwdriver (not provided)
DO NOT se any power tools as this may damage the frame and will invalidate any claim
Step 16: Secure hardware part K using hardware part B. nsert hardware part L ensuring they are level then
push the door against it to create 2 small marks. Secure hardware part L where the two marks are, using
hardware part B. You will need to use a screwdriver (not provided)
DO NOT se any power tools as this may damage the frame and will invalidate any claim
Step 17: Assemble the drawer components using hardware parts C, G and H with a screwdriver (not
provided)
DO NOT se any power tools as this may damage the frame and will invalidate any claim
Page 10 of 10
Step 18: nsert the assembled drawer and secure using hardware part A and a small mallet (not provided) DO
NOT se any power tools as this may damage the frame and will invalidate any claim
Step 19: Join the back panels (5) with the large spine (6) and small spine (7) then secure in place using
hardware part P and a small mallet (not provided)
DO NOT se any power tools as this may damage the frame and will invalidate any claim

Other CORONA Indoor Furnishing manuals

CORONA 50893 User manual

CORONA

CORONA 50893 User manual

CORONA SECWG1116TB1 User manual

CORONA

CORONA SECWG1116TB1 User manual

CORONA 4 DRAWER CD CHEST User manual

CORONA

CORONA 4 DRAWER CD CHEST User manual

CORONA VALENZA 1.80 User manual

CORONA

CORONA VALENZA 1.80 User manual

CORONA Dvd Rack User manual

CORONA

CORONA Dvd Rack User manual

CORONA Tall Bookcase User manual

CORONA

CORONA Tall Bookcase User manual

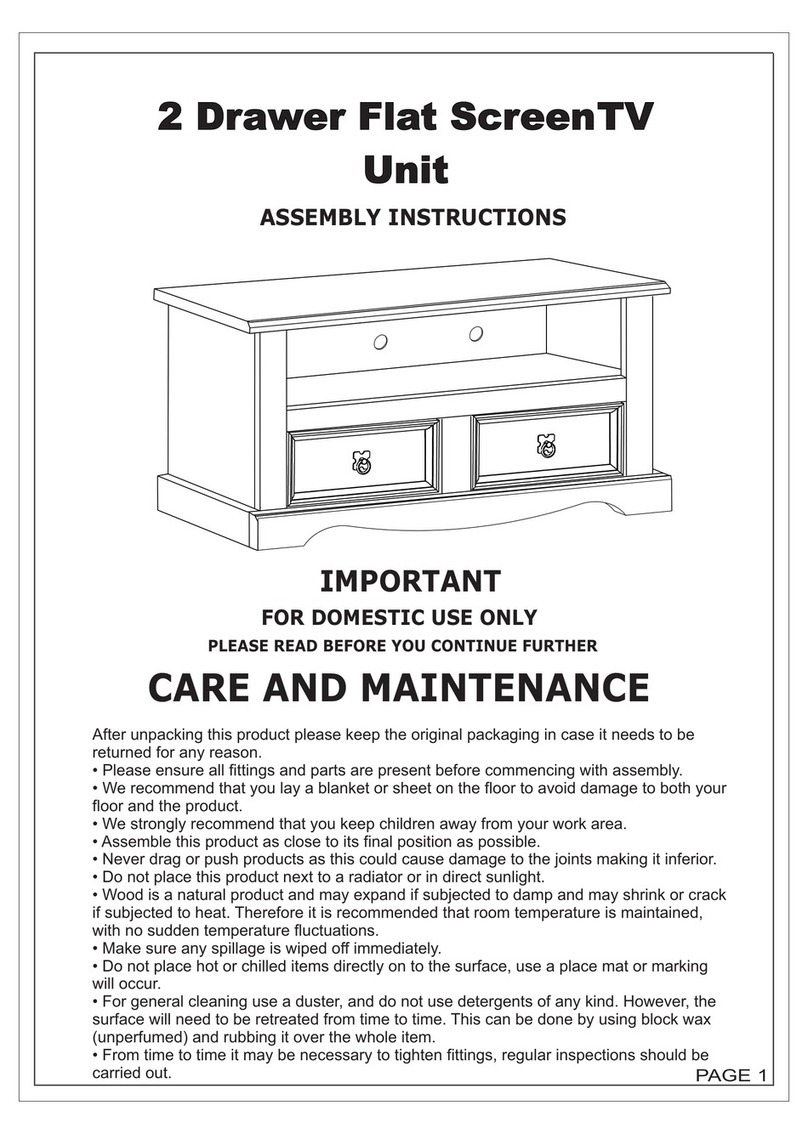
CORONA 2 Drawer Flat ScreenTV Unit User manual

CORONA

CORONA 2 Drawer Flat ScreenTV Unit User manual

CORONA Medium Bookcase User manual

CORONA

CORONA Medium Bookcase User manual

Popular Indoor Furnishing manuals by other brands

Westward 1MZH8 Operating instructions and parts manual

Westward

Westward 1MZH8 Operating instructions and parts manual

Forte HVKK242 Assembling Instruction

Forte

Forte HVKK242 Assembling Instruction

Monarch I 1135 Assebly instructions

Monarch

Monarch I 1135 Assebly instructions

Ostermann REDOCOL e-Desk Pro 90 Extension 90 Assembly & operation manual

Ostermann

Ostermann REDOCOL e-Desk Pro 90 Extension 90 Assembly & operation manual

Kinfine HOMEPOP K7700 Assembly instructions

Kinfine

Kinfine HOMEPOP K7700 Assembly instructions

Astonica 50104254 instruction manual

Astonica

Astonica 50104254 instruction manual

Bell'O WAVS335 Assembly instructions

Bell'O

Bell'O WAVS335 Assembly instructions

Furniture of America CM3319T Assembly instructions

Furniture of America

Furniture of America CM3319T Assembly instructions

Eureka Ergonomic ERK-CV-32 user guide

Eureka Ergonomic

Eureka Ergonomic ERK-CV-32 user guide

Himolla Cumuly Comfort 29111 43 Assembly instructions

Himolla

Himolla Cumuly Comfort 29111 43 Assembly instructions

Whittier Wood 1191RGBa Assembly instructions

Whittier Wood

Whittier Wood 1191RGBa Assembly instructions

Furniture of America Corfu CM-BR6917 Assembly instructions

Furniture of America

Furniture of America Corfu CM-BR6917 Assembly instructions

Union Home LUNA DIN00277 manual

Union Home

Union Home LUNA DIN00277 manual

SEI FA902300TX Assembly instructions

SEI

SEI FA902300TX Assembly instructions

Vivo MOUNT-KB03W instruction manual

Vivo

Vivo MOUNT-KB03W instruction manual

Forte TZS52RBB Assembling Instruction

Forte

Forte TZS52RBB Assembling Instruction

Article LENIA SKU12922 Assembly instructions

Article

Article LENIA SKU12922 Assembly instructions

Next 415485 Assembly instructions

Next

Next 415485 Assembly instructions

manuals.online logo
manuals.online logoBrands
  • About & Mission
  • Contact us
  • Privacy Policy
  • Terms and Conditions

Copyright 2025 Manuals.Online. All Rights Reserved.