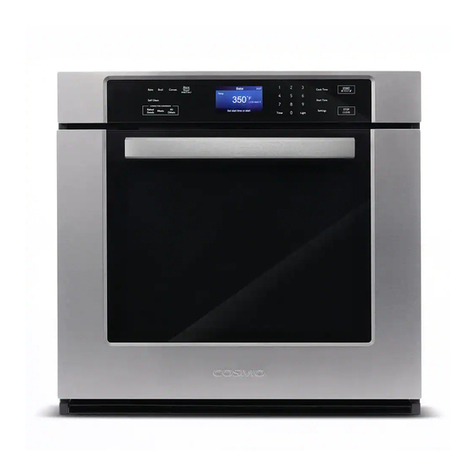
Cosmo COS-30ESWC User manual

Rev.23.09
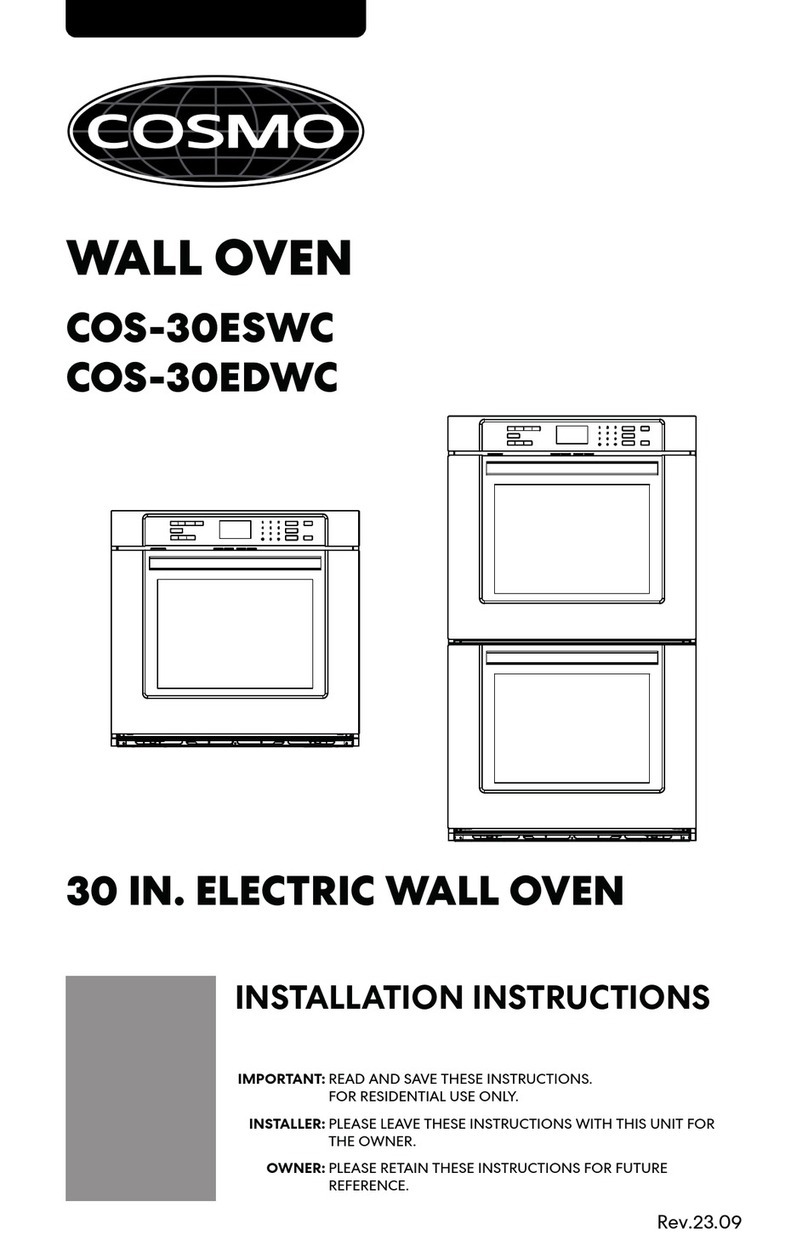
WALL OVEN
COS-30ESWC
COS-30EDWC
USER MANUAL
IMPORTANT:
INSTALLER:
OWNER:
30 IN. ELECTRIC WALL OVEN
READ AND SAVE THESE INSTRUCTIONS.
FOR RESIDENTIAL USE ONLY.
PLEASE LEAVE THESE INSTRUCTIONS WITH THIS UNIT FOR
THE OWNER.
PLEASE RETAIN THESE INSTRUCTIONS FOR FUTURE
REFERENCE.

2
THANK YOU FOR YOUR PURCHASE
Thank you for your purchase. We know that you have many brands and
products to choose from and we are honored to know that you have decided
to take one of our products into your home and hope that you enjoy it.
COSMO Appliances are designed according to the strictest safety and
performance standard for the North American market. We follow the most
advanced manufacturing philosophy. Each appliance leaves the factory after
thorough quality inspection and testing. Our distributors and our service
partners are ready to answer any questions you may have regarding how to
install, use and care for your products. We hope that this manual will help you
learn to use the product in the safest and most effective manner.
Before using this product, please read through this manual carefully. Keep
this user manual in a safe place for future reference. Please ensure that other
persons using this product are familiar with these instructions as well.
If you have any questions or concerns, please contact the dealer from whom you
purchased the product, or contact our Customer Support at:
1-888-784-3108
Reach us online at:
www.cosmoappliances.com

3
TABLE OF CONTENTS
OVEN SAFETY...................................................................................................5
Important Safety Instructions..................................................................................... 6
OVERVIEW........................................................................................................9
Accessories...................................................................................................................... 9
Oven Overview ............................................................................................................ 10
Control Panel.................................................................................................................12
FEATURES ........................................................................................................15
Clock ............................................................................................................................... 15
Timer............................................................................................................................... 16
Oven Light..................................................................................................................... 16
Cook Time ......................................................................................................................17
Start Time (Delayed Cook Time) ...............................................................................18
Oven Control Settings ................................................................................................ 19
Control Lock..................................................................................................................23
USING THE OVEN ...........................................................................................24
Before Using the Oven...............................................................................................24
Before Using the Oven for the First Time...............................................................25
Oven Vent .....................................................................................................................25
Oven Door.....................................................................................................................25
Using Oven Racks........................................................................................................26
Preheating..................................................................................................................... 27
Meat Thermometer (Temperature Probe) ............................................................27
Maximum & Minimum Temperature Settings......................................................29
Bake............................................................................................................................... 30
Broil..................................................................................................................................31
Warm..............................................................................................................................32
Proof ...............................................................................................................................33
Convection Bake......................................................................................................... 34
Convection Broil...........................................................................................................35
Convection Roast ........................................................................................................36
Convection Conversion.............................................................................................. 37

4
Tips and Techniques...................................................................................................38
MAINTENANCE AND CARE.............................................................................47
Manual Cleaning.........................................................................................................47
Self Clean ..................................................................................................................... 50
Removing/Replacing the Oven Door .....................................................................53
Replacing the Oven Light......................................................................................... 56
TROUBLESHOOTING ......................................................................................59
Baking and Roasting Problems............................................................................... 59
Operation Problems .................................................................................................. 60
LIMITED WARRANTY......................................................................................63

5
OVEN SAFETY
READ ALL INSTRUCTIONS BEFORE USING THE APPLIANCE
California Proposition 65 Warning
WARNING:
Cancer and Reproductive Harm - www.P65Warnings.ca.gov.
Your safety and the safety ofothers are very important.
We have provided many important safety messages in this manual and on
your appliance. Always read and obey all safety messages.
WARNING
CAUTION
All safety messages will tell you what the potential hazard is, tell you how
to reduce the chance of injury, and tell you what can happen if the
instructions are not followed.
This is the safety alert symbol.
This symbol alerts you to potential hazards
that can kill or hurt you and others.
All safety messages will follow the safety alert
symbol and either the word "WARNING" or
"CAUTION." These words mean:
You can be killed or seriously injured if you
don't follow instructions.
A potentially hazardous situation which, if not
avoided, could result in minor or moderate
injury.

6
IMPORTANT SAFETY INSTRUCTIONS
WARNING: To reduce the risk of fire, electrical shock, injury to persons, or
damage when using the appliance, follow basic precautions, including the
following:
•Proper Installation – The
appliance, when installed, must
be electrically grounded in
accordance with local codes, or
in the absence of local codes,
with the National Electrical
Code, ANSI/NFPA 70 or the
Canadian Electrical Code, CSA
C22.1-02. In Canada, the
appliance must be electrically
grounded in accordance with
Canadian Electrical Code. Be
sure your appliance is properly
installed and grounded by a
qualified technician.
•WARNING: Never use this
appliance for warming or
heating the room.
•WARNING: Never cover any
slots, holes or passages in the
oven bottom or cover an entire
rack with materials such as
aluminum foil. Doing so blocks
airflow through the oven and
may cause carbon monoxide
poisoning. Aluminum foil linings
may also trap heat, causing a
fire hazard.
•CAUTION: Do not store items of
interest to children in cabinets
above an oven – children
climbing on the oven to reach
items could be seriously injured.
•Do Not Leave Children Alone –
Children should not be left alone
or unattended in area where
appliance is in use. They should
never be allowed to sit or stand
on any part of the appliance.
•Wear Proper Apparel – Loose-
fitting or hanging garments
should never be worn while
using the appliance.
•User Servicing – Do not repair or
replace any part of the
appliance unless specifically
recommended in the manual. All
other servicing should be
referred to a qualified
technician.
•Do not store or use flammable
materials in or near an oven,
including paper, plastic, pot
holders, linens, wall coverings,
curtains, drapes and gasoline or
other flammable vapors and
liquids.
•Use this appliance only for its
intended purpose as described
in this manual. This appliance is
not intended for storage.
•Do Not Use Water on Grease
Fires – Smother fire or flame or
use dry chemical or foam-type
extinguisher.
READ AND SAVE THESE INSTRUCTIONS

7
IMPORTANT SAFETY INSTRUCTIONS
•Use Only Dry Potholders – Moist
or damp potholders on hot
surfaces may result in burns
from steam. Do not let potholder
touch hot heating elements. Do
not use a towel or other bulky
cloth.
•Use Care When Opening Door –
Let hot air or steam escape
before removing or replacing
food.
•DO NOT TOUCH HEATING
ELEMENTS OR INTERIOR
SURFACES OF OVEN – Heating
elements may be hot even
though they are dark in color.
Interior surfaces of an oven
become hot enough to cause
burns. During and after use, do
not touch, or let clothing or other
flammable materials contact
heating elements or interior
surfaces of oven until they have
had sufficient time to cool. Other
surfaces of the appliance may
become hot enough to cause
burns – among these surfaces
are oven vent openings, surfaces
near these openings, oven
doors, windows of oven doors,
and crevices around the oven
doors.
•Care must be taken to prevent
aluminum foil and meat probes
from contacting heating
elements.
•Do Not Heat Unopened Food
Containers – Build-up of
pressure may cause container to
burst and result in injury.
•Keep Oven Vent Ducts
Unobstructed.
•Never broil with door open.
Open-door broiling is not
permitted due to overheating of
control panel.
•Avoid scratching or impacting
glass doors or control panels.
Doing so may lead to glass
breakage. Do no cook on a
product with broken glass.
Shock, fire or cuts may occur.
•Placement of Oven Racks –
Always place oven racks in
desired location while oven is
cool. If rack must be moved
while oven is hot, do not let
potholder contact hot heating
element in oven.
•Disconnect power before
servicing.
•Do not use replacement parts
that have not been
recommended by the
manufacturer (e.g. parts made
at home using a 3D printer).
•Injuries may result from misuse
of appliance doors such as
stepping, leaning, or sitting on
the doors.
READ AND SAVE THESE INSTRUCTIONS

8
IMPORTANT SAFETY INSTRUCTIONS
•Maintenance – Keep appliance
area clear and free from
combustible materials, gasoline,
and other flammable vapors
and liquids.
•Clean Only Parts Listed in
Manual.
•Do Not Clean Door Gasket – The
door gasket is essential for a
good seal. Care should be taken
not to rub, damage, or move the
gasket.
•Do Not Soak Removable
Heating Elements – Heating
elements should never be
immersed in water.
•Do not let cooking grease or
other flammable materials
accumulate in or near the oven.
Grease in the oven or near the
oven may ignite.
•Proper Disposal of Your
Appliance – Dispose of or recycle
your appliance in accordance
with Federal and Local
Regulations. Contact your local
authorities for the
environmentally safe disposal or
recycling of your appliance.
For self-cleaning ovens:
•CAUTION: Do not leave food or
cooking utensils, etc., in oven
during the operation of self-
cleaning.
•Wait for the oven to cool before
removing contents and cleaning
the oven.
•Before Self-Cleaning the Oven –
Remove broiler pan and other
utensils. Wipe off all excessive
spillage before initiating the
cleaning cycle.
•Do not use a protective coating
to line the oven and do not use
commercial oven cleaner unless
certified for use in a self-
cleaning oven.
•In the event of ignition inside the
oven during self-clean, turn off
the oven and wait for the fire to
extinguish. DO NOT FORCE THE
DOOR OPEN. Introduction of
fresh air at Self Clean
temperatures may lead to a
burst of flame from the oven.
•If the self-cleaning mode
malfunctions, keep door closed,
turn off the appliance,
disconnect the circuit at the
circuit breaker box, and contact
a qualified service provider for
repairs.
•Some birds are extremely
sensitive to the fumes produced
during a self-clean cycle. Move
birds to another well-ventilated
room.
READ AND SAVE THESE INSTRUCTIONS

9
OVERVIEW
ACCESSORIES
2-Piece broiler panOven Racks
Single oven model (2)
Double oven model (3)
Meat thermometer (probe)
NOTE:
•To purchase these replacement parts or any other accessories, please
visit www.cosmoappliances.com or reference the contact information at
the end of this manual.

10
OVEN OVERVIEW
SINGLE OVEN MODEL: COS-30ESWC
A. Control panel
B. Oven vent
C. Broil element
D. Light
E. Convection fan and element
F. Bake element (hidden)
G. Temperature probe
H. Model and serial # plate
I. Door gasket
J. Oven rack (rear)
K. Oven rack (front)
L. Broiler pan rack
M. Broiler pan tray

11
DOUBLE OVEN MODEL: COS-30EDWC
A. Control panel
B. Oven vent
C. Broil element
D. Light
E. Convection fan and element
(upper oven only)
F. Bake element (hidden)
G. Temperature probe (upper
oven only)
H. Model and serial # plate
I. Door gasket
J. Oven rack (rear)
K. Oven rack (front)
L. Broiler pan (grid)
M. Broiler pan (tray)

12
# Name Description
1 Bake
2
To select the Bake function.
Broil
CONTROL PANEL
Read the instructions carefully before using the oven. Control button shapes
are representative; your oven may have alternate button shapes.
SINGLE OVEN MODEL: COS-30ESWC
3
To select the Broil function.
Convec
4
To select the Convection functions.
Warm/Proof
5 Self Clean
To select the Warm/Proof function. To select the
Proof function, press and hold for 3 seconds.
6
To select the Self Clean function.
Baked Goods
7 Meats
To select the Baked Goods function with convection
conversion.
8 All Others
To select the Meats function with convection
conversion.
9 Number Pads
To select the All Others function with convection
conversion.
10
To enter temperature and all times.
Timer
11
To set or cancel the timer.
Light To turn the oven lights on and off.

13
# Name Description
12 Cook Time
13
To set the length of the cooking time.
Start Time
14
To set delay start time of the cooking.
Settings
15
To access and adjust oven settings.
START (HOLD)
16 STOP/CLEAR
To start all functions in the oven. To activate Oven
Lock, press and hold for 3 seconds.
To stop cooking and cancel settings.
DOUBLE OVEN MODEL: COS-30EDWC
# Name Description
1 Bake
2 Broil
To select the Bake function of the upper oven.
3 Convec
To select the Broil function of the upper oven.
4 Proof
To select the Convection and Convection Conversion
functions of the upper oven.
5
To select the Proof function of the upper oven.
Self Clean
6
To select the Self Clean function.
Bake
7 Broil
To select the Bake function of the lower oven.
8 Warm
To select the Broil function of the lower oven.
To select the Warm function of the lower oven.

14
# Name Description
9 Number Pads To enter temperature and all times.
10 Timer To set or cancel the timer.
11 Light To turn the oven lights on and off.
12 Cook Time To set the length of the cooking time.
13 Start Time To set delay start time of the cooking.
14 Settings To access and adjust oven settings.
15 START (HOLD) To start all functions in the upper oven. To activate
Oven Lock, press and hold for 3 seconds.
16 STOP/CLEAR To stop cooking and cancel settings of the upper
oven.
17 START To start all functions in the lower oven.
18 STOP/CLEAR To stop cooking and cancel settings of the lower
oven.

15
FEATURES
CLOCK
The clock must be set to the correct time of day for the automatic oven timing
functions to work properly. The time of day cannot be changed during a
timed cooking, timer cycle, or Self Clean cycle.
Setting the Clock
1. Press Settings once. List of settings appears in the display.
2. Press 1to select "Clock" from the list.
3. Press 1to toggle and select AM or PM.
4. Press Settings to accept the change.
5. Press the numbers to enter the correct time of day. For example, to set
12:34, press the numbers 1, 2, 3, and 4.
6. Press Settings. This accepts the time entered and starts the clock.
Changing the Hour Mode (12HR or 24HR)
The control is set to use a 12-hour clock by default. Follow these steps to
change to a 12-hour/24-hour clock.
1. Press Settings once. List of settings appears in the display.
2. Press 4to select "12/24 hour" from the list.
3. Press 1to toggle and select 12 or 24.
4. Press Settings to accept the change.

16
TIMER
The Timer serves as an extra timer in the kitchen that will beep when the set
time has run out. It does not start or stop cooking.
The Timer feature can be used during any of the other oven control functions.
Setting the Timer (Up to 12 Hours)
1. Press Timer once.
2. Press the numbers to enter the length of time. For example, to set a 30-
minute timer, press the numbers 3 and 0.
NOTE:
•If no numbers is entered, the timer returns to the time of day.
3. Press Timer to start the timer.
4. When the set time has run out, the indicator tone rings until Timer is
pressed.
Canceling the Timer
1. Press Timer once. The timer returns to the time of day.
NOTE:
•Pressing STOP/CLEAR will not cancel the current timer, but will
cancel any oven cooking modes in progress.
OVEN LIGHT
The oven light automatically turns on when the oven door is opened and turns
off when the oven door is closed.
•Press Light to control the oven light when the oven door is closed.

17
COOK TIME
The oven turns on immediately and cooks for a selected length of time. At the
end of the cooking time, the oven turns off automatically.
NOTE:
•Cooking mode must be selected before you can set a cook time.
•Cook Time can be set for any amount of time between 1 minute and 11
hours and 59 minutes.
•To change the cook time during cooking, press STOP/CLEAR to cancel
the current cooking and set a new cook time.
Setting Immediate Cook and Automatic Shutoff
(Example to set bake at 400°F for 25 minutes.)
1. Press Bake. The default bake temperature setting 350°F (177°C) appears
in the display.
2. Set the oven temperature. (Press 4, 0, and 0.)
3. Press Cook Time.
4. Set the desired cooking time. (Press 2and 5.)
5. Press START. The oven turns on and starts preheating. When the oven
temperature reaches the set temperature, the cooking time countdown
starts. The oven continues to cook for the set amount of time.
6. Place the food in the oven after preheating.
7. Press STOP/CLEAR to cancel this function at any time.
8. When the cooking cycle finishes, the oven turns off automatically and the
cook end tone plays. Press STOP/CLEAR to stop the tone, and remove the
food from the oven.

18
START TIME (DELAYED COOK TIME)
The automatic timer of the Start Time function turns the oven ON and OFF at
the time selected.
NOTE:
•Cooking mode must be selected before you can set a start time.
•The clock must be set to the correct time of day for Start Time to work
properly.
•If Cook Time was not set, the system will prompt you to set Cook Time.
Setting the Oven for Delayed Start
(Example to set bake at 400°F for 25 minutes starting at 5:30 PM.)
Arrange interior oven rack(s) as needed and place the food in the oven.
1. Press Bake. The default bake temperature setting 350°F appears in the
display.
2. Set the oven temperature. (Press 4, 0, and 0.)
3. Press Cook Time.
4. Set the cook time. (Press 2and 5.)
5. Press Start Time.
6. Set the desired start time. (Press 5, 3, and 0.)
7. Press START. At the set start time, the oven turns on and starts
preheating. When the oven temperature reaches the set temperature, the
cooking time countdown starts. The oven continues to cook for the set
amount of time.
8. Press STOP/CLEAR to cancel this function at any time.
9. When the cooking cycle finishes, the oven turns off automatically and the
cook end tone plays. Press STOP/CLEAR to stop the tone, and remove the
food from the oven.

19
OVEN CONTROL SETTINGS
The oven has additional settings which can be accessed and adjusted using
the Settings button. These settings can only be adjusted or activated while no
oven operation is in progress.
# Settings Description Default
1 Clock Clock
•Setting the time of day.
12:00
2 Temp Unit Temperature Scale
•Switch the temperature scale between
Fahrenheit and Celsius.
°F
3 Sound Keypad Sound
•Turn keypad sound on or off.
On
4 12/24 hour Clock Hour Format
•Switch the clock format between 12-hour
and 24-hour.
12
5 Language Display language
•Switch the system language.
English
6 Sabbath Sabbath Mode
•Turn Sabbath mode on and off.
Off
7 Brightness Display Brightness
•Adjust the brightness of the display.
High
8 Calibration Temperature Calibration
•Adjust the offset temperature of oven
cooking modes.
00°F
9 Demo Mode Demo Mode
•Turn Demo mode on or off.
Off
NOTE:
•Press START to switch between the first page (settings # 1-6) and the
second page (settings # 7-9).

20
SETTING CLOCK
1. Press Settings once. List of settings appears in the display.
2. Press 1to select "Clock" from the list.
3. Press 1to toggle and select AM or PM.
4. Press Settings to accept the change.
5. Press the numbers to enter the correct time of day. For example, to set
12:34, press the numbers 1, 2, 3, and 4.
6. Press Settings. This accepts the time entered and starts the clock.
SETTING TEMPERATURE SCALE
1. Press Settings Once. List of settings appears in the display.
2. Press 2to select "Temp Unit" from the list.
3. Press 1to toggle and select °F or °C.
4. Press Settings to accept the change.
TURNING ON/OFF SOUND
1. Press Settings Once. List of settings appears in the display.
2. Press 3to select "Sound" from the list.
3. Press 1to toggle and select On or Off.
4. Press Settings to accept the change.
SETTING CLOCK HOUR FORMAT
1. Press Settings once. List of settings appears in the display.
2. Press 4to select "12/24 hour" from the list.
3. Press 1to toggle and select 12H or 24H.
4. Press Settings to accept the change.
Other manuals for COS-30ESWC
3
This manual suits for next models
1
Table of contents
Other Cosmo Oven manuals

Cosmo
Cosmo COS-C51EIX User manual

Cosmo
Cosmo COS-317AFOSS User manual

Cosmo
Cosmo COS-C106SIX-PT Instruction Manual

Cosmo
Cosmo COS-30ESWC User manual

Cosmo
Cosmo COS-30ESWC User manual

Cosmo
Cosmo C51EIX User manual

Cosmo
Cosmo COS-C51EIX Troubleshooting guide

Cosmo
Cosmo C51EIX Manual

Cosmo
Cosmo COS-317AFOSS User manual
Cosmo
Cosmo C106SIX-PT Manual
Popular Oven manuals by other brands

Siemens
Siemens CS936GA.1 User manual and installation instructions
SEVERIN
SEVERIN TO 2053 Instructions for use

Todd English
Todd English PRO-SMART 20902 owner's manual

Bravetti
Bravetti KR220H instruction manual

Electrolux
Electrolux EOA5454AAK user manual

SCHOLTES
SCHOLTES FP T5.1 N S operating instructions