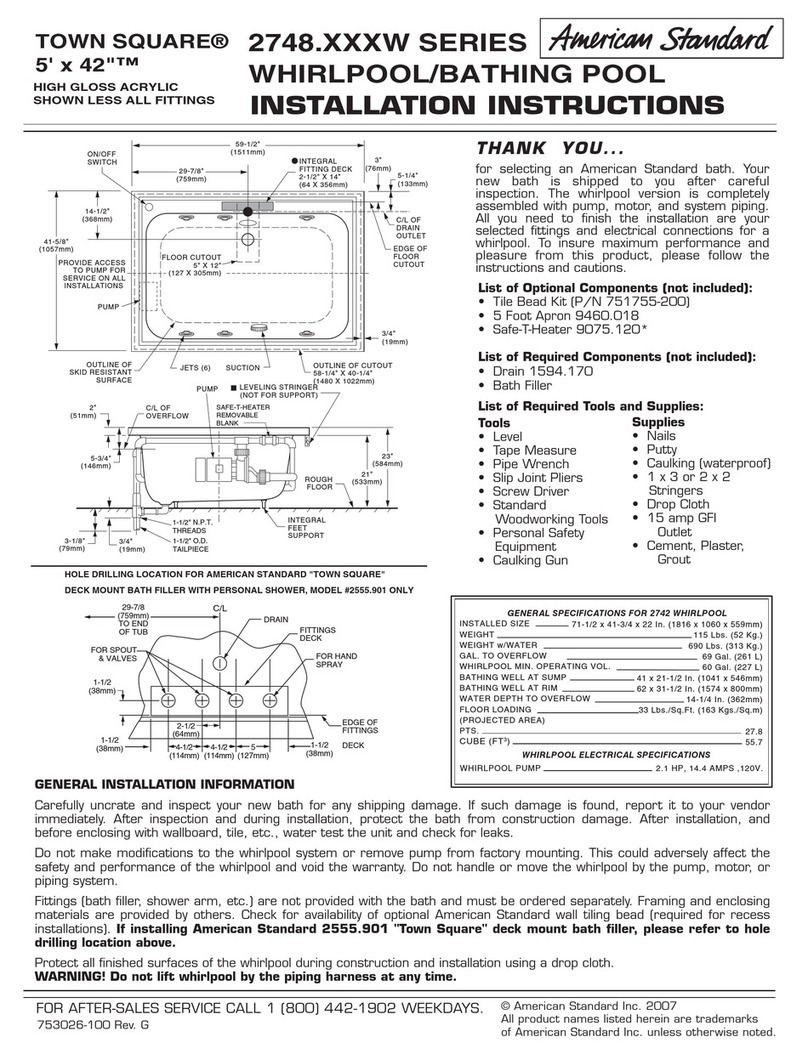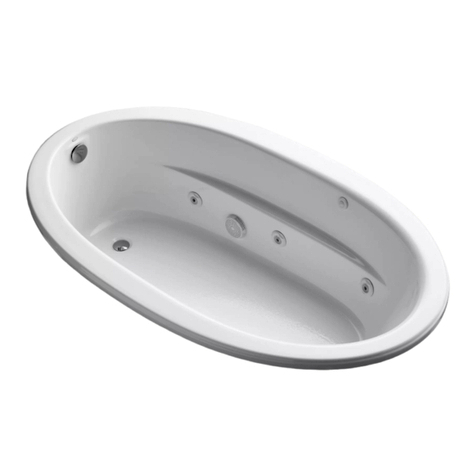
INSTALLING AN OVAL TUB WITH A TEMPLATE DIAGRAM
Refer to illustration D. The back section of this manual contains oval cut out instructions. Use pencil and tape
measure to plot the coordinates and draw the cut out. Take special care that you do not to drop the tub in the
platform cutout, since the tub may break and the ensuing warranty limitations would become effective. For
additional questions on installing the tub read “installation procedures” above.
CLEANING AND MAINTENANCE
Air Baths are equipped with an Automatic Cleaning and Purge Cycle
Air Baths have a pre-programmed cleaning and purge cycle built in to expel the remaining water in the air
channels. It activates within 20 minutes after the Air Bath is turned off and then blows for about 2 to 3
minutes. After the cycle is completed it will shut off automatically. There is nothing to be alarmed about if you
hear a blowing noise coming from the tub after the tub has been turned off. The noise you hear is the cleaning
cycle in operation.
Pump and hose circulation system should be ushed before rst use and on a monthly basis when product is
under normal use. Below are the recommended procedures for cleaning:
• DO NOT RUN WHIRLPOOL DRY. Fill the tub with hot water 2-3 inches above the jets and add 2-3
tablespoons of Lysol™, Pine sol™ or similar detergents.
• Switch on whirlpool and run for 10 minutes.
• Drain tub completely.
• Fill tub with cold water above jets.
• Switch on whirlpool and run for 5 minutes.
• Drain tub completely.
DO NOT USE ABRASIVE CLEANERS as they will scratch and dull the surface of the acrylic.
Plaster can be removed using a sharpened wooden stick. DO NOT USE METAL SCRAPERS, WIRE
BRUSHES OR OTHER HARSH ABRASIVE TOOLS. Usually a mild detergent will remove construction
debris. More stubborn debris may be removed with denatured alcohol, or Clorox Soft Scrub® cleaner. Light
scratches and dulled areas may be restored to original luster by rubbing with an automotive type cleaning
compound such as DuPont White Polishing Compound®.
OPERATING INSTRUCTIONS
1. Fill the bath at least to 3 inches above the jets before activating the pump.
2. The air bath blower and/or whirlpool pump is activated by depressing the control panel buttons. Do not
repeatedly depress the switch in rapid order if you do not see the whirlpool function right away, as it may
take a few seconds before you can see it fully operating. Please see air bath control or Total Massage
Control instructions on the following page for operation and features.
3. If any factory-installed ttings are removed; do not operate the unit. A safety hazard may occur.
4. Do not use bubble bath when you operate the whirlpool pump. This might cause excessive foaming.
5. Bath oils may be used; however their frequent use will require more frequent purging and cleaning of the
systems.
6. Both air and whirlpool systems are plumbed in a way that water will drain from the plumbing easily.
7. There are no user serviceable parts located under the tub.
JET OPERATION AND ADJUSTMENT
The jets are easily adjusted by pointing the jet-nozzle in the desired direction. The
strength of the water ow and air induction can be regulated through twisting the
jet-nozzle. Turning the nozzle clockwise will decrease the water ow and nally
completely turn off the water ow of that particular jet. If the nozzle is turned counter
clockwise then the water ow will increase up to its maximum ow. Only a 1/4 turn or
90˚ turn is required from the OFF position to the fully OPEN position. Illustration I


