04
Please read the manual carrefully before starting the installation. After commissioning and
testing the systems functionality, this document must be given to the enduser of the system.
กรุณาอานคูมือกอนเริ่มการติดตั้ง หลังการทดสอบระบบตางๆ เอกสารนี้จะถูกใชโดยผูติดตั้ง
• CARE AND CLEANING ขอควรระวังและการทำความสะอาด •
Our products are made of high quality materials and require only minimal maintenance.
The following maintenance tips help to preserve the surface and prevent damage
through incorrect cleaning. Fittings and control parts should be wiped dry after used.
Only use mild cleaning products that contain soap.
The following must not be used: Scourers, abrasive sponges, hydrochloric acid, lime-,
plaster- or cement removers, solutions or cleaning agents containing acid (pH≤4), lime
scale remover or vinegar-based cleaner – and cleaning agents where the chemical solu
tion is not known which may be sold as «special cleaner for ttings».
ผลิตภัณฑของเราทำมาจากวัสดุที่มีคุณภาพสูงและตองการการบำรุงรักษานอยที่สุด.
ขั้นตอนหรือtips ในการซอมบำรุงจะชวยลดการถูกทำลายของผิวผลิตภัณฑ. อุปกรณและชิ้นสวนอื่นๆ ควรเช็ดใหแหง
หลังจากใชงาน. ควรใชน้ำยาทำความสะอาดที่นุมนวลกับผลิตภัณฑซึ่งมีสวนผสมของสบู.
สิ่งที่ไมควรนำมาใชทำความสะอาด เชนการขัดถู, ฟองน้ำเสนลวด, กรดไฮโดรคลอริค, น้ำยาลางปูนพลาสเตอร หรือ
ปูนซีเมนต, สารละลายและน้ำยาทำความสะอาดแบบกรดซึ่งมีคา PH < 4, น้ำยาลางคราบหินปูน/ตะกรัน หรือ
น้ำยาทำความสะอาดที่มีน้ำสมสายชูเปนสวนผสม, และน้ำยาทำความสะอาดแบบไมรูจักสวนผสมทางเคมีซึ่งจะ
ขายในประโยคที่วา "น้ำยาทำความสะอาดพิเศษเฉพาะอุปกรณ Fittings"
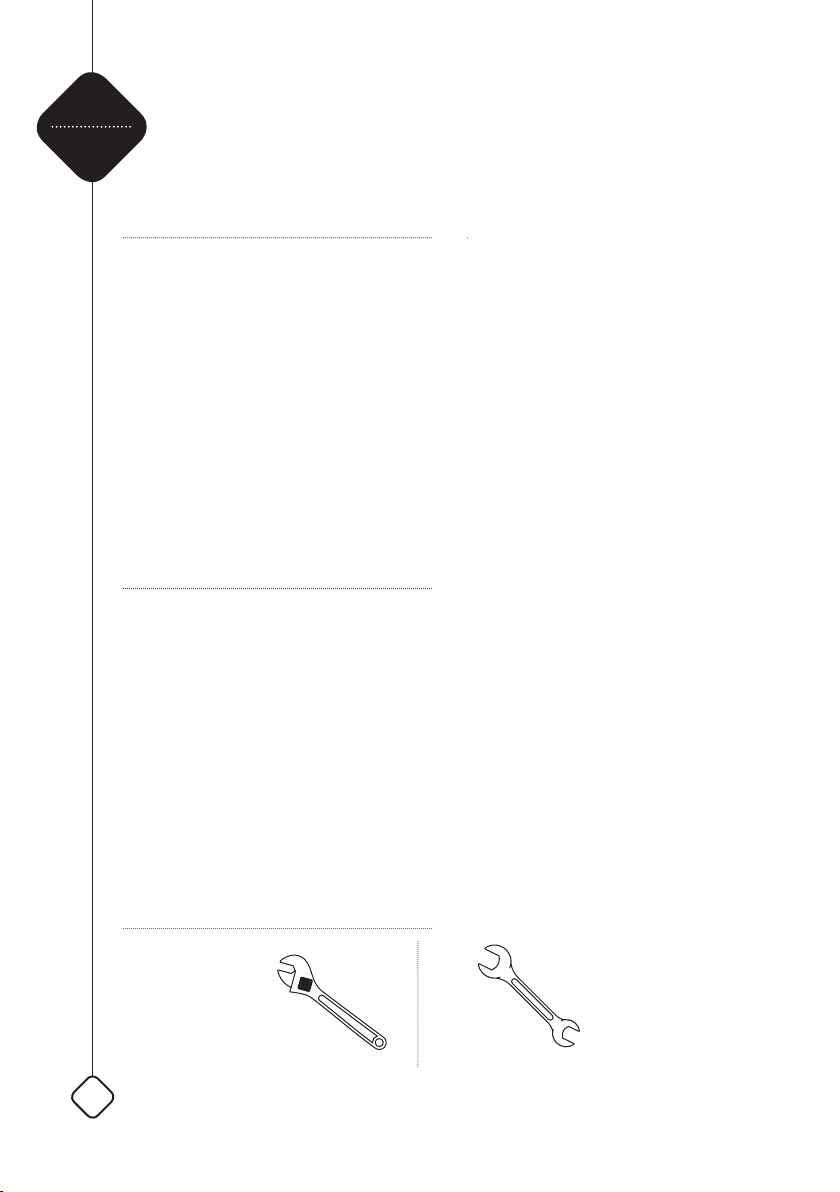
• TOOLS YOU WILL NEED / อุปกรณเครื่องมือที่ตองการ •
• THANK YOU FOR USING / ขอบคุณสำหรับการใชงาน •
• NOTICE / คำเตือน •
We have purpose to provide a better life inspired by clean, hygenic and healthly lifestyles.
We created design of every products with creativity but contain with comfortable and
balance as a way of living. And we gladly say Thank You for believing us.
พวกเรามีจุดประสงคที่จะจัดหาความสะอาด ถูกสุขลักษณะและสิ่งที่ดีตอสุขภาพ พวกเราออกแบบผลิตภัณฑ
ทุกตัวดวยความคิดสรางสรรค รวมทั้งความสะดวกสบายและสมดุลของการอยูอาศัย และพวกเราดีใจและ
ขอบคุณสำหรับการเลือกใชผลิตภัณฑของเรา
PREFACE
คำนำ
General / ทั่วไป*
*Place of Installation / สถานที่การติดตั้ง
This installation manual contains instructions for the correct installation of the XPANO
product. The warranty will be invalidated if the product is not installed according to these instructions.
Installation must be carried out by qualied installers in accordance to this installation
manual. Country-specic standards, rules and safety regulation do apply.
คูมือการติดตั้งเลมนี้จะบอกขั้นตอนการติดตั้งที่ถูกตองสำหรับผลิตภัณฑ XPANO การรับประกันจะหมด
ทันที หากผลิตภัณฑไมถูกติดตั้งตามคูมือเลมนี้.
การติดตั้งตองดำเนินการโดยผูเชี่ยวชาญตามคูมือการติดตั้งเลมนี้. มาตรฐานแตละประเทศ,กฏเกณฑและ
ความปลอดภัยจะตองนำมาใชดวย
The XPANO products must be installed in an accessible place and in accordance to
this installation manual. This ensures a problem-free service and maintenance procedure.
ผลิตภัณฑ XPANO ตองถูกติดตั้งสถานที่ซึ่งเขาถึงไดและอางอิงตามคูมือติดตั้ง.
ควรคำนึงถึงการซอมบำรุงผลิตภัณฑดวย
Spanner / ประแจ
Wrench / ประแจแบบเลื่อน