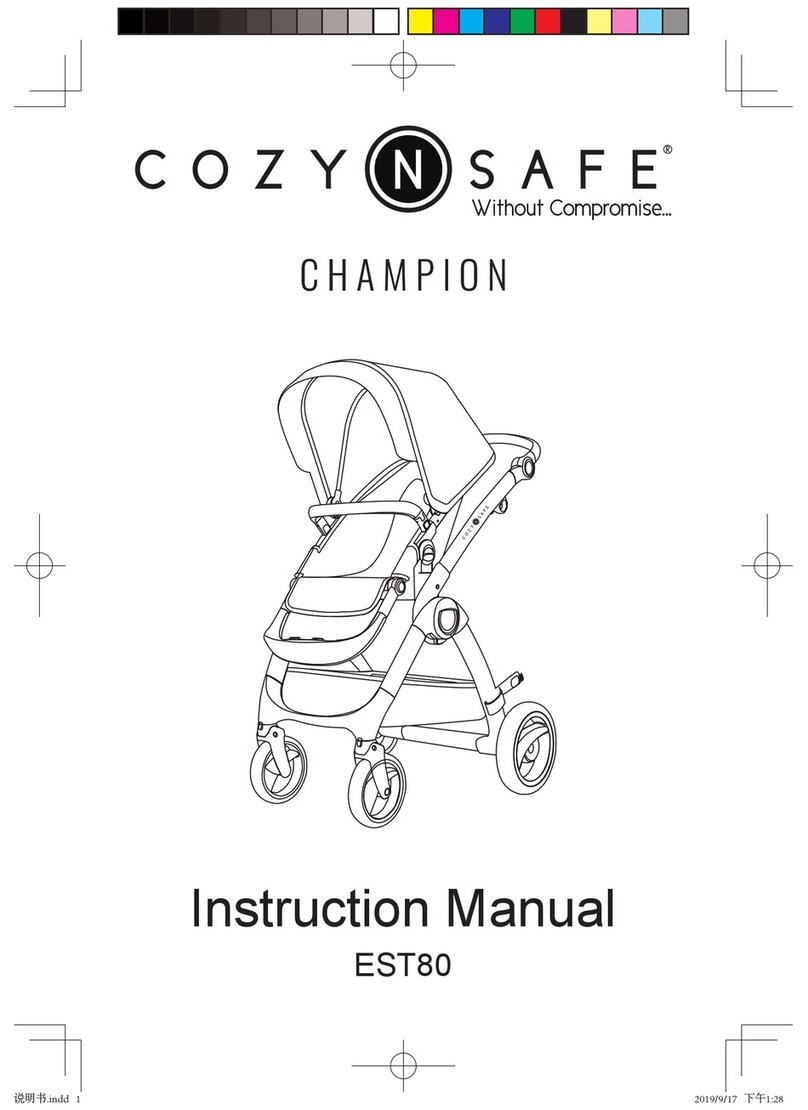
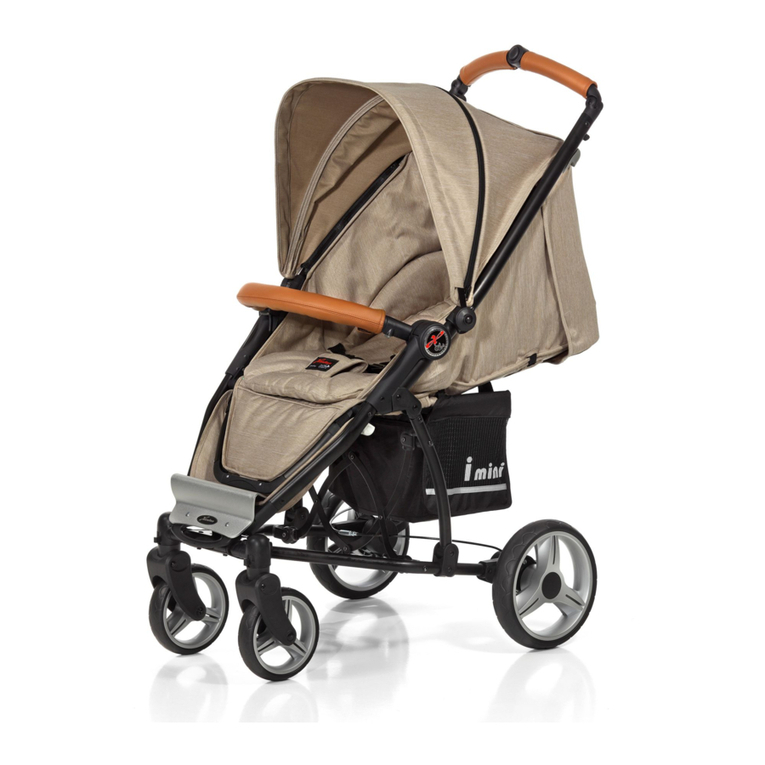
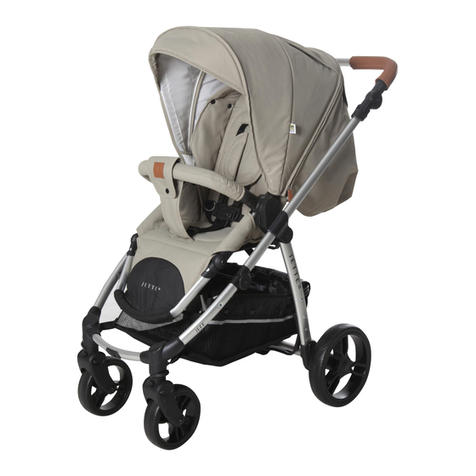
Cozy N Safe i-METRO User manual

Instruction Manual
EST100
Without Compromise...
Without Compromise...
We’d love to see your pics!
Share them using #imcozynsafe
Cozy N Safe
Oxford Street, Wolverhampton, West Midlands, WV14 7DP, U.K.
Tel: +44 (0) 1902 494905
Fax: +44 (0) 1902 490211
Email: [email protected]
Website: www.cozynsafe.com

Please read the instructions carefully before use and keep for future
reference. Your child’s safety may be affected if you do not follow
these instructions.
1 2
• Never leave your child unattended.
• Please always make sure that the stroller is fully open before putting your
child in the stroller.
• Please do not put more than one child in the stroller.
• Ensure that all the locking devices are engaged before use.
• To avoid injury, ensure that your child is kept away when unfolding and
folding this product.
• Do not let your child play with this product.
• Always use the restraint system.
• This product is not suitable for running or skating.
• Use a harness as soon as your child can sit unaided.
• The converted cot model is suitable for a child who cannot sit up by itself,
roll over and cannot push itself up on its hands and knees, maximum weight
of child in converted cot is 9kg.
• This product is only suitable for child from 0 month up to 3 years.
• It is recommended that the most reclined position be used for newborn
babies up to maximum weight of 5kg.
•To avoid the risk of suffocation, keep all plastic bags and packaging
out of reach of children.
WARNING
• Check that the pram body or seat unit or car seat attachment devices are
correctly engaged before use.
• No additional mattress shall be added.
• The brake shall be engaged when placing and removing the
children.
• Any load attached to the handlebar or on the backrest of on the sides of the
stroller will affect the stability of the stroller
• This product is only suitable for one child.
• Only use the accessories or spare parts sold or approved by the
manufacturer, using other accessories could be dangerous and could
cause harm to you and your child.
• Do not carry more than 4kg in the basket or 1kg in any pocket. (If supplied)
• Never use the stroller near an open fire.
• Only use the accessories or spare parts sold or approved by the manufacturer,
using other accessories could be dangerous and could cause harm to you
or your child.
• Always hold the pushchair on a sloping surface, even when the brake
is engaged.

3 4
Get to know the i-Metro
Maintenance
Warranty
Handle bar
Folding button
and second lock
Sky window
Sunshade canopy
T-bar
Front wheel
fixing button
Foot pedal
Front wheel
Brake Pedal
Rear wheel
Shoppingbasket
Folding lock
Backrest recline
adjustment button
Clean the fabric with luke warm water and non abrasive soap.
Rinse with fresh water and leave to dry.
Never use bleach or other chemical detergents.
Periodically (approximately once a month) treat the
wheels and metal parts with Teflon or silicon spray to ensure
the stroller continues to run smoothly.
Check the screws, small parts and the stitching to avoid
danger or any breakages, replace the broken parts in time
when necessary.
The 12-month warranty period commences on the day of purchase.
The warranty covers manufacturing faults, but not the exchange
or return of the product.
The warranty is only valid if you supply the following items:
1) Proof of purchase
2) A detailed description of the defect.
The warranty is not valid in the following cases:
The products is returned without the original receipt of purchase.
The defects and/or damage are caused by improper use and/or
by modifications made by the customer.
The discolouration/stains were caused by washing, rain or sun.
The wear and tear is a result of normal usage.
Any repairs do not extend the warranty period.
Full warranty Terms & Conditions can be found on
www.cozynsafe.com
The Cozy N Safe i-Metro meets the highest safety
standards: Europe: BS EN1888-2:2018

Assembling the stroller
A. Fully extend the handle by
pushing the second lock in (arrow 1)
and squeezing the folding button
simultaneously (arrow 2). (Pic. A)
B. Follow the red arrow to pull out
the handle bar fully. You will hear a
‘click’ when the handle has locked
in to place.
A. Locate the canopy height
adjustment bar and pull the canopy
up. Then unfold the canopy by pulling
the front of the canopy towards the
front of the stroller.
B. Insert the T bar in to the correct
slot located at the very front of the
seat. You will hear a ‘click’ when it
is locked in. (It may be easier to
install the T bar when the stroller
is folded.)
C. Open the foot pedal by folding it
down as per pic C.
D. As shown in pic.D, please
insert the axle of the wheels into
the holes in the chassis in the direction
of the arrow, you will hear a ’click’
when it is installed correctly.
(The wheels are NOT handed.
Any wheel can be installed
either on the left or right side.)
Align the flat side of rear wheel axle
with the flat side of the holes on the
chassis.
C. Release the folding lock
and follow the red arrows in the
image to open the stroller fully.
You will hear a ‘click’ when the
stroller has fully unfolded.
Be careful not to trap your fingers
when unfolding!
D. Your Stroller is now fully
assembled.
B
A
C
Assemble
the rear wheels
Assemble
the front wheels
D
A
B
C
D

How to use the stroller
Brake operation
Sunshade ventilation window
A. Recline the back rest to the
lowest position. Unzip the two
zips and roll up the flap. Then
using the tag secure the flap
at the top. You can then
re-adjust the backrest recline.
A. Higher or lower the handle by
pushing the second lock in
(arrow 1) and squeezing the
folding button simultaneously
(arrow 2). (Pic. A)
NOTE: There are 2 handle height
positions when the stroller is in use,
the lowest height is used when the
stroller is folded.
B. Locate the canopy height
adjustment bar and pull the canopy
up to raise the height. To lower
the height push down on the bar.
C. Pull up on the backrest recline
adjustment button to release
the backrest. There are 3 recline
positions.
Note: You may need to raise the
canopy before adjusting the
backrest recline angle.
D. Adjust the lower leg cushion
position by locating the release
buttons under the cushion. Pull
them in the direction of the arrows.
You can then lift and lower the
cushion.
E. The foot pedal will adjust
freely when pressed.
A. Pull up on the pedal to release
the brake. Press down on the
pedal to apply the brake. The
pedal is located on the rear axle.
Note: The brake will not release
if you are pushing or pulling the
stroller when releasing the pedal.
A
B
C
D
E
A
B

Harness operating instructions Front wheel rotation locking device
Removing the wheels
A. To release the buckle press
the middle button down and
both left and right clips will
pop out.
B. To secure the harness push the
left and right clips in to the
centre buckle until you hear
a ‘click’.
A. You can lock the front wheels
into a forward facing position
by engaging the swerve lock
button. Align the button and
the groove as per pic.A.
and push downwards on the
button. To release push up
on the button.
A. Locate the hole on the inside
of the front legs of the chassis.
Using a tool (such as a
screwdriver) push the
release and pull the wheel
downwards.
B. Locate the metal release
button located on the rear axle.
Press the release button and
pull the rear wheel away from
the stroller.
D. To adjust the length of the
harness find the adjuster on each
strap and slide it up and down
to extend or shorten the harness.
C. To readjust the shoulder
harness height unbuckle the
harness and remove
the shoulder strap from the buckle
as shown in pic C.
Remove the chest pads by
separating the velcro on the
chest pad from the strap and
slide the pad down the strap.
The shoulder straps can the be thread through the back of the seat and re-thread
through one of the 4 height options. Reattach the chest pad and buckle.
A
C
D
A
A
B
B

1211
Operating the T bar
Removing the T bar
Folding the stroller
Under the Seat
Fixing clip
TAP
A. Press the button on the side
of the T bar base to release the
bar. To lock it back into position
move (as per Pic.A) the T bar
until it locks in to place.
You will hear a ‘click’
when the T bar is in place.
Ensure the T bar is locked
when using the stroller.
A. Fold the canopy away and
push the canopy down to the
lowest position.
B. Push the second lock on the
handle and squeeze the folding
button simultaneously
and continue to hold.
C. To fold the stroller push down
on the handle with a little force.
This will trigger the tap to fold
operation.
D. Continue to fold the stroller
until the folding lock engages.
Release the T bar to use as a
handle.
A. It may be easier to remove
the T bar if the stroller is folded.
Locate the release button under
the lower leg cushion. Press
the release clip while pulling
on the T bar away from the
stroller.
1
2
A
A
A
B
C
D

13
Unfolding the stroller
3
A. Pull the folding lock tab
to release the stroller and
unfold the stroller following
the arrow in Pic.A.
B. Continue to unfold the stroller
until it locks in to position. You
will hear a ‘click’ when the
stroller is locked.
C. Push the second lock on the
handle and squeeze the folding
button simultaneously.
Pull up on the handle
to extend it to the correct
height for you.
D. Raise the canopy and unfold
if required.
Without Compromise...
We’d love to see your pics!
Share them using #imcozynsafe
A
B
C
D
This manual suits for next models
1
Table of contents
Other Cozy N Safe Stroller manuals
