HARDWARE
INSTALLATION
OVERVIEW
In
this
section
we
will
discuss
the
connections required
operational.
After completing
this
section
the
9000
will
software
configuration.
I
CABLE
CHECK
to
make
the 9000
be
ready
for
• I
If
the
9000
workstation
is
being connected
to
other equipment
by
special
cables , ensure
that
the bulk cable has
been
installed,
and
that
the
appropriate
connector
kits
are
available
. Contact your local
CPT
service
e
to
arrange
for
installation
of cables
and
mountin / cable connectors.
9000
HARDWARE
INSTALLATION
I
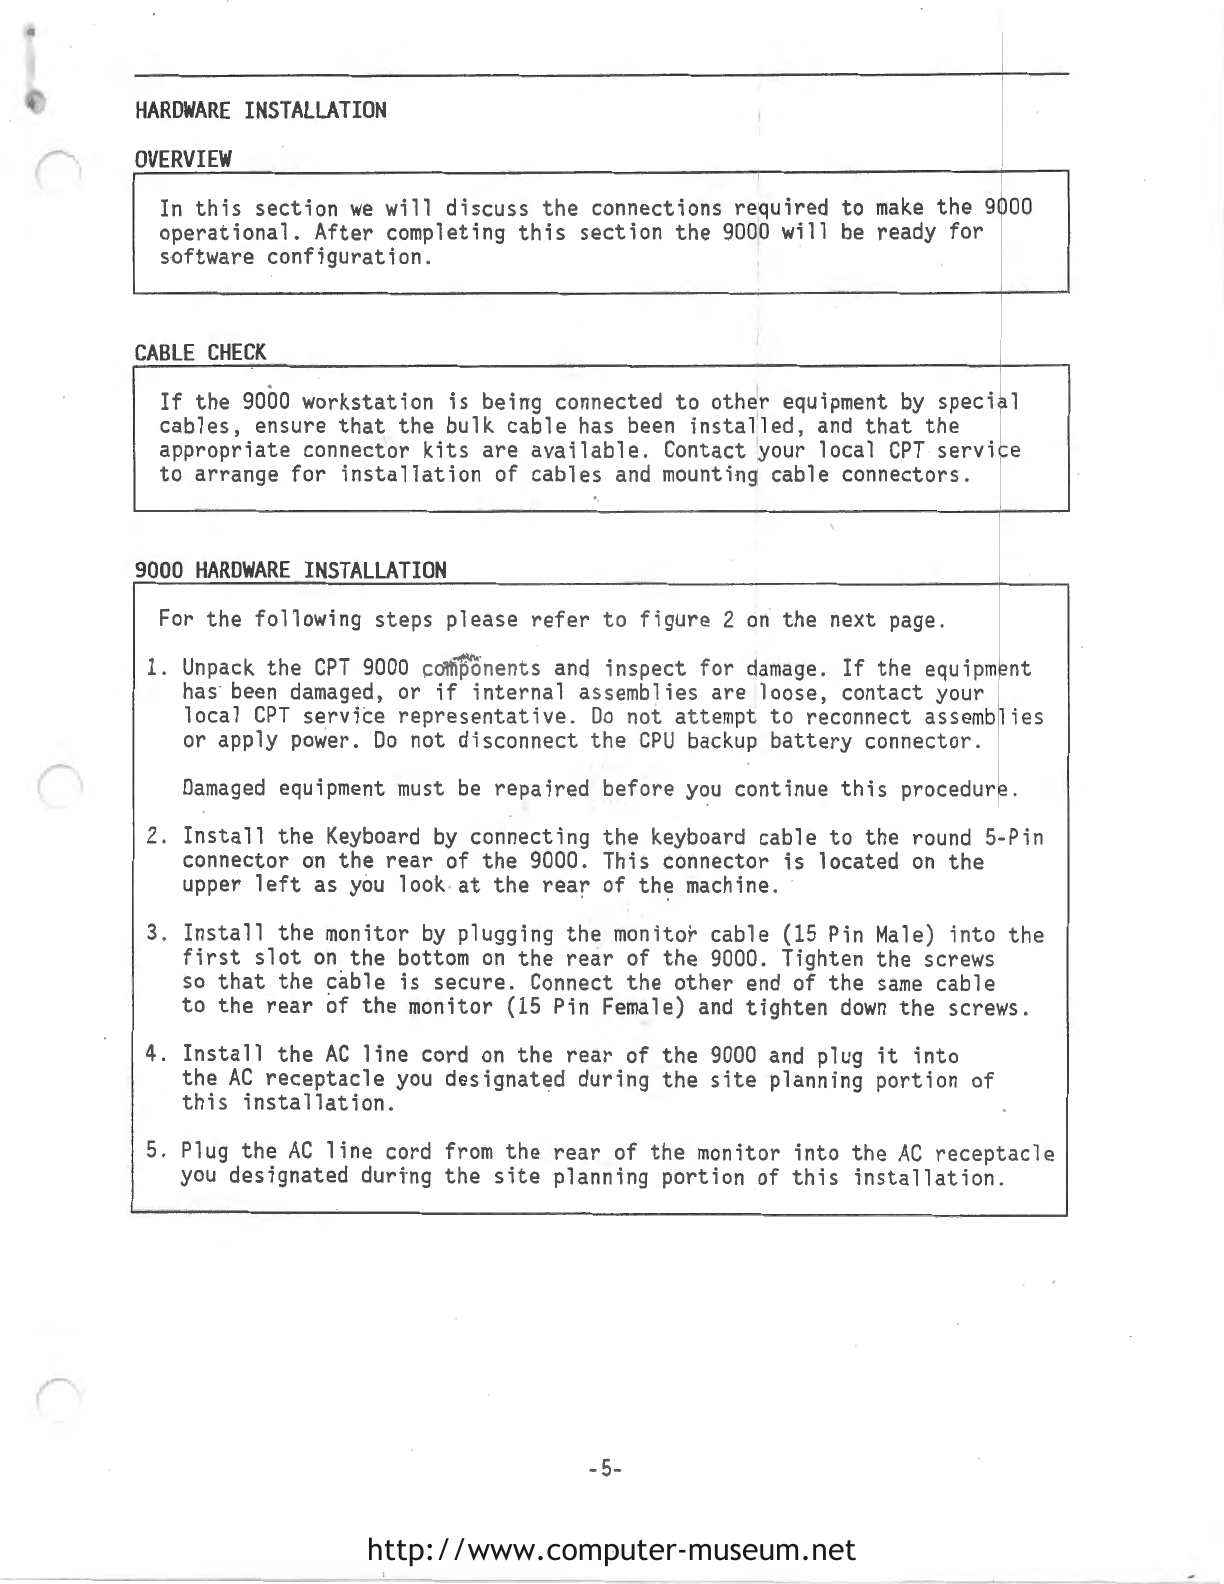
For the following
steps
please
refer
t o f igure 2
on
the next page.
I
1.
Unpack
the
CPT
9000
components
and
inspect for damage.
If
the equipment
has
been
damaged,
or
if
internal
assemblies are Jloose, contact your
local
CPT
servite
representative.
Do
not attempt
to
reconnect assemblies
or apply power.
Do
not disconnect
the
CPU
backup
battery
connector.
Damaged
equipment
must
be
repaired
before
you
continue
this
procedure.
2.
Install
the
Keyboard
by
connecting
the
keyboard cable
to
the round 5-Pin
connector
on
the
rear
of
the
9000. This connector
is
located
on
the
upper
left
as
you
look at
the
rear
of the machine .
3.
Install
the
monitor
by
plugging the monitor cable
(15
Pin
Male)
into
the
first
slot
on
the bottom
on
the
rear
of the 9000. Tighten the screws
so
that
the
cable
is
secure. Connect
the
other
end
of the
same
cable
to
the
rear
of the monitor (15 Pin Female)
and
tighten
down
the screws .
4.
Install
the
AC
line
cord
on
the
rear
of the
9000
and
plug
it
into
the
AC
receptacle
you
designated during the
site
planning portion of
this
installation.
5. Plug the
AC
line
cord
from
the
rear
of
the
monitor into the
AC
receptacle
you
designated durtng the
site
planning portion of
th
is
installation.
-
5-
http://www.computer-museum.net