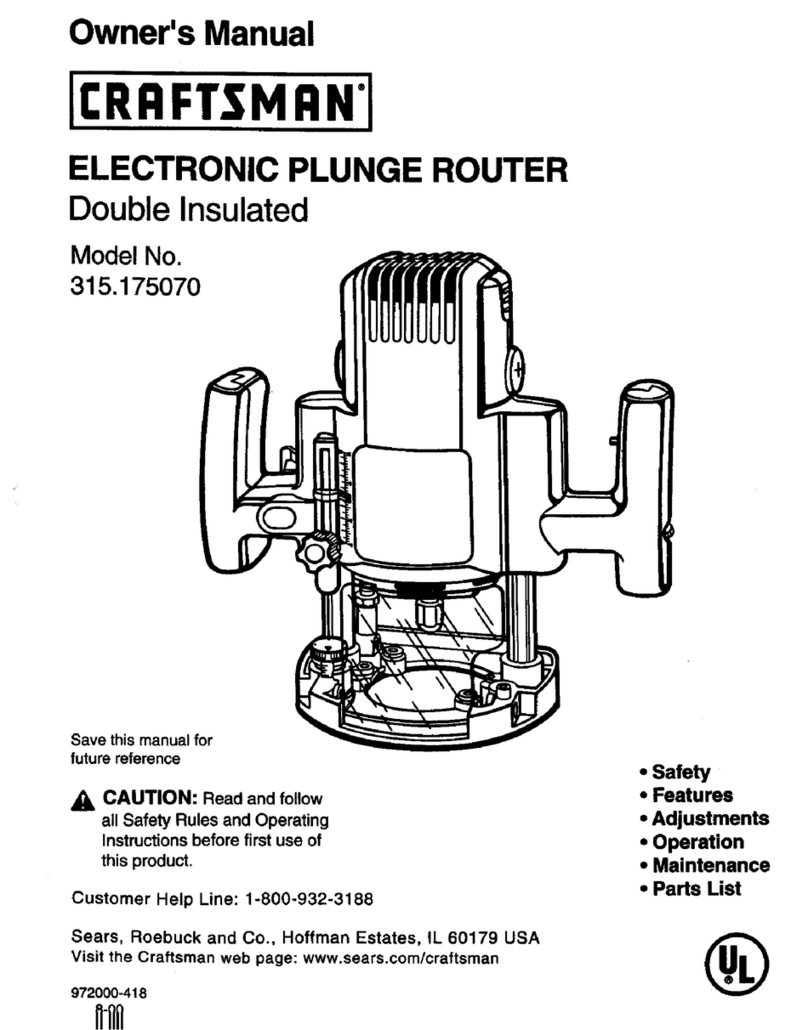
Craftsman 315.25031 User manual

ASSEMBLY, OPERATING
AND PARTS LIST FOR
MODEL NUMBER 315o25031
The Model Number wi_J be found on a name plate located on
the Commutator End Coveir_ Always mention the Model Num_
bet in alt correspondence regarding the CRAFTSMAN ROUT_
ER or when ordering repair parts,
HOW TO ORDER REPA| R PARTS
All parts listed herein may be ordered through SEARS, ROE-
BUCK AND CO_ or SIMPSONSoSEARS LIMITED. When or_
dering parts by mail from the mail order house which serves
the territory in which you Ikve, setting prices will be furnished
on request or parts will be shipped at prevailing prices and
you will be billed accordingly,
WHEN ORDERING REPAIR PARTS, ALWAYS GIVE THE
FOLLOWING INFORMATION AS SHOWN IN THIS LIST:
], The PART NUMBER 3, The MODEL NUMBER--315 2503 t,
2, The PART NAME 4, The NAME of itern_Heavy Duty, Router
COAST TO COAST NAT|ON-W| DE
SERVICE FROM SEARS
FOR YOU RCRAFTSMAN H EAVY DUTY ROUTER
SEARS, ROEBUCK AND CO. and
SIMPSONS-SEARS LIMITED in
Canada back up your investmemt
with and
MAN replacement parts,
If and when you need repairs or
service, call on us to protect your
investment in this fine piece of
SEARS, ROEBUCK AND CO.-U.S.A.
CANADA, SIMPSONS-SEARS LiMiTED

I
&
Z
U
!
a
a
J
/
45
9
/
/
/
/
41
\
40 13
5O
48
61

0
l-
a
<
0
W
Z
0
O,
0
X o
m _
_ 3_
z _
u _ i_ Z
o_
Z _
_0oo
j 444 _ .... , ,0 , , _ ooo
£
I
E

OPERATING
CUSTOMER'S DO'S AND DONT'S
1. DO make sure voitage supply is 1_0o120 volts AC or
D.C, before router is plugged in,
2. DO be sure tool is properly grounded especialiy_if you
are on a damp floor or groun&
3_ DO blow out air passages occasionally to keep unit
clean to insure a cool running unit.
4_ DO check bits and cutters periodicaliy for fightness_
5, DO keep caller clean,
6DO replace brushes in pairs when warn to about _,_"
in length.
1 DON'T leave the power cord connected to the power
supply when installing or changing cutters_
2 DON'T overload router to the point where speed is
Over}oading causes overheating
and possible burnouts_
3, DON'T use dull knives or cutters since they will not
produce good work and will cause overiooding_
4, DON_ use two wire extension cord_
5 DON'T pick the tool up by the power cord,
6, DON_T jerk the power cord to remove the plug from
the socket,
CAUTION
GROUNDING _ This tao! is equipped with an
Underwriters' Laboratories approved 3prong plug
for your s_fety_, "The _onger prong in th_s plug is
canne,ct_ through _he power cord to the tool
When the
is im
serted in a
property
grounded re-
ceptacle box,
StwlH pratecl
the user from
shock, should
the tool insu,_
Jation for any
reason fail_
|_ you use an extension cord with this tool, it
should also be 3wire_
Since many receptacleboxes in present canstruco
llon will nat have provision for 3 prong plugs,
an _adapter is included with this tool_ Make
sure grounding lead is firmly attached to a
g_und_ _ep|e©le box as shown above, before
nit.piing to operate the tool
*(Not US_ in Canada)
LUBRICATION .... The Motor Unit Bali Bearings ore pack-
ed with a sufficient amount of grease for the life of the
Unit when used in normal service,
BRUSHf!$_To replace Carbon Brushes (#2) Fig, 1, un-
screw Brush Cap (#1) and remove old brush Replace with
new brushes (in pairs), making sure when inserting that
curvature of brush wiJ! match curvature of commutator
Make sure that the brushes move freely in the hoider_
Replacement of these relatively inexpensive ports, when
necessary, will aid in getting full power from the unit and
will prolong the life of the armature,,
REPAIR SERV|CE AND PART$_All fine tools, on occas-
ion, may require service or the replacement of parts du_
to wear from normal use, To prdong the life of your tad
when repairs ore needed, call on your nearest Sears Moil
Order'or Retail Store Please don't risk possible additional
cost or damage to the tooi through _nexperlenced repairs_
Sears Servicemen ore factory trained,
which prove_, _ o_r e×ominot_o_ to _ de_e_tiee _ndet neli_'_'_l _
This guarantee d_S _t eove_ bo_n_o_t_ f_om _o_ at irnpro_r vdtoge, at' &o_'_ the t_i @i_g fo_ or [_p_Hy u_d B|odes, eo_gS_or ony o_hef
p_s subieeted to obu_ o_e _ot covered by this g_oto_tee,
YOUR GUA_NT_E CARD MUST BE PRESENT£D WHEN THE TOOL IS R_URN_D SHOULD YOU _'¢£EDTO AVAIL YOU_ELF _ YOUR GUAR-
ANTE_ RiGHTS_ IF CARD IS NOT PRESE_ED, ANY ADJUSTM£NT WILL B_ _DE AT THE DI_R_ION OF THE SEARS STORE
S_RS_ ROEBUCK AND CO,

INSTRUCTIONS FOE OPE TING (confinu )
TO ASSEMBLE MOTOR UNIT TO BASE--Align slot
in adiusting ring (B), Fig 2 with slot in base (E) In.-
sort re@tar unit iF) into base, with pin located in side
of motor unit engaging slot in adjusting ring_ Lower
motor unit in slot until it bottoms. Then turn adjust-
ing ring in a counterclockwise rotation to further iow.
er motor units Attach motor unit handle by sliding
onto base dovetail and tightening locking screw (DL
TO REMOVE MOTOR UNIT FROM BASE_-The mo_
tar may be removed by loosening motor Cocking screw
and turning adjusting ring (B) in a cioc:kwise direction
until motor reaches its highest position Motor may
then be lifted from bas.e_ When returning motor _a
base, make sure that slot in adjusting ring is aiign_
with slot in baser The switch and handie assembly
may be removed by loosening locking screw (D) F:ig_
2and sliding handle out,
TO ATTACH SUB°BASE--This router is supplied with
a Phendic Subobase (#57), Fig t_ This base provides
the rou_er with o smooth surface for use where it is
desired to keep work free from marks and scratches.
Fasten to Base with three screws, (#56), Fig l, fur-
nished.
TO INSTALL CUbERS--Place toilet (#27) rata end
of shaft and secure with nut (#28), leaving nut slight°
ly Ioose_ Insert shank of outtar allthe way into co.llet
Hold collar (#25) and nut with
wrenches furnished_
The Coilet is a precision Co!let and should be kept
clean to insure accurate results
TO ADJUST FOR DEPTH OF CUT- ,,,-Besure that moo
tar unit is turned off_ Piace the Router on a fiat surface
and loosen motor unit locking sCreW (A) Fig, 2 Turn
Router adiusting ring (B) in a counterclockwise direc-
tion, lowering the motor unit until the cutter iust
touches the surface Set odiusting ring indicator (C)
at zero. Move router until cutter is dear of the edge
of the work, then turn adjusting ring to iower cutter
to desired depth according to graduations on rlng_
Tighten motor unit locking screw secure_y_ Each grad°
uation on ring equals approx 1/64" vertico_ move°
ment of cutter_
SIZE OF CUT'The overage cut should not exceed
_Q,"depth per pass when using _arger cutters !n hard-
woods, two or three passes should be made when us_
ing the largest cutters available Two or three passes
in hardwood are more practical than risking possible
damage to the motor unit or cutlerbreakage through
PROPER CARE OF CUTTERS .......The best resutts for
fast accurate cutting are obtained by using cutters
which are sharp. A properly sharpened cutter will not
only prolong the life of the Router but will mare the
job of cutting both faster and easier_
Keep cutters c[eon_ Avoid, if possible, running hot and
smoking Remove any accumulated pitch and gum
from sides with kerosene_
if you are going to sharpen "your own cutters, here is
a recommended procedure, Grind only the inside of
the cutting edge of cutters. When grinding cutters, it
is sometimes necessary to touch up the end. Be sure,
when grinding the end of Cutters, to grind the clear-
ance angle the same as that originally furmshed on
the cutters.. Never grind the outside diameter of cut_
ters as they are ground on special machinery for prop_
er cieorance_
TO ASSEMBLE EDGE GUIDE AND CONTOUR FIN-
GER TO ROUTER_PIace arms (H) of edge guide in
bosses (I) on Router, Tighten screws (J) and (K) to
hoId in place Arms may be odiusted by loosening
screws (K) or (J) and piacing in the desired position
for cutting.. The contour finger is attached to the edge
guide by sliding keyway (L) over key (M) on edge
guide, and tightening screw (NL
USE OF EDGE: GUIDE AND CONTOUR FtNGER_
Used with "CRAFTSMAN" Heavy Duty Router for
shaping edges when cutters having no pilots are em_
played, and for making all tyt_es of cuts required to
be paraltel to the edge of the work When the contour
finger is attached to the edge guide, and positioned
under the cutter for the desired width and depth of
cut it wiii enable the operator to rout a uniform cut
on irregularly shaped edges_
USE OF ROUTER WITH DOVETAIL TEMPLATE_
When using the Router with the Dovetaii Template
aIways butt the rounded edge of the base, not flat
edge, against the Dovetail stop to insure proper dove-
tai! length
Page 5

AND ACCESSORIES
Shown below are attachments and accessories that can be used
with the HEAVY DUTY ROUTER, These items can be pur-
chased through your local Sears. store, or nearest Sears mail
order house.
FiG 4
Fi& 5
FiG 6
FIG,?
FIG. 3, DOVETAIL TEMPLATE, MODEL NO. 315.25720_
For use in conjunction with Router and Guide Bushing, Figure
4, to make dovetail joints for joining drawer sides and ends_ A
template is a "must"' for perfect fit of drawer sides and ends_
FIG. 4, GUIDE BUSHINGS AND ADAPTER, NO. 25059--The
Adapter attaches to the router base. Afterwards, any one of
three guide bushings furnished may be snapped into place in
the adapter. The bushing circumference rides against a tem-
plate edge toguide the bit for cutting. Since each of the three
bushings has a different diameter, three different selections
of spacing between the bit and template edge are avai!able.
Y2"' diameter bushing used with Dovetail Template (Fig. 3
above).
FIG. 5, TRAMMEL POI NT A_ACHMENT NO. 25154--This
attachment can be used with the router to cut inside circles
from 2" to 26" diameter, and can also be used for fancy ciro
c:ular edge work_
FIG. 6, CUTTER GRINDING A_ACHMENT, NO. 25159--
The Cutter Grinding Attachment for the router makes light
work of keeping bits and cutters sharp and in good condition
ASpecial grinding wheel for use in the router chuck is includ-
ed, The holding attachment has a full range of circular and
angular adjustments so that you can accurately align any
shape cutting edge with the grinding wheel surface_ Once set
up, the identical sharpening of all edges on a bit or cutter is
FIG. 1, FORMICA CU_ER ATTACHMENT, NO. 2573 For_
mica, phenolics_and laminates with similar bonding agents
are much too hard to cut successfully with ordinary tools, This
special router attac:hment, however, enables you to hold the
thin sheets fi rmly for accurate cutting and edging. The special
carboloy tipped bit included with this attachment will clean off
the stubborn edges smoothly, without chipping or ripping.
DOOR AND JAMB BUTT HINGE TEMPLATE_
(Not Shown) Most commercially availabJe Door Butt
Hinge Templates or Kits may be used with this R.out-
er for making butt hinge seats in accurately hanging
doors and shutters_
INSEARS, ROEBUCK AND CO. U.S.A.
CANADA, SIMPSONS-SEARS LIMITED
Pag_ 6
Table of contents
Other Craftsman Network Router manuals

Craftsman
Craftsman 320.27683 User manual

Craftsman
Craftsman 315.174740 User manual

Craftsman
Craftsman 171.61181 Instruction Manual

Craftsman
Craftsman 315.175070 User manual

Craftsman
Craftsman 315.25060 Datasheet

Craftsman
Craftsman 320.2767 User manual

Craftsman
Craftsman 315.25070 Quick reference guide

Craftsman
Craftsman 315.17480 User manual

Craftsman
Craftsman 315.25070 User manual

Craftsman
Craftsman 315.17504 User manual