manuals.online logo
Brands
  1. Home
  2. •
  3. Brands
  4. •
  5. Craftsman
  6. •
  7. Saw
  8. •
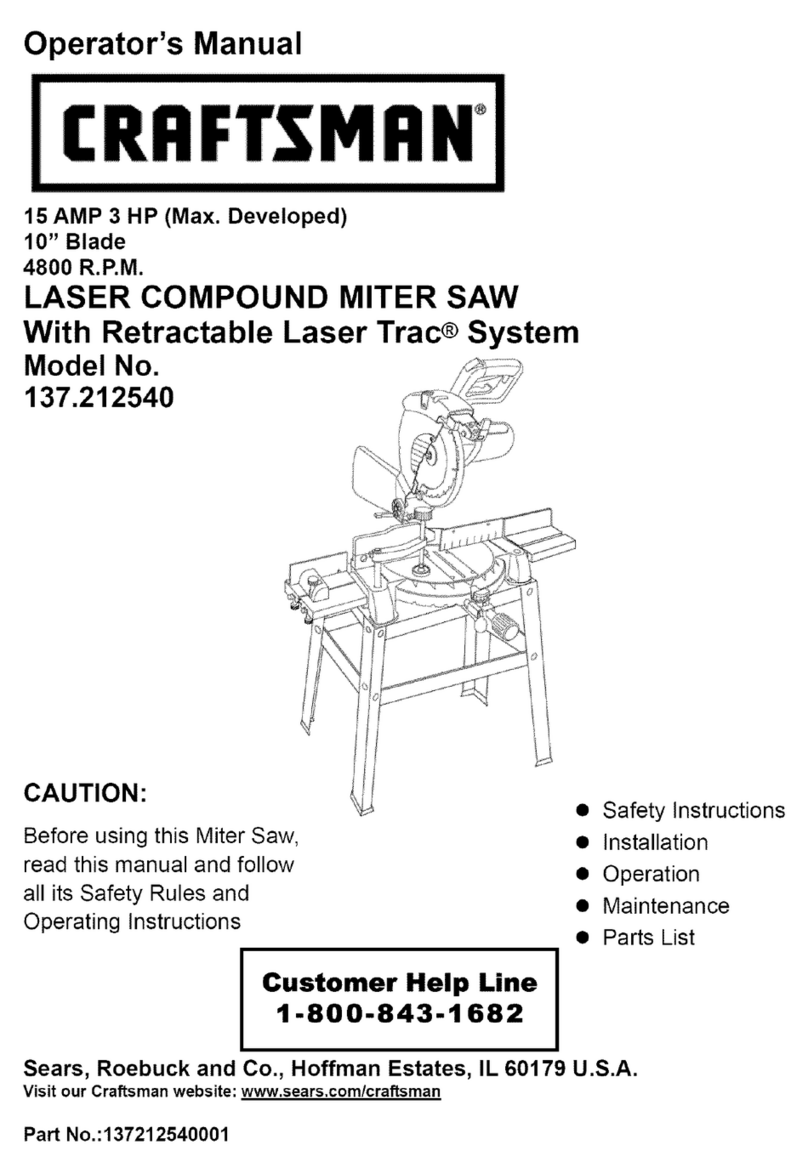
  9. Craftsman 315.212100 User manual

Craftsman 315.212100 User manual

Other manuals for 315.212100

1

This manual suits for next models

4

Other Craftsman Saw manuals

Craftsman 315.113081 User manual

Craftsman

Craftsman 315.113081 User manual

Craftsman 315.212300 User manual

Craftsman

Craftsman 315.212300 User manual

Craftsman 351.268500 User manual

Craftsman

Craftsman 351.268500 User manual

Craftsman 137.415020 User manual

Craftsman

Craftsman 137.415020 User manual

Craftsman 315.212500 User manual

Craftsman

Craftsman 315.212500 User manual

Craftsman 113.298051 User manual

Craftsman

Craftsman 113.298051 User manual

Craftsman 113.24140 User manual

Craftsman

Craftsman 113.24140 User manual

Craftsman 113.234610 User manual

Craftsman

Craftsman 113.234610 User manual

Craftsman 21609 - 18 in. Scroll Saw User manual

Craftsman

Craftsman 21609 - 18 in. Scroll Saw User manual

Craftsman 152.221140 User manual

Craftsman

Craftsman 152.221140 User manual

Craftsman 315.115780 User manual

Craftsman

Craftsman 315.115780 User manual

Craftsman 113.299315 User manual

Craftsman

Craftsman 113.299315 User manual

Craftsman 900.233550 User manual

Craftsman

Craftsman 900.233550 User manual

Craftsman 133.33166 User manual

Craftsman

Craftsman 133.33166 User manual

Craftsman 135.276103 User manual

Craftsman

Craftsman 135.276103 User manual

Craftsman 315.115790 User manual

Craftsman

Craftsman 315.115790 User manual

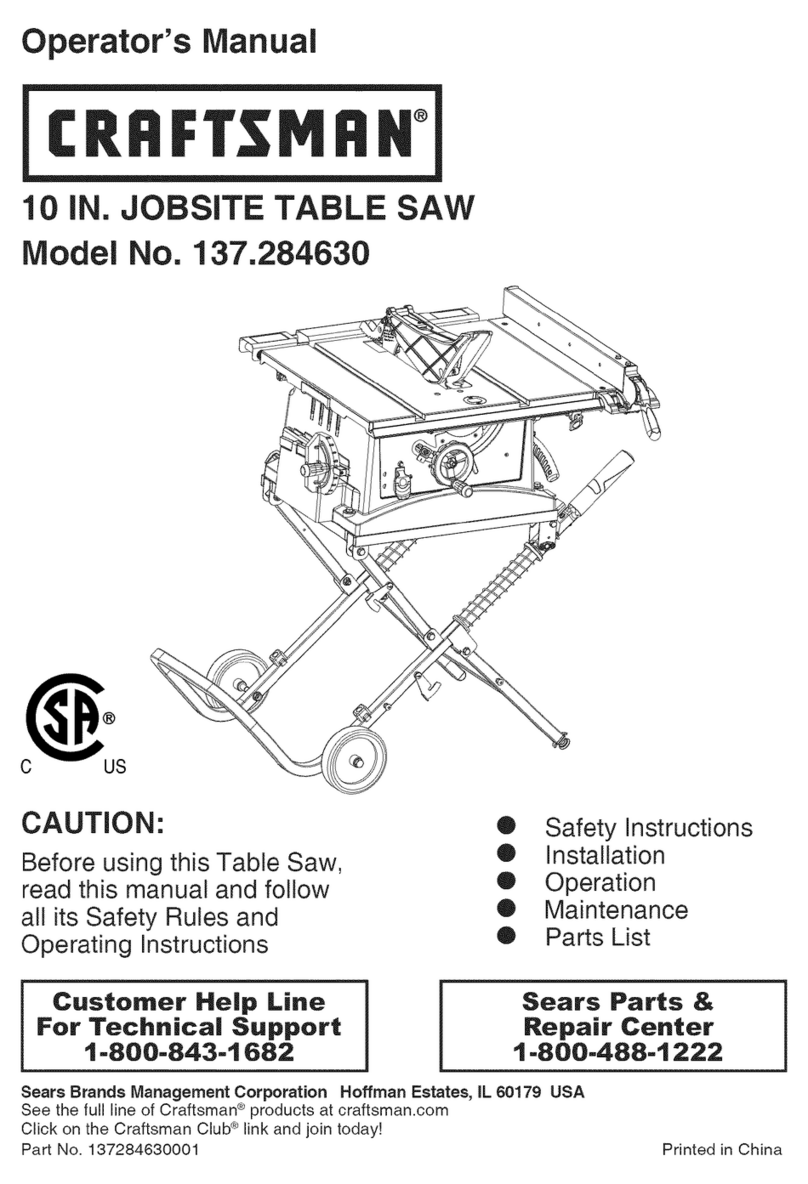
Craftsman 137.284630 User manual

Craftsman

Craftsman 137.284630 User manual

Craftsman 315.248200 User manual

Craftsman

Craftsman 315.248200 User manual

Craftsman 137.228010 User manual

Craftsman

Craftsman 137.228010 User manual

Craftsman 113.298090 User manual

Craftsman

Craftsman 113.298090 User manual

Craftsman 315.212240 User manual

Craftsman

Craftsman 315.212240 User manual

Craftsman 351.214600 User manual

Craftsman

Craftsman 351.214600 User manual

Craftsman 21237 - 10 in. Sliding Miter Saw User manual

Craftsman

Craftsman 21237 - 10 in. Sliding Miter Saw User manual

Craftsman 113.244510 User manual

Craftsman

Craftsman 113.244510 User manual

Popular Saw manuals by other brands

General 90-125 M1 Setup & operation manual

General

General 90-125 M1 Setup & operation manual

Scheppach sd1600v instruction manual

Scheppach

Scheppach sd1600v instruction manual

Skil 5750 Operating/safety instructions

Skil

Skil 5750 Operating/safety instructions

Black & Decker Sawcat 3027-10 owner's manual

Black & Decker

Black & Decker Sawcat 3027-10 owner's manual

Uni-Vent PS-COS12 manual

Uni-Vent

Uni-Vent PS-COS12 manual

Bosch GKS 190 Professional Original instructions

Bosch

Bosch GKS 190 Professional Original instructions

Black & Decker KS999E user guide

Black & Decker

Black & Decker KS999E user guide

Ingco CS18528 instruction manual

Ingco

Ingco CS18528 instruction manual

IMET BS 300/60 SHI Instructions for use

IMET

IMET BS 300/60 SHI Instructions for use

Scheppach Deco-flex instruction manual

Scheppach

Scheppach Deco-flex instruction manual

CMi C-KGS-1450/210 Original instructions

CMi

CMi C-KGS-1450/210 Original instructions

Bosch GCO 14-2 operating instructions

Bosch

Bosch GCO 14-2 operating instructions

Clarke CCS185B Operation & maintenance instructions

Clarke

Clarke CCS185B Operation & maintenance instructions

Makita 2107F instruction manual

Makita

Makita 2107F instruction manual

Holzmann DKS 21PRO user manual

Holzmann

Holzmann DKS 21PRO user manual

RIDGID BS1400 owner's manual

RIDGID

RIDGID BS1400 owner's manual

Optimum OPTisaw CS 275 operating manual

Optimum

Optimum OPTisaw CS 275 operating manual

Makita BPB180 instruction manual

Makita

Makita BPB180 instruction manual

manuals.online logo
manuals.online logoBrands
  • About & Mission
  • Contact us
  • Privacy Policy
  • Terms and Conditions

Copyright 2025 Manuals.Online. All Rights Reserved.

Owner's Manual
IERRFTSMRN'I
ACCESSORIES FOR MODEL NOS. 315.212100 AND 315.212110
10 in. (254 mm) COMPOUND MITER SAW
Item No.
_924310
_924350
Save this manual for
future reference.
_, CAUTION: Read and follow
all Safety Rules and Operating
Instructions before first use of
this product.
• SAFETY
•LOOSE PARTS
•INSTALLATION
•SERVICES
Customer Help Line: t-800-932-3188
Sears, Roebuck and Co., Hoffman Estates, IL 60179 USA
Visit the Craftsman web page: www.sears.com/craftsman
972000-603
2-00
READ ALL INSTRUCTIONS
•READ THESE INSTRUCTIONS AND THE IN-
STRUCTIONS FOR THE 315.212100 COM-
POUND MITER SAW THOROUGHLY before
using accessories.
•KNOW YOUR POWER TOOL. Read the owner's
manual for the Compound Miter Saw carefully.
Learn the saw's applications and timitations as well
as the specific potential hazards related to this
tool,
•KEEP THE WORK AREA CLEAN, Cluttered work
areas and work benches invite accidents. DO NOT
leave tools or pieces of wood on the saw while it is
in operation.
•ALWAYS WEAR SAFETY GLASSES. Everyday
eyeglasses have only impact-resistant lenses; they
are NOT safety glasses.
•ALWAYS DISCONNECT SAW FROM POWER
SUPPLY BEFORE MAKING ADJUSTMENTS OR
ADDING ACCESSORIES. Make sure the switch is
offwhen reconnecting to power supply.
•SAVE THESE INSTRUCTIONS. Refer tothem
frequently and use to instructother users. If you
loan someone thistool, loan them these instruc-
tionsalso.
_k Look for this symbol to point out important safety precautions. It
means attention!!! Your safety is involved.
The following accessories are includedwith item no. 924310 and &2.4350:
• Work Clamp
• Dust Bag
• Table Extensions (2)
• Stop Block
• Small Wing Screw
• Clamp Bracket (2)
• Clamp Bracket Screws (2)
• Owner's Manual
WORKCLAMP
SMALL WINGBCREW
EXTENSIONS
S_CREW
STOPBLOCK
CLAMP BRACKET
Fig. 1
_1, WARNING: The use of attachments or accessories not listed might be hazardous.
2
_l, WARNING: To prevent accidental starting that
could cause possible serious personal injury,
assemble all parts to your saw completely before
connecting it to power supply. Saw should never
be connected to power supply when you are
assembling parts, making adjustments, installing
or removing blades or accessories, or when not
in use.
WORK CLAMP
See Figure 2.
The worl_ clamp provides greater control by clamping
the workpiece to the fence. It also prevents the
workpiece from creeping toward the saw blade. This
is very I?elpful when cutting compound miters. To
install the work clamp, place the shaft of the clamp in
either hole in front of the miter table base. Rotate the
knob on the clamp to move it in or out as needed.
_, WARNING: Make sure the saw blade or blade
guard will not hit the work clamp assembly when
cutting 35 ° to 45° angles. Failure to heed this
warning can result in serious personal injury.
WORK
CLAMP
MITER TABLE BASE Fig. 2
DUST BAG
See Figure 3.
The dust bag fits over the exhaust port on the upper
blade guard. To install it, remove the dust guide from
the exhaust port. Then, squeeze the two metal clips to
open the mouth of the bag and slide it on the exhaust
port. Release the clips. The metal ring in the bag
should lock in between the grooves on the exhaust
port. For more efficient operation, empty dust bag
when no more than half full. This will permit better air
flow through the bag.
DUST BAG
EXHAUST PORT
Fig. 3
TABLE EXTENSIONS
See Figure 4.
To install table extensions, insert the ends of the
extensions into the holes in the sides of the base.
Secure them in place by positioning a clamp bracket
under each table extension beneath the miter table.
Orient each clamp bracket as shown in figure 4.
Secure each clamp bracket in place with a clamp
bracket screw. The clamp bracket screw threads
through the clamp bracket and tightens against
bottom of miter table, securing clamp bracket against
table extension.
SAWVIEWED
FROMBELOW
CLAMP
BRACKET
TABLEEXTENSION
3
Fig. 4
STOP BLOCK
See Figures 5 and 6.
The stop block is useful as a stop for cutting multiple
pieces to the same length. It can be installed on either
table extension on either side of the saw base:
• Slide the stop block on the back arm of either table
extension, then insert the table extension into the
saw base. See Figure 5.
• Use the small wing screw to secure the stop block
to the table extension. See Figure 5.
•Loosen the small wing screw and adjust the stop
block the desired distance from the blade for the
cut to be made.
STOPBLOCK
SMALL
WINGSCREW
MITERSAWBASE
EXTENSION Fig. 5
• Tighten small wing screw securely,
• Make a test cut in scrap material and measure the
length of the workpiece.
• Make any necessary adjustments.
_, WARNING: When using the work clamp with
the stop block, installthe clamp o_ the stop block
side of the blade. This will eliminate the
possibility of the saw catching the loose end and
kicking up. Failure to heed this warning can
result in serious personal injury.
STOP
BLOCK
Fig. 6