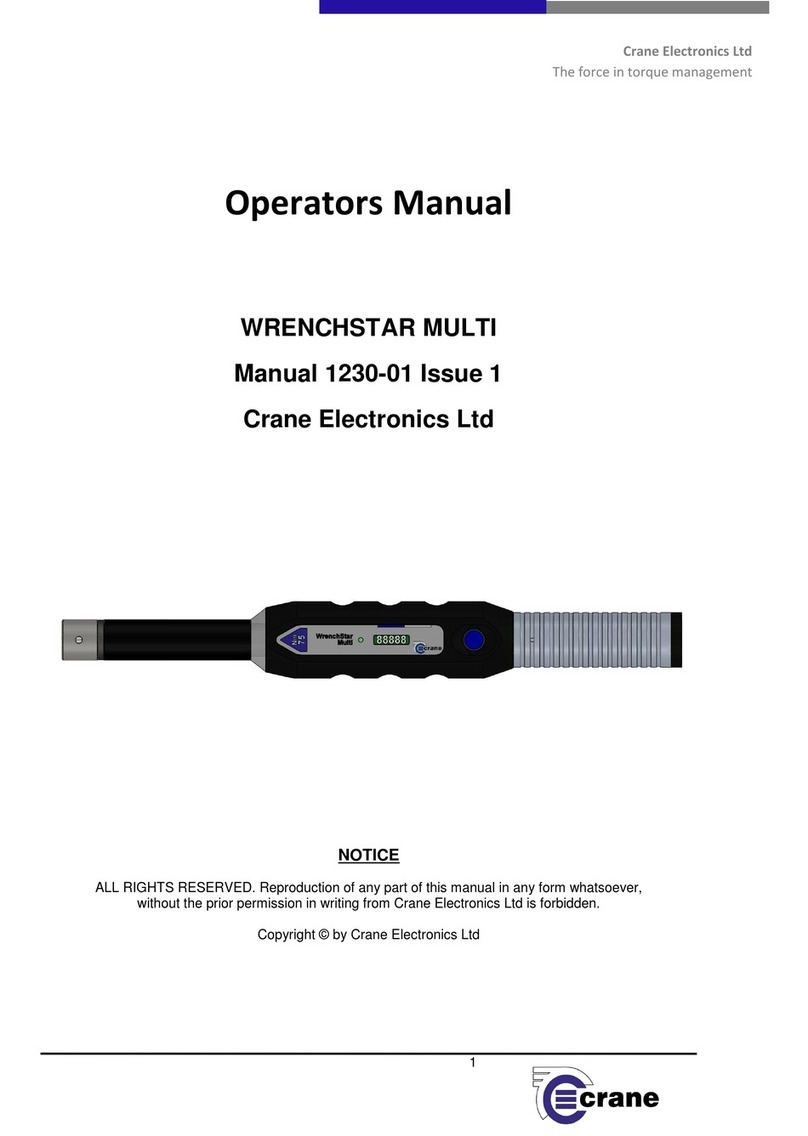
Crane Electronics WrenchStar Mult User manual

Crane Electronics Ltd
The force in torque management
WrenchStar Mul - Pairing Guide
Geng started with your digital torque wrench.
TCI Home Page
On the TCI/TCI Mul web page on your browser, click
on the ‘Wrench Status’ tab on the main navigaon
menu at the top.
Please note. For more informaon about the inial setup of the TCI/
TCI Mul on your PC, please refer to the TCI Quick Start Guide.
1Select Wrench Number
Under the ‘Get results from transducer’ and ‘Pair
TCI with transducer’ drop down menus, ensure the
number selected relates to the number of the wrench
that you are pairing to the TCI Mul. e.g. if this is the
rst wrench to be paired, select number 1, if it is the
second wrench to be paired, select number 2 etc.
2
Pair Mode
Ensure the WrenchStar Mul is in ‘pair’ mode by
pressing and holding down the blue ‘pairing’ buon on
the wrench unl the LED light turns purple.
3
Reset Buon
WrenchStar Mul TCI
On/O and
Pairing Buon
WrenchStar Mul
Torque Limit
LED Display
Screen
Status LEDs
Pairing with a TCI or TCI Mul Line-side Controller
Pair TCI
Underneath the ‘Pair TCI with transducer’ drop down
menu, click ‘Pair’ and the wrench should connect,
which is conrmed by the LED light turning blue on the
wrench and also on the corresponding wrench number
on the front of the TCI/TCI Mul.
4
LED Light
360o Status
Light Ring

Crane Electronics Ltd
The force in torque management
Entering Jobs cont.
Here you must enter the details for the job. The ID
number, the Batch size and the Torque Minimum,
Target and Maximum levels are required elds. Then
click ‘Submit’.
6
Entering Jobs
Click on the ‘Jobs’ tab on the main navigaon menu
across the top, then click ‘Add’
5
Loading Jobs to the Wrench
Click back onto the ‘Jobs’ tab in the top navigaon
menu. Ensure that the correct ‘Transducer number’ is
selected from the drop down menu e.g. Transducer 1
for Wrench 1.
7Loading Jobs to the Wrench cont.
Ensure that the correct ‘Job’ is selected from the drop
down menu, and then click ‘Load’ to load this selected
job onto the wrench.
8
Ready to Measure
The WrenchStar Mul is now ready to measure torque.
Once the job is completed, the screen display on the
WrenchStar Mul will read ‘Wait’.
9
TCI & TCI Mul Line-side Controller
Our series of TCI (tool control interface) lineside controllers
allow the user to connect up to ve wrenches to be used in
assembly producon. The TCI also allow our torque wrenches
to be used as part of operator guidance systems.
For more informaon about the TCI lineside controller series,
please visit www.crane-electronics.com

Setup of Jobs on the IQVu
On the IQVu Home Screen, select the ‘Jobs’ icon. Then
click the ‘Add a Job’ icon and swipe screen to the le.
Please note. For more informaon about the inial setup of the
IQVu data collector, please refer to the IQVu Quick Start Guide.
1Setup of Jobs on the IQVu cont.
You will see this screen. Unlock the padlock by clicking
it. Fill in the boxes at the top of the screen to add a Job
name and Job descripon. (For the keypad to disap-
pear press Done). Select the required sengs (Store
graph, Direcon, 2nd param etc.) and lock the padlock.
Click the ‘Save’ icon (at the boom of IQVu screen).
2
Setup of Jobs on the IQVu cont.
You will be taken to the following screen. Press unlock
again and ll in the bar at the top (search for joints or
input new joint index). Enter values into USL, Target,
LSL and Threshold boxes relevant to your Wrench
size. (For keypad to disappear press Next or the down
arrow) Lock the padlock again and then click ‘Save’ to
take you to the main ‘Jobs’ screen.
3
WrenchStar Mul IQVu
On/O and
Pairing Buon
WrenchStar Mul
Torque Limit
LED Display
Screen
IQVu Touch Screen
Pairing with an IQVu Data Collector
Select Job
On the ‘Jobs’ screen, select the job you previously
entered by pressing it. You then need to pair your
wrench to proceed the job.
4
LED Light
360o Status
Light Ring
Crane Electronics Ltd
The force in torque management
‘Jobs’ Icon

Ready to Measure
The WrenchStar Mul is now ready to measure torque.
Once the job is completed, the screen display on the
WrenchStar Mul will read ‘Wait’.
9
Crane Electronics Ltd
The force in torque management
Pairing on the IQVu
On the IQVu, press and hold one of the rows e.g. row
‘RF1’. An ‘Acons’ box will appear. Select the ‘Pair’
opon. If pairing is successful, a row of informaon
will appear in yellow on the select a transducer screen.
6
Pair Mode
Ensure the WrenchStar Mul is in ‘pair’ mode by
pressing and holding down the blue ‘pairing’ buon on
the wrench unl the LED light turns purple.
5
Pairing on the IQVu cont.
The WrenchStar Mul LED will change from purple to
blue. Select the yellow highlighted row on the IQVu
screen, it will then turn green and say ‘connected’ then
it will take you straight to the job.
7Connected Wrench
The sequence Green-Amber-Red on the WrenchStar
Mul light ring will conrm an OK connecon and the
LED display on the Wrench will show how many ‘Jobs’
are ready to go.
8
IQVu Torque Data Collector
The IQVu provides the ideal soluon for the measurement and
collecon of torque, angle and pulse data in the manufacturing
and quality environments and oers complete traceability and
auding capabilies.
For more informaon about the IQVu range, please visit
www.crane-electronics.com.

Setup of Jobs on the TorqueStar Pro
On the TorqueStar Pro Home Screen, select the ‘Jobs’
icon using the direconal arrows and the green ‘ac-
cept’ key. Then, using the relevant funcon so key,
select the ‘Add a Job’ icon.
1Setup of Jobs cont.
On the rst screen you are required to add a job name
and a job descripon. Use direconal arrows and the
green ‘accept’ key to select the relevant box and use
the keypad to input text with the on screen keyboard.
When completed, press the ‘Save’ funcon key.
2
Select Job Sengs
When the saved job is highlighted on screen (using the
direconal arrow keys), press the ‘Sengs’ funcon
so key to access the job sengs.
3
WrenchStar Mul TorqueStar Pro
On/O and
Pairing Buon
WrenchStar Mul
Torque Limit
LED Display
Screen
Pairing with a TorqueStar Pro Data Collector
Select ‘Transducer’
On the ‘Jobs Sengs’ screen, press the ‘Transducer’
funcon so key to access the transducer pairing
screen.
4
LED Light
360o Status
Light Ring
Crane Electronics Ltd
The force in torque management
LEDs
Funcon
So Keys
Direconal
Arrow Keys
On/O Buon
Green ‘Accept’ Key

Crane Electronics Ltd
Watling Drive
Sketchley Meadows
Hinckley LE10 3EY
Tel: +44(0) 1455 25 14 88
www.crane-electronics.com
Crane Electronics Inc
1260 11th Street West
Milan, Illinois 61264
USA
Tel: +1 309-787-1263
www.crane-electronics.com
8 Ready to Measure
The WrenchStar Mul is now ready to measure torque.
Once the job is completed, the screen display on the
WrenchStar Mul will read ‘Wait’.
Select RF Sengs
On the ‘Transducer’ screen, select the RF sengs icon
using the funcon so key. The TorqueStar Pro is now
ready to pair with your WrenchStar Mul.
Pair Mode
Ensure the WrenchStar Mul is in ‘pair’ mode by
pressing and holding down the blue ‘pairing’ buon on
the wrench unl the LED light turns purple.
6
Crane Electronics Ltd
The force in torque management
5
Select the Wrench
The WrenchStar Mul informaon will now appear on
screen and the WrenchStar Mul’s LED light will turn
blue. Select the wrench using the green ‘accept’ key.
7
1: 75Nm WrenchStar Multi S/N: 00077307
WrenchStar Mul Operators Manual
For more in-depth informaon about the WrenchStar Mul digital torque wrench, why not download
the complete Operators Manual online on our website. The manual contains more informaon about the
WrenchStar Mul including features and technical specicaons, detailed product sengs and easy to follow
guidance for ecient operaon.
For enquiries about the WrenchStar Mul and our complete product range call us on +44 (0) 1455 25 14 88 or email
us at sales@crane-electronics.com.
Visit www.crane-electronics.com/info/downloads or scan the following QR code for direct access to the
Operators Manual.
TorqueStar Pro Torque Data Collector
The TorqueStar Pro is the most complete and fully equipped torque indicator and data
collector in the new TorqueStar range. The TorqueStar Pro has advanced measurement
modes, graphical analysis, stascs and RF connecon capabilies.
For more informaon about the IQVu range, please visit www.crane-electronics.com.
Other Crane Electronics Power Tools manuals
