Creative XP GlassCondor ELITE User manual


Table of Contents
Introduction
Product Overview
Power Supply
Changing the Modes
Download files to the PC
Functions
Tips & Warnings
Warranty
Complete Hunter Kit
.................................................................................................4
..................................................................................6-7
...............................................................................................8
............................................................................9-11
.......................................................................12
...............................................................................................13-16
...................................................................................17-19
................................................................................................20-21
.......................................................................22-34
TABLE OF CONTENTS
3

Introduction
Thank you for purchasing the Creative XP® GlassCondor Night Vision Binoculars
Elite. This manual will help you optimize your viewing experience by explaining
how to utilize the binoculars’ controls and features, and how to care for them.
READ the instructions carefully before using your night vision binoculars.
Use the GlassCondor to view your surroundings in low light conditions or even in
complete darkness with the built-in infrared light. You can even take pictures
and video which will be stored on an included 32 GB micro SD card.
The GlassCondor can also be used to take photos and video during the day.
Use the supplied A/V cable to view your images on a television or download
them to your computer using the supplied USB cable.
We are an American family-owned business and you can contact us via
email (support@creative-xp), our website (www.creative-xp.com) or
phone (+1 646 450 6330). If you are not happy with the GlassCondor in any
way, please contact us and we will take care of it as soon as possible.
Also, you can watch our YouTube Tutorial Videos if you need additional
instructions on using the binoculars.
We are always happy to help!
4

THE AMERICAN WAY
OF ADVENTURE

Product Overview
6
1 - Infrared illuminator
3 - Objective lens
5 - Operating zone
7 - Eyecup
9 - Battery compartment
2 - IR LED focus wheel
4 - Objective focus wheel
6 - TF card socket /USB 2.0 socket
8 - Ocular lens
1 2 3 4 5 6 7 8 9

7
11 - Menu Switch for auxiliary light and adjustment of the screen brightness
12 - UP
13 - Power/Function Check
14 - Functions(for photo shooting, video shooting, videoing, playback, and
video output)
15 - DOWN
11 12 13 14 15
Product Overview

8
Battery Installation
This night vision Binocular requires an 18650 Model lithium-ion battery (3.7V).
Turn the battery cover counter-clockwise to unscrew the battery cover, insert
the battery with negative electrodes bottomed, and then tighten the battery
cover clockwise.
Please ensure the battery would be charged for at least 10 hours at the first
time to make it works best.
Turn ON/OFF
Long press button #13 for 3 seconds, look through Eyecup #10.
The GlassCondor works well if the screen lightens us and the icons are as in
Picture 1.
In any mode, long press #13 for 2 seconds to turn the GlassCondor o.
External Power
The GlassCondor features external Power. One can charge it through the USB
interface or by a mobile charging source or a power bank.
The GlassCondor would work continuously and won't turn o automatically
when there is an external power supply.
The battery would charge when the GlassCondor is connected to an external
Power source.
Auto Power O
Th GlassCondor will turn o if there is no operation within 3 minutes. One can
shut the auto power-o function or specify the auto power-o time
count-down in" Menu Setting."
The viewer won't be turned o automatically in the video shooting and
playback mode.
Power Supply

Changing the Modes
9
Scenery Observation
In the observing (photo shooting) mode, aim the objects which need to be
observed, look at the screen from Eyecup #8. And adjust the objective focus
wheel #4 to get the sharpest image.
Automatic fine-tuning control is operated by the viewer according to the
average brightness of scenery centrally.
The digital zoom will turn on by pressing #12 and #15 and ranges from 1X to
8X.
If the light resource is enough, turn OFF the auxiliary IR light to save Power.
If there is no external light, turn ON the auxiliary IR light and adjust the
brightness to make the observation easier.
At this time, adjust the IR LED focus wheel #2 and objective focus wheel
#4 to get sharper images.
Icons Description
1 - Current mode(Photo shooting)
2 - Image Capacity Remaining
3 - magnification range
4 - TF card in
5 - Battery charge indicator
6 - System time
6
Picture 1
1 2 3 4 5
10
Changing the Modes
The GlassCondor has 3 modes and you can switch between them by pressing
the MODE (#14) button.
Announcements
In any mode, the menu will disappear if there is no action within 3 seconds.
Turn the auxiliary light o to save battery life when the external light is
enough. Please don't block the auxiliary light when turning it on the device.
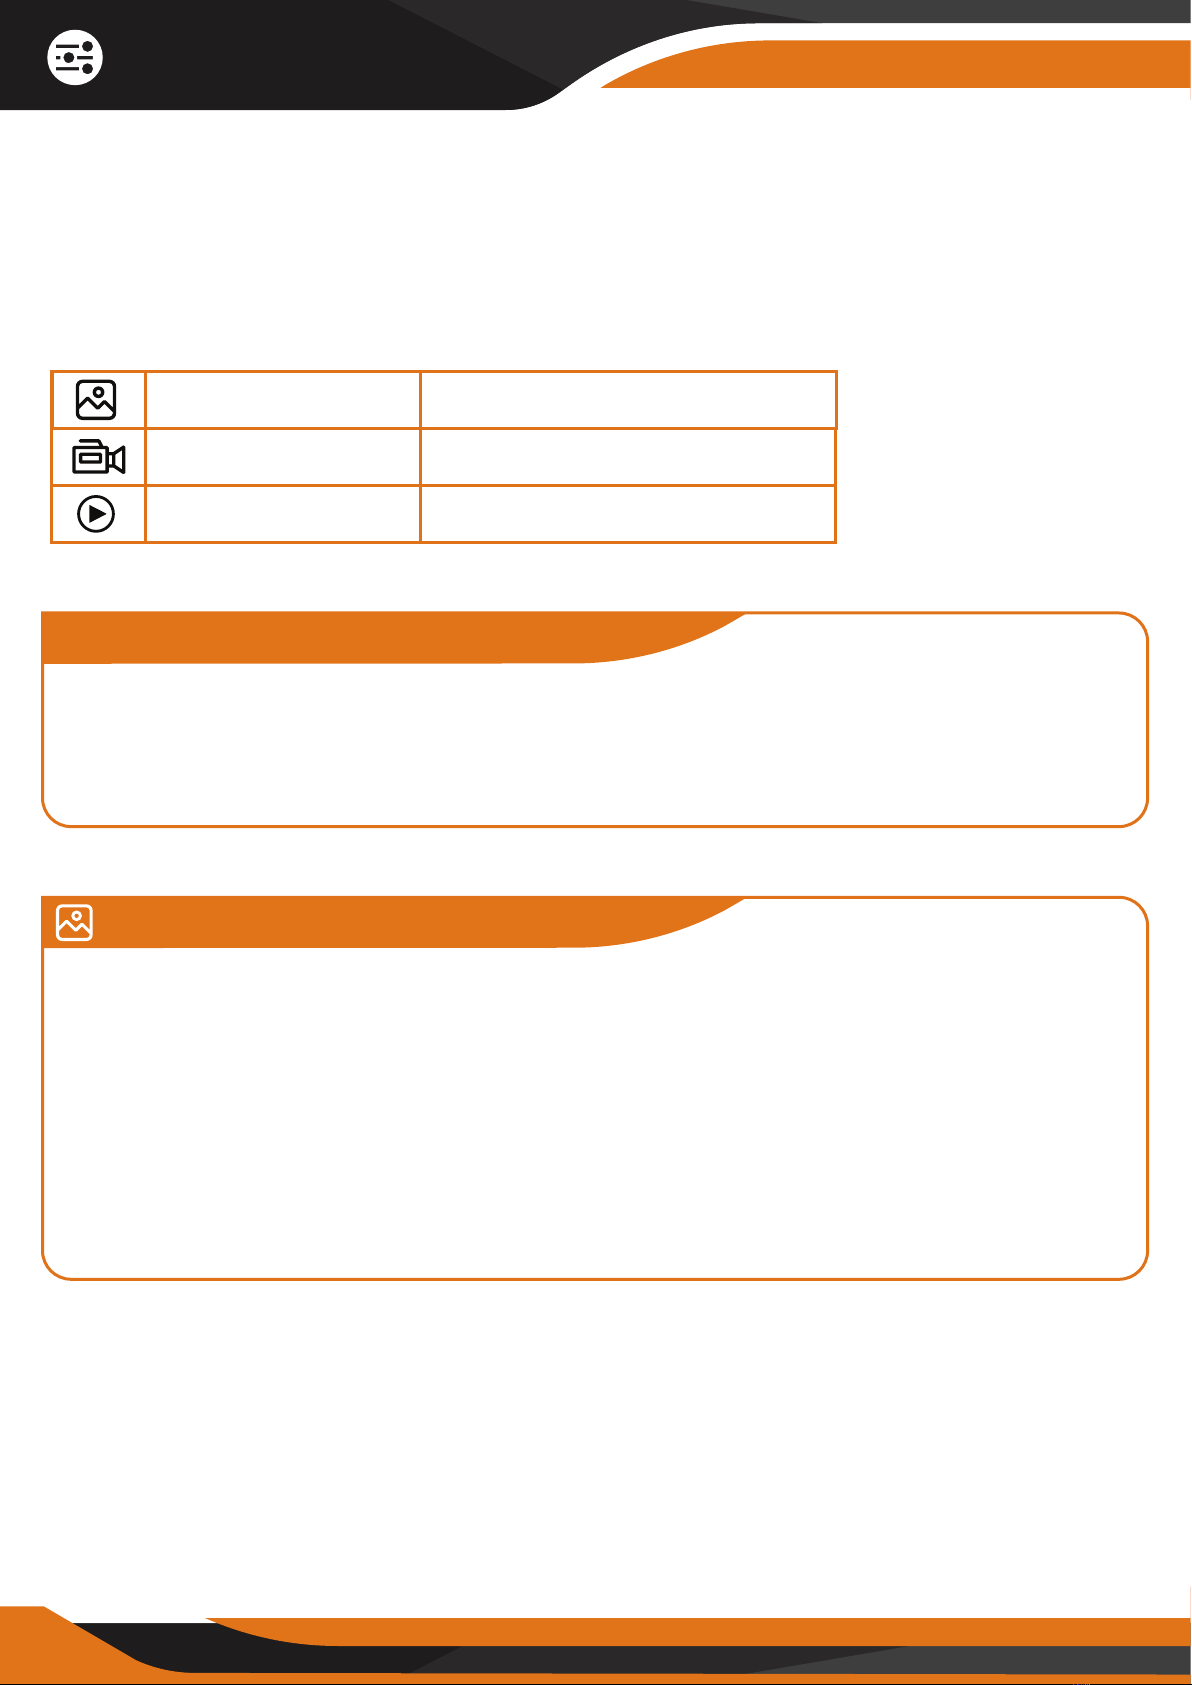
Photo Mode
The GlassCondor enters the observing (photo shooting) mode automatically
after starting up (Picture 1). In this mode, one can observe the scenery or take
pictures of what you want to retain.
The #13 (OK) button works like the "SHOOT" button in this mode. Each press
gets one shot. The photos are saved automatically on the TF card.
The image capacity remaining is counted by the storage of the TF card.
There is a small dierence between the actual number of shots.
Photo Mode For taking photos
Playback Mode For viewing recorded files
Video Mode For taking videos
Changing the Modes

11
Playback
Watching Stored Videos and Photos: In the observing mode, press #14 to use
the playback function. In the playback mode -> press #12 and #15 to select a
specific photo or video -> press #13 to view the image or video.
Deleting Stored Videos and Photos: In playback mode, press #11 to delete the
current photo (video) or the whole photo (video). Press #12 or #15 to select
photo(video). Press "OK" #13 to confirm).
In the observing mode, press#14 shortly to get into the video shooting mode.
Press "OK" #13 to start shooting (shown as "START"); the time displayed on
the left corner turns into timekeeping, and the viewer record the video
automatically. Press "OK" #13 again to stop shooting (shown as "STOP").
In the shooting mode, the video clips are saved on the TF card automatically.
When the video shooting ends, the time shown on the left corner states the
remaining available time based on the TF card's storage.
Video Mode
Changing the Modes

12
How to download files to the PC?
The GlassCondor ELITE features a USB 2.0 interface. Connect the viewer to
the computer equipment by USB cable. The battery is charging when the
Binocular connects with PCs.
Press #13 for 3 seconds, choose from function screen: Memory/PC camera/
/Video mode. Select "Memory" -> now, the binocular is used as a mobile
storage device, and the PC would automatically identify the Binocular and
read the content in the TF card. Install the "PC camera" software in the
TF card to the computer.
Restart the Binocular, select "PC camera" to enter the video shooting mode;
a real-time shooting starts once any PC camera software installed in the
computer is on.
Select "Video" mode to view the scenery through the Binocular when
connecting to PC. The battery is charging at the same time.
Download Files to the PC

13
Brightness Adjustment
In the observing(photo shooting and videoing) mode, press #11 for two
seconds to enter the brightness adjustment menu (as Picture 2), the number
after "SCREEN:" means the current brightness of the screen. The brightness
ranges from 1 to 10 by pressing #12 and #15. After the desired brightness is
selected, the brightness adjustment mode will automatically switch o in
3 seconds.
Adjustment for Illumination
In the observing(photo shooting and videoing) mode, press #11 once to open
IR LED (as Picture 3). The icon after "IR LED" states the auxiliary light's
brightness. We recommend level 2 or 3. Press #11 once again to turn o the
IR LED.
Press #12 and #15 adjust the infrared illuminator, ranging from 0 to 9
(9 - lightest, 0 - turn o). Once appropriate brightness is selected, the
auxiliary light mode will automatically switch o in 3 seconds.
Picture 2 Picture 3
Functions
14
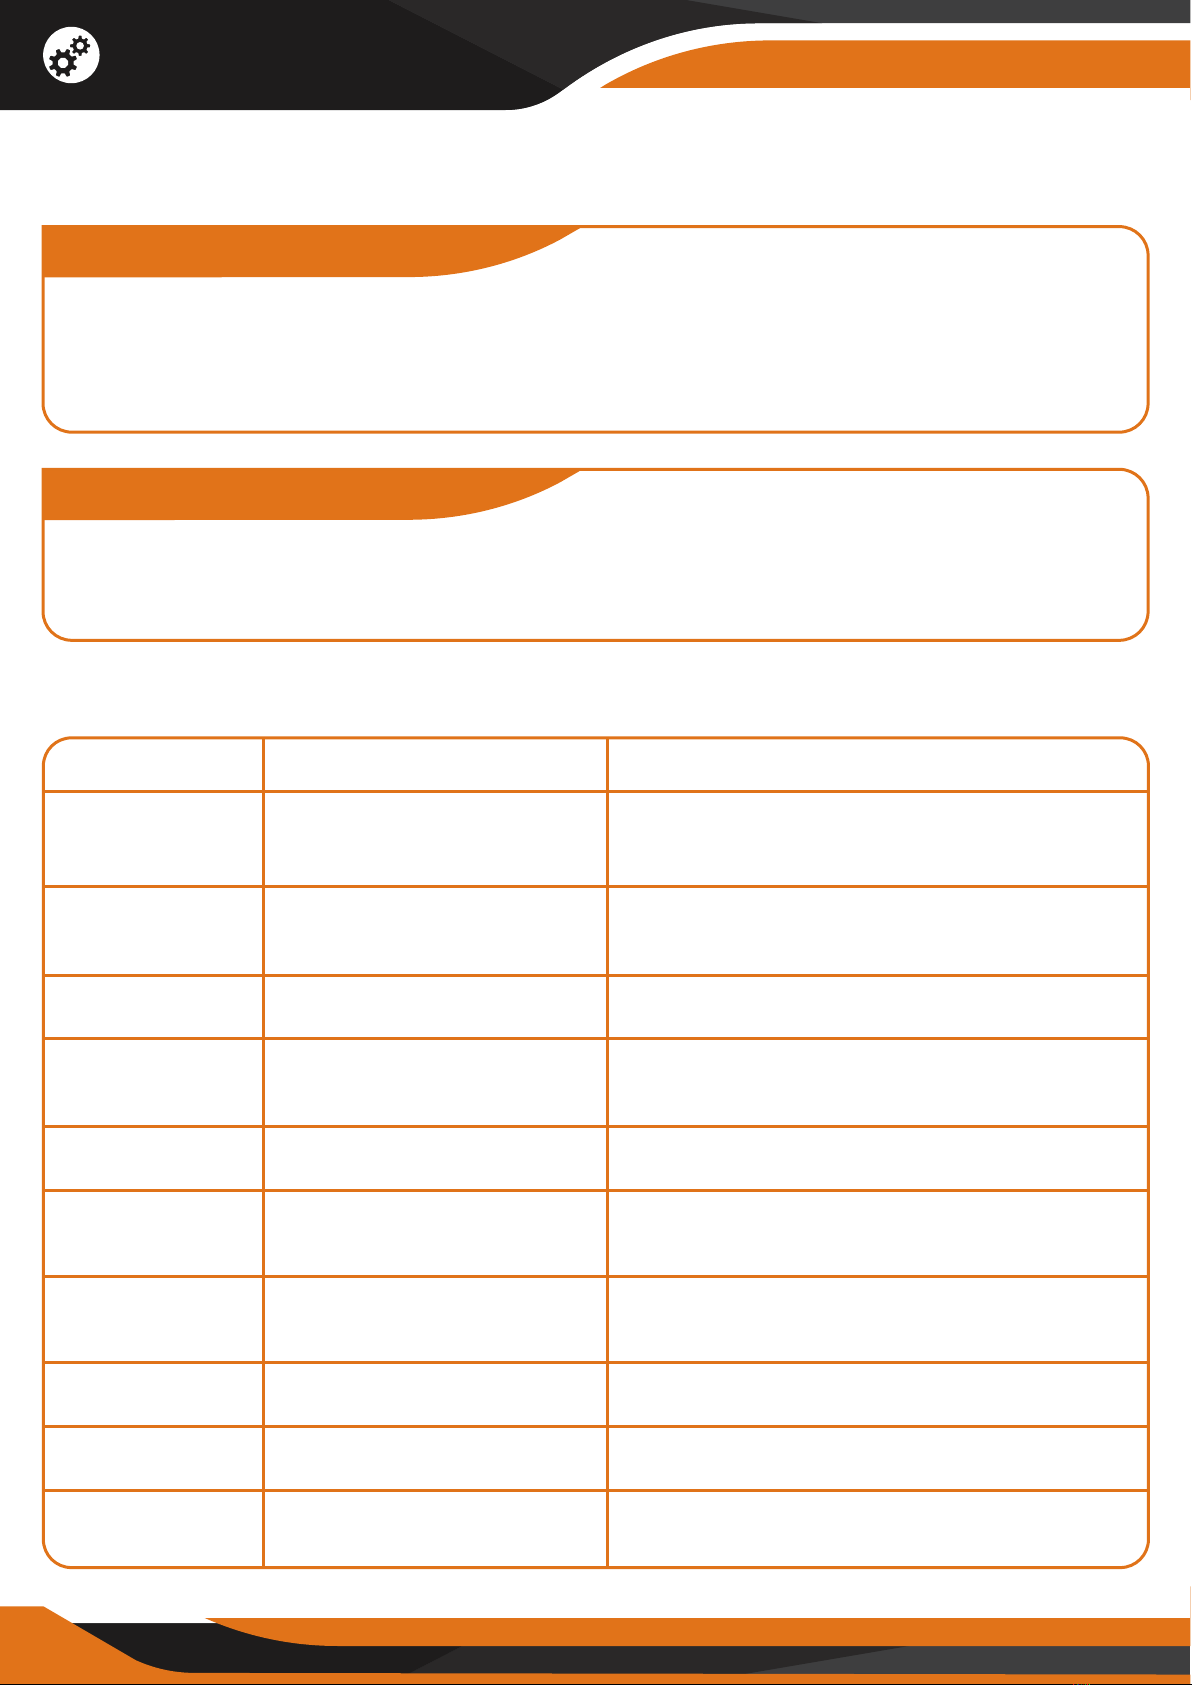
Menu Options
Time Setting
Long press #14 to start the menu. By pressing #12 and #15 to select the
"Time Setting" option, short press #13 (OK) to enter. You can switch between
the year/month/day/hour/minute/second -> press“UP” and “DOWN” to
adjust -> press#13 (OK) again to save.
Menu Setting
Long press #14 to enter the menu. Press #12 and #15 to select the options
you need, short press #13 to enter, and press #13to select a specific setting.
Please short press #14 to leave the menu setting mode.
Menu Options
White Balance
EV
Audio
Date Tag
Time Setting
Auto
Power-o
Language
Setting
Flicker
Format
Reset System
Optional Choices
Auto/Sunlight/Cloudy/
Tungsten/Fluorescent
-2~+2
Yes/No
Yes/No
O/One Minute/
/Three Minutes
English/Chinese
/Japanese
50Hz/60Hz
Tips
Select due to dierent weather
conditions.
Adjust EV according to dierent
light levels to get a better eect.
Record while video shooting or not.
Retain a date tag on the file when
you are shooting or not.
Set the system time.
Automatically shutdown if there is not
any operation after a specified time.
Set the language
Format TF card
Reset menu parameters to factory
defaults
Functions

15
Basic Parameters
Type
Optical
Performance
Items
Magnification
Dimension of Objectives
FOV
Ocular Adjustable Range
Observing Distance (Low Light Environment)
Observing Distance (Full Dark Environment)
Index
5
φ35mm
8.5°
±0.5
2m~∞
2m~500m
Digital
Performance
Sensor
Photo
Video
Display Screen
Digital Magnification
Low Illumination HD 1 / 3 COMS
3200X1800
720P
3.5 inch
8
Functions

Configuration Standard
Items
Objective Lens Shelter
External Power Adapter
USB Cable
NV600 PRO Binocular
Pouch
Shoulder Strap
Binocular Strap
18650 Model lithium-ion Battery
Cloths
Amount
1
1
1
1
1
1
1
1
1
Configuration Standard
Power
Other
Operating Voltage
Replaceable Battery
Charging Source
Measurement(L*W*H)
Weight
3.7V DC
3200X1800
Rechargeable lithium-ion battery, 18650 Model
210mm X 145mm X 75mm
550g
Basic Parameters
16
Functions

1. Basic maintenance
Keep the GlassCondor ELITE in its soft pouch when not in use. Operating
temperature ranges from – 5°C to 40°.
Please store it in a dry environment. Avoid high pressure, mechanical
damage, high humidity, and solar radiation.
Avoid rain or fog as much as possible.
When the image is shaking, or the LCD cannot light up, please charge the
battery quickly.
Wipe any dust from the lenses before cleaning them. Wipe it gently with a
soft cleaning cloth.
If you don't use the GlassCondor for a long time, please keep charging the
battery occasionally to avoid battery life damage.
2. Focusing the image
Target the object you would like to view and turn the object-focusing knob
until the image on the screen comes sharp and clear.
3. Using IR light in complete darkness
This device can be used in complete darkness when using the built-in IR
(infrared) light.
Press the [IR] button to activate the infrared light.
Remove the IR Lens cover and press the [IR] button to select between
the 5 levels of brightness.
Tips & Warnings
17

4. Use during strong light
It could be used during the day or at night. If the light is too strong during the
day, it will get a better visual eect when the objective lens shelter is on, and
at night, the objective lens shelter must be removed for better observation.
5. Using the Infrared Illuminator
Please turn on the IR illuminator (auxiliary light) when you use the
GlasssCondor during nighttime and adjust the infrared illuminator's brightness
based on preference. A low-level illuminance transducer is featured as well.
If any light resource is around, such as street lamps or moonlight, you don't
need to turn on the infrared illuminator. Please adjust the objective lens' focal
length and the screen brightness to achieve a clear image.
The runtime is up to 12 hours with the infrared illuminator (auxiliary light) OFF
and up to 3 hours with the IR illuminator ON.
6. Can the GlassCondor work through windows?
Whether or not the infrared light (IR) is turned ON, the device cannot observe
objects through window glass.
Tips & Warnings
18

Tips & Warnings
19
7. Do not use the GlassCondor binoculars in water as it will damage
the device and the damage will not be covered by the warranty.
8. One can use the GlassCondor ELITE in 100% darkness, low light, daytime.
During the day, please keep the IR CAP on the lens. During the night, please
remove the IR CAP for better image quality.

20
Warranty
Your CREATIVE XP product is warranted to be free of defects in materials and
workmanship for one (1) year after the date of purchase. These warranties do
not cover consumer caused damages such as misuse, abuse or repairs
attempted by the consumer.
This limited warranty gives you specific legal rights and you may also have
other rights, which vary from state to state.
We warrant that during the warranty period, the product will be free from
defects in materials and workmanship.
We limit the duration and remedies of all implied warranties, including without
limitation the warranties of merchantability and fitness for a particular
purpose to the duration of this express limited warranty.
Some states do not allow limitations on how long an implied warranty lasts,
so the above limitation may not apply to you.
The remedies described herein are your sole and exclusive remedies and our
entire liability for any breach of this limited warranty. Our liability shall under
no circumstances exceed the actual amount paid by you for the defective
product, nor shall we under any circumstances be liable for any consequential,
incidental, special or punitive damages or losses, whether direct or indirect.
Some states do not allow the exclusion or limitation of incidental or
consequential damages, so the above limitation or exclusion may not apply
to you.
Our responsibility for defective goods is limited to repair, or replacement as
described below in this warranty statement.
WHAT DOES THIS WARRANTY COVER
This limited warranty covers defects in materials and workmanship of the
CREATIVE XP products (the “product”) for the Warranty Period as defined
below.
Table of contents
Other Creative XP Binoculars manuals


