Cremotech laser beam pro User manual
User Guide
www.cremotech.co.kr
2016/10 Rev 1.0

Table of Contents
Supplied Items
Parts and Controls
Keypad Functions
Connecting to the Internet
Media Player
Using USB, micro SD
Connecting to Bluetooth
2
03
04
05
06
07
09
10
Getting Started
Connecting to iOS device
Connecting to Android device
Connecting to HDMI
11
13
14
Connecting to
another device
Keystone Adjustment
Brightness Adjustment
Auto Shut-Off Timer
Remote App
Software Upgrade
System Reset
15
16
17
18
19
20
Settings
Specifications
Safety and Warnings
21
22
Technical Details

Getting Started
Beam Projector
3
Supplied Items
Simple Manual
Power Adapter
Getting Started
4
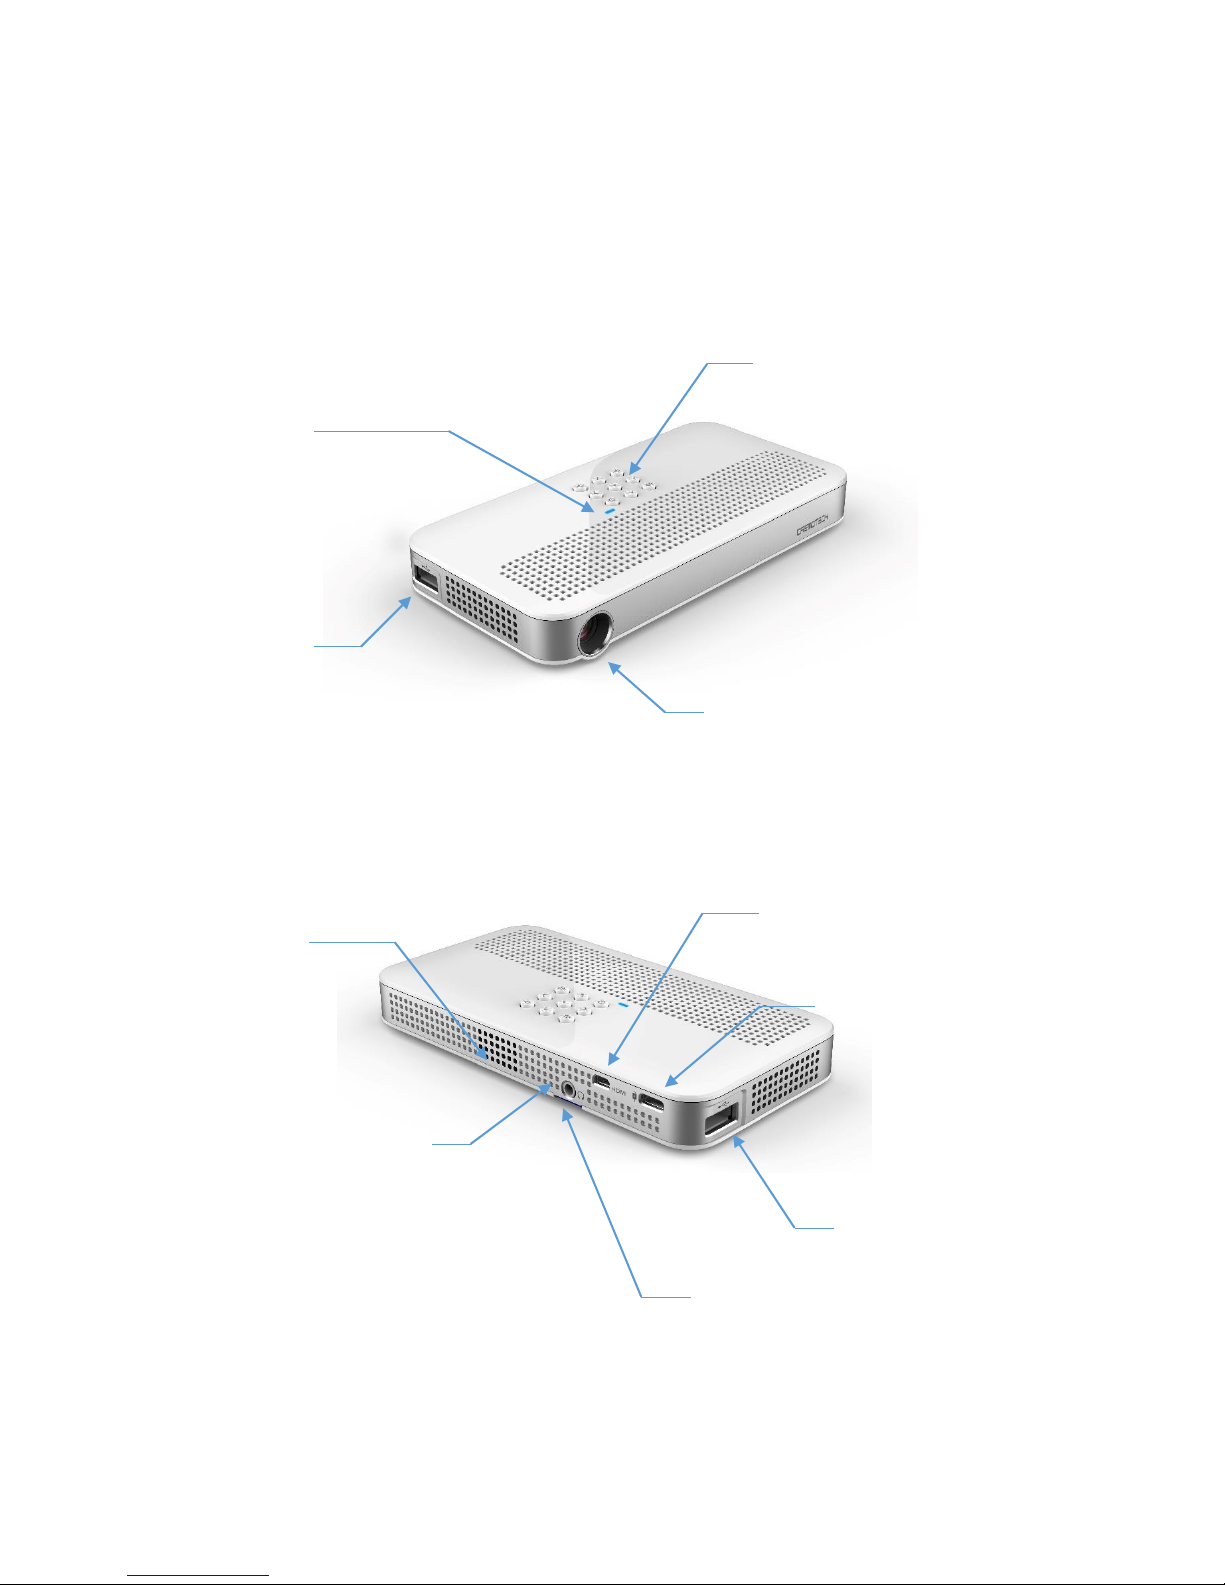
Parts and Controls
USB Port
Lens
USB Port
Audio Jack
Power Socket
micro HDMI Input
(Supported up to HDMI 1.4)
Speaker
micro SD Port
Keypad
LED Indicator

Getting Started
5
Keypad Functions
Power
Volume Up
Volume Down Exit/Back
Mouse Pointer (Long-press)
Enter/OK
Power On Press and hold the Power Key for four seconds until LED
indicator displays yellow to turn the projector on.
Power Off Press and hold the Power Key until ‘Power Off’ alert is seen
on the screen.
Sleep
Mode
Short-press the Power Key to switch to power-save mode.
Short-press power the Power Key again to exit power-save
mode.
Mouse Long-press the Back Key to switch to mouse mode. Use
directional keys to move mouse pointer. Long-
press the Back
Key again to exit mouse mode.
Exit/Back Press the Back Key to return to the previous screen or exit.
Directional
Keys
Use the four Directional Keys to move between menus.
These keys are used to move mouse pointer in mouse mode.
Media
Player
While video playback, The Left Key is used to rewind,
the Right Key is used to fast forward, and the OK Key
is used for Play/Pause.
Directional Keys

Getting Started
6
Connecting to the Internet
Select Settings.
Please connect the projector to an AP (Access Point) to connect to the
Internet.
Select Wi-Fi to connect to an AP.

Getting Started
7
Media Player
You can play video files stored in the internal storage (NAND
Flash), USB Memory, or micro SD card).
Select Media Player.

Getting Started
8
Use Applications
You can download apps from Google PlayTM.
You can use pre-installed apps –YouTube, Netflix, etc. –as
well as the apps you have downloaded.

Getting Started
9
Use USB, SD Card
You can connect USB memory, USB mouse to the USB host.
micro SD card (up to 128GB) can be used through micro SD card slot.
※USB mouse, USB memory, micro SD card are not included.
USB host
micro SD slot
Getting Started
10
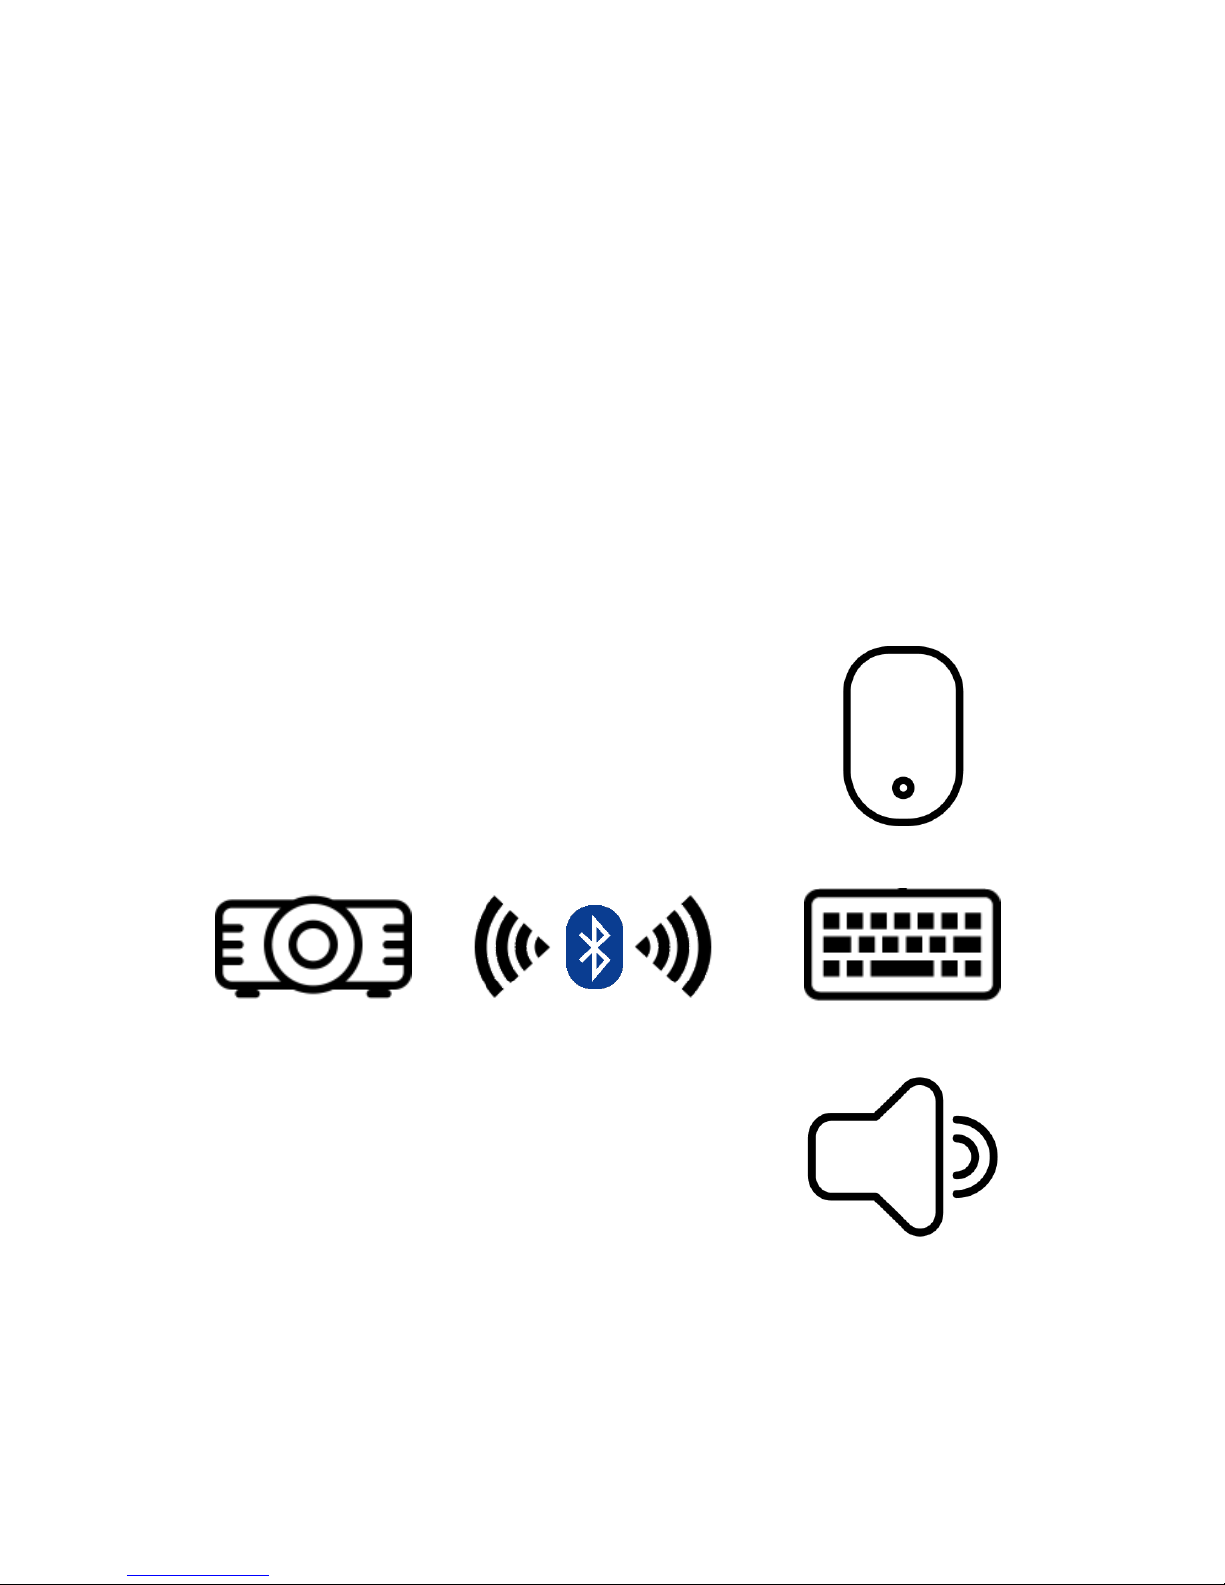
Use Bluetooth
You can connect Bluetooth devices such as mice, keypads, speakers to
the projector.
On Settings > Bluetooth, you can select a Bluetooth device you want to
connect.
※Bluetooth mouse, keypad, speaker are not included.

Connecting to another device
11
Connecting to iOS device (1/2)
Select iOS Mirroring.
You can mirror your iOS device’s screen to the projector.
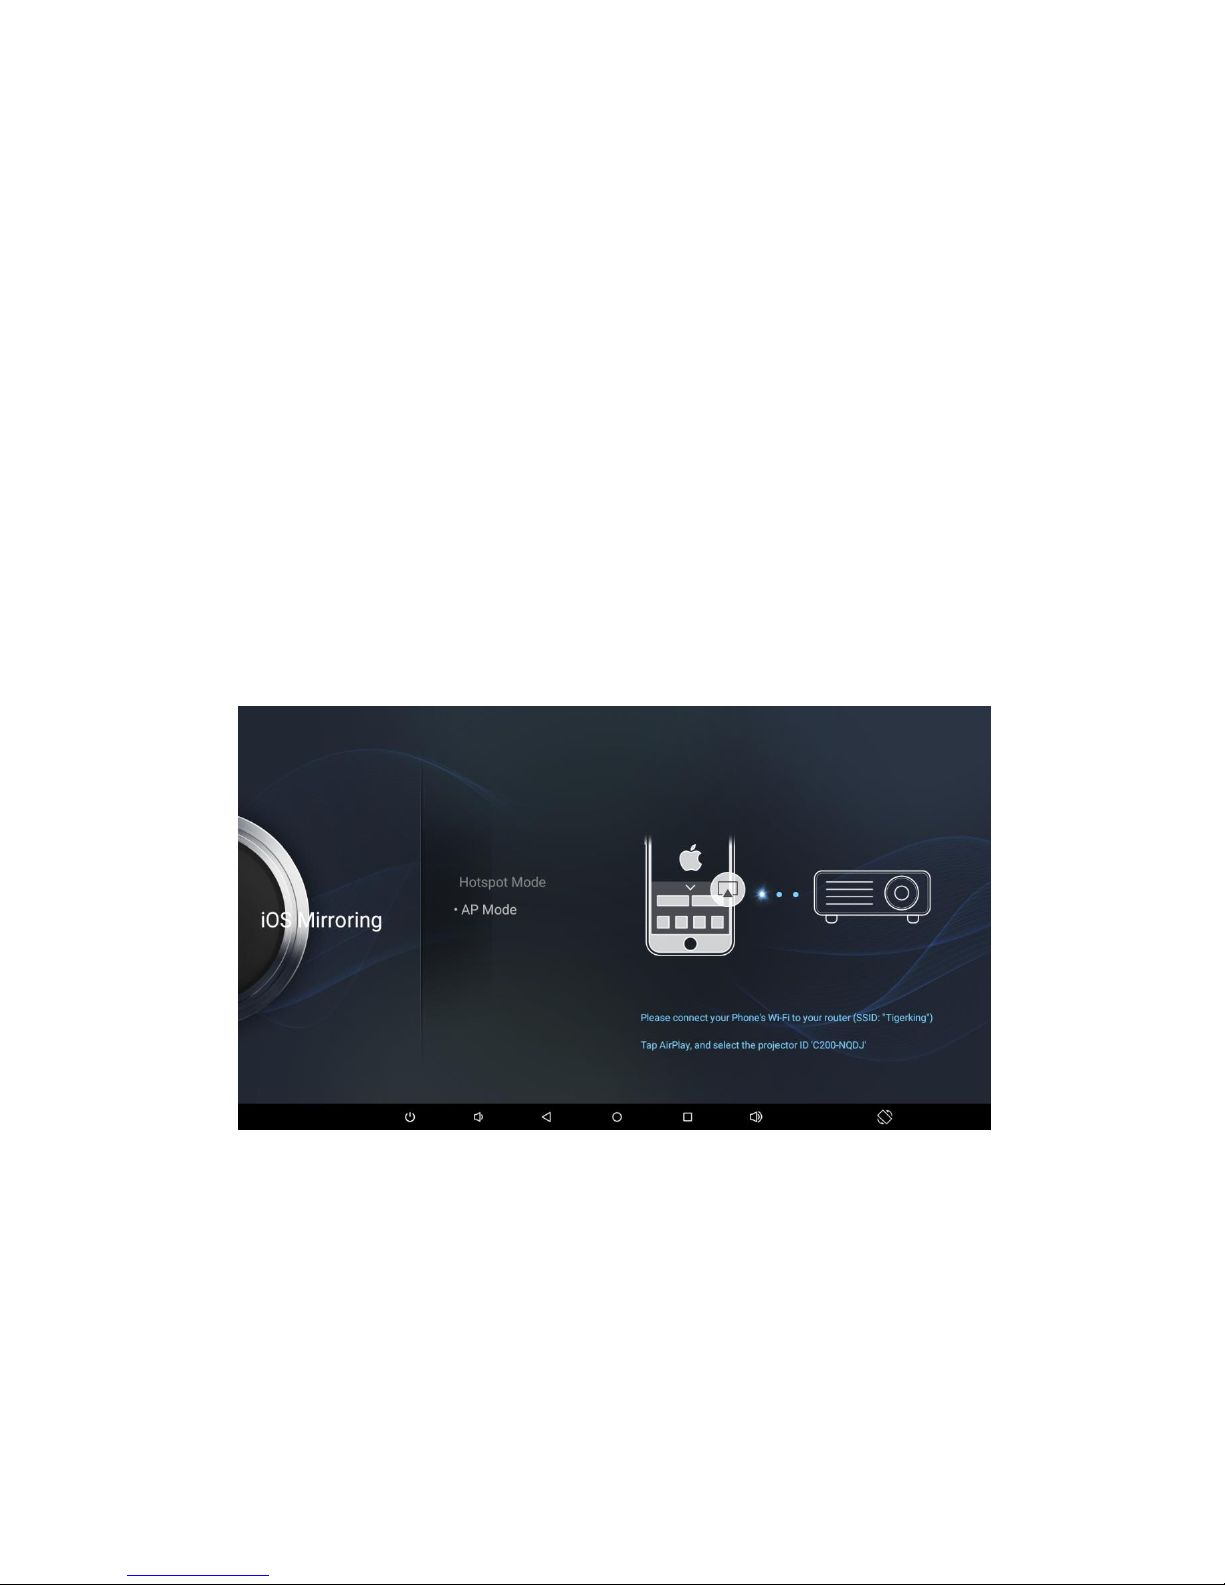
AP Mode
The iOS device needs to be connected to the same Wi-Fi network.
Hotspot Mode
you can directly connect your iOS device to the projector via
Hotspot mode.
On your iOS device, run AirPlay and select the projector
name to mirror you screen to the projector.
Connecting to another device
Connecting to iOS device (2/2)
12
Connecting to another device
13
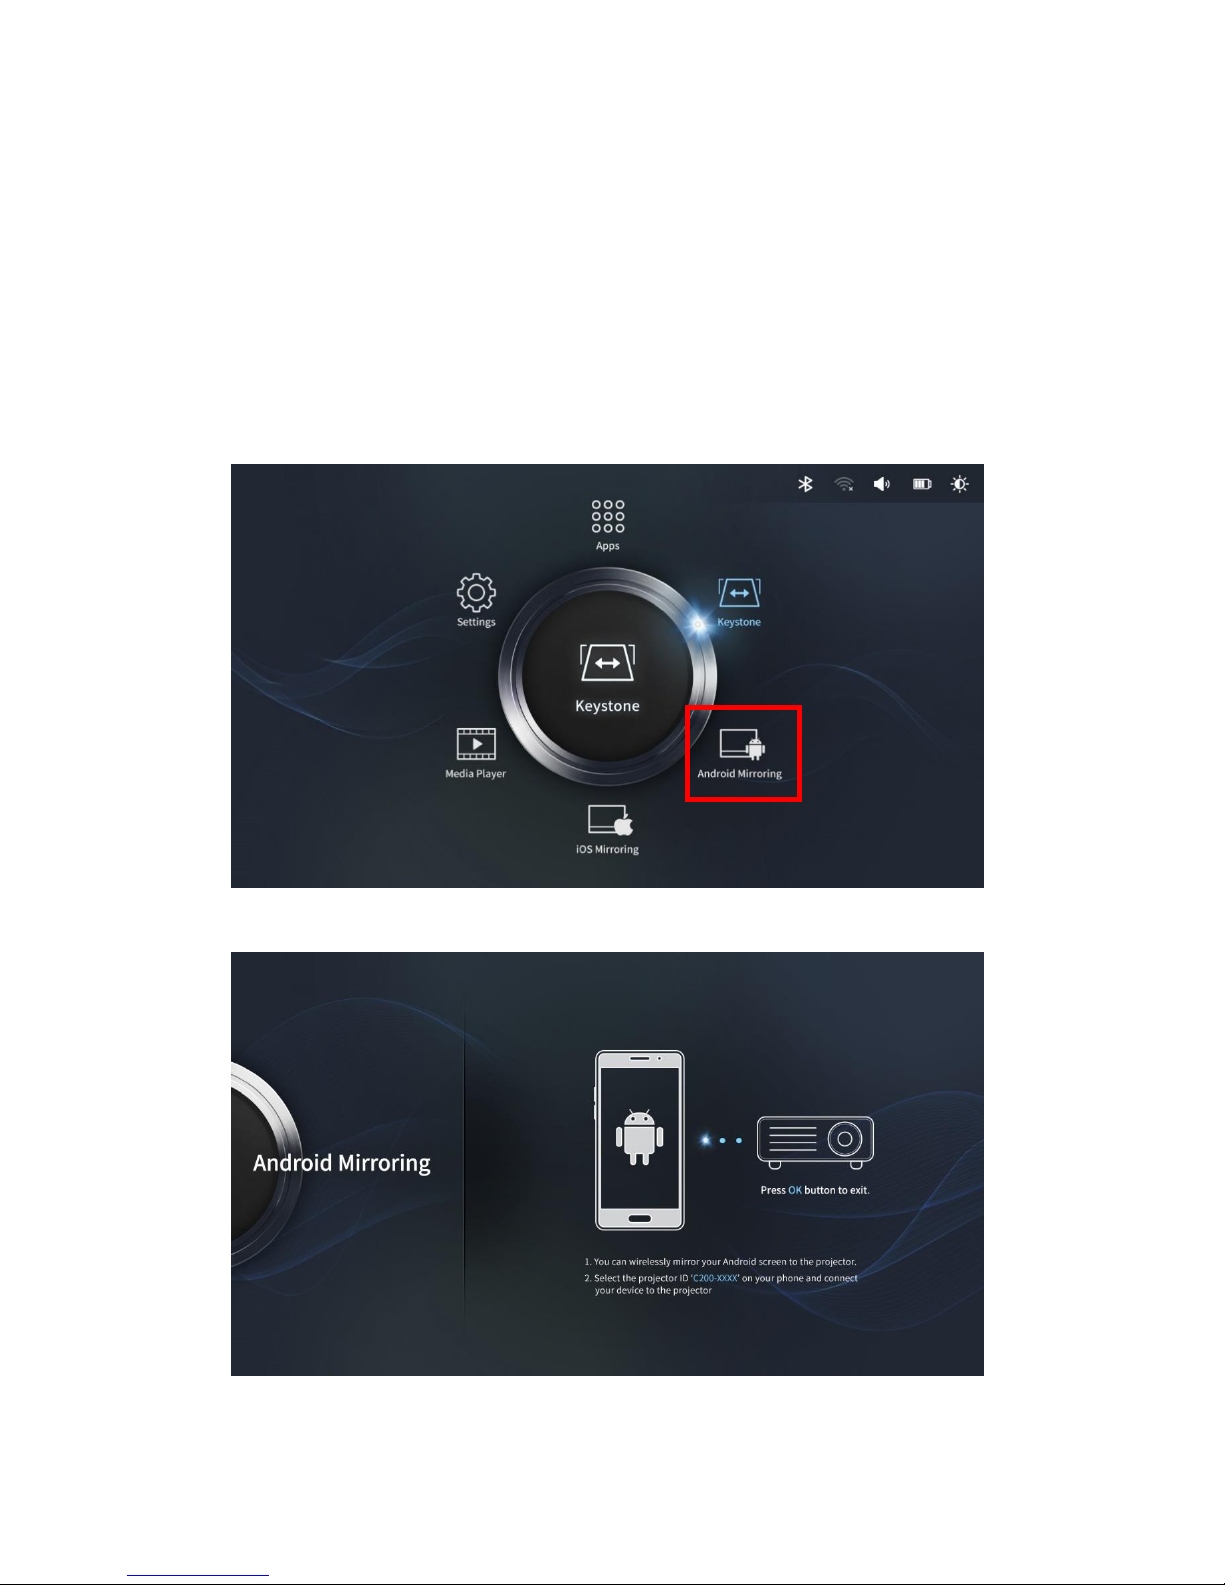
Connecting to Android device
Select Android Mirroring.
You can mirror your Android device’s screen to the projector.
Your Android device needs to support Miracast.
Select Miracast menu on your Android device, and connect
to the projector device name.
14
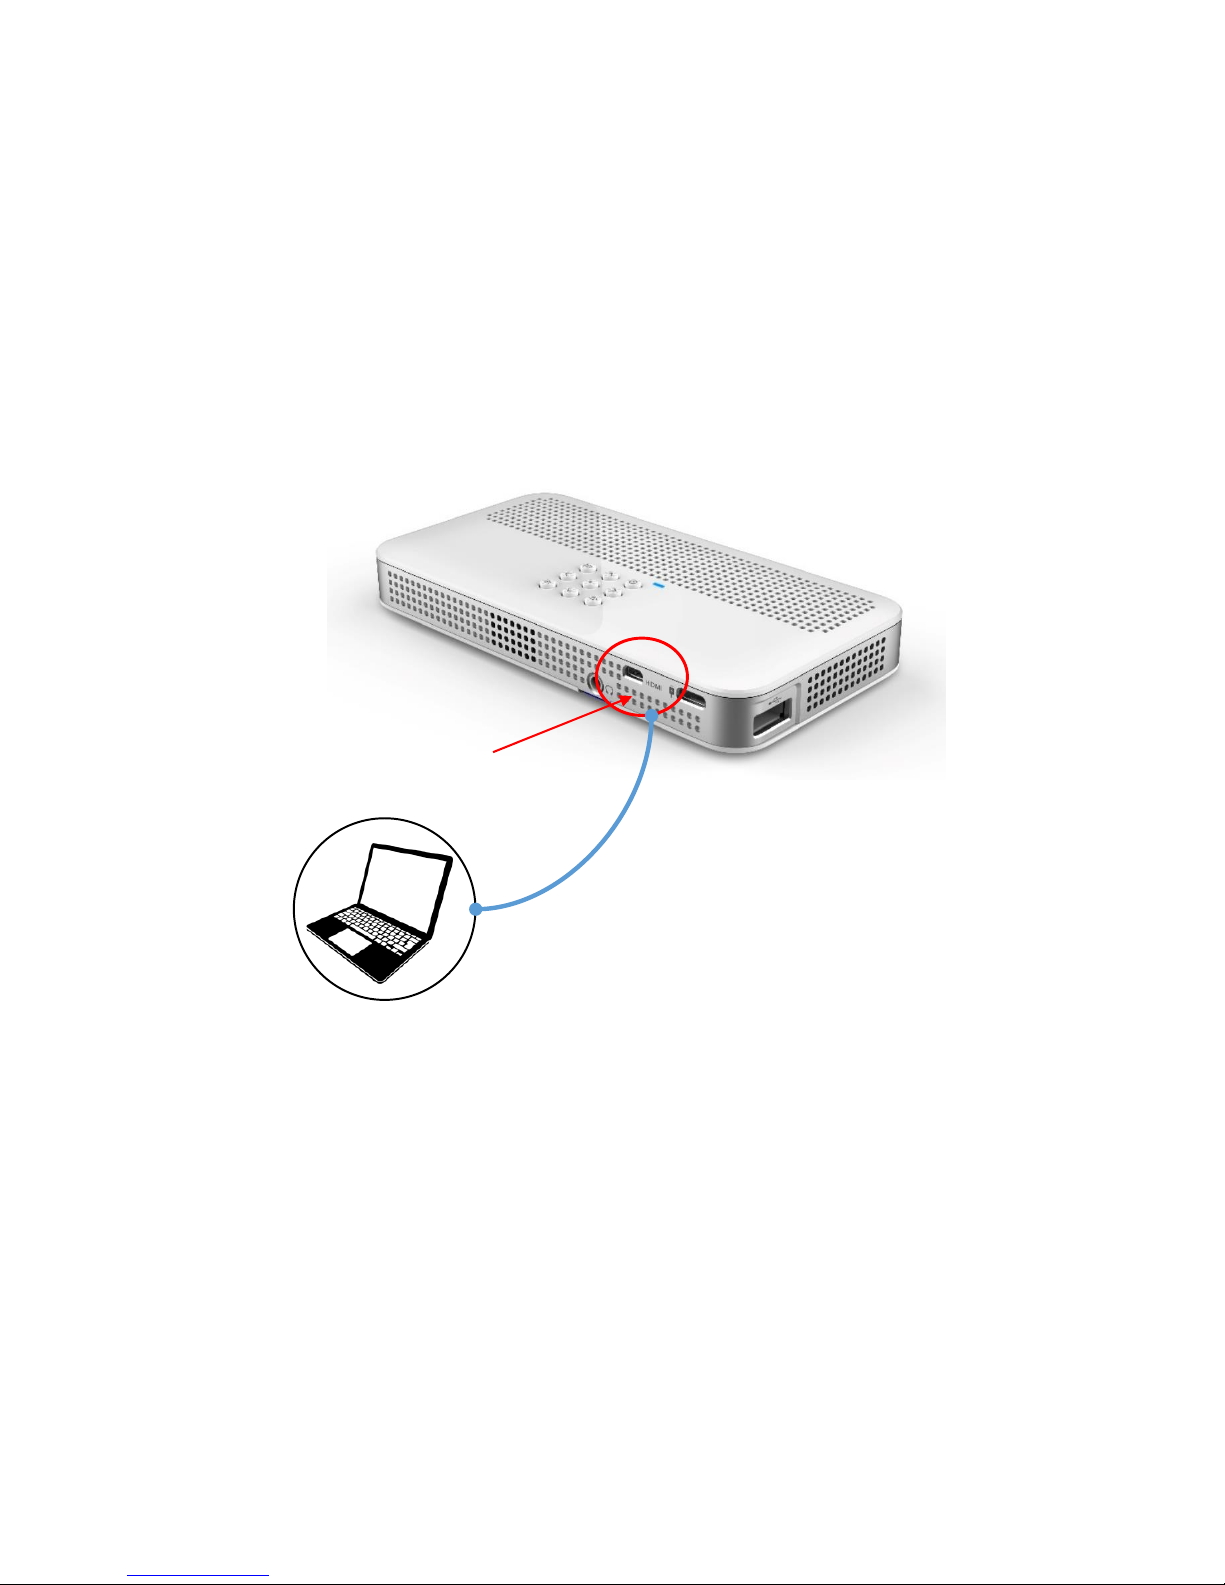
Connect micro HDMI port and your PC with a HDMI cable.
micro HDMI port
* Highly recommend to use a shielded HDMI cable.
* Up to HDMI Ver. 1.4 is supported. HDMI cable is not included.
Connecting to another device
Connecting to a PC via HDMI
Settings
15
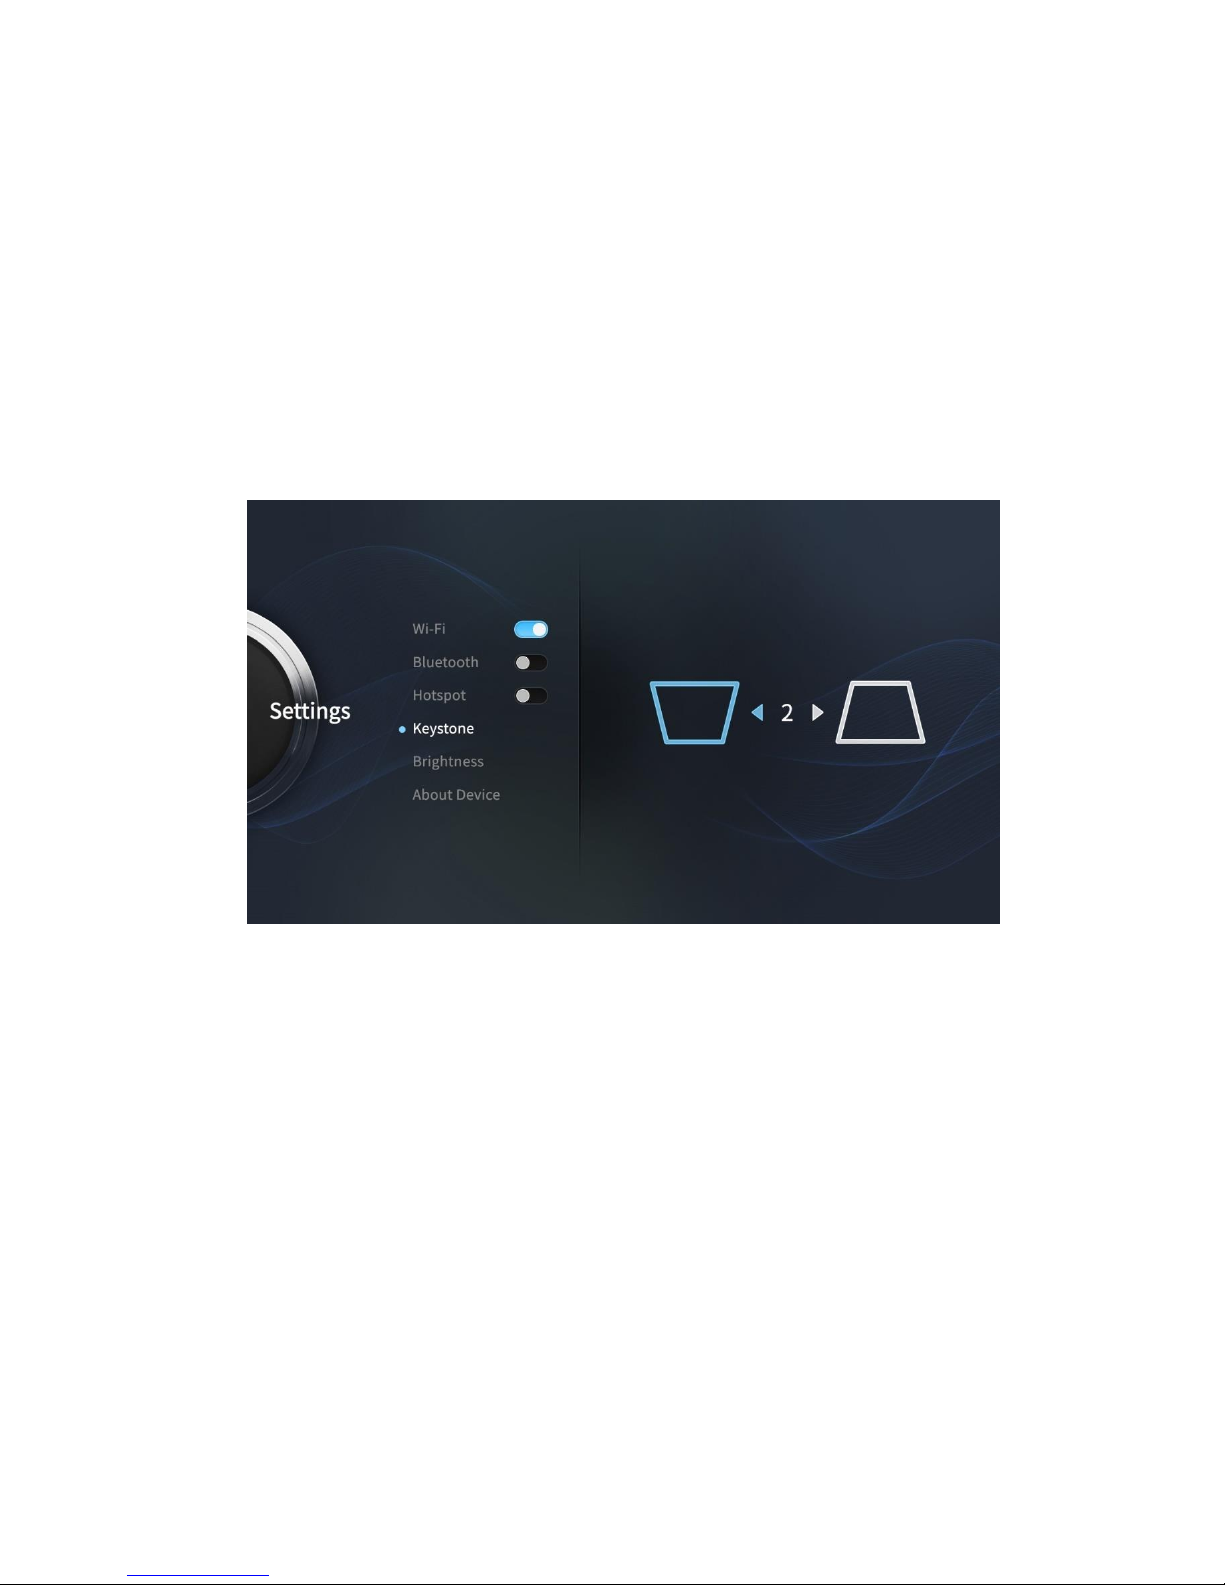
Keystone Adjustment
You can adjust keystone in Settings > Keystone.
Select a display shape and press OK button to adjust the
keystone.

Settings
16
Brightness
Select Brightness and chose one between Low, Medium, and High.
Use Left/Right key button to select your preferred brightness.

Settings
17
Auto Shut-Off Timer
You can set auto shut-off timer at Settings > About Device > Auto Shut-
Off Timer.
Use Left/Right key button to choose between 5 min, 10 min,
20 min, and none.
Settings
18
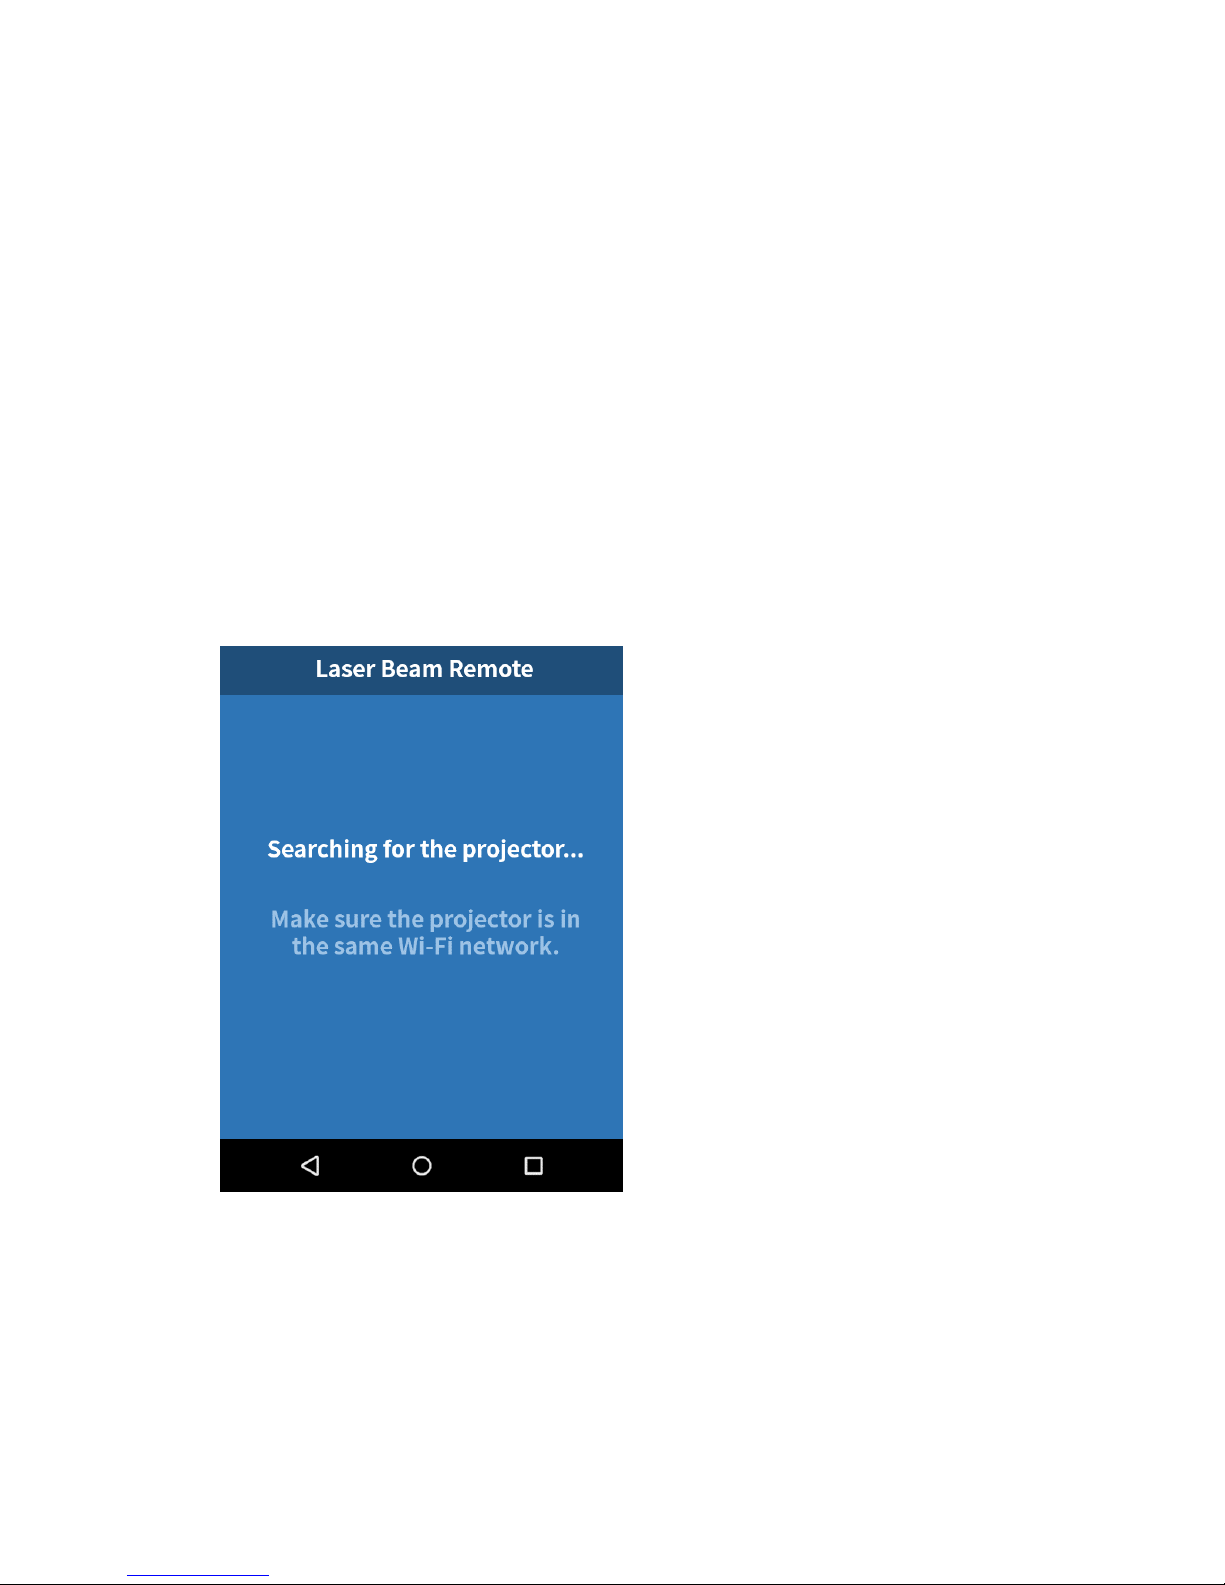
Remote App
Please use the Remote App to control the projector after
connecting the app to the projector.
Please start the app and select
the projector name after
searching.
You can see the same screen of
the projector on the app and
select proper menu items and
easily input text.
You can download Remote App from Google Play or Apple
App Store.

Settings
19
Software Update
OTA Update
Your projector must be connected to the Internet.
Go to Settings > About Device, and select Software Update.
You can upgrade the projector to the up-to-date software to use it in
more stable environment.
SW Update Using Your PC via USB
Please visit Cremotech home page (http://www.cremotech.co.kr) and
download the up-to-date software and SW installation tool.
Install the SW installation tool on your PC and connect your PC with the
projector using USB cable. Load the downloaded SW and install it.
You can find the information of the up-to-date software update and
how to install it at http://www.cremotech.co.kr.
System Update
A new SW update is available. Do you want to update?
No Yes
Settings
20
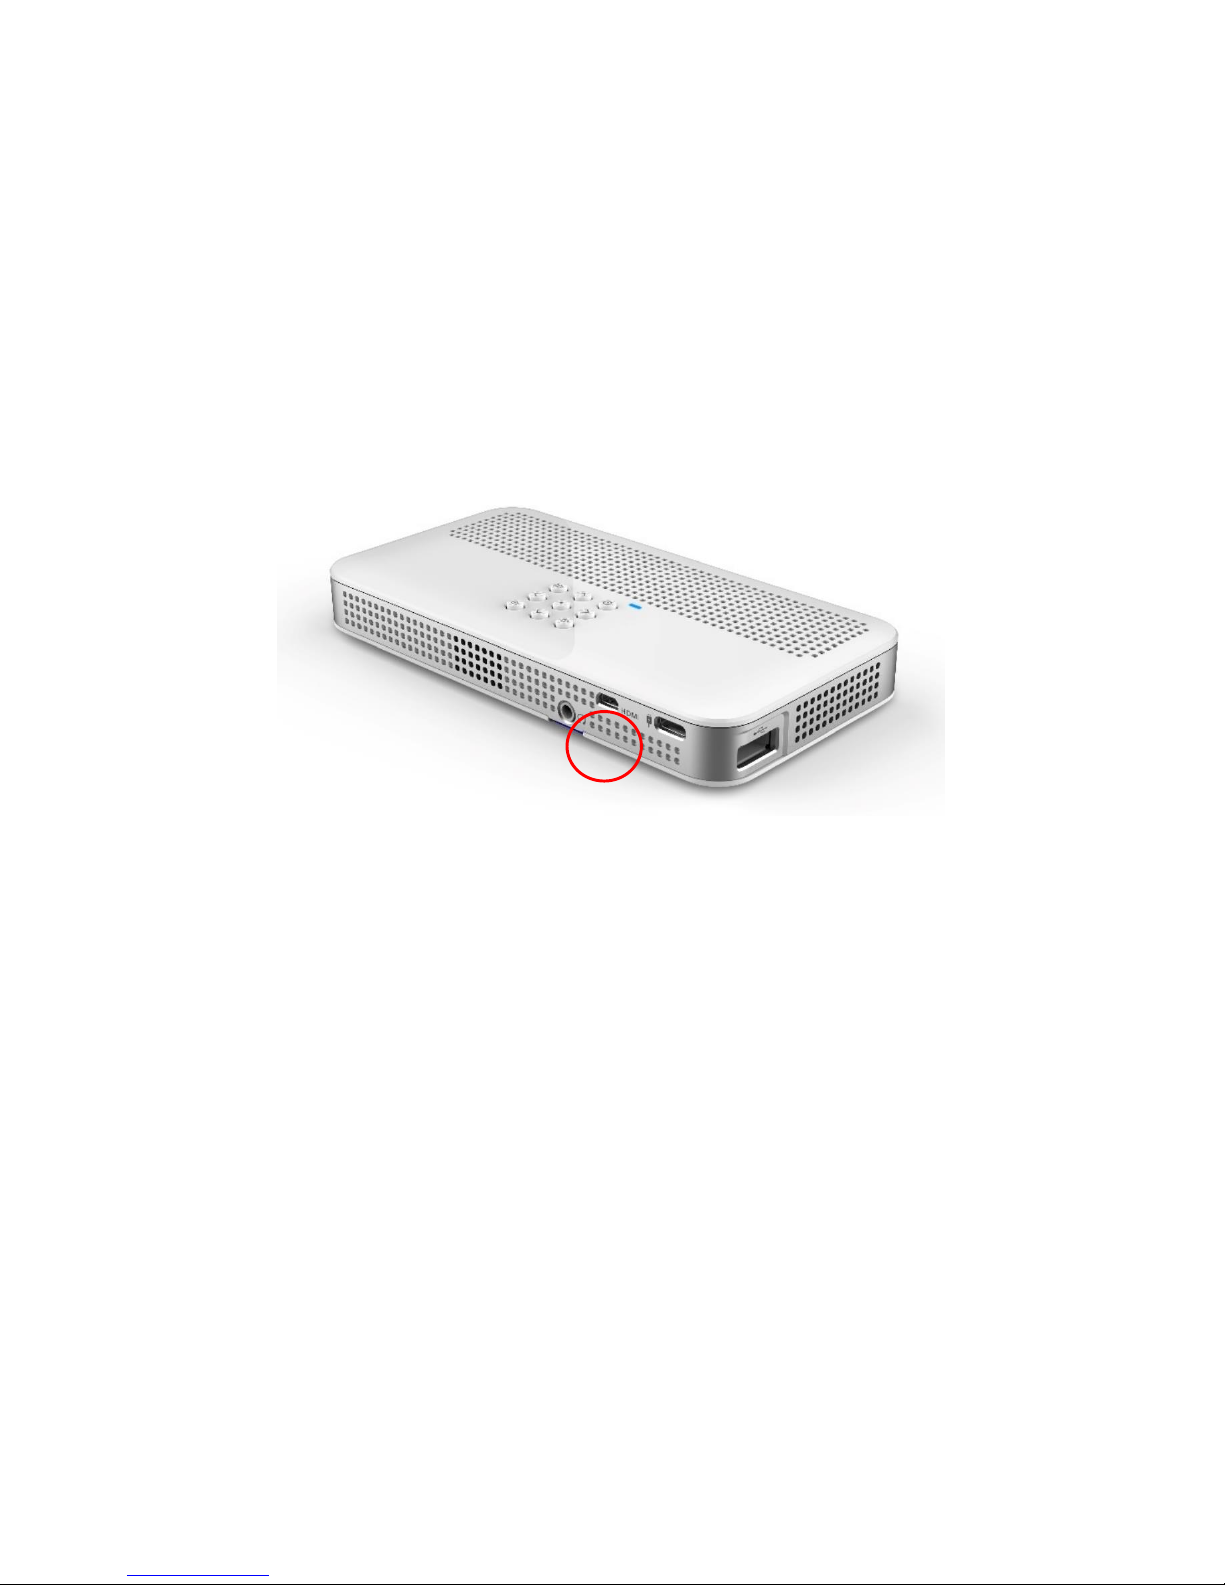
Reset
You can reset the projector when it doesn’t work.
You can find the reset hole at the bottom-right on the back side of the
projector. Please use a clip or pin to press the reset button inside to
reset the projector.
Other manuals for laser beam pro
1
Table of contents
Other Cremotech Projector manuals


