Crua Outdoors Core User manual
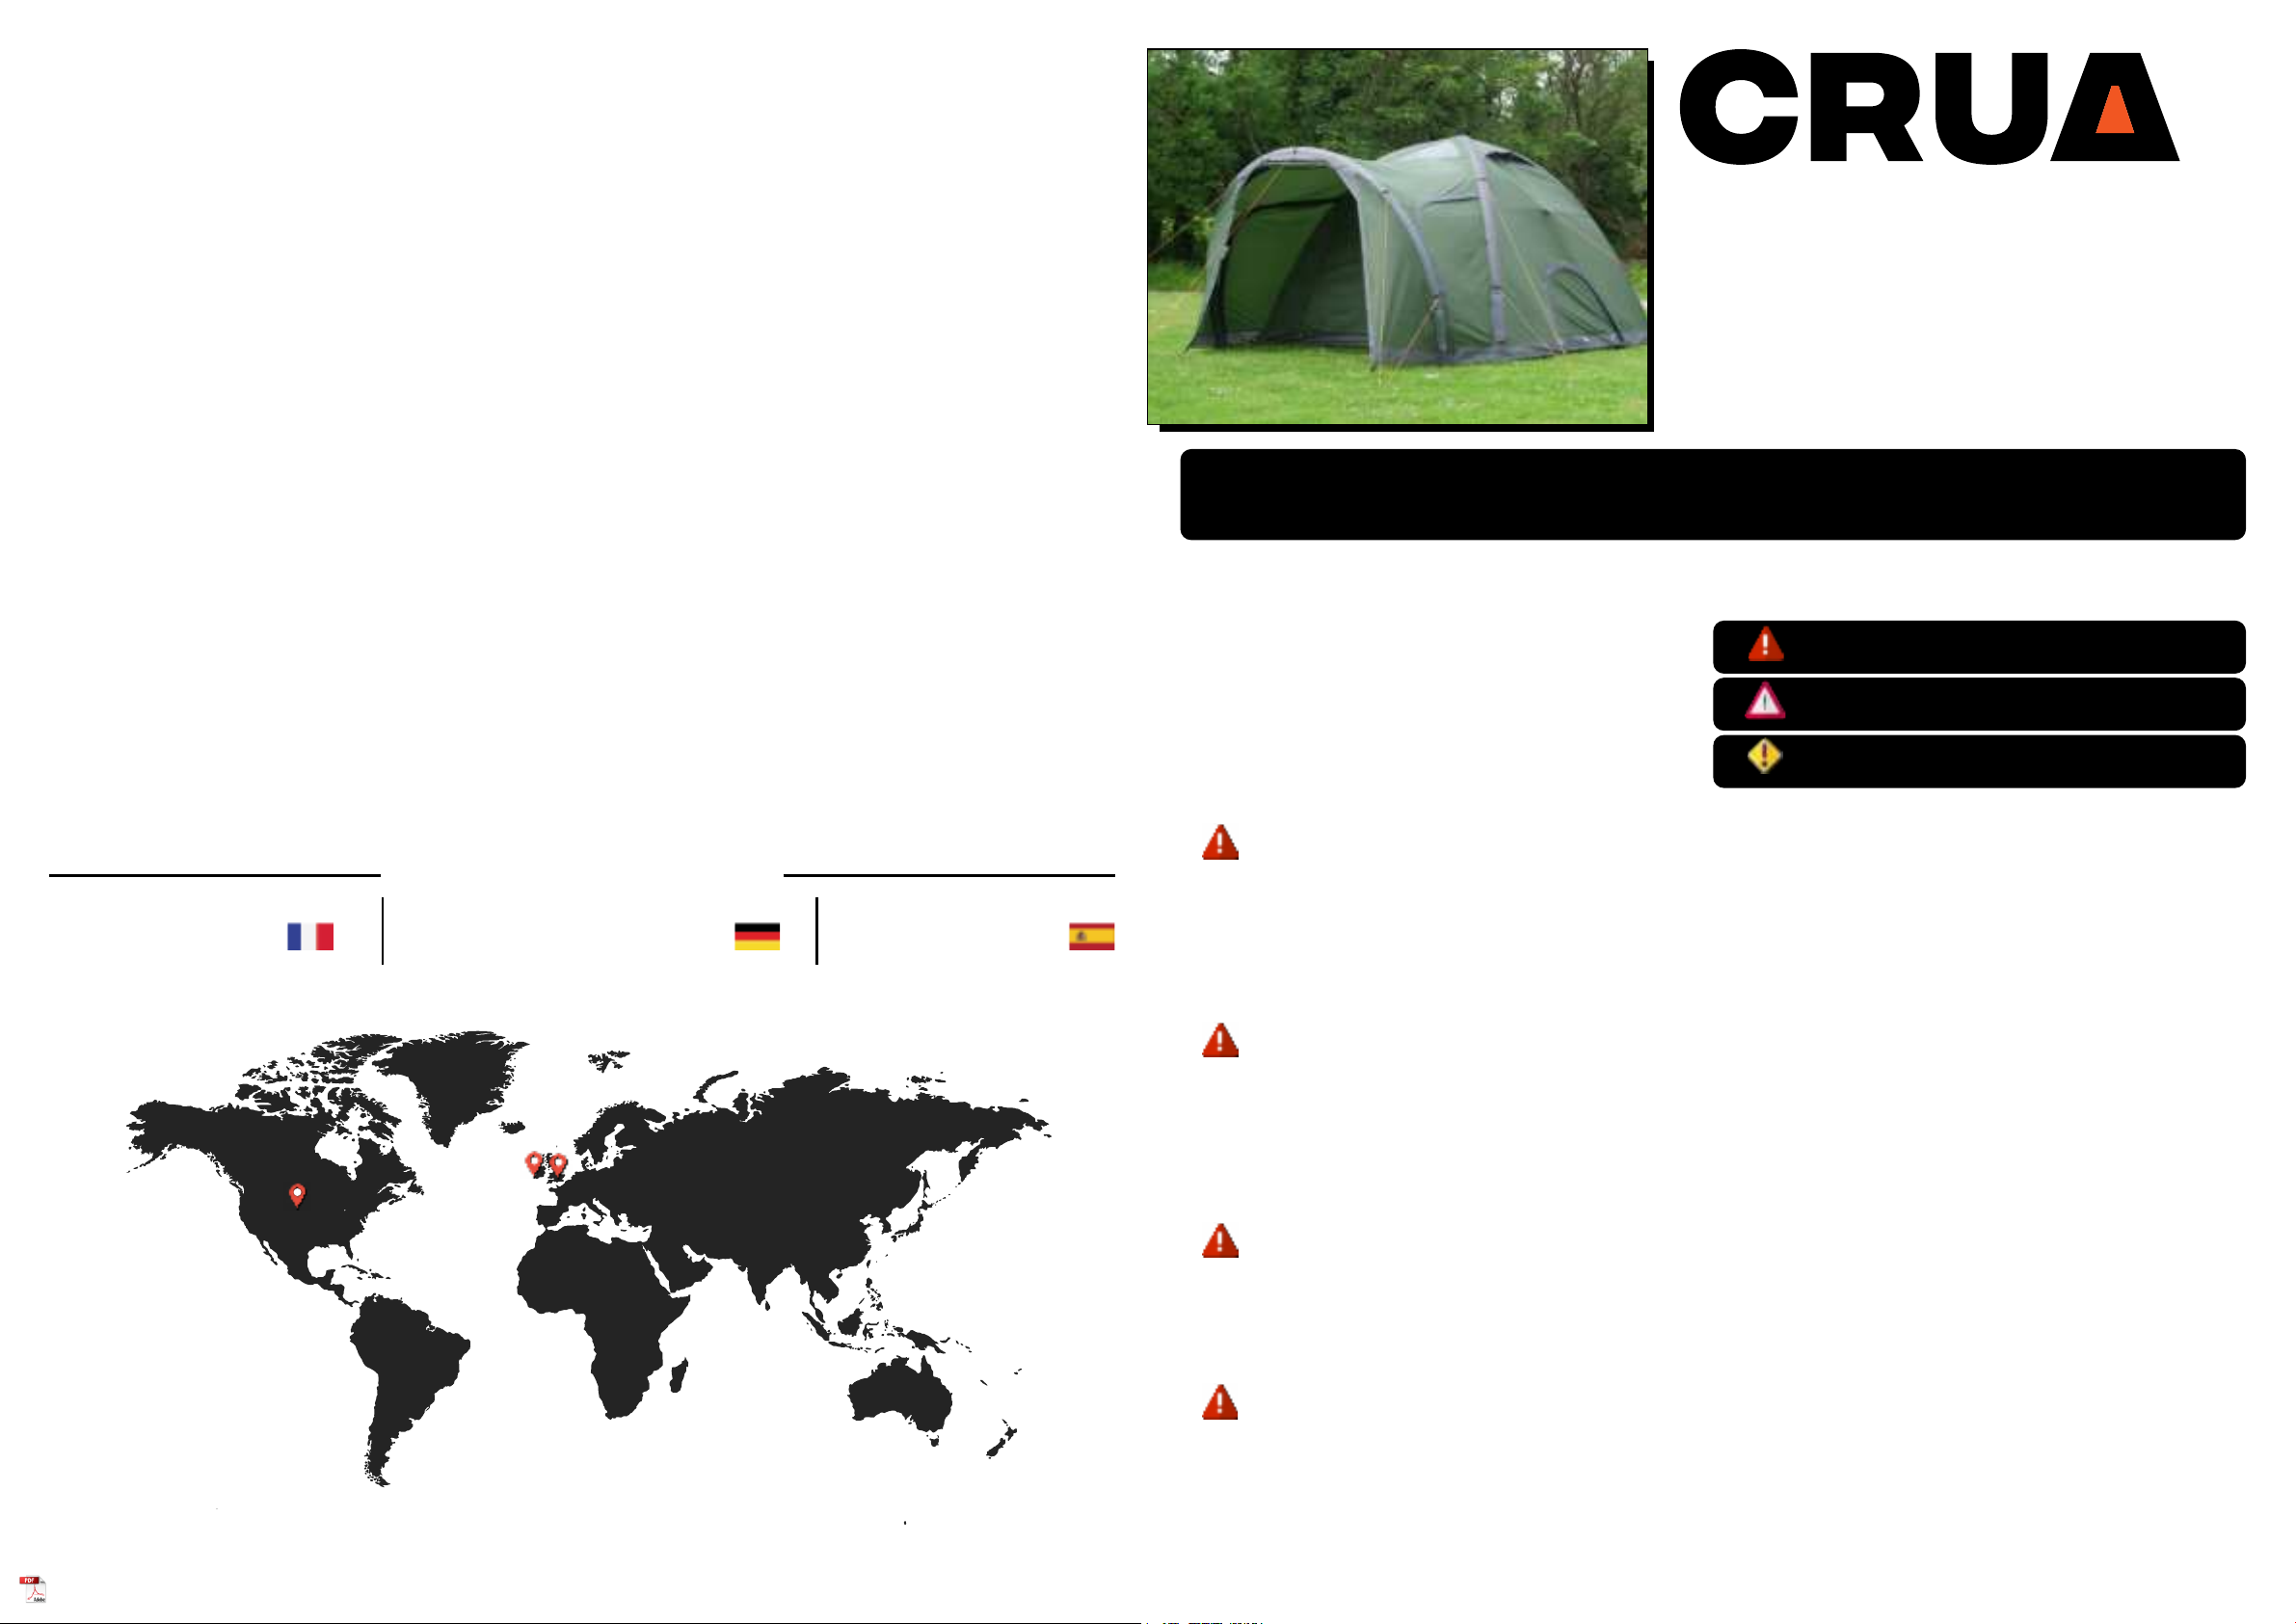
core
instruction manual
Includes:
• Outer Tent x1
• Pump with Multi-Valves x1
• Tent Stakes Pack x1
• Footprint x1
• Carry Bag x1
• Patch Kit x1
• Suction Hooks x2
PLEASE READ THIS MANUAL AND BECOME FAMILIAR WITH ALL SAFETY WARNINGS AND PRECAUTIONS FOR SAFE USE,
ASSEMBLY, CARE, MAINTENANCE, AND STORAGE. PLEASE KEEP THIS MANUAL FOR FUTURE REFERENCE.
Failure to follow these directions can cause an unsafe situation leading to re, burns, serious injury, permanent disability, or death to you or others.
FIRE, VENTILATION & GENERAL PRECAUTIONS FOR YOUR SAFETY
• Do not use gas or other combustion appliances anywhere
in, or near your tent.
• Do not place hot appliances near the walls, roof or curtains.
• Always observe the safety instructions for these appliances.
• Never allow children to play near hot appliances.
• Make sure all ventilation openings on inner and outer tents
as well as any Reective Flysheets are open all the time to
avoid possible suffocation.
Indicates an imminently hazardous situation which,
if not avoided, may result in death or serious injury.
Indicates a potentially hazardous situation which,
if not avoided, may result in death or serious injury.
Indicates a potentially hazardous situation which,
if not avoided, could result in property damage or injury.
Keep all ame and heat sources away from this tent fabric. Any tent, even ones treated with ame-resistant chemicals, are not reproof. The fabric will burn if left in continuous
contact with any ame source and could result in serious injury, permanent disability, or death to you or to others.
THIS TENT IS NOT FIREPROOF, for these reasons:
• DO NOT spray the tent with insecticide.
• DO NOT use other than Crua Outdoors ® recommended water repellent compounds on your tent.
• DO NOT use matches, lighters, stoves, heaters, grills, lanterns, candles, cooking equipment or any other fuel-burning devices, in or near the tent.
• DO NOT build res in or near a tent.
• DO NOT leave campres unattended.
DANGER
WARNING
CAUTION
FLAMMABILITY
CARBON MONOXIDE GAS WILL KILL YOU
SEVERE WEATHER
SUFFOCATION HAZARD
Stoves, heaters, grills, lanterns, candles, and any other fuel burning devices that burn propane, natural gas, charcoal, kerosene, coal, or other fuel, produce a toxic gas called
Carbon Monoxide. Carbon Monoxide is an invisible, odorless and colorless gas. A dangerous level can accumulate in a tent that cannot be detected by sight, smell or taste. When
breathed in, even in small quantities, Carbon Monoxide is absorbed into the bloodstream, replacing, and reducing the oxygen in the bloodstream and causing Carbon Monoxide
poisoning and suffocation which will cause serious injury, permanent disability, or death to you or to others.
For these reasons:
• DO NOT use matches, lighters, stoves, heaters, grills, lanterns, candles, cooking equipment or any other fuel-burning devices, in or near the tent.
• DO NOT build res in or near a tent.
• DO exercise care when using electricity and lighting in and near your tent
In some climatic conditions (for example, severe storms, high winds, heavy snow) stakes and guy lines may not be sucient to anchor
a tent securely, which could result in the tent being picked up or blown away, which could cause serious injury, permanent disability,
or death to you or to others.
Under such conditions:
• DO use supplemental means to anchor the tent.
• DO seek appropriate shelter, for example, in a house, cabin building or a secure structure other than a tent.
Any tent must be properly ventilated in all weather conditions to allow sucient airow into and out of the tent. If airow into and out of the tent is obstructed (for example, heavy
snow or bedding/pillows covering vents) you and other persons will suffer from a lack of oxygen and suffocate resulting in serious injury, permanent disability, or death to you or to
others.
For these reasons:
• DO clear snow or other materials away from any external vents frequently.
• DO ensure that bedding, pillows, backpacks, etc. are kept away from any internal vents.
• DO NOT use matches, lighters, stoves, heaters, grills, lanterns, candles, cooking equipment or any other fuel-burning devices, in or near the tent. (SEE CARBON MONOXIDE
WARNING).
CARE INSTRUCTIONS
DO NOT LEAVE YOUR TENT SET UP IN DIRECT SUNLIGHT LONGER THAN NECESSARY. THE SUN’S ULTRAVIOLET (UV) LIGHT DEGRADES ALMOST EVERY FABRIC AND MATERIAL.
IF LEFT IN SUNLIGHT FOR PROLONGED PERIODS OF TIME, FABRIC WILL FADE AND WEAKEN. DO NOT STORE TENT ON CONCRETE FLOOR. DO NOT SPRAY THE TENT WITH
INSECTICIDE. EXERCISE CARE WHEN USING ELECTRIC DEVICES IN AND NEAR TENTS.
Although our tents are constructed to rigid specications, periods of wind or rain soaking the ground may loosen the stakes and cause the uprights to sink into the ground. This
will weaken the rigidity of the overall structure. Water pockets may also form in the roof if the unit is not assembled taut, possibly causing broken frames and torn fabric. Regularly
check that your tent is anchored tautly and securely.
Ensure that the tent is fully dry when packing away. If this is not possible when leaving the campsite, take the tent out of its bag as soon as possible and allow it to dry.
Never store a tent when wet, as this can seriously degrade the product.
WARRANTY INFORMATION
ALL CRUA OUTDOORS® PRODUCTS CARRY A LIMITED TWO-YEAR WARRANTY REFER TO OUR TERMS AND CONDITIONS AT WWW.CRUAOUTDOORS.COM.
EXCEPT FOR THE WARRANTY EXPRESSLY SET FORTH HEREIN, SELLER MAKES NO WARRANTY WHATSOEVER WITH RESPECT TO THE GOODS, INCLUDING ANY
(A) WARRANTY OF MERCHANTABILITY;
(B) WARRANTY OF FITNESS FOR A PARTICULAR PURPOSE;
(C) WARRANTY AGAINST INFRINGEMENT OF INTELLECTUAL PROPERTY RIGHTS OF A THIRD PARTY, WHETHER EXPRESS OR IMPLIED BY LAW, COURSE OF DEALING, COURSE
OF PERFORMANCE, USAGE OF TRADE OR OTHERWISE.
For more information in English, go to www.cruaoutdoors.com
OUR LOCATIONS
WWW.CRUAOUTDOORS.COM
Pour consulter ces consignes et instructions de
sécurité en français, veuillez visiter
www.cruaoutdoors.com
Um diese Sicherheitsrichtlinien und Anweisungen
in deutscher Sprache anzuzeigen, besuchen Sie
bitte www.cruaoutdoors.com
Para ver estas pautas e instrucciones
de seguridad en español, visite
www.cruaoutdoors.com
Crua Outdoors USA
40675 Country Road 21,
Ault, CO. USA 80610
1-518-354-3987
TAKE DOWN
A. Inner Tent
Partially close all doors and openings.
Partially close all duo attachment points.
Note: Partially closing will allow the air to escape from the tent when deating it.
Close the outer braced vents.
B. Guylines
Remove the guyline stakes from the ground and roll the guyline and store neatly neatly in the mess pockets to avoid future tangling.
Remove the intermediate stakes, but keep the four corner stakes in place.
C. Poles
Open the valves on each pole starting with the porch pole. The tent will start to deate. Wait until most of the air has expelled.
Remove the remaining stakes from the four corners.
Ensue the porch area is pulled towards the back of the tent so that the deated tent is inside its square body shape on the ground.
Fold the left and right sides of the tent to meet in the middle and then fold one more time.
D. Rolling up
Always roll towards the door of the tent. This will help the air trapped in the tent or the air beams to be pushed out while it’s being rolled up.
Leave valves open while not in use.

• DO NOT leave children unattended inside or around a tent.
• DO NOT allow children to set-up or take down a tent.
• DO NOT allow children to enter or exit a tent except through the door.
• DO NOT allow children to remain in a closed-up tent on hot days.
• DO NOT allow children to play with any plastic bags or other packaging material as there is a risk of suffocation. Your failure to followthis warning will cause death, serious
injury or permanent disability to your children.
PROTECT YOUR CHILDREN
FOR YOUR SAFETY
VENTILATION
GENERAL PRECAUTIONS
Before using this product, read and fully understand:
(1) Attached Warning Labels.
(2) This instruction manual and all accompanying documentation.
KEEP ALL EXITS CLEAR
We make every effort to ensure the accuracy of our information. We do, however, have a policy of continuous improvement and we
therefore reserve the right to change or amend designs and specications without prior notice. Please refer to www.cruaoutdoors.com/
pages/instructions for the most up-to-date safety setup and instructions.
Any tent must be properly ventilated in all weather conditions to allow sucient airow into and out of the tent. Please familiarize yourself with all vents and openings in your tent
to ensure you can maintain adequate ventilation. There are three main reasons we promote ventilation within a tent, as in the same way we would in any dwelling like a house or
apartment. These are Airow, Air quality, and Condensation Reduction.
• AIRFLOW: Without airow or fresh air into the tent, your environment will become stale and stuffy. It is important to promote good
quality airow throughout the tent.
• AIR QUALITY: A buildup of any harmful gasses (carbon dioxide, carbon monoxide, and others) is possible in an enclosed space. For
this reason, you must always have adequate ventilation in your tent to ensure a good ow of air from outside.
• CONDENSATION REDUCTION: Leaving the vents open, supplemented by partially opening windows and doors at night to provide
cross ventilation is a good way to reduce condensation.
Given the importance of proper ventilation, for airow, air quality and condensation reduction, we use high and low venting in most of our tents. This allows cooler air in through
the low vents and warmer, moist air up and out through the high vents. Opening both the high and low vents is important as this allows for this cross ventilation. If your tent has
vents in the porch / vestibule, then it is important to also keep those vents open. Failure to vent your tent properly, may result in serious injury, permanent disability,
or death to you or to others.
IMPORTANT
• Make sure you know the re precaution arrangements on the site.
• Consider the possibility of falling rocks or tree limbs, lightning, ash oods, avalanches, strong winds, and other potential hazards.
• Make sure you anchor your tent at all times.
• Please be mindful of guylines, bathtub oors, straps, and other parts of tents as they can be a potential trip hazard.
SET-UP
IMPORTANT: WE ADVISE YOU TO ASSEMBLE THE TENT ONCE BEFORE GOING CAMPING TO BECOME FAMILIAR WITH THE ASSEMBLY OF THE TENT.
Take out and organize all the contents from the carry bags. Set-up of your tent may take longer in windy conditions due to the extra caution needed.
Select a level site, clear of rocks, branches and other hard or sharp objects to set up your tent.
A. Tent Body
A1. Lay the Core groundsheet/footprint out and stake down all four corners. The
footprint will be the size of the tent body, the porch area does not have a footprint.
A2. Unroll the tent onto the groundsheet. Temporarily, stake down the four corners
of the tent.
A3. Starting from one end of the tent unscrew the top cap of the ination valve and
attach the pump nozzle.
B.Tent Poles
B1. Inate both tent air-poles until it is quite rm (7 PSI if your pump has a gauge).
NOTE: the poles should not be rock-hard. Over pumping the air-pole can cause it to
burst.
B2. As it begins to inate, it is normally necessary to go inside the tent and to push
the poles upwards so that the airpoles can assume their correct shape.
B3. Once the air poles have sprung outwards, assuming their correct shape, detach
the pump from the tent and tighten the outer valve cap on each ination point, it is
important that these are tight to prevent seepage of air.
B4. Repeat the ination process for the porch air-pole.
C. Securing the Tent
NOTE: We recommend that all the guy lines are always used as wind can pick up at
any time.
C1. Locate the guy lines that are attached to the porch. Stake these out rst so that
the porch stays upright. Then stake out the bottom of the porch air-poles ensuring
that the webbing holding the poles in shape is taught and at to the ground.
C2. Locate the guy lines attached to the tent.
C3. Stake out each guy line at a 45-degree angle.
C4. Tighten the guy line as needed by adjusting the slider up the cord.
C5. Peg the guy line so that the tent is under tension without distorting the shape.
C6. Properly stake down all 4 corners of the tent going through pole connectors, at
a 45-degree angle using provided stakes.
C7. Floor of tent should be taut when staked properly.
C8. At the bottom of the tent, there is a skirt of fabric that has elastic stake points.
It is important to stake this skirt out from the tent and not to use the same stakes
holding the tent oor in place. This skirt ensures that any rain will ow away from
the tent and not underneath it or on top of the ground sheet.
D. Ventilation
D1. The core comes with 2 vents on the roof of the tent that are “always open”.
There is nothing you will need to do with these vents.
D2. Outer Braced Vents
Ensure that side vents (braced vents) are always open when the tent is erected.
NOTE: If attaching your vehicle to the Core Porch, please ensure you turn off your
ignition immediately. Automobiles emit Carbon Monoxide which is lethal. Please
see Carbon Monoxide Warnings on Page 1 for more information.
A3
B3
C8
D2 PHOTO NOTE: if your tent comes with
a ap over the vent inside the tent, the
ap should be opened at all times when
using the tent.
Other Crua Outdoors Tent manuals


Popular Tent manuals by other brands

Outwell
Outwell RIPPLE 440SA quick start guide

Extreme marquees
Extreme marquees EMX ALPHA instructions

Stansport
Stansport 717-B Assembly instruction

Quest Engineering
Quest Engineering Screen House 6 instructions

Tentandtable.com
Tentandtable.com Premium Pole Tent 20' x 20' Assembly instructions

ClearSpan
ClearSpan SolarGuard PB01110R4 manual

Vaude
Vaude LIZARD GUL 1P user manual

Jack Wolfskin
Jack Wolfskin TRAVEL LODGE RT Assembly instructions

Palram
Palram CANOPIA PALERMO 10x10 / 3x3 How to assemble

Eureka
Eureka Timberline SQ XT Assembly instructions

Alice's Garden
Alice's Garden PGCOVER3X3 manual

Coleman
Coleman Instant shelter Super Light Setup instructions


