6
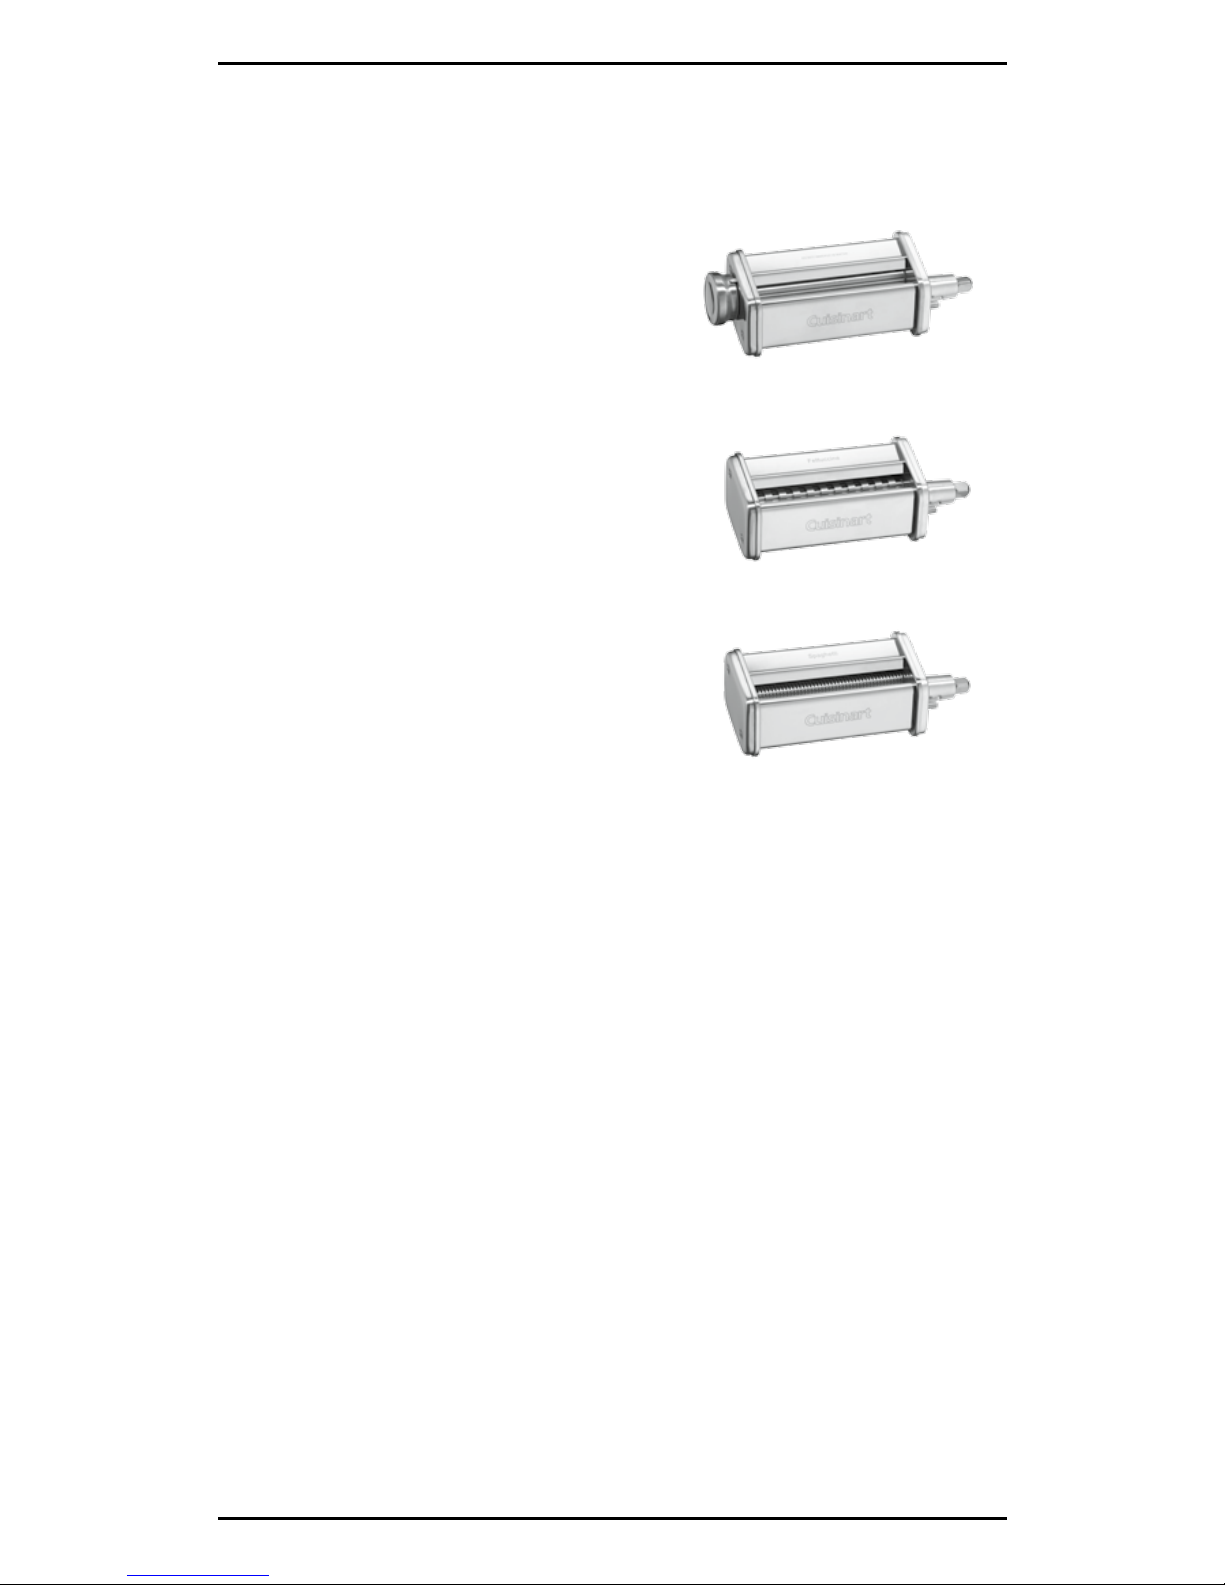
Making Fettuccine or
Spaghetti
1. Attach the desired pasta
cutter to the stand mixer as
instructed previously.
2. Turn mixer to Speed 4 and
slowly insert the dusted pasta
sheet.
3. Separate strands of fettuccine
or spaghetti as soon as they
are cut and place on a tray
dusted with semolina our to
prevent sticking. Dust cut pas-
ta with more semolina our to
prevent sticking; excess will
fall off during cooking.
4. Cook immediately or store in
plastic bags and keep refriger-
ated for up to 3 days.
NOTE: After you nish rolling out
sheets or making fettuccine or
spaghetti, remove attachment,
tighten attachment knob, then
replace port cover on your stand
mixer.
Tips and Hints
• When measuring ingredients
to prepare the pasta dough, it
is essential to stir the our
before you measure it. Do not
scoop it right out of the bag.
• The key to making fresh pasta
is to have the right feel of the
dough. It is important that the
dough is not too moist or too
dry. The dough should be pli-
able and come together in one
ball yet should not be sticky to
the touch.
• It may be necessary to experi-
ment with the fresh egg pasta
recipe a few times to get the
feel of the dough and the
pasta-making process.
• The humidity of the day can
greatly affect the pasta dough.
If the day is very humid, watch
and feel the dough when you
are nished kneading. If it is
still sticky, knead in one table-
spoon of our at a time until
the stickiness disappears.
• When making fettuccini or
spaghetti, separate pasta as
soon as it is cut from the pasta
maker. Toss freshly cut pasta
with semolina our to prevent
sticking. Pile semolina-dusted
noodles together in loose bun-
dles on a at, clean surface.
• Fresh pasta is best if cooked
immediately. If storing, place
fresh pasta dough or noodles
in plastic bags and keep refrig-
erated for up to 3 days. Fresh
pasta dries very quickly and
becomes fragile easily.
• To cook pasta, generously salt
6 quarts of boiling water. Add
pasta slowly and separately;
make sure no pasta is stick-
ing together before adding to
water. Cook until tender, about
3 to 8 minutes, based on the
shape and thickness of the
pasta. Stir pasta and drain in
colander.
• The stand mixer should rest at
least one hour after process-
ing 2 consecutive pasta dough
recipes.