3
Notice:
Not allowed to transfer MP3 files to the outside without permission
(offend international copyright law)
Shake produced by walking or movement will not influence the music
playing, but the falling down and colliding with the hard objects will
cause damage to the player and the playing effect.
Avoid pouring any liquid into the player or wetting the player.
Do not make the player close to the heat resources or expose in the
sunshine, excessive dust, humidity and rain directly. Do not put the
player on the accidented surface or in the sealed car when it is too hot,
which will cause damage to the device and shorten the life of the device.
Notice of using the earphone
Do not use the earphone to listen to the player when driving a car, riding
bike or motorbike for preventing any accidents, especially when you
use the earphone in extreme high volume when walking or crossing the
road. It is very dangerous. Be careful and do not use earphone when
you are in one place with potential danger (for example: Beside the
building ground.)
Prevent the hurt of audition
Do not uses the earphone in extreme high volume, the hearing expert
suggests that it is not good to listen to the music in extreme high volume.
Please lower the volume or stop using when you have tinnitus.
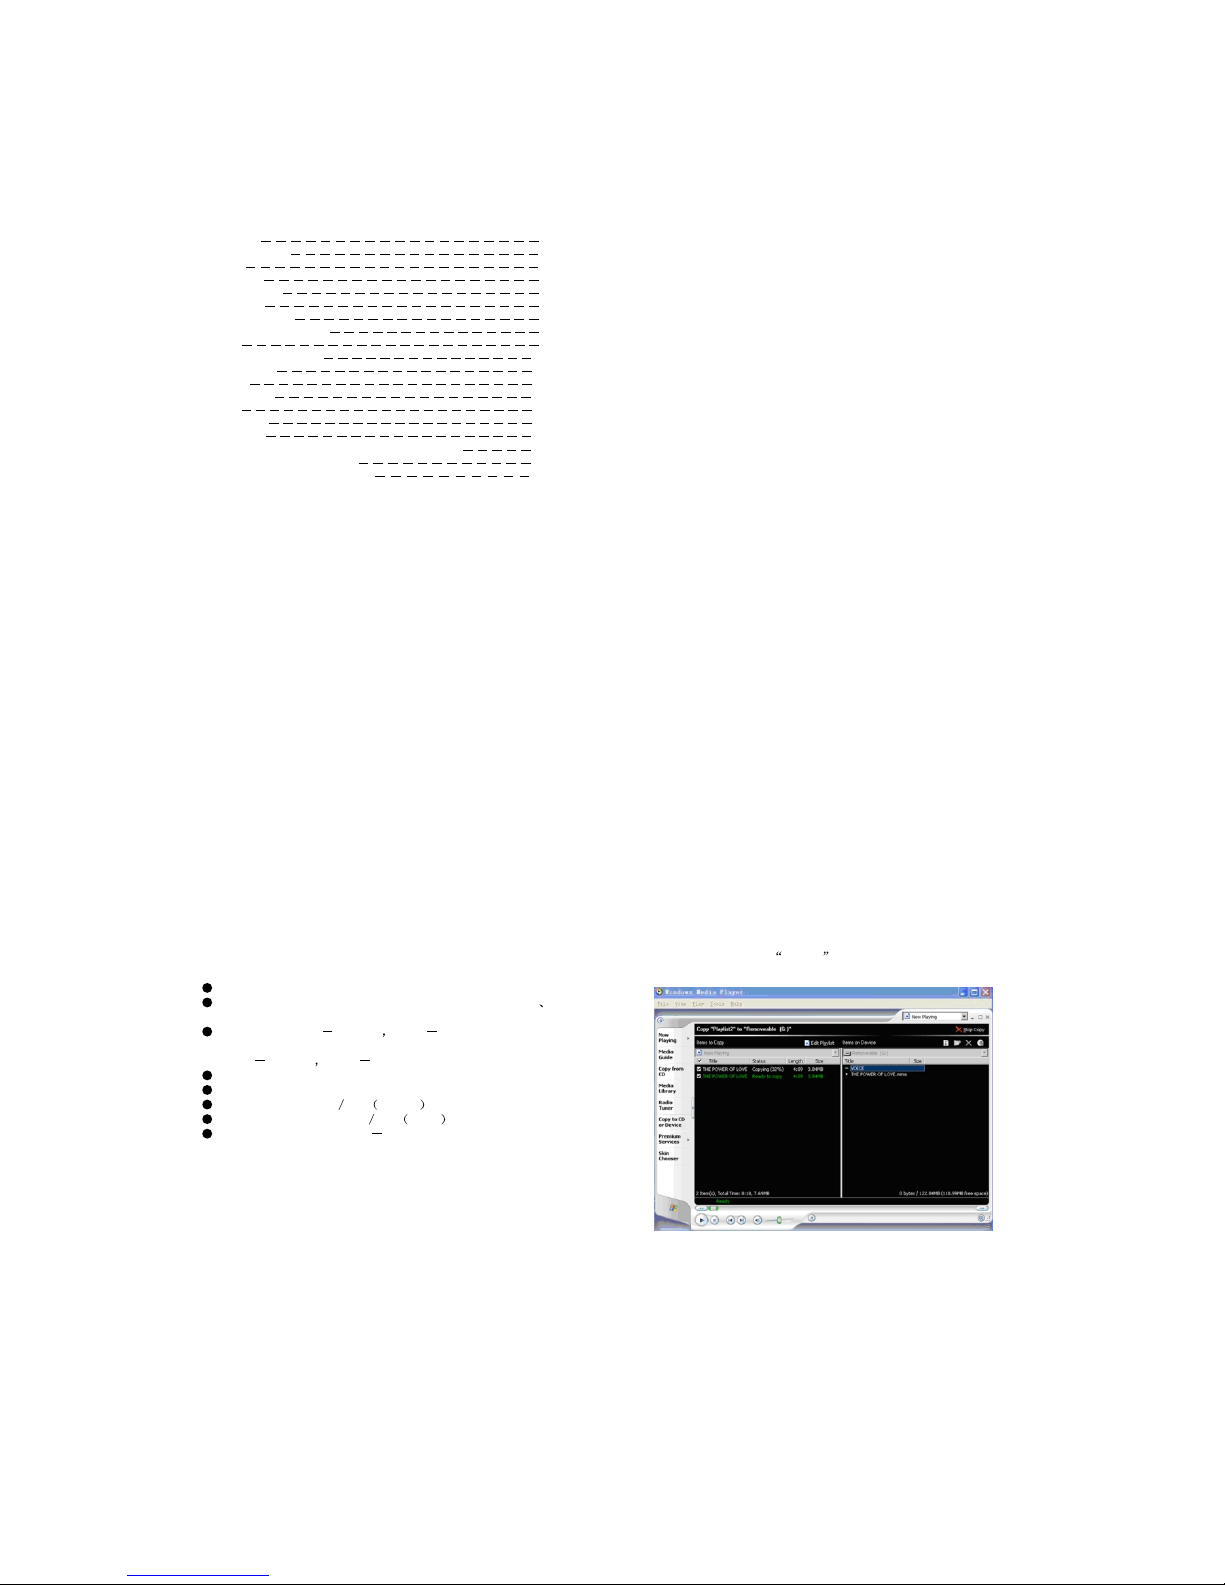
5) In theopening windows , choose the desiredWMA music
with DRM. Andchoose Removable Disk
34
5
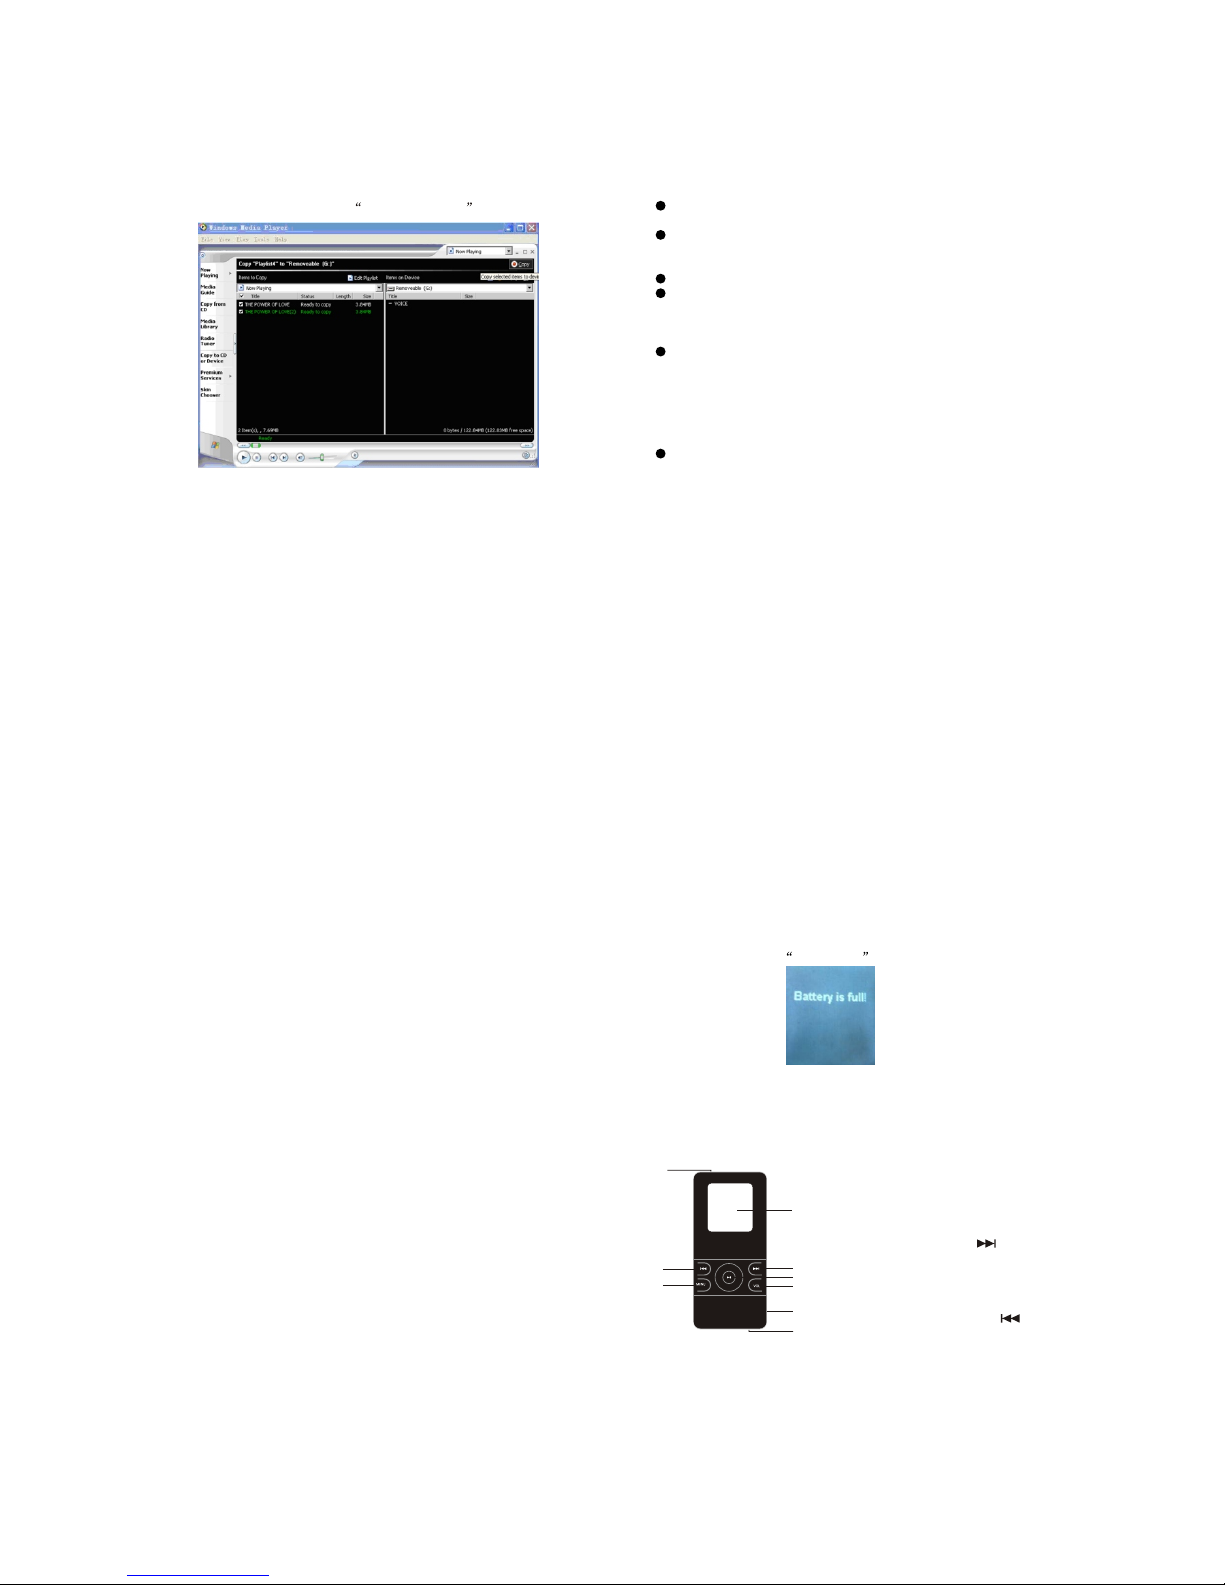
1.LCD display
2.MENU button
3.Next track/Forward ( )
4.Play / Stop/ turn on/offbutton
5.volume control button(VOL)
6.Headphone jack
7.USB port
8.Previous track/ Rewind( )
9.Power switch
9
1
2
3
4
5
6
7
8
Appearance & Keys
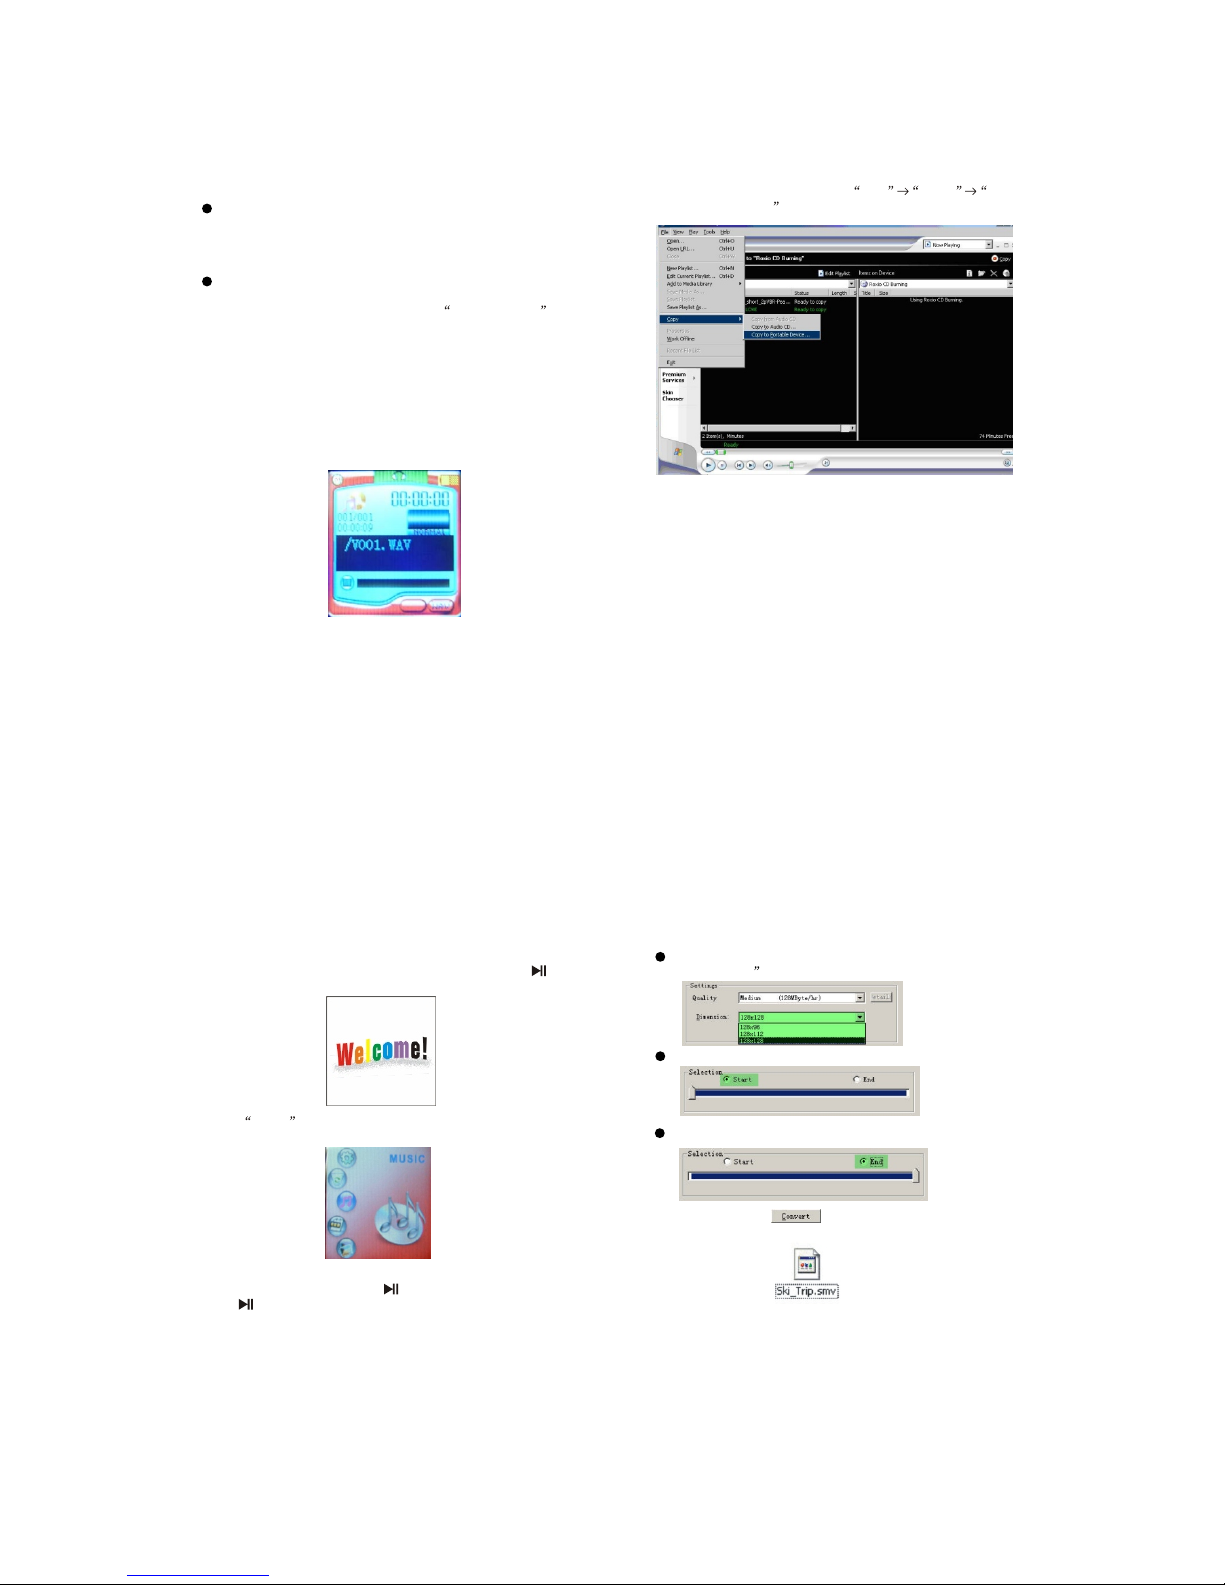
Support DRM9 function
Warning : Download operation ofWMA music with DRM
protection
On Window 98/Window ME / Windows 2000/ WindowsXP ,
WMA music withDRM should betransferred by Windows
Media Player 9.0
Other download operationprobably will cause the player
can not readthe WMA music with DRM file.
Operation instroduction :
On Window 98/Window ME / Windows 2000/ WindowsXP ,
user should upgradeWindows Media Player to 9.0
On Windows MediaPlayer 9.0 version : (Window 98/
Window ME /Windows 2000/ Windows XP)
1) Connect MP3player to PC
2) Open WindowsMedia Player 9.0
3) In WindowsMedia Player 9.0 , open thedesired WMA
music with DRM
System maybe requestto download the license in caseif
user does notdownload the WMA music with DRM
properly from thewebsite .
In this case, user need download the licensefrom music
publisher as instructionof Microsoft Website showing in
the operating window.
32
4.The player may display Battery is full after the battery is full.
5.Unplug the charger, the MP3 player is ready to use.
Note: the power ON/OFF switch must be at the ON position during the
charging process.