MPK4099UK
Quick Start Guide
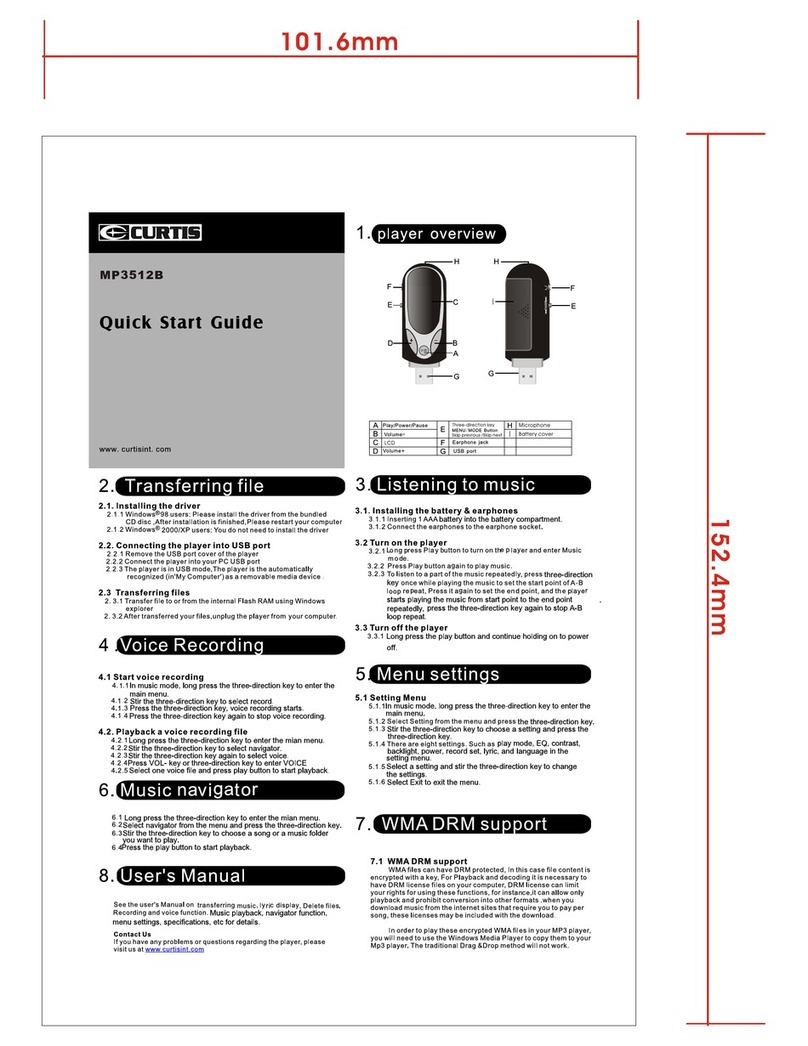
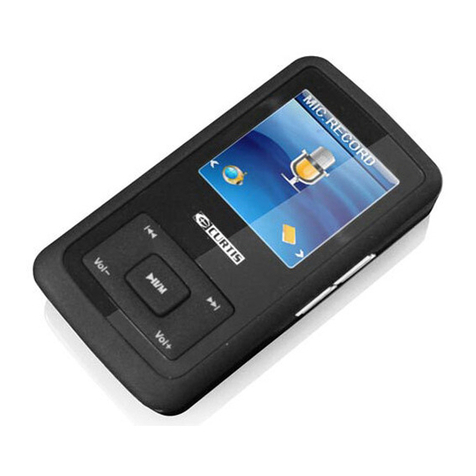
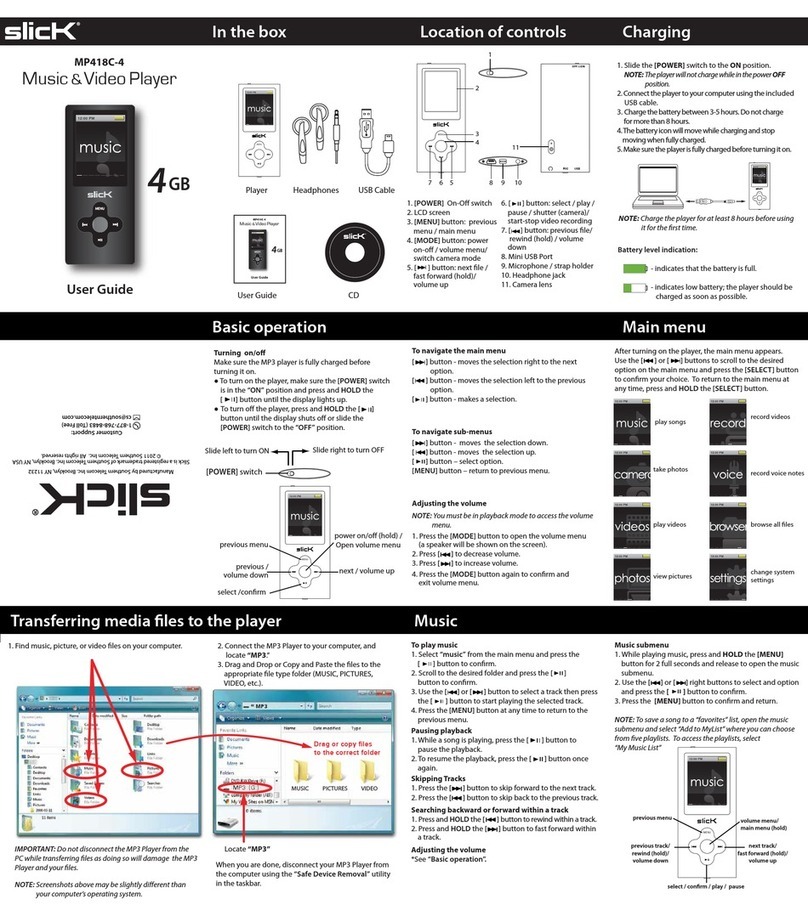
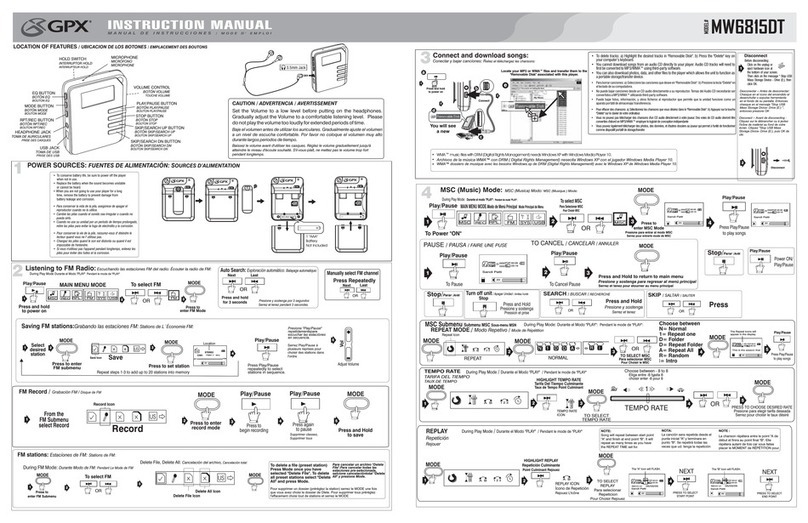
1. Overview
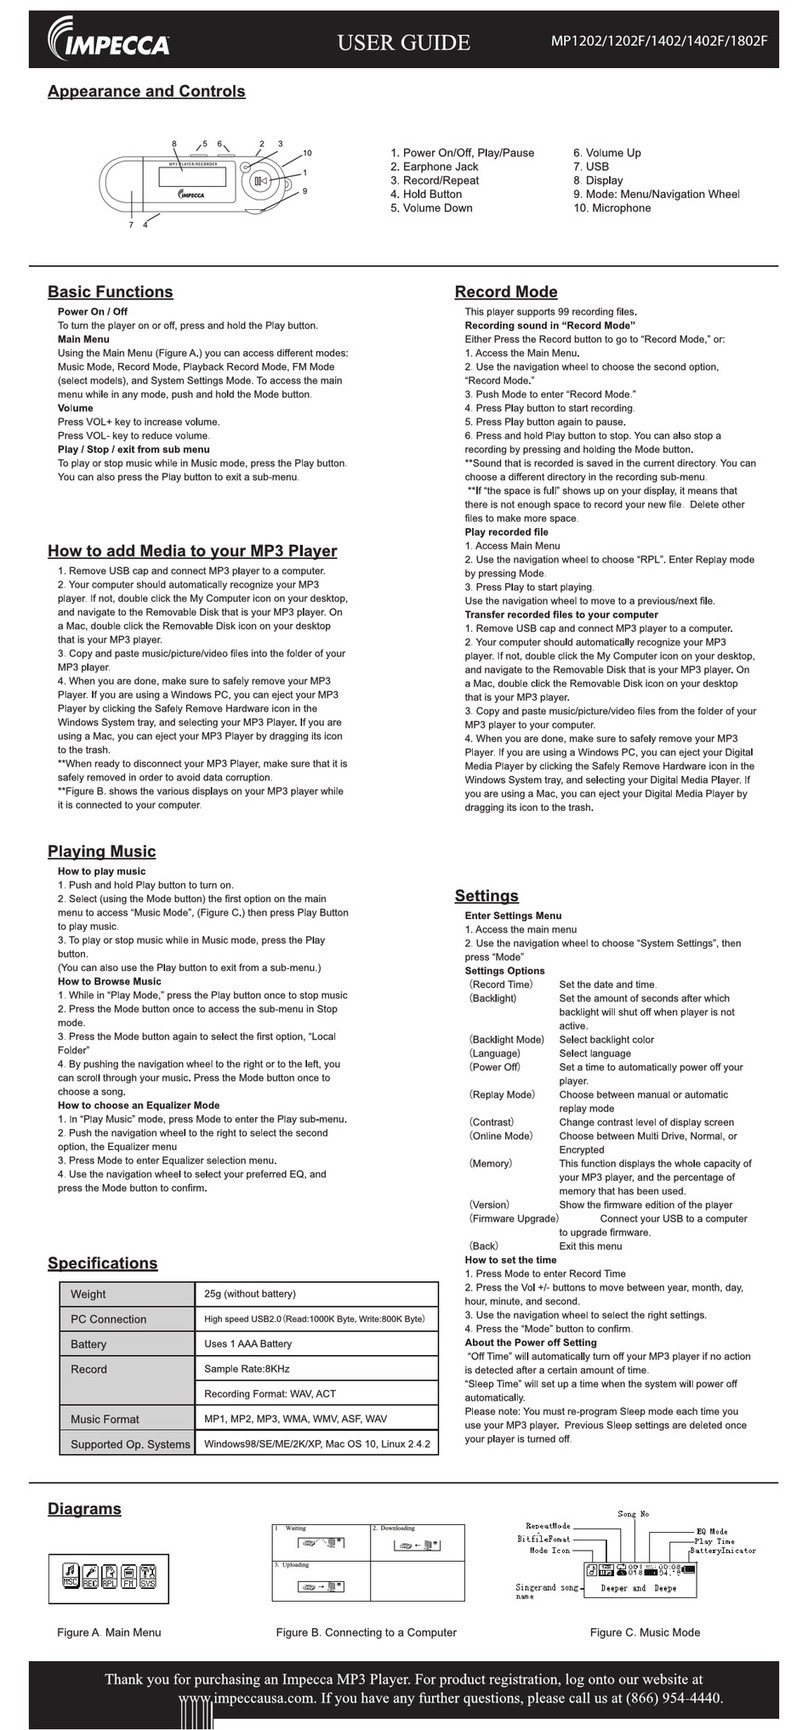
2. Music Play
2.1 Switch on the Power button on the top and hold ON/OFF button to switch on the device.
After entering Main Menu page, select Music and press Play/ Pause button to enter
playing song mode.
2.2 Press Previous / Next buttons to select your desired .MP3 or .WMA song.
2.3 Press Play/Pause button to start playing the selected song.
2.4 Press Previous / Next buttons to jump to the previous or next song.
2.5 Hold Previous / Next buttons long to
2.6 Hold Play/ Pause button and then press Previous/ Next button to volume up/ down.
2.7 Press M button back to the Main Menu.
move your song forward or rewind it.
4.1 Aft
er entering Main Menu page, select Video
Recorder and press Play/ Pause to enter Video Recorder.
4.2 Press Play/Pause button to start recording.
4.3 Press Play/Pause button to pause or continue recording.
4.4 Hold M button long till “Saving” a pear on the display to save the recorded
voice when you finish r
ecording.
4.5 Press M button back to the Main Menu.
press Previous / Next buttons to
4
5
5.1 After entering Main Menu page, press Previous/ Next buttons to select Camera and
then press Play/ Pause button to enter Camera mode.
.2 Press Previous button to zoom out and press Next button to zoom in.
5
5.4 Hold M button for 2 sec to enter sub-menu..
5.5 Press M button back to the Main Menu.
.3 Press Play/Pause button to take photo.
3. Video Play
3.1 After entering Main Menu page, press select Video
and then press Play/ Pause button to enter Playing movie mode.
3.2 Press Previous / Next buttons to select your desired movie.
3.3 Press Play/Pause button to start playing the selected .AV I movie.
3.4 Press Previous / Next buttons to jump to the previous or next movie.
3.5 Hold Previous / Next buttons long to
3.6 Hold Play/ Pause button and then press Previous/ Next button to volume up/ down.
3.7 Press M button back to the Main Menu.
Previous / Next buttons to
move your movie forward or rewind it.
6. Photo
6.1 Aft er ent ering Main Menu page,
and press Play/ Pause button to enter the ROOT folder with listed pictures under it.
6.2 Press Previous/ Next buttons to selct different photos.
66
6
..
.
3 Press Play/ Pause button to view the selected photo.
press Previous/ Next buttons to select Pictures
8. System Set
8.1 After entering Other page, press Previous/ Next buttons to select Setting.
And press Play/ Pause button to enter System Set Function menu page.
8.2 Language Selection
8.2.1 After entering System Set Function menu page, choose Language and press
Play/ pause button to enter options list. Press Previous/ Next buttons to select
your preferred language and press Play/ Pause button to confirm.
8.3 Power Off Set
8.3.1 After entering System Set Function menu page, press Previous / N ext
butt ons to select Power off. Press Play/ Pause button to confirm.
8.3.2 You can set the off time and the sleep time. In the STOP mode, the player
wil
l be off or in Sleep Mode automatically based on the duration you set.
You may set “0” to disable these function.
8.4 Advance info
8.4.1 After entering Advance info page, press Previous/ Next buttons to select Player
information, and press Play/ Pause button to see the current memory information.
7. Radio
7
7.2 Press Previous/ Next buttons to select FM channel.
7.3 Hold M button for 2 sec to enter sub-menu.
.1 After entering Main Menu page, select FM Radio
and pre
ss Play/ Pause button to enter FM function.
press Previous / Next buttons to
10. Other
7.4 Press M button back to the Main Menu.
.1 Files List
9.1.1 Folder Management
9.1.1.1 Under the ROOT directory, you may create the folder to manage
the songs for easy navigation and management.
9.1.2 Folder Navigation
9.1.2.1 Press the M button and select folder.
9.1.2.2 The created folder names in the first layer are listed on the
display. Choose your desired folder name by pushing
Previous / Next buttons.
9.1.3 Sub-folder
9.1.3.1 You may enter each folder in order to locate your desired sub-
folder. Then press Play/ Pause button for confirmation.
9.2 Repeat Mode Set
9.2.1 In PLAYING mo
de, hold M button for 2 sec to enter the sub-menu. Select
Repeat, and press Play/ Pause button to enter the repeat mode selection
screen.
Press Previous / Next buttons to select your desired Repeat mo
de,
and press Play/ Pause button to confirm.
9
9
.3 EQ Mode Set
9.3.1 In PLAYING mode, hold M button for 2 sec to enter the sub-menu.
Select EQ, and press Play/ Pause button to enter the EQ mode selection
screen. 7 EQ modes are available: Normal, Rock, Pop, Classic, Soft, Jazz and
DBB. Press Previous/ Next buttons to select an EQ mode and press
Play/ Pause button to confimr the setting.
9.4 Delete files
9.4.1 Hold M button for 2 sec to enter the sub-menu.
Press Play/ Pause button to enter the deleting function.
Then press Previous / Next buttons to select the file you want to delete,
and press Play/ Pause button to confirm.
9.4.2 Exit this function by press M button.
4. Video Recorder
5. Camera/ Video Recorder
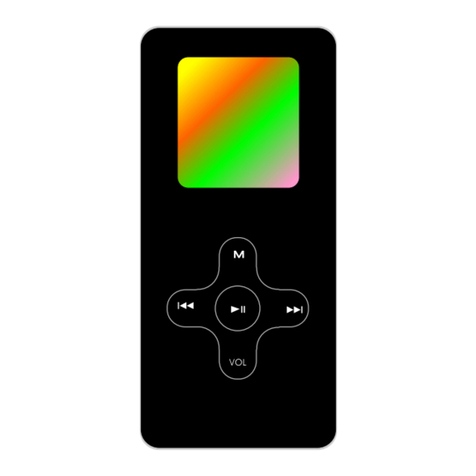
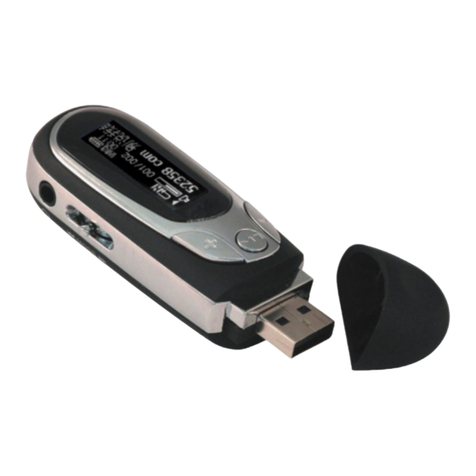
Next button
M button
Earphone jack
Microphone
USB port
Power button
Play/Pause button
Previous but
Camcorder
ton
On/Off switch
..4 Press M button back to the Main Menu.
9. File Transfer
1. Connect player to PC by USB cable.
2. The device will be detected automatically.
Choose Take no action and close the window
3. Double click My Computer to choose
Removable Disk icon.
4. Drag your media files into the removable disk.
5. Close the removable disk window and
disconnect the player from PC after data transfer
