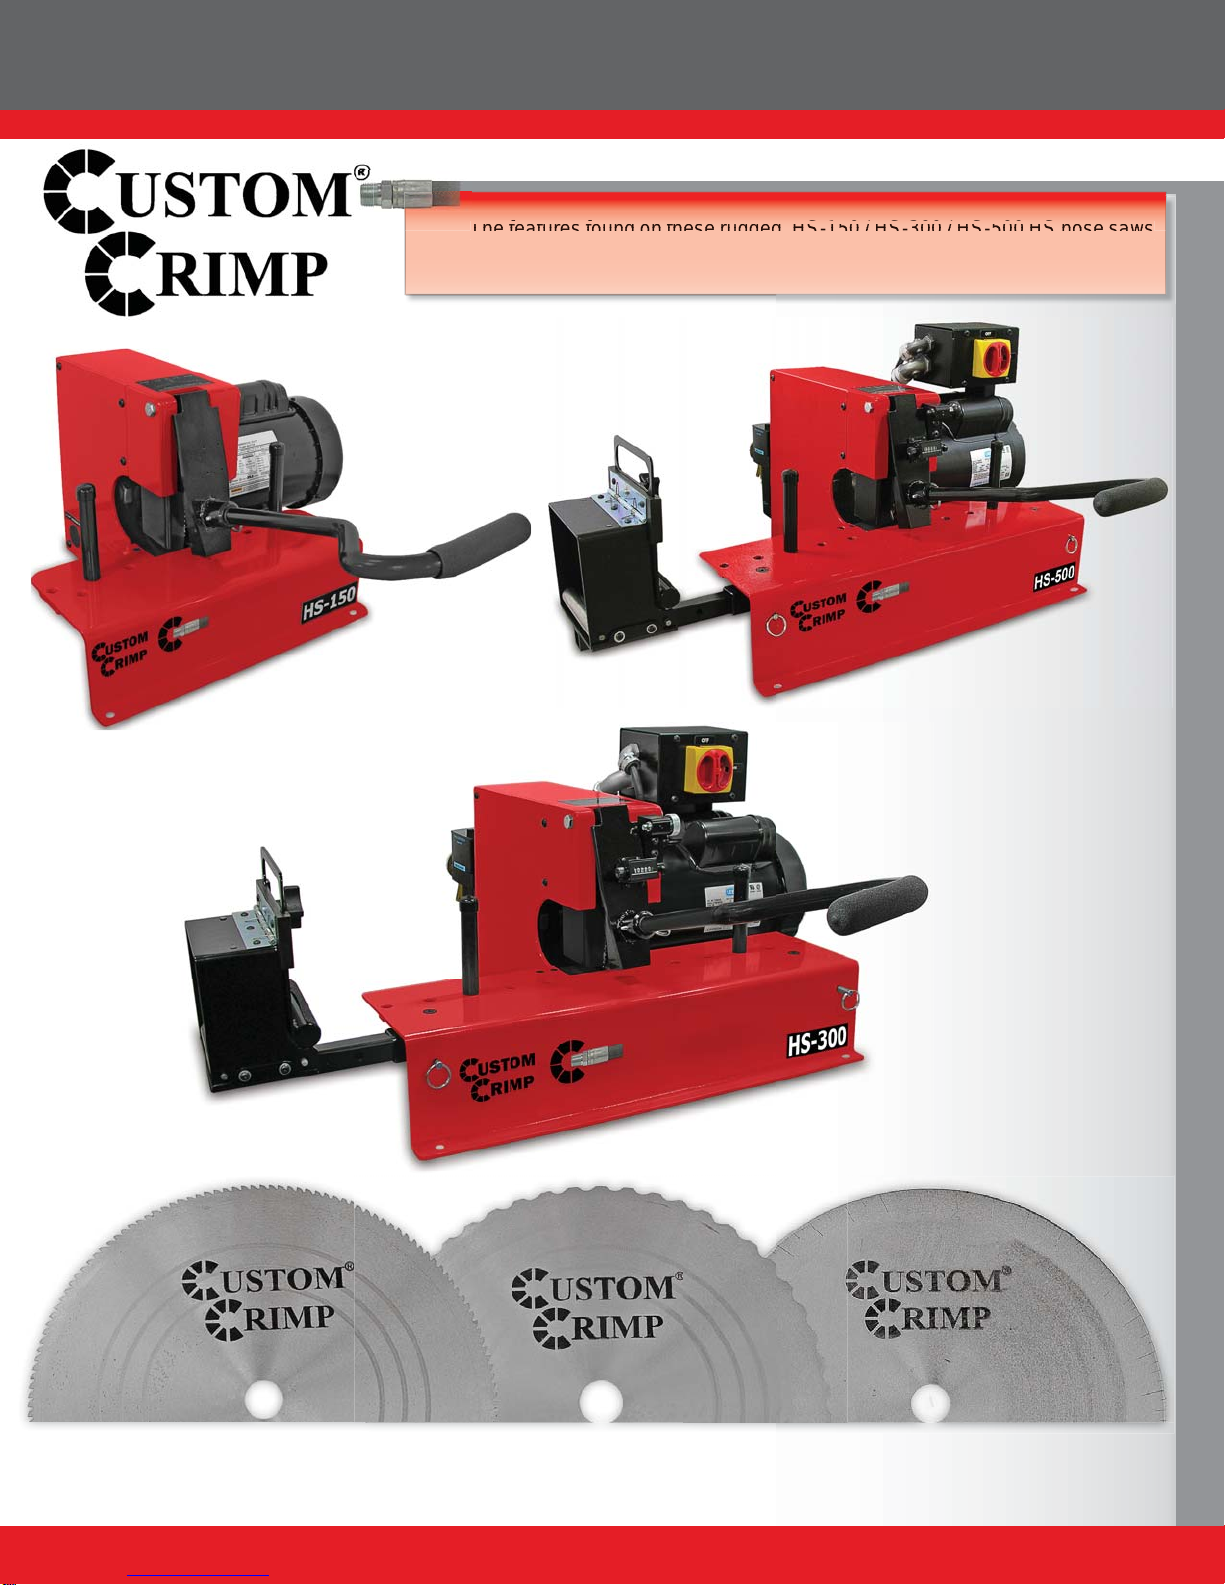
HS-150 / HS-300 / HS-500 HS Hose Saws Series
9
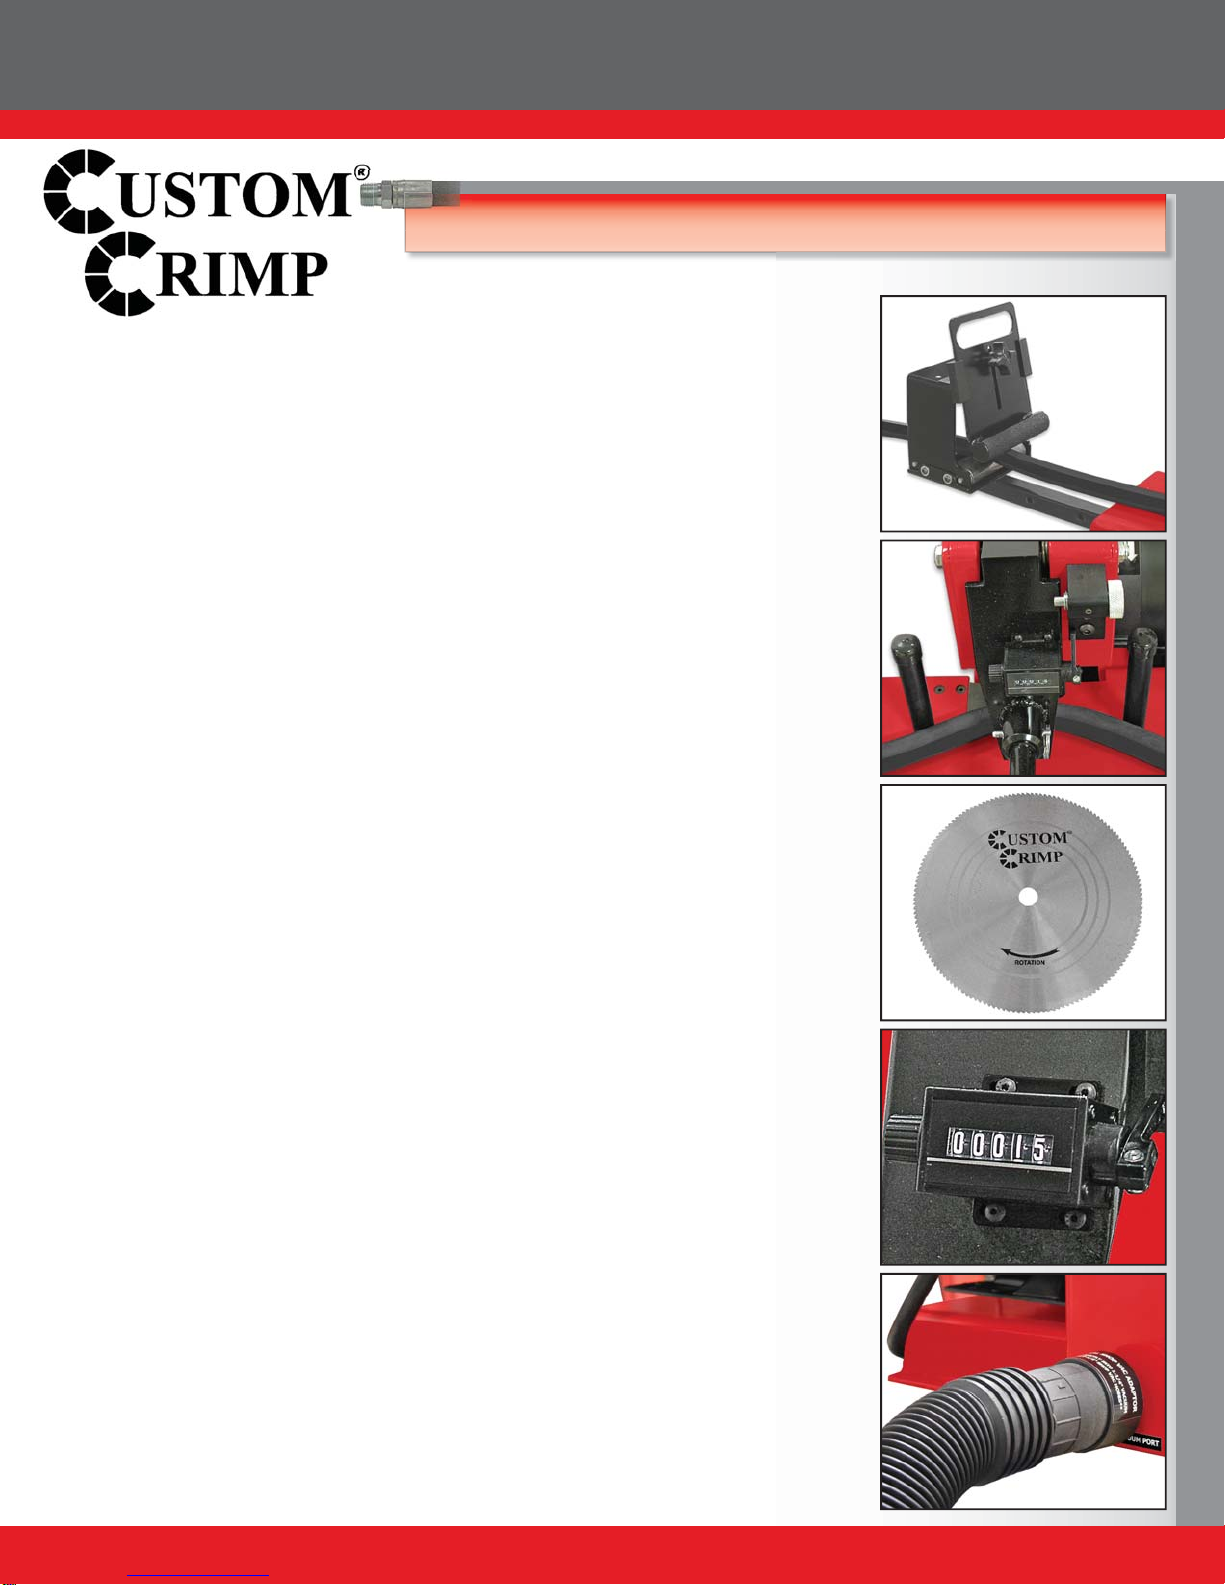
Note: New blades must be properly conditioned to
assure long life and clean cuts. For the first ten cuts,
feed the blade slowly through a medium size hose.
this will properly break in and condition the blade for
long life.
Note: The hose should begin to bend before contacting
the blade. This will increase blade life and keep the
hose from tearing and deforming.
Note: Once the blade and motor reach full RPM apply
steady downward pressure on the handle in order to force
the hose into the blade. Do not apply enough force to stall
the blade, and ease up on the pressure before the blade
completes the cut. This will keep from separating the wires
as the blade exits the hose.
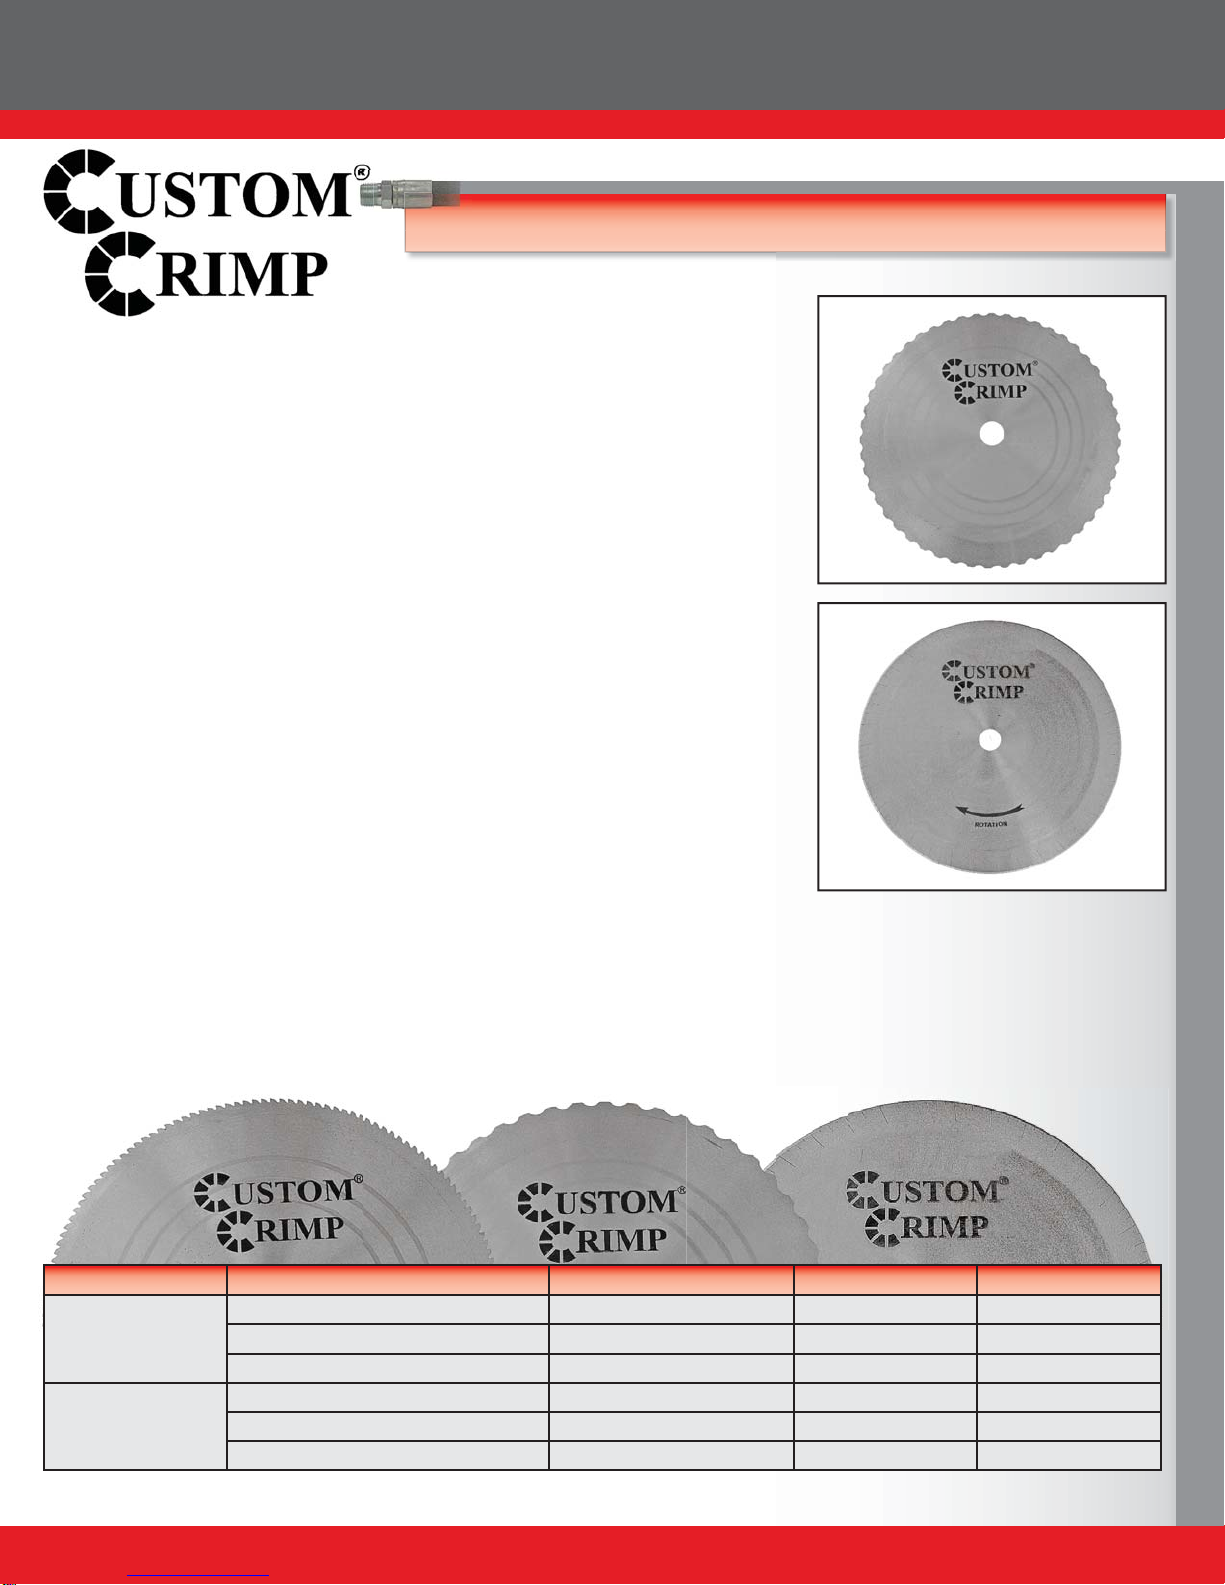
Note: The edges of the blade may appear to be dull.
This does not mean that the blade is not effective.
As long as the blade is still giving clean cuts, do not
replace the blade.
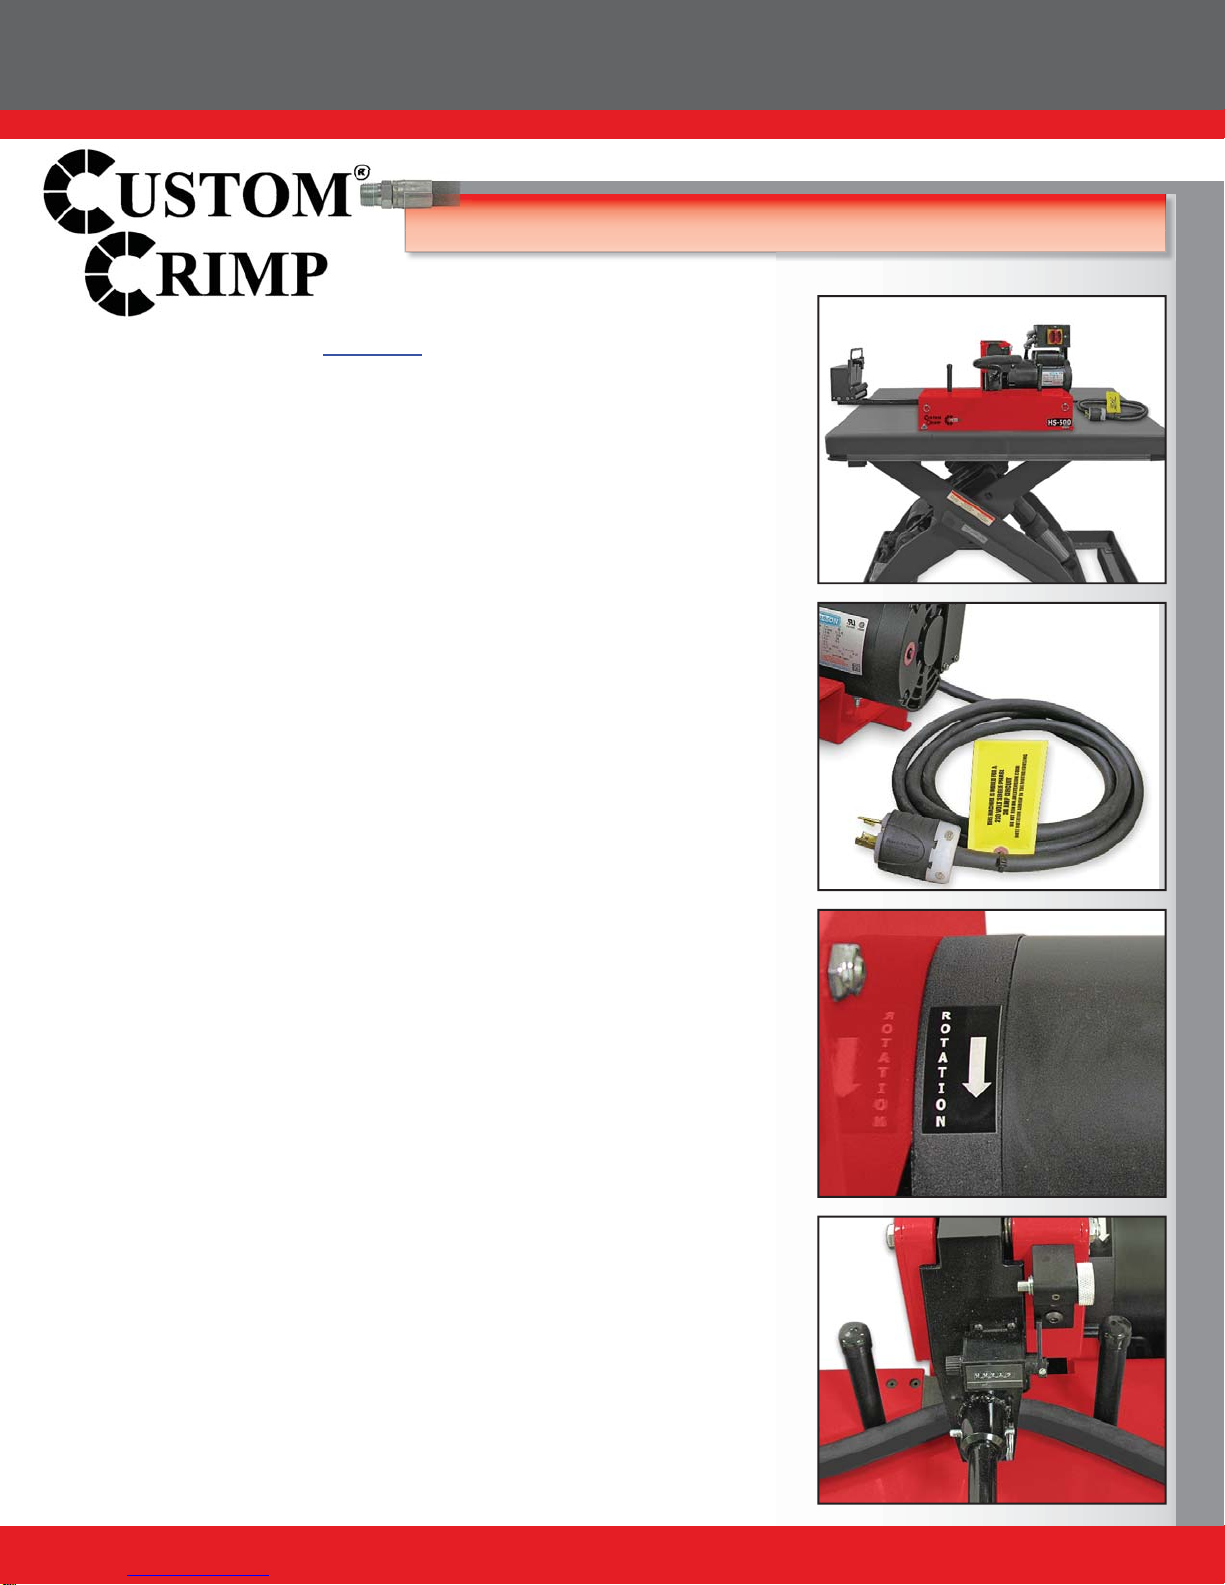
NOTE: PAY CLOSE ATTENTION TO THE DIRECTION OF
ROTATION MARKED ON THE SERRATED BLADE.
IT IS THE OPPOSITE OF MOST BLADES OF THIS TYPE.
CAUTION: Cracks can cause extremely damage to the
blade, periodically examine the blade for cracks and / or
broken teeth.
Serrated Blade
Scalloped Blade
Double Bevel w/SS Slots Blade
Damaged Blade
HS-150 / HS-300 / HS-500 BLADE AWARENESS