CWSI CP-3000A User manual

CWSI
Quick Start Guide
Field Reference Manual
Version 2.0
This document is intended for use as an installation and service guide by
factory certified CWSI trained personnel only and is subject to change at any
time as new products are introduced. Consult all CWSI UL listed product
manuals for proper programming and compliance listings.
This document is not to be reproduced without the consent of CWSI.
© Copyright 2013 CWSI LLC

1
Table of Contents
Dipswitch settings, Base Code, Clearing……………………………………….……………….. 2
Terms and Definitions………………………………………………………………….……………….. 3
Serial Number assignments, Installation tips.……………………………………………….. 4
Repeater Installation notes………………………………………………………………………….. 6
Recommended Transmitter Outdoor Install……..………………………………………….. 7
FAQs…………………………………………………………………………………………………………….. 8, 9
Yagi Antenna notes……………………………………………………………………………………….10, 11
OM-3 Antenna notes ………………………………………………………………………………….. 12
Zone programming……………………………………………………………………………………….13
Test Procedure……………………………………………………………………………………………. 14- 15
FAST Guide/Survey procedures…………………………………………………………………… 16-18
Keltron Dialer Guide……………………………………………………………………………………. 19-21
Panel & Repeater Load Specifications………………………………………………………….. 22
NFPA 20- Fire pump monitoring guidelines………………………………………………….. 23
S/D sync requirements/ Repeater S/D requirements ..………………………………… 24-25
WRA-3 Annunciator …………………………………………………………………………………….. 26
CWSIte………………………………………………………………………………………………………….27

2
CWSI Field Reference Guide
Reference
Dipswitches
All 6 dipswitches on your Panel should be to the left (ON position).
Under normal operation repeater dipswitches are: 1 & 6 to the right (OFF) 2-5 to the left (ON).
For doing the initial Pre-Installation Survey Procedure and setting a Repeater into survey mode dipswitches
are: 1 (OFF) 2-6 (ON).
Repeater’s master side (receiving antenna) is on the left. The Slave (sending antenna) is on the right.
Wiping the base code
All Repeaters and devices can have their base code wiped. For Repeaters, while powered up, hold down the
SURVEY BUTTON for 15 seconds, after which you will see the trouble led light and stay solid along with an
accompanying long tone. Remove power, done.
For Smokes, Pull Stations, Transmitters, etc. you will need a magnet and a battery. Remove battery, place
magnet on designated spot (see below) and insert battery. You should hear a long tone followed by a short
beep. If not try again.

3
Terms and Definitions
Tree/Layout- This refers to your Network Layout which you can download and view at any time with your CP-
3000 Suite software tool using the Network Layout option.
Log- Refers to Event Log retrieved with CP-3000 Suite using the Event Log option.
Pre-Installation Survey Procedure - This indicates placing a repeater into survey mode by changing the
dipswitches on the board and using another repeater (no changes to the switches) or transmitter to test
repeater/device signal strength and range in order to determine where to install repeaters/devices.
Installed System Survey-This is a link test done with the survey BUTTON (not dipswitches) on the repeater
board to determine signal strength. When pressed once you will hear a sending beep from your repeater and
you will get a quick double beep response if signal strength is good. If you hear a tone instead or the returning
double beep takes longer than 3 seconds then the link is poor.
For devices you will swipe a magnet on the designated test spot for signal strength.
Program Fail-means your links, are without a doubt, not good. Please redo your survey procedure for the
repeater in question with the FAST tool or survey beep method. NOTE: You do NOT need to place your
installed repeaters in survey mode; simply hit the survey button and listen for your quick double beep
response time. Any double beeps that return after a period of 3 seconds indicates a weak link. Do ten good
surveys, wait 3 minutes, do another ten, wait 3 more minutes, then do a final set of 10 so you know over time
that signal is stable.
Unknown Unit-an Unknown unit message on your panel indicates that a device or repeater was deleted from
the device list BEFORE removing power it. If this device/repeater is still powered it will continue to transmit to
your panel as an unknown until you either power it down or wipe its base code.
To remove this unknown you need to go into the unknown list in your programming menu, go to Unknown
List and select Ignore for the device. If you need to re-enlist that device into the network then back out and
enter the Ignored List to remove the device and re-enter Enrollment mode. If you want to continue ignoring
the device then leave it in the ignored list.
Software note:
DOWNLOAD = CP 3000A/DA →PC
UPLOAD = PC →CP 3000A/DA

4
Serial Number assignments
Each type of device starts with a unique serial number. You can tell what type of device is reporting to the
panel by looking at the first one or two digits in the number.
Serial Number List:
000XXX –CP-3000A 003XXX –CP-3000DA
03XXXX –AR-3A Repeater 5XXXXX - RB-XX
100XXX- 300 Smoke 20XXXX –301 Smoke 119XXX –302 Smoke
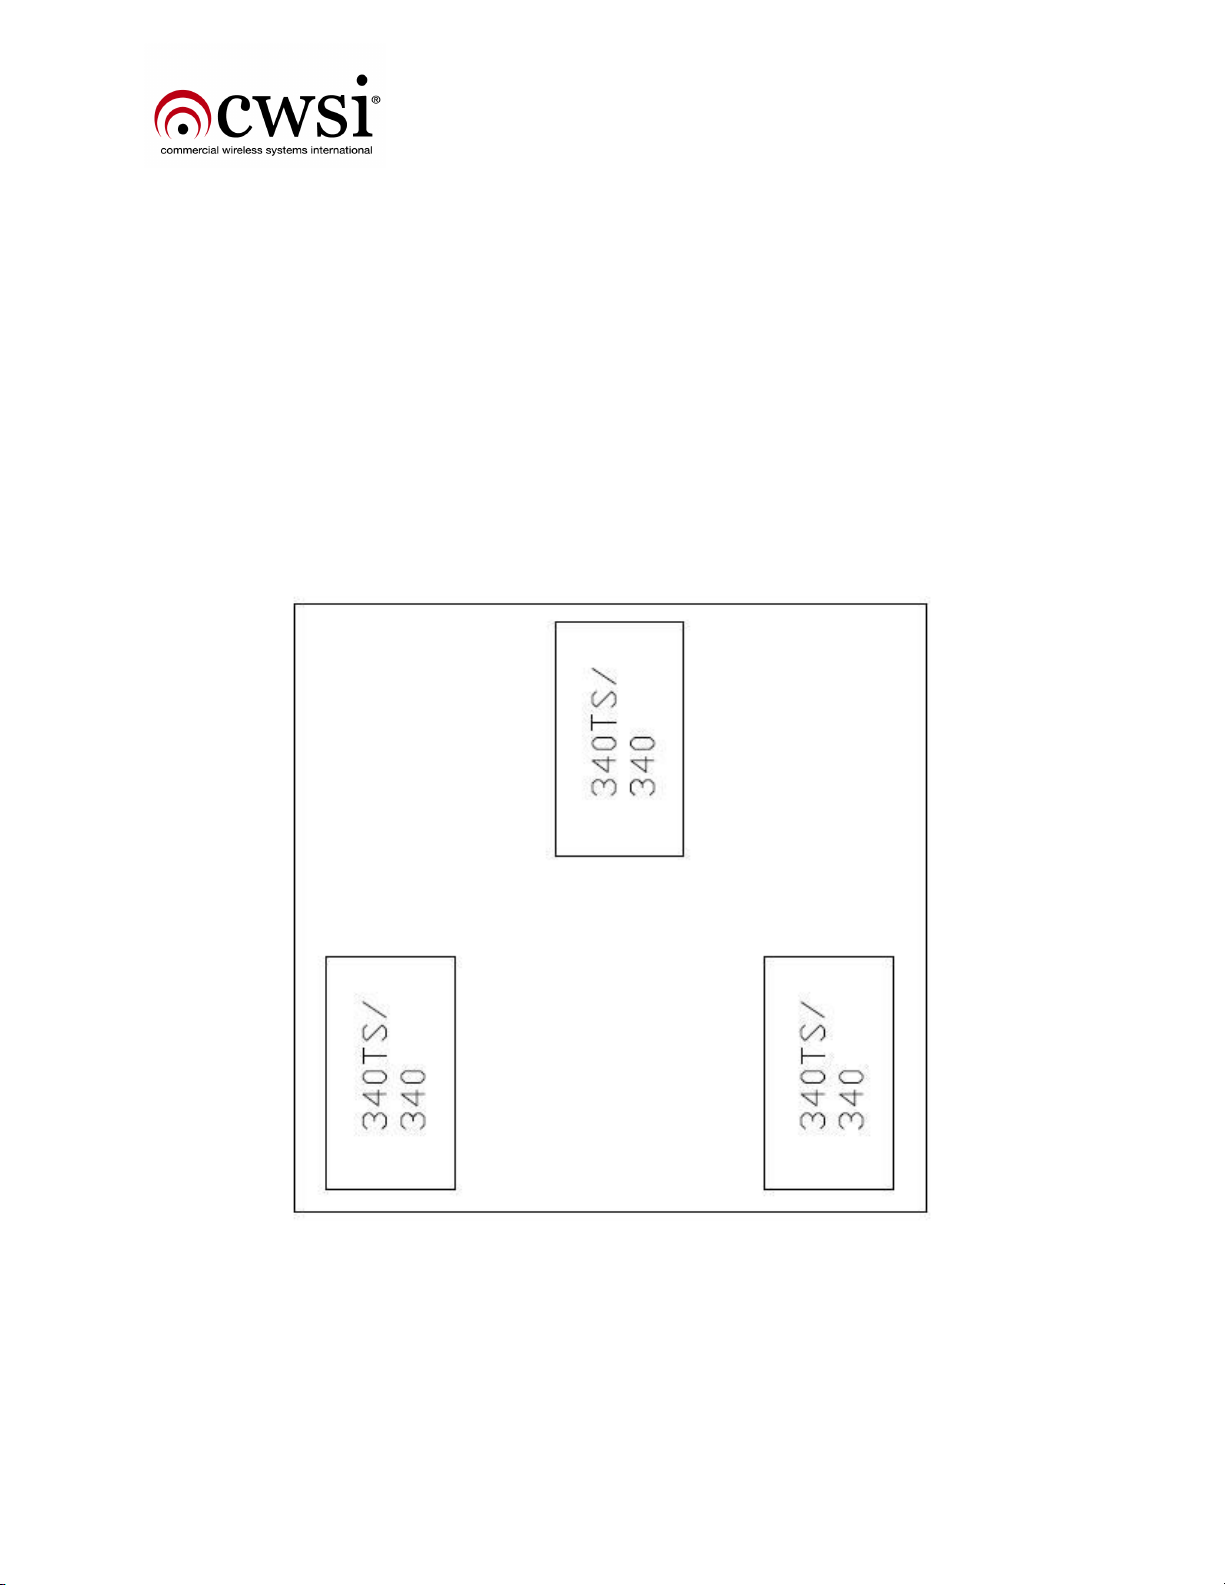
30XXXX –340 Transmitter 38XXXX –340TS Transmitter
400XXX –310 Pull station 600XXX –350 CO Detector
68XXXX –Annunciator/FAST 6DXXXX –Heat/smoke detector
Installation Procedures:
Install and power up the CP-3000A/DA first. A new panel out of the box with no installed devices will take
about 4 minutes to go through its’ initiation routine. Assuming the devices are already enrolled, install your
repeater network and power them as you go, starting with the repeater closest to the panel and working your
way out until all the repeaters are installed and communicating with the panel. Upon power up you will hear a
quick beep. A repeater will take up to a minute to link to the system, you will then hear a double beep. You will
know it is correct when you have the LED pattern described above under “Normal operation.” Then do a signal
survey at each repeater using the FAST, getting good results at each one. This is to insure a solid repeater link.
At this point using CP-3000 Suite, download and save a network “tree”. Compare the tree to your site map to
ensure that the paths are correct. The sequence is below:
Open CP-3000 Suite →connect →Reports→network layout →name tree and save it. We recommend
creating a folder with the job name and saving the file with the name, tree#, time and date. Example: Craven
High School first AR3tree 2pm 0902512.txt
Starting at the control panel, begin installing your wireless devices, performing a signal survey for each one
before permanently installing it. After installing your devices, again shoot another tree. View the tree and the
map to ensure the devices are linked to a nearby repeater. They may not be at the closest repeater but may
realign later. After all devices are installed and the system is clear, shoot another tree as above. Example:
Craven High School alldevicetree 430pm 092512.txt

5
Using your CP-3000 Suite, shoot another tree 24 hours later. Compare it to the tree from the day before to see
if any devices or repeaters have realigned. You can open and compare more than one tree on your desktop.
You can open a previously saved tree using the following sequence:
Reports→network layout from backup. Navigate to the saved file and open it. It will appear on your desktop.
Compare the two trees looking for any movement of devices or realignment of repeaters.
Tip: by having Show Repeaters Only selected you can quickly view your repeater network alignment
The network layout and a site map are the best diagnostic tools to view the performance of your system.
Frequent “hopping” of repeaters and/or devices are clear indications of marginal repeater links. Run your
surveys again and relocate devices and relocate/add repeaters as needed.
Tip: Put the last three digits of each repeater on your site map at each repeater location to facilitate easier tracking of your
repeater network when viewing a tree.
DO NOT POWER DOWN THE CP-3000A/DA AFTER ESTABLISHING THE AR-3A
NETWORK AND/OR INSTALLING WIRELESS DEVICES!!
Restarting the panel may cause the AR-3A network to re-form differently than the way you powered it up. This
may not be the optimal signal path and may cause sporadic test failures. In addition, after wireless devices are
installed and talking to the network, powering down the panel will cause the devices to go to sleep and wake
up hourly looking for the panel. This full power broadcast will cause premature low battery signals and will
require replacement before the full year. Power up on large systems can take up to an hour while the
system looks for all of its devices.
Panel Test: panel test prevents any outputs from occurring during testing. This includes NAC circuits, 301
smoke sounders, and dialer outputs. Panel Test will clear after 4 hours of inactivity after the last button press.
If any devices are in alarm they will report as normal. To clear panel test simply reset the system.
Enrolling
When enrolling a device or repeater into a CP-3000ADA the very first unit enrolled will be assigned Point ID
0008. Any devices enrolled after will be assigned sequential Point ID numbers. If you delete a device its
corresponding Point ID will become unavailable. So if you are replacing a device, that new device will be
assigned a new Point ID, please make sure to update your Keltron Dialer list provided to Central Station.

6
Repeater Installation notes
“HEIGHT IS MIGHT” The higher repeaters can be installed the better they will perform. This is
especially true in garden style apartment complexes. Repeaters must be installed at least 14 feet
above ground. If a moving van were to block an area for a few hours and your repeaters are too low
you may experience test failures.
AC POWER MUST ENTER FROM THE LOWER LEFT SIDE OF THE REPEATER. This is clearly marked on
the label on the door. This is a UL requirement that power limited and non-power limited wiring
must be separated by at least .25 inches within the enclosure
HIGH RISE APPLICATIONS: Do not stack repeaters directly above each other in stairwells. Repeaters
should be staggered between floors, alternating from one in the center of a floor to possibly two
repeaters on either end of the building on the floor below and above.
Repeater LED conditions:
Normal operation: Green LED in center, alternating flashing Red LEDs under each antenna.
No link to panel or next Two Red LEDs flashing under Master (left) antenna; Red LED on
repeater in chain: repeater solid under Slave (right) antenna.
Yellow flashing LED: See AR-3A manual for various conditions. Any abnormalities will
be reported to the CP-3000A.

7
Recommended Transmitter Installation For Outdoor Use
Install transmitters in a NEMA 3X or NEMA 4 plastic or fiberglass enclosure 12” x 12” x 4” or larger.
Leave room for vertical and horizontal separation. Failure to install the transmitters with proper
separation between them can cause intermittent test failures.

8
PRE - Tech Support Diagnosis Questions and
Frequently Asked Questions
1. My Repeater/Device comes in Test Failure/Program Failure:
Check your survey on that Repeater/Device. Make sure you get 30 quick double beeps from your
survey with the button/magnet. Check for low batteries. Check your distance between two
transmitters, no closer than 4 inches.
If you have a panel installed in a clubhouse/office, do you have a repeater above to help get the
signals in/out?
Download multiple trees at different times to see if repeaters and/or devices are changing paths. If
they are that’s an indication that the link is marginal.
2. My Horns/Strobes do not activate:
Verify you have programmed zones into your repeater’s relay rules setup, and make sure your zones
are shared as needed between devices/repeaters.
3. I have an Unknown Device trouble:
Did you delete a device without removing its battery first? If so remove power, send trouble to the
Ignored List and remove from there as well. If you need to re-enlist that device re-enter Enrollment
Mode and reapply power.
4. End of Line violation.
Transmitters and repeaters require E.O.L. resistors in style 2 or class B configuration only.
Furthermore, repeater NACs only require supervision if software zones or “turn on” commands are
assigned to them. If used in repeater mode only no supervision is required.
The value of the E.O.L. resistor for transmitters and repeaters is 39K ohms.
5. What cable do I need to connect to my Panel?
For CP-3000A you will need a USB -A to Mini- AB
For CP-3000DA you will need a USB -A to USB- B (typical printer cable)

9
6. I can’t retrieve my system summary. I get a red “X” where it says verifying data.
You must first view the completed programming on the CP3KD and back out before you can
download the system summary.
Go to: Sys Info → Programming info → last page. Back out of the menu screens. You will now be able
to download the system summary.
RF loss of range possible issues:
Is AC coming in from the left side for your panel and repeaters?
Have you checked your Omni Antennas for any damage or if they may be loose?
Is there any conduit running behind anything?
Are there any noisy fluorescent ballasts or other types of electrical equipment placed too close to the
antennas of repeaters or panel? An inductance amplifier (wand phone tracer) will often buzz noisily
when activated near noisy ballasts.
Is the equipment mounted in electrically quiet areas?
Is there anything in the way or the walls that could possibly block or significantly hamper the RF signal?
When you download a Network Configuration Tree and you compare it to older versions do you see
drastic changes? Do you see certain repeaters continually jumping around in the tree?
What directions are the master and slave antennas in relation to each other from one repeater to
another repeater? Is the slave of a sending repeater facing or pointing towards the master of the next
repeater up in the chain?
Do you have at least 4 inches separating multiple transmitters in the same enclosure?
If multiple devices are test failing are they all reporting to the same repeater?
If you have a repeater go offline can your remaining repeaters find another way back to the panel?
Control panel/repeater charging issues:
Are you using Genesis Yuasa batteries in the Panel and Repeaters?

10
Proper Yagi Antenna installation
Cable available in 30’ and 70’ lengths
Note: Antenna orientation
Yagi on Master (Receiving) Yagi on Slave (Transmitting)

11
Yagi Antenna has a very narrowand highly directional radiation pattern.
The majority of the RF energy is focused to come out the front end of the antenna
e.g. where you point the antenna is where 90%of the RF signal is transmitted.
Typical distance for properly aligned (vertical) Yagi to Yagi antennas is from 3000 to
3500 feet and sometimes farther. These distances can vary dependingupon your
local installation and local conditions.

12
CWSI OM-3 High Gain Antenna
The OM-3 is a new High Gain Antenna with a more potent radial wave pattern as the OM-1. This
antenna is NOTintended to replace the OM-1, use of the OM-3 will vary based on site specific needs.
The antenna is intended for use onlyon the Control Panel, Repeaters and FAST surveyTool (use on
the FAST tool requires the FST-Kit).The OM-3 is a 20 inch 5db Antenna with a higher penetration
capabilitycompared to the OM-1.
Tips for use on Garden Style sites:
Place an OM-3 on the Master of the Repeater above the Panel.
Place OM-3 on repeaters in Attics needing to bridge a distance between buildings too
short for using Yagi Antennas or overcoming materials in the walls/siding.
Place on Repeaters separated from the transmitters in Riser Rooms
Tips on Industrial sites:
Place on the Control Panel.
Place on Repeaters that need to overcome electrically noisy locations or material that can
hinder RF such as metal siding.
Tips on smallersites such as historicalhomes, banks,churches etc.:
Place on the Control Panel.
Place on the slave of the Repeater.
Tips on High Rise: Place on the Control Panel only.
Do use
•On the Master side of the repeater
above the panel, placing one on the
panel is optional.
•On the Master of repeaters that act
as main pathways for other
repeaters back to the panel.
•On the Slave of repeaters having
difficulty communicating to other
repeaters or in locations that are not
ideal for RF communication.
•To overcome electrically noisy areas
or materials that hinder RF such as
metal or concrete.
Do NOT use
•To remote the antenna away from
the repeater.
•Do not use on repeaters in highrises
where repeaters are placed in a
stacked pattern Placing the OM-3 on
the Panel is the only acceptable
option.
•Do not use on all repeaters in tightly
clustered sites, placing on key
repeater locations is preferred.
•Allow enough space above the
antenna and the ceiling, do not
install it pressed against or
penetrating into the ceiling.

13
Zone Programming
Zoning or mapping is only required when any initiating device needsto activate an
output such as a NAC, tandem smoke sounder, or auxiliary relays. This is
accomplished by placing a number between 001 and 898 in any of the three groups
of zeros allotted to each device. This programming is accomplished in the “device
edit” field for wireless devices and in “repeater relay setup” for repeaters.
Zoning Features unique to the 301: 899: Global sounder activation:
When the Zone number 899 is entered into any of the 3 zone entry fields of an
initiating device all 301’s will activate. This zone 899 does not need to be individually
programmed into each 301, they will activate automatically.
Third Zone:
The Tandem feature allows 301sto be programmed to activate each other based
on zone programming. When two or more 301s share the same number in their
zone programming (i.e. zone 100) within the first two zone entry fields they will
activate each other. The tandem that originally detects smoke will activate any other
tandems in zone 100 whether they detect smoke or not. The third zone entry field
on a tandem works differently than other devices, this third zone in will not
activate other tandems even if they have the same zone number in that third
field. It is an “input only” field. It will accept zone triggers, but will not
broadcast them.
Zoning for trouble reporting:
Any number between 900 –999 programmed into any wireless initiating device can
activate a relay if you need troubles to be reported, i.e. a low battery, tamper, end of
line violation, etc. This feature is rarely used.

14
System Test Procedures
The following are CWSI’s recommended and proper testing procedures. Deviation from
these procedures may result in inadequate testing results.
Alarm Conditions:
Initiating devices such as smoke detectors, manual pull stations, and fire transmitters
can be programmed into the CP-3000A. When activated the initiating devices send an
“Alarm Signal” which is received at the CP-3000A. The “Alarm” LED will illuminate
and the condition and the exact device(s) will display at the CP-3000A Control Panel. If
programmed, functions such as activation of appliance circuits, HVAC control, elevator
recall and more will commence. To acknowledge the alarm and silence the internal
horn, press the “Alarm Ack” button. At this time the alarm has been acknowledged and
the condition remains displayed.
If notification appliance(s) have been programmed and are activated, they will remain
activated until the “Signal Silence” button is pressed. At this time the Control Panel
can be reset by pressing the “Reset” button, which will put the CP-3000A back to
System Normal condition.
Note - If the initiating device that sent the "Alarm Signal" is still in the "Alarm" state it
will keep sending an "Alarm Signal" to the CP-3000A which will then re-enter an Alarm
mode, e.g. activating horns and any programmed notification appliance(s). This will
continue until the initiating device is cleared of the cause for the alarm. This also applies
to Supervisory and Trouble conditions as they will continue to transmit to the CP-3000A
Control Panel until the cause has been rectified at the initiating device.
If Tandem Smoke Detectors have been programmed, they will remain activated until
either the Smoke Detector Silence" or "Signal Silence” button has been pressed,
depending on how the system was programmed.

15
Proper Testing and Restoral Sequences:
1) Activate desired device(s). Multiple devices may be activated one at a time. Wait
10 seconds in between activation of additional devices.
2) If notification appliances or tandem smoke detectors have been activated they
can be silenced however, do not send reset commands out at the same time
alarms are being initiated. Wait for ALL alarm conditions to be displayed
and alarm activation to cease before sending silence commands out.
3) Once all conditions have been silenced you can either continue testing with the
alarms acknowledged, or, reset the control panel to begin anew.
Supervisory Conditions:
Supervisory devices such as tamper switches, PIV’s, and residential smoke detectors
can be programmed into the CP-3000A. When a “Supervisory Signal” is received, the
“Supervisory LED" will illuminate and the corresponding device(s) will be displayed.
To acknowledge the event, press the “Supervisory Ack” button. This will silence the
internal horn but the condition(s) will remain displayed. Pressing the “Reset” button will
put the CP-3000A back to System Normal condition.
Typically supervisory signals will not activate appliance circuits however smoke
detectors if required can be enrolled as a supervisory device and activate other tandem
smoke detectors. If a supervisory device is programmed to perform tasks, follow the
sequence above for testing.
Trouble Conditions:
All initiating devices are supervised for trouble conditions to the requirements of UL864
and NFPA 72. Trouble conditions include tamper of a device, low battery, EOL violation,
ac power loss, low battery, etc. When a “Trouble Signal” is received the “Trouble
LED” will illuminate and the corresponding device(s) and conditions will be displayed.
To acknowledge the event, press the “Trouble Ack” button. This will silence the
internal horn but the condition(s) will remain displayed. Press the “Reset” button to put
the CP-3000A back to system Normal condition.

16
CWSI Field Analysis Survey Tool Survey Procedures & Guide
Terms & Definitions-
Checksum Bad - Caused by amismatch of programming informationbetween the CP-
3000A(DA) and the FAST.Will also be displayed while an SD card remains in the SD card
slot. Program the FAST.
New Survey- Using a Repeater (with the dipswitches in Survey Mode) and aFAST to
perform a site survey for a new CP-3000A(DA) system.
Existing Survey- Using a FAST to check signal strength on an installed Network by
enrolling the device into the panel. Nodipswitches need to be changed.
Test Failure- On initialpower up, if the unit is not able to connect to a Network it will
display a Test Failure trouble. To clear this trouble press and hold ACK-Step &
Signal Silence for five (5) seconds to advance to the FAST main Screen. You can
also power cycle the unit when you are within range of an available Network.
New Survey
To perform a new site survey you will need a FAST and a Repeater. Change the dipswitch
on the repeaterto place it into survey mode and enroll the FAST to the repeater. You will
see the last two digits of the repeater ID on the signal survey screen. Place the repeater
where the CP-3000A(DA)would be installed and take the fast tothe first probable repeater
location. Press Signal Silence to perform a survey set at your beginning location. Perform a
minimum of 3 survey sets with good results before proceeding to the next location. Power
up your Repeater.
Existing Survey –CP-3000A(DA)
To perform a signal survey on an installed network you will first needto enroll the FAST to
the CP-3000A(DA). This will create a Checksum Bad trouble on the panel and on anyWRA-
3 Annunciators installed. You can ignore this trouble for the purposes of solely doing signal
surveys. Power the FAST down.
Travel to the repeater location from which you want to check signal strength, power that
repeater down, power theFAST up and allow it to connect tothenetwork. This may take up
to a minute. Place the FAST as close to the repeater as you can, from there perform signal
survey sets. Receiving signal survey results of Not Ready indicate the unit is not able to find
a repeater or panelto link to.
When you have finished performing all signal surveys, delete the FAST from the panel, this
will clear the Checksum Bad troubles from the panel andannunciators.
Existing Survey- CP-3000(D)

17
To perform a signal survey on an installed network you will first needto enroll the FAST to
the CP-3000(D). The unit will enroll and appear as a pull station. Power the FAST down.
Location based survey:
Travel to the repeater location from which you want to check signal strength, power that
repeater down, power theFAST up and allow it to connect to the network. This may take up
to a minute. Place the FAST as close to the repeater as you can, from there perform signal
survey sets. Receiving signal survey results of Not Ready indicate the unit is not able to find
a repeater or panel to link to.
Direct link survey:
This method is to check strength from one specific repeater to another (ie Repeater A to
Repeater B)
Travel to the repeater location from which you want to check signal strengthTO (Rep A),
power the FAST up and allow it to connect to it. This may take up to a minute. Travel to
Repeater B’s location. Place the FAST as close to the repeater as you can, from there
perform signal survey sets. Receiving signal survey results of Not Ready indicate the unit is
not able to find a repeateror panel to link to.
Test Mode
To perform a functional walk test on an installed network you will first need to enroll
the FAST to the CP-3000A(DA). This will create a Checksum Bad trouble on the panel and
on any WRA-3 Annunciators installed. You will need to use the programming software to
update the FAST.To Program the Unit use you will need theWRA-3 Programmer and the
SD card/USB Adapter, connect to the Panel and select Export to Annunciator. Then insert
the SD card into the FAST tool.
Once the unit has been updated, place the panel into Panel Test Mode. The Fast will
display Panel in Test Mode on-screen. You can now perform device functionality tests and
see the Alarm and Supervisory condition on the FAST.
The unit will display event type, number of total events, and device ID with the newest event
raising the quantity. To view the newest event you will need to press Ack-Step to advance
the displayed event.
When you are finished you can delete the FAST from the Panel the remainingWRA-3
Annunciators will clear the Checksum Bad troubles.
Low Battery
The Voltage screen will display the unit’s current voltage in millivolts, you will see the
battery’s voltage and charger voltage if the unit has A/C. When the unit’s battery has run low
it will display a (!) next to the battery voltage. Plug A/C into the unit and allow it to recharge,
then press reset to clear the (!).

18
INITIATING DEVICE TO REPEATER PROCEDURE
After determining where each repeateris to be place on a jobsite, you must perform
a signal test between each wireless initiating device and the closest repeater. You
do this exactly as you did using a transmitter and repeater in the beginning, placing
the stationary repeaterat each repeater mounting location and testing to that
repeater with an initiating device. However, you must use the device that is going to
be installed and test from the mounting location. That means if you are using a
transmitter, test with a transmitter. If you are installing a smoke detector in a given
area, you must test with a smoke detector.
1) Enroll a smoke detector to the repeater as you did with the transmitter in
step 3. If you have to clear the base code, perform the following: partially load the
battery in the batterysocket. Placing the magnet next to the vertical postfrom the
chamber cover to the base, above the test switch hole, push the battery in. If you
have the magnet correctly positioned you will hear the long, low tone indicating that
the base code has been cleared. This could take a little practice. Remove the
battery IMMEDIATELY.
2) Standing infront of the repeater, install the battery in the smoke
detector. You will hear one beep followed by two beeps approximately 15 seconds
later. The smoke detector is now enrolled. Swipe a magnet across the smoke to
verify communicationswith the repeater.
3) Test the smoke detector to repeater link by going to each final installation
location and testing the link. Hold or place the smoke detector on the ceiling and
send a test to the repeater to verify the installation location. You must test the link 30
times. If the test is good, proceed to the next location and test. Do this for every
device location on the job.

19
Keltron Dialer guide
The Keltron SDACT Programmer and Manual are on your Keltron CD shipped with each unit. The Keltron ships
ready to be installed, no jumpers need to be changed. The Keltron will transmit ONLY SIA Code, no Contact ID.
Reference
(4) Connections from CP-3000A/DA. CP-3000A/DA Alarm Zones A, B, C , & Trouble Contact to Dialer Zones
1,2,3, & 4 respectively.
(4) 10K EOL Resistors. (3) on Alarm Zones A,B,C, & (1) on Trouble Contact
(1) Connection from CP-3000A Trouble Input to Keltron Trouble Output
The Dialer Power Supply should be set to 24 Volts., change the jumper to the 24 volt setting.
Jumpers J4 through J8 should be closed.
If you need to change Zone 3 on the dialer from Alarm to Supervisory, remember to go into your Keltron
software and change your necessary Zone 3 Event Codes.
Open contacts on the dialer measure ~5 Vdc. Shorts will be 0vdc. A restored zone with a resistor will be
~2.5vdc.
This manual suits for next models
1
Table of contents
Other CWSI Fire Alarm manuals
Popular Fire Alarm manuals by other brands

Cooper Notification
Cooper Notification RSS-24MCC installation instructions

Dorgard
Dorgard DG1328-FP operating guide

Secutron
Secutron MMX-2009-12NDS user guide

Brooks
Brooks RFS1 V2 Operation & installation manual

System Sensor
System Sensor PS12/24ADA Series Installation and maintenance instructions

GE Interlogix
GE Interlogix NetworX NX-8 Installation and startup