manuals.online logo
Brands
  1. Home
  2. •
  3. Brands
  4. •
  5. CyberData
  6. •
  7. Clock
  8. •
  9. CyberData 011153 Manual

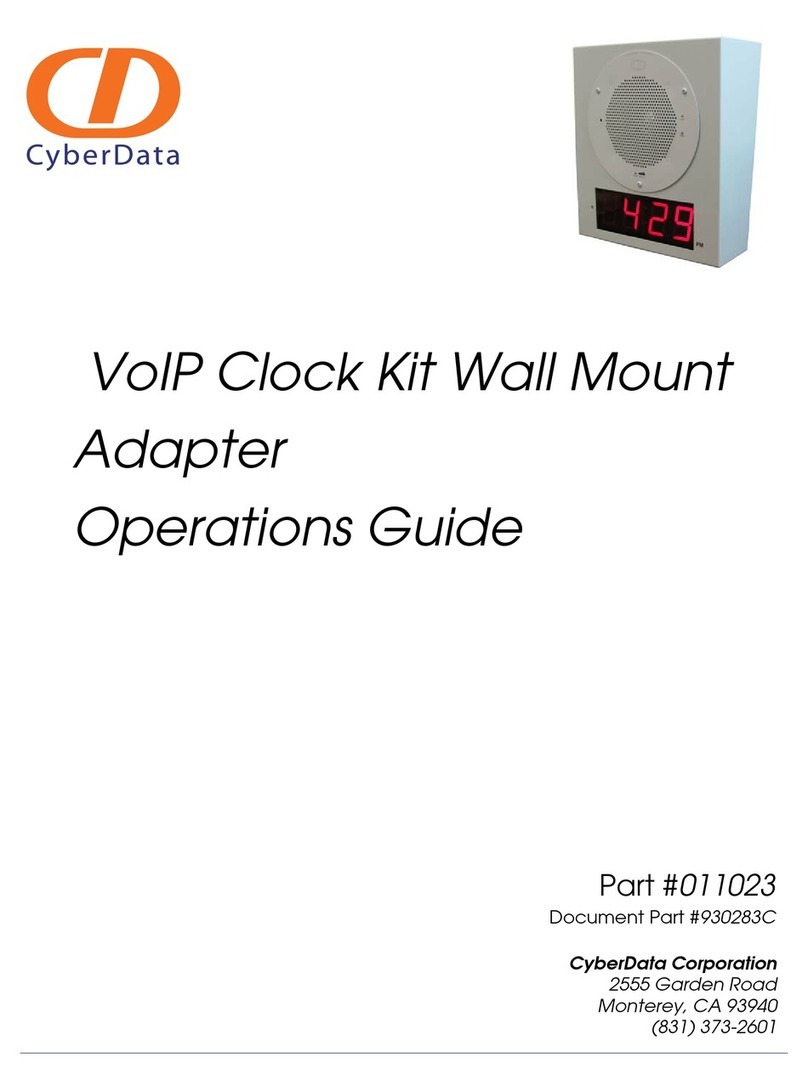
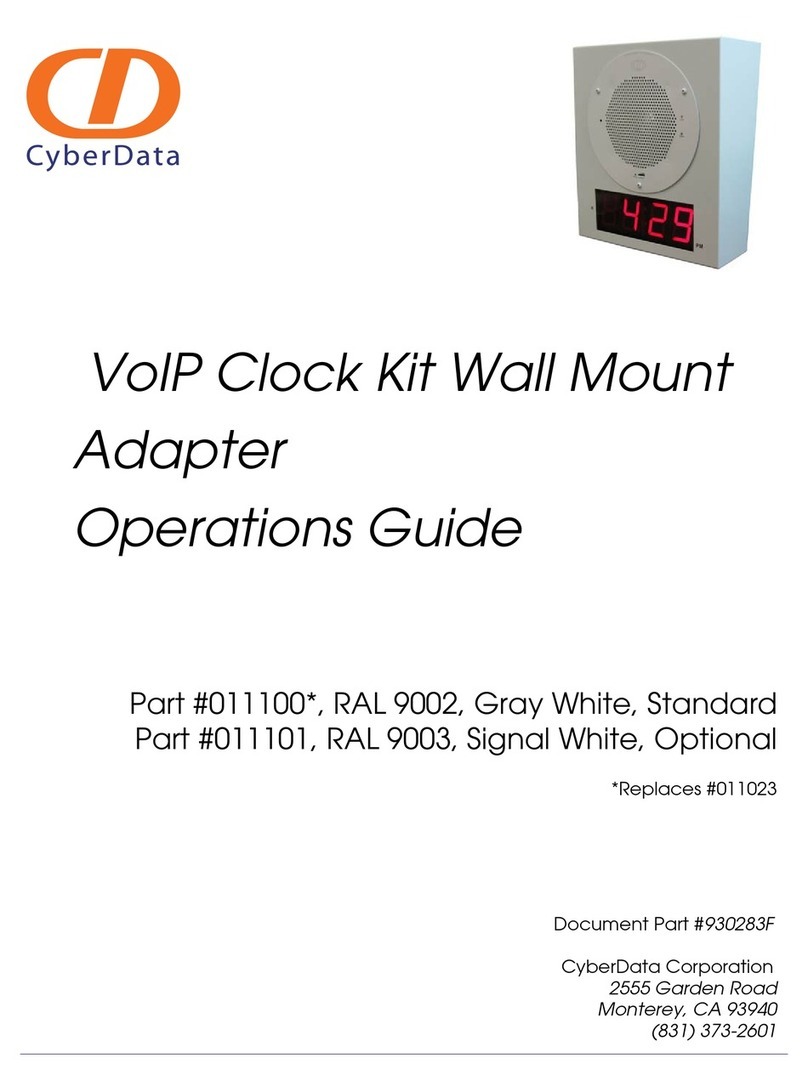
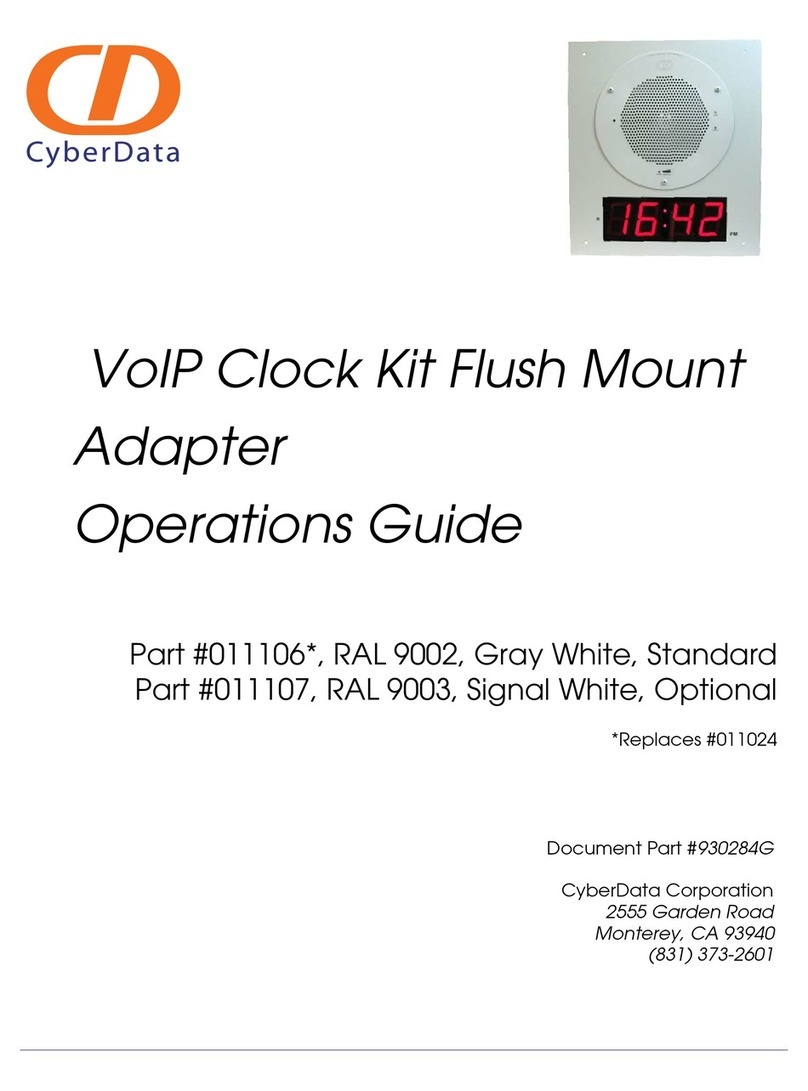
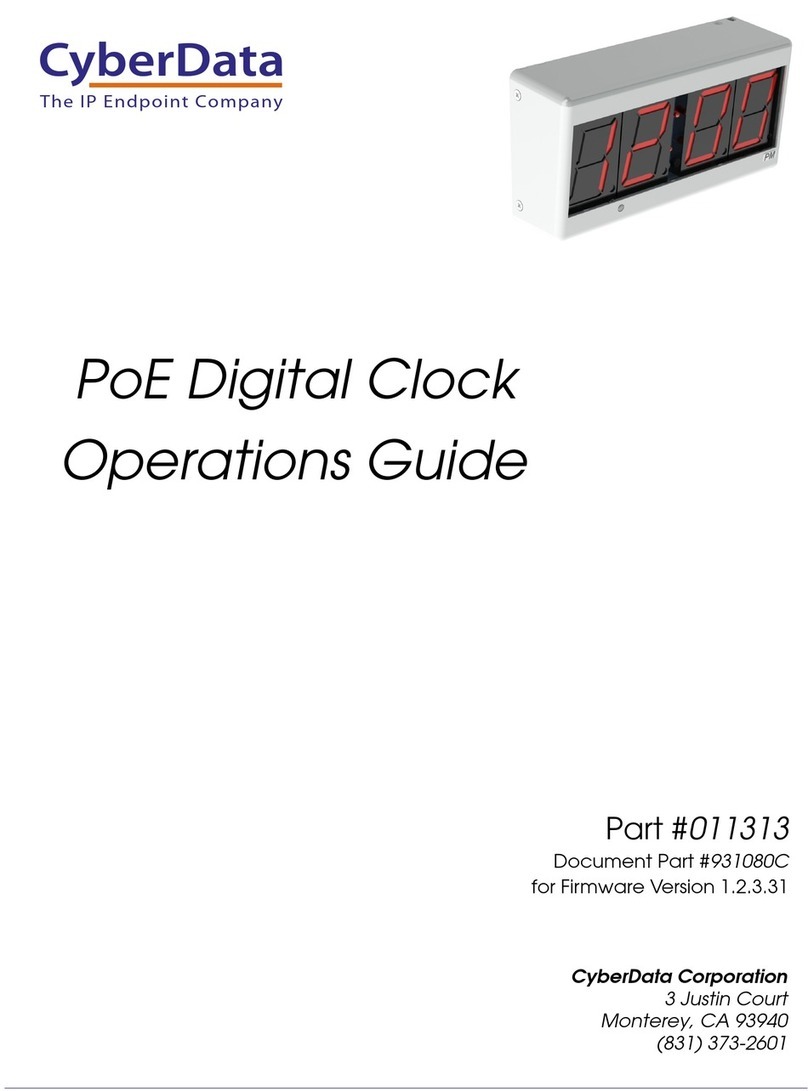
CyberData 011153 Manual

Quick Reference 930349F © 2017, CyberData Corporation, ALL RIGHTS RESERVED© 2017, CyberData Corporation, ALL RIGHTS RESERVED 930349F Quick Reference
The documentation for this product is released in an English language version only. You can download PDF copies of
CyberData product documentation at:
http://www.cyberdata.net/voip/011153/
WARNING: Electrical Hazard: Hazardous voltages may be present. No user serviceable part inside. Refer to qualified service
personnel for connecting or servicing.
WARNING: This product should be installed by a licensed electrician according to all local electrical and building codes.
WARNING: To prevent injury, this apparatus must be securely attached to the floor/wall in accordance with the installation
instructions.
WARNING: The PoE connector is intended for intra-building connections only and does not route to the outside plant.
WARNING: This enclosure is not rated for any AC voltages!
JP1
Install Jumper JP1 Prior to Installing the Clock Kit
Jumper Functions:
Jumper Function
JP1 Battery - Connect
JP2 Manufacturing - Open
JP3 Manufacturing - Open
JP4 Manufacturing - Open
JP5 Manufacturing - Open
Wall Mount Adapter Parts
Make sure that jumper JP1 is installed prior to installing the Clock Kit (see the picture on the right). Installing JP1 powers
the Real Time Clock from the battery. If you do not install JP1, the clock will lose it's time when the power is disconnected.
(1) Template for Wall Mount
Adapter and Screw Holes*
(1) Wall Mount Adapter
(1) Drywall Mounting Kit
(4) Plastic Ribbed Anchors
(4) #6 Sheet Metal Screws
*Note: The drywall
mounting kit will be
included in the ceiling
speaker kit.
(4) #6-32 x 0.25-inch
FlatHead, 100-degrees
Countersunk Machine Screw
(3) #8-32 KEP Nut
(3) #8-32 x 0.5 inch Non-
Drive Button Head Machine
Screw
Connecting Power (PoE)
Connecting Power (optional power injector)
Error Codes
Contacting CyberData
Message Meaning Action
E01 Time error This would normally occur at manufacturing first Power On, or at subsequent Power On if the
battery was low or dead. If it occurs more frequently, contact CyberData support.
Note: If there is an Invalid Time Error, then you will see E 01 on the display for one second
and the time will be reset to 00:00.
E02 Low battery Replace the battery. See the Operations Guide for instructions.
Note: If the Clock Kit battery is low, then at power up, you will see E 02 on the display for one
second before displaying the time that is in memory.
to PoE Network
Device
Ethernet
to Network
Optional Power Injuector
(CyberData P/N 010867A)
Sales: (831) 373-2601 ext. 334
Support: 831-373-2601 ext. 333
Web: http://www.cyberdata.net/support/contactsupportvoip.php
RMA Dept: (831) 373-2601 ext. 136
Email: [email protected]
RMA Status: http://www.cyberdata.net/support/rmastatus.html
Warranty information is available at:
Web: http://www.cyberdata.net/support/warranty/index.html
Corporate Headquarters
CyberData Corporation
3 Justin Court
Monterey, CA 93940, USA
Phone: 831-373-2601
Fax: 831-373-4193
www.CyberData.net
The IP Endpoint Company
Installation Quick Reference
Wall Mount Clock Kit
011153*, RAL 9002, Gray White, Standard
011154, RAL 9003, Signal White, Optional
*Replaces the 011023 number.
4.000 [101.60]
11.811 [300.00]
8.000 [203.20]
4.744 [120.50]
Dimensions are in Inches [Millimeter]
Mounting
Dimensions
Features
Dimensions are in Inches [Millimeter]
4.0 [102]
15.8 [402]
10.4 [264]
8°
CyberData SIP Speaker
Ambient Light Detector PM LED
Connect Clock (Ribbon Cable) to Speaker
Connect Network Cable to Speaker
Step 1
Step 2
Step 5
Step 4
Align Speaker Assembly with
Prepare Hole for Cable Access and
Drill Holes for Plastic Ribbed Anchors
Hang Clock Kit Backplate to Wall
Clock Kit Enclosure
Secure it with Mounting Screws
Secure it with Non-Drive Button Head
Screws and Nuts
Step 3
Run Network Cable Through Wall & Backplate
or Through Cable Entry on Top
Grounding
Lug
Ground Cable
Nut
Secure it with Mounting Screws on Both Sides
Align Enclosure with Backplate
Step 6
P/N: 121001
P/N: 121009 [RAL 9002]
Cable Entry
P/N: 121010 [RAL 9003]
Mounting Template
Note: Before printing this document or the mounting template, check the following:
Make sure that the Paper Size setting of the printer is set to 11x 17.
Make sure that the Page Scaling setting of the printer is set to NONE.

This manual suits for next models

1

Other CyberData Clock manuals

CyberData 11023 User manual

CyberData

CyberData 11023 User manual

CyberData 11100 User manual

CyberData

CyberData 11100 User manual

CyberData 11106 User manual

CyberData

CyberData 11106 User manual

CyberData 011313 User manual

CyberData

CyberData 011313 User manual

Popular Clock manuals by other brands

Bresser MyTime Bath Mini instruction manual

Bresser

Bresser MyTime Bath Mini instruction manual

KARE design Table Clock Versailles Chrome instructions

KARE design

KARE design Table Clock Versailles Chrome instructions

La Crosse Technology WT-8002U user manual

La Crosse Technology

La Crosse Technology WT-8002U user manual

La Crosse Technology BBB87740x1 instruction manual

La Crosse Technology

La Crosse Technology BBB87740x1 instruction manual

TFA 60.3013 instruction manual

TFA

TFA 60.3013 instruction manual

Meinberg GPS163DHS operating instructions

Meinberg

Meinberg GPS163DHS operating instructions

Auriol 337035 2001 Operation and safety notes

Auriol

Auriol 337035 2001 Operation and safety notes

La Crosse Technology WT-3143 user manual

La Crosse Technology

La Crosse Technology WT-3143 user manual

Compumatic TR220D Instruction mamual

Compumatic

Compumatic TR220D Instruction mamual

Steren CLK-915 quick guide

Steren

Steren CLK-915 quick guide

American Time DSY261RSxE Installation and operation manual

American Time

American Time DSY261RSxE Installation and operation manual

All-Star Scoreboards ALS-200LED installation instructions

All-Star Scoreboards

All-Star Scoreboards ALS-200LED installation instructions

CHESS-PLUS AM1401 user manual

CHESS-PLUS

CHESS-PLUS AM1401 user manual

Amano PIX-10 Operation manual

Amano

Amano PIX-10 Operation manual

Fascinations XP3 Ultra instructions

Fascinations

Fascinations XP3 Ultra instructions

Lathem PC700 user guide

Lathem

Lathem PC700 user guide

La Crosse Technology WT-3102 Faqs

La Crosse Technology

La Crosse Technology WT-3102 Faqs

DGT 2010 manual

DGT

DGT 2010 manual

manuals.online logo
manuals.online logoBrands
  • About & Mission
  • Contact us
  • Privacy Policy
  • Terms and Conditions

Copyright 2025 Manuals.Online. All Rights Reserved.