Maintenance
13
1.Once you have using the machine, you are advised to turn off the water taps.(if necessary,
pull out the inlet hose)
2. Do not keep water in tub for a long time. When washing is finished , drain it right away.
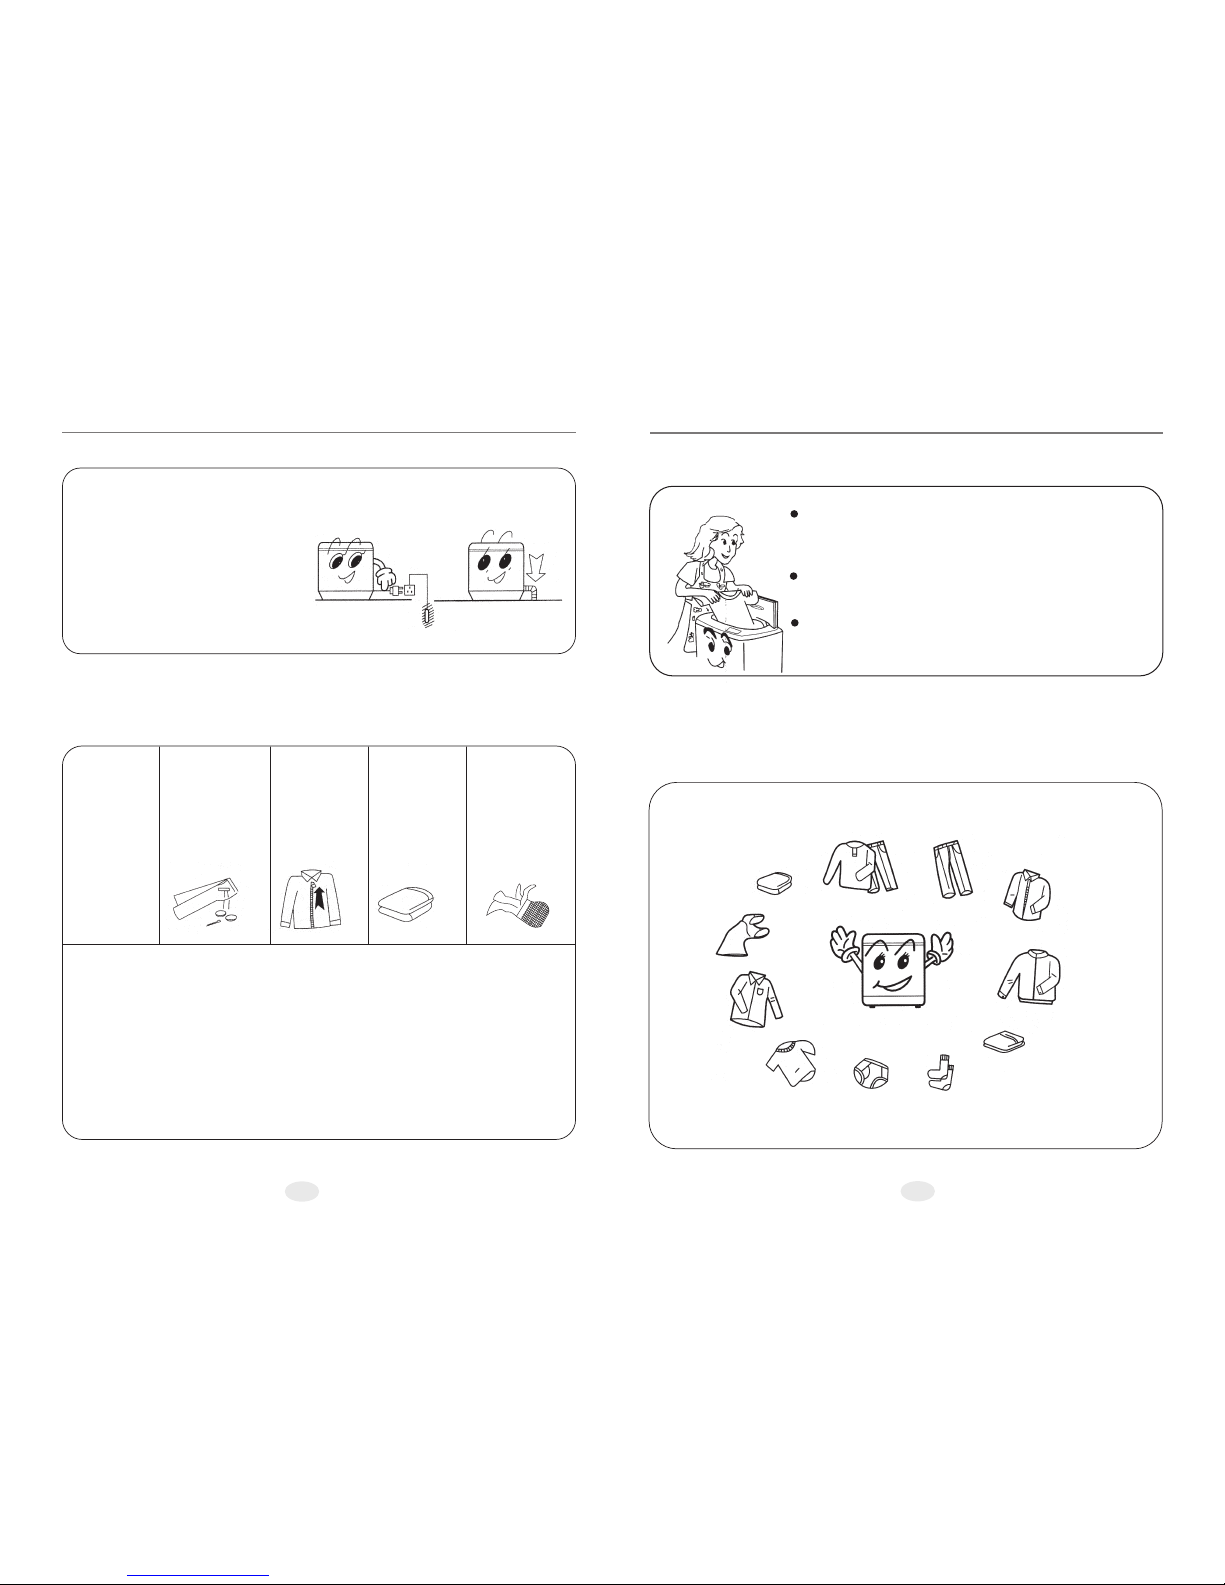
3.Once you have finished using the machine, you are advised to unplug it.
4. Put the electric cable and the drain hose in order.
5. Wipe the water on the surface and in tub with soft cloth and keep the top lid opening for a
while. It helps to prevent mould and stagnant smells forming inside the appliance.
The machine stops automatically ,and music
buzzer will remind you to take out the laundries
or start again.
Once you have finished using the machine,
you are advised to unplug it and turn off the
water taps to avoid unexpected leak or fire.
After the end of the programme
Clean the exterior cabinet of the appliance with
soft cloth. Do not use cleanser, volatile chemical
materials to clean the machine, which will
damage plastic parts and the surface.
External cleaning
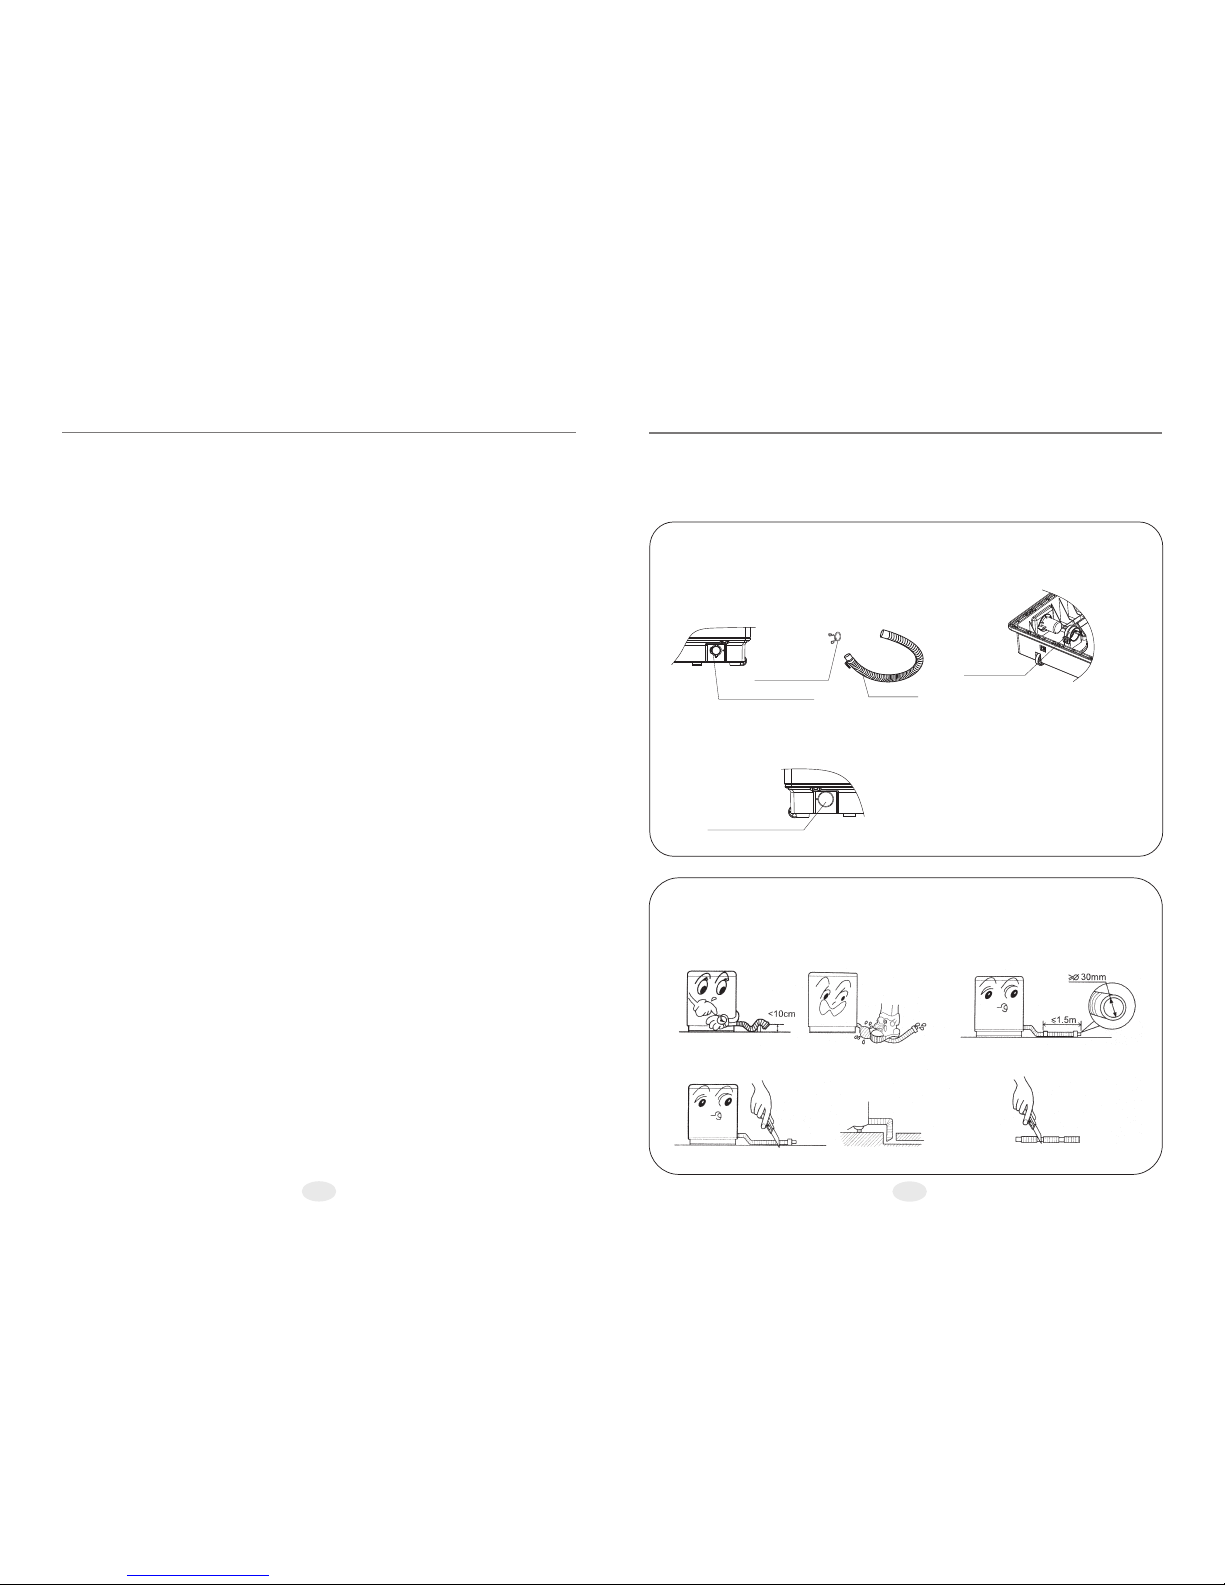
Clean inlet gate
It is possible that the inlet filter net can be blocked
by the dust, please clean it according to the follow
steps:
1. Close the tap and turn on the power switch.
2. Start the washing machine for 5 seconds(make
the water in the inlet hose flows to the tub),and
cut off the powersupply.
3. Pull off the inlet hose, remove and clean the
inlet valve and the inlet net, and install again.
Maintenance methods
If the water in the inner tub has possibility to freeze,please do like below:
1. In winter, if remaining water freeze can cause the washing machine trouble,
please take off the water inlet hose and drain out the water in the hose and inner tub.
2. If the water freeze, please don't operate the washing machine. Put 40℃ hot water
in the tub, the hot water should submerge the pulsator, after a few minutes, rotate
the pulsator by hand gently, then you can operate the washing machine.
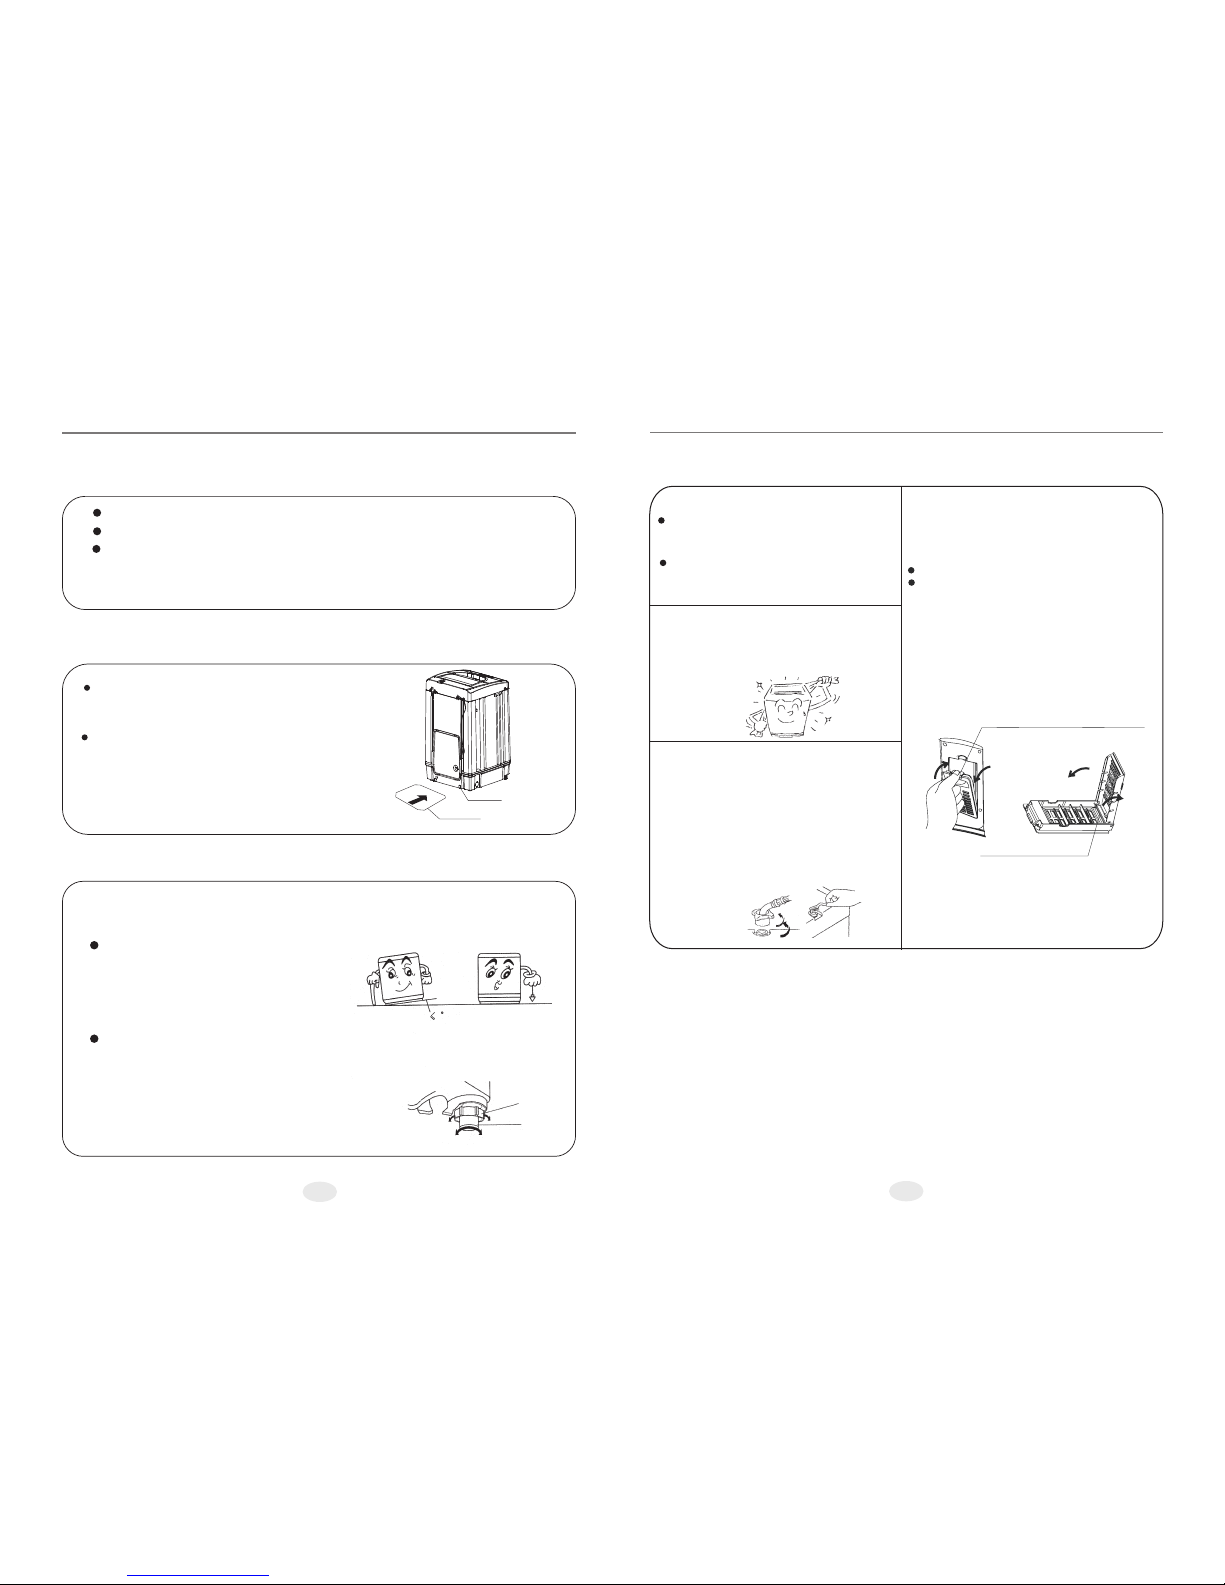
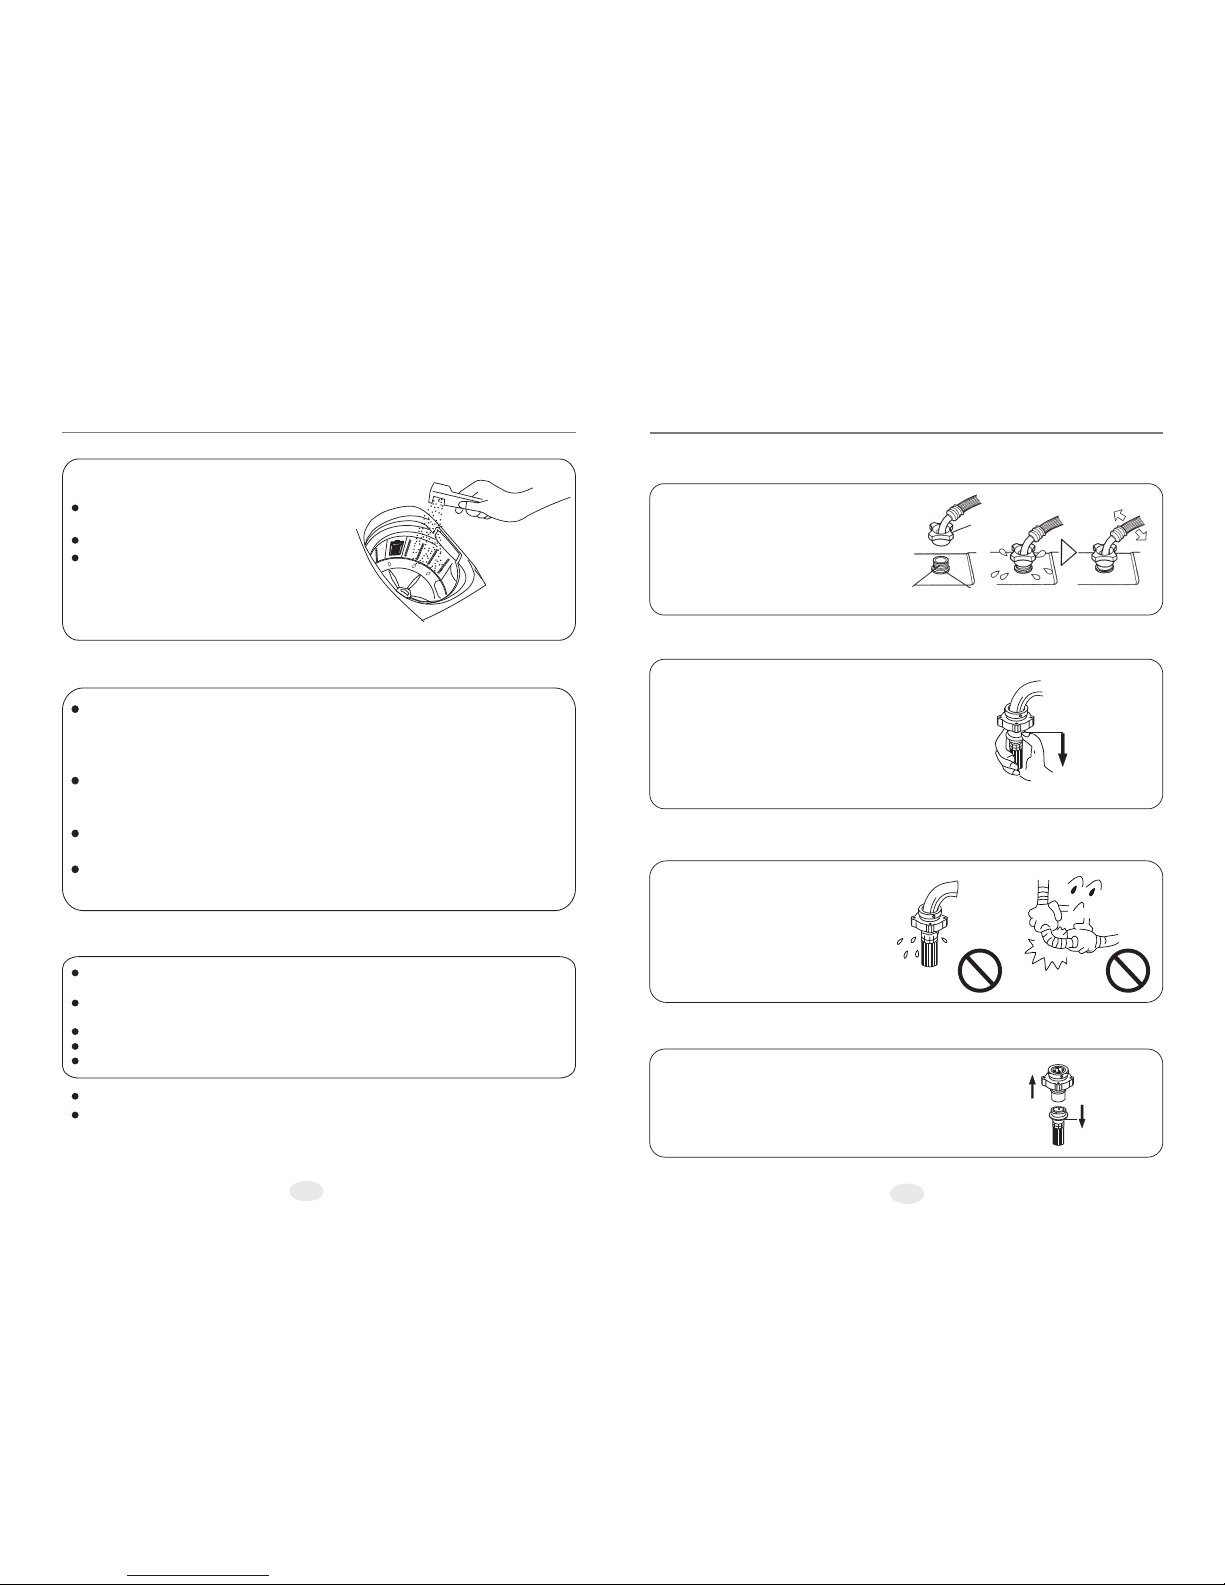
Press it and pull out the lint filter
The baffleplate
(the black rubber block)
Illustration1 Illustration2
Close
Open Close
Open
It is necessary to use lint filter during washing.
After washing, please clean the lint filter in time.
Clean the lint filter
Clean the lint filter according to the
following steps:
1. Pull out the lint filter.(see llustration 1)
2. Open the lint filter and wash it.(see
llustration 2)
3. Close the lint filter and install it to
proper position.
I
I
Notch
Bottom panel
4
Loosen Fasten
Adjustable
nut
Adjustable
foot
High Low
Please install and adjust the machine according to the requirements of the manual.
It is very important to your safety and correct operation.
Unpacking
Unpack the carton and take out the bottom panel.
Open the top lid of washing machine and take out all of the accessories.
Remove all wrappers, including the polystyrene base.
You are advised to keep all the packaging for reuse in case the machine is to be
transported again.
Installing the bottom cover
Please lean the machine forward gently, and insert the
the bottom cover (the side with instructions) into the notch
along arrowhead direction.
Fix the bottom cover on the washing machine base with
two tapping screws in the accessories by using cross
screwdriver.
Positioning
The distance between the washing machine and the wall should be more than 50mm, and the
。
maximum allowed angle of the shank base of the machine is 1.The slanting or rough ground may
cause operating stopped or unstable, please adjust it with the following methods:
Make it horizontal
Use a tied thread with plumb to check
if it is horizontal.
Adjust the adjustable foot
1、Lift up the adjustable foot gently, loose the adjustable nut
and twist the adjustable foot.
2、Fasten the nut after adjustment.
Installation and
adjustment
1