Daewoo DSC-30W60N User manual

Digital Video Disc(480i) Digital Video Disc(480P)
Speakers
HD Component and Audio System
Camcorder
VCR and Cable TV
Satellite Receiver or Laser Disc
SPEAKEROUTPUT
L
R
R
R
R
CENTER
WOOFER
LS
RS
VIDEO2 VIDEO3
V
V
S-VIDEO
VIDEO1
B
G
Hs
Vs
INPUT
OUTPUT
DIGITALAUDIO
VIDEO1
HDCOMPONENT
DONOT OPEN
(FORSERVICE ONLY)
SIGNALSELECT
Y
PB
PR
HDCOMPONENT
VIDEOINPUT
(1080i/480P)
HDCOMPONENT
AUDIOINPUT
IN
OUT
CABLE
DTV
IN
Right Rear
Speaker
+_
Left Rear
Speaker
Subwoofer
+_+_
VHF
UHF
RS
8‰/5W LS
8‰/5W
WOOFER
8‰/8W
(mono)
L
(mono)
L
OPTICAL
/PCM
OPTICAL
COAXIAL
COAXIAL
/PCM
/PCM
/PCM
SPEAKEROUTPUT
L
R
R
R
R
CENTER
WOOFER
LS
RS
VIDEO2 VIDEO3
V
V
S-VIDEO
VIDEO1
B
G
Hs
Vs
INPUT
OUTPUT
DIGITALAUDIO
VIDEO1
HDCOMPONENT
DONOT OPEN
(FORSERVICE ONLY)
SIGNALSELECT
Y
PB
PR
HDCOMPONENT
VIDEOINPUT
(1080i/480P)
HDCOMPONENT
AUDIOINPUT
IN
OUT
CABLE
DTV
IN
HD Component
Audio
LCenter SL Out
RWoofer SR
Optical
In Coaxial
In Optical
Out
Coaxial
Out
Digital Audio System
PB Y PR
OR OR
VHF
UHF
OPTICAL
/PCM
OPTICAL
COAXIAL
COAXIAL
/PCM
/PCM
/PCM
(mono)
L
(mono)
L
RS
8‰/5W LS
8‰/5W
WOOFER
8‰/8W
SPEAKEROUTPUT
L
R
R
R
R
CENTER
WOOFER
LS
RS
VIDEO2 VIDEO3
V
V
S-VIDEO
VIDEO1
B
G
Hs
Vs
INPUT
OUTPUT
DIGITALAUDIO
VIDEO1
HDCOMPONENT
DONOT OPEN
(FORSERVICE ONLY)
SIGNALSELECT
Y
PB
PR
HDCOMPONENT
VIDEOINPUT
(1080i/480P)
HDCOMPONENT
AUDIOINPUT
IN
OUT
CABLE
DTV
IN
Satellite Receiver or Laser Disc
Out
S-VIDEO
LR
Video Audio
OR
VHF
UHF
(mono)
L
(mono)
L
OPTICAL
/PCM
OPTICAL
COAXIAL
COAXIAL
/PCM
/PCM
/PCM
RS
8‰/5W LS
8‰/5W
WOOFER
8‰/8W
SPEAKEROUTPUT
L
R
R
R
R
CENTER
WOOFER
LS
RS
VIDEO2 VIDEO3
V
V
S-VIDEO
VIDEO1
B
G
Hs
Vs
INPUT
OUTPUT
DIGITALAUDIO
VIDEO1
HDCOMPONENT
DONOT OPEN
(FORSERVICEONLY)
SIGNALSELECT
Y
PB
PR
HDCOMPONENT
VIDEOINPUT
(1080i/480P)
HDCOMPONENT
AUDIOINPUT
IN
OUT
CABLE
DTV
IN
Digital Video Disc
S-VIDEO
Out
LR
Video Audio
OR
Out
Optical
DigitalAudio
Coaxial
OR
VHF
UHF
OPTICAL
/PCM
OPTICAL
COAXIAL
COAXIAL
/PCM
/PCM
/PCM
(mono)
L
(mono)
L
RS
8‰/5W LS
8‰/5W
WOOFER
8‰/8W
SPEAKEROUTPUT
L
R
R
R
R
CENTER
WOOFER
LS
RS
VIDEO2 VIDEO3
V
V
S-VIDEO
VIDEO1
B
G
Hs
Vs
INPUT
OUTPUT
DIGITALAUDIO
VIDEO1
HDCOMPONENT
DONOTOPEN
(FORSERVICEONLY)
SIGNALSELECT
Y
PB
PR
HDCOMPONENT
VIDEOINPUT
(1080i/480P)
HDCOMPONENT
AUDIOINPUT
IN
OUT
CABLE
DTV
IN
Digital Video Disc
Audio
LCenter SL Out
RWoofer SR
Optical
In Coaxial
In Optical
Out
Coaxial
Out
Digital Audio System
Cb Y Cr
OR OR
VHF
UHF
OPTICAL
/PCM
OPTICAL
COAXIAL
COAXIAL
/PCM
/PCM
/PCM
(mono)
L
(mono)
L
RS
8‰/5W LS
8‰/5W
WOOFER
8‰/8W
Welcome
Congratulations on your Daewoo HDTV purchase! This Quick
Reference Guide will help you to get your HDTV connected as
quickly as possible so that you can start to enjoy the quality and
features that Daewoo has designed into your new TV.
Connecting your HDTV
You may choose from a wide range of options when connecting your HDTV. Please
select the connection type that matches your needs. We have provided a drawing
for each connection type so that you can quickly set up your TV.
CAUTION: Please make sure to review the safety information in your HDTV
User Manual before connecting your new TV. Make sure your HDTV is
unplugged before connecting equipment.
Indoor/Outdoor Antenna
VIDEO
AUDIO
R
L
Camcorder
Out
In
S-VIDEO
LR
Video Audio
Video Audio
OR
LR
S-VIDEO
Indoor/Outdoor Antenna and Cable TV
VCR
DSC-30W60N
Quick Reference Guide
TIMER POWER
R-V3
SPEAKEROUTPUT
L
R
R
R
R
CENTER
WOOFER
LS
RS
VIDEO2 VIDEO3
V
V
S-VIDEO
VIDEO1
B
G
Hs
Vs
INPUT
OUTPUT
DIGITALAUDIO
VIDEO1
HDCOMPONENT
DONOT OPEN
(FORSERVICE ONLY)
SIGNALSELECT
Y
PB
PR
HDCOMPONENT
VIDEOINPUT
(1080i/480P)
HDCOMPONENT
AUDIOINPUT
IN
OUT
CABLE
DTV
IN
From
Antenna
Source
VCR
In From Antenna
Out to TV
Out
In
S-VIDEO
LR
Video Audio
Video Audio
OR
LR
VHF
UHF
RS
8‰/5W LS
8‰/5W
WOOFER
8‰/8W
(mono)
L
(mono)
L
OPTICAL
/PCM
OPTICAL
COAXIAL
COAXIAL
/PCM
/PCM
/PCM
SPEAKEROUTPUT
L
R
R
R
R
CENTER
WOOFER
LS
RS
VIDEO2 VIDEO3
V
V
S-VIDEO
VIDEO1
B
G
Hs
Vs
INPUT
OUTPUT
DIGITALAUDIO
VIDEO1
HDCOMPONENT
DONOT OPEN
(FORSERVICE ONLY)
SIGNALSELECT
Y
PB
PR
HDCOMPONENT
VIDEOINPUT
(1080i/480P)
HDCOMPONENT
AUDIOINPUT
IN
OUT
CABLE
DTV
IN
VCR
In From Antenna
Out to TV
Out
In
S-VIDEO
LR
Video Audio
Video Audio
OR
From
Cable
Source
In Out
LR
Optional
Cable Box
From
Antenna
Source
VHF
UHF
OPTICAL
/PCM
OPTICAL
COAXIAL
COAXIAL
/PCM
/PCM
/PCM
(mono)
L
(mono)
L
RS
8‰/5W LS
8‰/5W
WOOFER
8‰/8W
SPEAKEROUTPUT
L
R
R
R
R
CENTER
WOOFER
LS
RS
VIDEO2 VIDEO3
V
V
S-VIDEO
VIDEO1
B
G
Hs
Vs
INPUT
OUTPUT
DIGITALAUDIO
VIDEO1
HDCOMPONENT
DONOT OPEN
(FORSERVICE ONLY)
SIGNALSELECT
Y
PB
PR
HDCOMPONENT
VIDEOINPUT
(1080i/480P)
HDCOMPONENT
AUDIOINPUT
IN
OUT
CABLE
DTV
IN
From
Antenna
Source
OR
VHF
UHF
Adapter
RS
8‰/5W LS
8‰/5W
WOOFER
8‰/8W
OPTICAL
/PCM
OPTICAL
COAXIAL
COAXIAL
/PCM
/PCM
/PCM
(mono)
L
(mono)
L
SPEAKEROUTPUT
L
R
R
R
R
CENTER
WOOFER
LS
RS
VIDEO2 VIDEO3
V
V
(mono)
L
(mono)
L
S-VIDEO
VIDEO1
B
G
Hs
Vs
INPUT
OUTPUT
DIGITALAUDIO
VIDEO1
HDCOMPONENT
OPTICAL
/PCM
OPTICAL
COAXIAL
COAXIAL
DONOT OPEN
(FORSERVICE ONLY)
SIGNALSELECT
Y
PB
PR
HDCOMPONENT
VIDEOINPUT
(1080i/480P)
HDCOMPONENT
AUDIOINPUT
IN
OUT
CABLE
DTV
IN
RS
8‰/5W LS
8‰/5W
WOOFER
8‰/8W
From
Cable
Source
Optional
Cable Box
In Out
From
Antenna
Source
VHF
UHF
/PCM
/PCM
/PCM

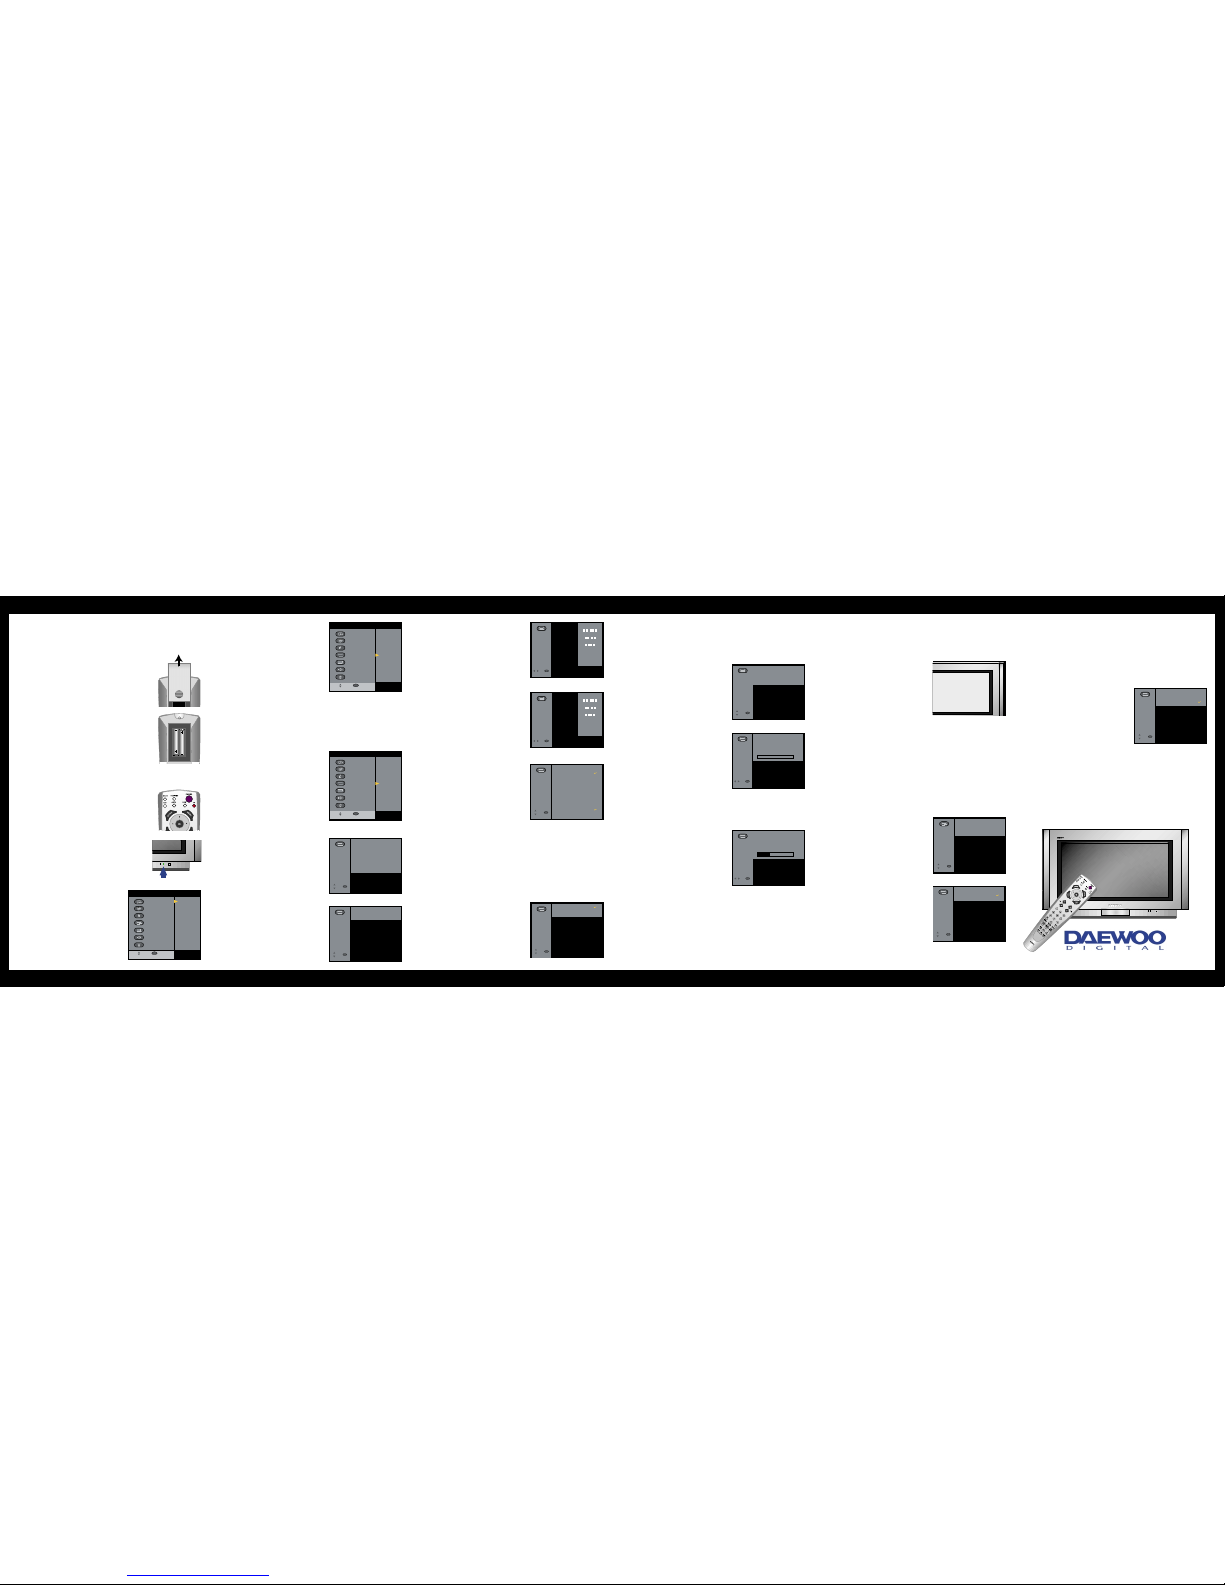
Installing the batteries
in the remote control
1. Remove the battery compartment lid from the back of
the remote control by pressing on the lid and sliding it off.
2. Insert two AAA batteries into the compartment. Match the
and - on the batteries to the + and - in the compartment.
3. Replace the battery cover.
Using the on-screen menus
1. Press the TV Mode button on the remote control.
The TV indicator will light.
2. Point the remote control at the front of the HDTV and
press POWER.
The POWER indicator on the front of the HDTV will
light in red and the HDTV will turn on. The light will
then turn green.
3. Press the MENU button.
The MAIN MENU will appear on the screen.
4. Press the up/down arrow buttons to
highlight items on the MAIN MENU.
The content of each menu category will be
displayed.
5. Press the SEL button to select an item.
6. Press the PREV button to back up one
menu screen.
7. To make the menus disappear, press
MENU repeatedly.
Setting the time and date
1. Press the MENU button to display the MAIN MENU.
2. Press the up/down arrow buttons to
highlight SETUP.
3. Press the SEL button.
The SETUP menu is displayed.
4. Use the up/down arrow buttons to highlight
Time Setting. Press the SEL button.
The TIME SETUP menu is displayed, with
the Time and Date Setting highlighted.
5. Press the SEL button.
The TIME SETTING menu is displayed.
Note: If your HDTV is receiving digital
signals, the time will automatically be
set and updated.
6. Use the Number (0-9) buttons on the remote
control to enter the time. For example, to
enter 12:45 press 1, 2, 4, and 5.
7. Use the up/down arrow buttons to select
A (AM) or P (PM) then press the right arrow
button to move to the Date field.
8. Use the Number buttons to enter the Date
and Year and then press the SEL button to
return to the TIME SETUP menu.
9. Use the up/down arrow buttons to highlight
Time Options and then press the SEL button.
The TIME OPTIONS menu is displayed.
10. Use the up/down arrow buttons to highlight
your time zone and then press the SEL button.
11. Use the up/down arrow buttons to select
whether you use daylight saving time and
then press the SEL button.
12. Press the PREV button to return to the SETUP menu.
Memorizing channels
Your HDTV memorizes and stores all of the channels it can receive.
Note: It is not necessary to scan channels into memory for satellites or VCRs.
To scan channels into memory:
1. From the SETUP menu, use the up/down
arrow buttons to highlight Input Select and
press the SEL button.
The INPUT SELECT menu is displayed.
2. Use the up/down arrow buttons to highlight the kind of antenna you connected
to the HDTV: Antenna (indoor/outdoor) or Antenna + Cable (cable TV and
indoor/outdoor). Press the SEL button.
3. Press the PREV button to return to the SETUP menu.
4. Use the up/down arrow buttons to highlight
Channel Setup and then press the SEL button.
The CHANNEL SETUP menu is displayed.
5. Use the up/down arrow buttons to highlight
Channel Scanning and then press the SEL
button.
The CHANNEL SCANNING menu is
displayed.
To scan the channels into the HDTV memory
• If Yes is highlighted, press the SEL button to begin channel scanning.
• If No is highlighted, use the left arrow button to highlight Yes and then press
SEL to begin channel scanning.
The HDTV will scan the channels and memorize
all channels it can receive.
When the channel scan is finished, press the
MENU button until the menus disappear from
the screen, or press the PREV button to select
another menu option.
To exit the menu without scanning the channels
• If Yes is highlighted, use the right arrow button to highlight No and then press
the SEL button to return to the previous menu.
• If No is highlighted, press the SEL button to return to the previous menu.
Note: Whenever you change the input source (Antenna or Antenna +
Cable) from the Input Select menu, you should scan the channels again.
Selecting a source
You can choose to view any of the input sources that you have connected to your
HDTV. To do this:
Press the TV/VIDEO button on the HDTV or on the remote control.
Each time you press either button, the HDTV
will display one of the sources that are
available. These include:
• TV mode
• HD comp (HD Component Video)
• Video 1
• Video 2
• Video 3
• Video 4
These sources correspond to the inputs on the side and back panel of the HDTV.
For example, if you connected a VCR to the Video 2 inputs, use the TV/VIDEO
button on the HDTV or on the remote control to select Video 2 and to see the
picture and hear the audio from the VCR.
Setting up speakers
You can easily adjust the HDTV to the kind of speakers you connected to it.
1. From the MAIN MENU, use the up/down arrow buttons to highlight SETUP and
press the SEL button.
The SETUP menu is displayed.
2. Use the up/down arrow buttons to highlight
Speaker Setup and press the SEL button.
The SPEAKER SETUP menu is displayed.
3. Press the up/down arrow buttons to
highlight Speaker Off and press the SEL
button.
The SPEAKER OFF menu is displayed.
4. If you:
•do not want to use external (left/right/center) speakers, highlight No and
press the SEL button.
•do want to use external speakers, highlight Yes and press the SEL button.
5. Press the PREV button to return to the SPEAKER SETUP menu.
Adjusting rear speakers for surround sound
1. From the SPEAKER SETUP menu, highlight
Rear Speakers (LS, RS) and press the SEL
button.
The REAR SPEAKERS menu is displayed.
2. Highlight the kind of rear speakers you
connected to the HDTV:
• External (Large)
• External (Small)
• None
3. Press the SEL button.
4. Press the PREV button to return to the SPEAKER SETUP menu.
SETUP
• Input Select
• Channel Setup
• Time Setting
• Digital Audio
• Speaker Setup
• Factory Setting
• HD Component Input
Select one of the
setup options.
Move
SEL
Select
TIME
SETUP
•Timeand Date Setting
•TimeOptions
Select an option
to set the time.
After completing,
press the SEL
button.
Move
SEL
Select
TIME
SETTING
Set the time,
date, year using
the Number
button.
After completing,
press the SEL
button.
Time:
Date:
Year
:
12 00A
/
01 01
2000
Move
#
Number
TIME
SETTING
Set the time,
date, year using
the Number
button.
After completion,
Press the SEL
button.
Time:
Date:
Year
:
12 45P
/
01 01
2000
Move
#
Number
TIME
OPTIONS
Select a time
zone & daylight
saving on/off.
Select your TimeZone
•Eastern
•Central
•Mountain
•Pacific
•Alaska
•Hawaii
Daylight Saving TimeControl
•Off
•On
Move
SEL
Select
TIMER POWER
Move
MAIN MENU
GUIDE
PREFERENCE
LOCKS & LIMITS
SETUP
VIDEO
AUDIO
HELP
The Guide Menu
allows you to
view and select
the program
information
SEL
Select
Move
MAIN MENU
GUIDE
PREFERENCE
LOCKS & LIMITS
SETUP
VIDEO
AUDIO
HELP
Input Select
Channel Setup
Time Setting
Digital Audio
Speaker Setup
Factory Setting
HD Comp.
SEL
Select
Move
MAIN MENU
GUIDE
PREFERENCE
LOCKS & LIMITS
SETUP
VIDEO
AUDIO
HELP
Input Select
Channel Setup
Time Setting
Digital Audio
Speaker Setup
Factory Setting
HD Comp.
SEL
Select
INPUT
SELECT
•Antenna
•Antenna + Cable
If you use the
cable TV,select
Antenna + Cable.
Move
SEL
Select
CHANNEL
SETUP
•Check Signal Strength
•Channel Scanning
•Add/Erase Channel
•Fine Tuning
Select one of the
channel options.
Move
SEL
Select
CHANNEL
SCANNING
This function will rescan channel and update
your channel map.
•Yes •No
Start channel scan
Move
SEL
Select
VIDEO 1
SPEAKER
SETUP
•Rear Speakers (LS, RS)
•Subwoofer
•Speakers Off
Select the kind
of speakers to set.
Move
SEL
Select
SPEAKER OFF
If you want to
use the external
L/R/C speakers,
select 'Yes'.
Move
SEL
Select
•Yes
•No
REAR
SPEAKER
Select the type
of rear speaker
connected to
the HDTV.
Move
SEL
Select
•External (Large)
•External (Small)
•None
CHANNEL
SCANNING
This function will rescan channel and update
your channel map.
•Yes •No
Channel scanning.... #CH22
28%
Move
SEL
Select
TIMER POWER
R-V3
Now that you have completed the Quick Reference
Guide, it is time for you to enjoy your new HDTV!
Please make sure to review the User Manual, though, so
that you can take advantage of all the features that your
HDTV offers.
Visit us on the web at: http://www.daewoo-digital.com
S/N : 4958900001
Other manuals for DSC-30W60N
3
Other Daewoo HDTV manuals