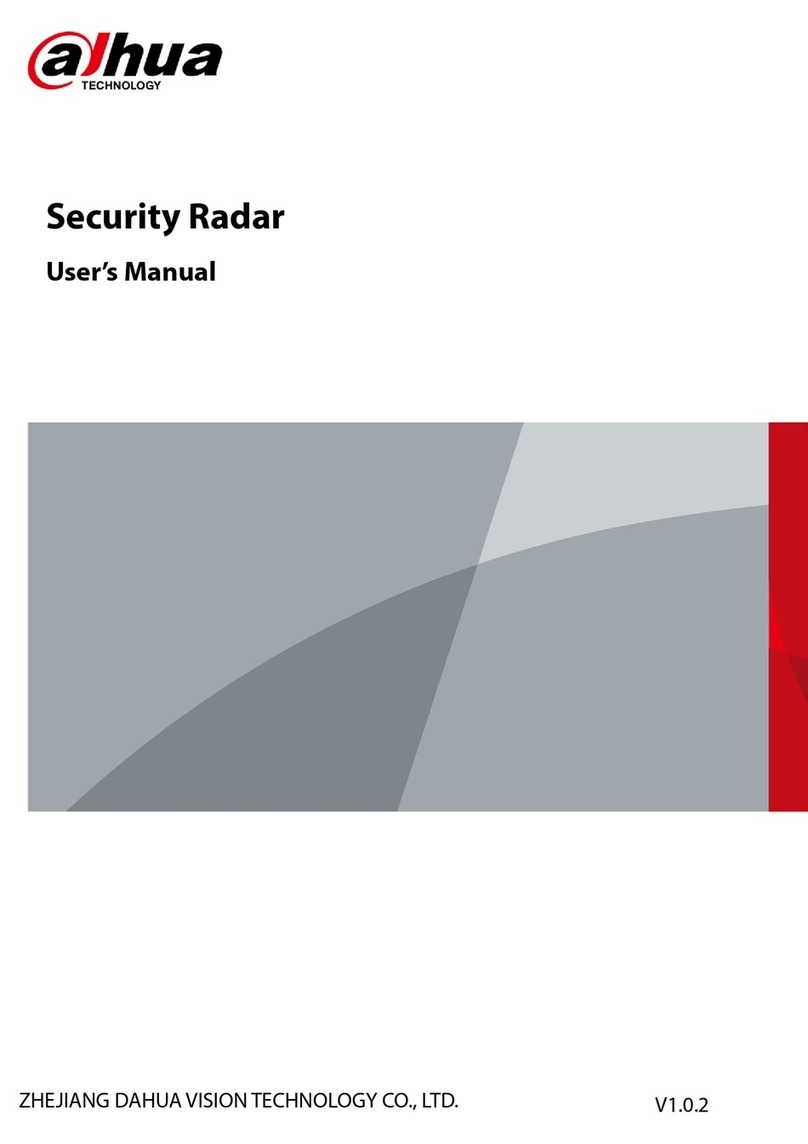
Dahua Technology DH-PFR4K-E50 User manual

Security Radar
User’s Manual
V1.0.1
V1.0.0
ZHEJIANG DAHUA VISION TECHNOLOGY CO., LTD.

User’s Manual
I
Foreword
General
This manual introduces the functions and operations of the security radar.
Models
DH-PFR4K-E50, DH-PFR4K-E120, DH-PFR4K-D300, and DH-PFR4K-D450.
Safety Instructions
The following categorized signal words with defined meaning might appear in the manual.
Signal Words
Meaning
WARNING
Indicates a medium or low potential hazard which, if not avoided,
could result in slight or moderate injury.
CAUTION
Indicates a potential risk which, if not avoided, could result in
property damage, data loss, lower performance, or unpredictable
result.
TIPS
Provides methods to help you solve a problem or save you time.
NOTE
Provides additional information as the emphasis and supplement
to the text.
Revision History
Version
Revision Content
Release Time
V1.0.1
Delete previous Figure 4-65.
February 2020
V1.0.0
First release.
December 2019
About the Manual
The manual is for reference only. If there is inconsistency between the manual and the
actual product, the actual product shall prevail.
We are not liable for any loss caused by the operations that do not comply with the manual.
The manual would be updated according to the latest laws and regulations of related
regions. For detailed information, see the paper manual, CD-ROM, QR code or our official
website. If there is inconsistency between paper manual and the electronic version, the
electronic version shall prevail.
All the designs and software are subject to change without prior written notice. The product

User’s Manual
II
updates might cause some differences between the actual product and the manual. Please
contact the customer service for the latest program and supplementary documentation.
There still might be deviation in technical data, functions and operations description, or
errors in print. If there is any doubt or dispute, please refer to our final explanation.
Upgrade the reader software or try other mainstream reader software if the manual (in PDF
format) cannot be opened.
All trademarks, registered trademarks and the company names in the manual are the
properties of their respective owners.
Please visit our website, contact the supplier or customer service if there is any problem
occurred when using the device.
If there is any uncertainty or controversy, please refer to our final explanation.

User’s Manual
III
Important Safeguards and Warnings
The following contents are about the proper ways of using the radar, preventing dangers and
property damage when it is in use. Read the manual carefully before using the radar, strictly
abide by the manual and properly keep it for future reference.
Operation Requirements
Do not place or install the radar in a place exposed to sunlight or near the heat source.
Keep the radar away from dampness, dust or soot.
Keep the radar installed horizontally on the stable place to prevent it from falling.
Do not drop or splash liquid onto the radar, and make sure there is no object filled with
liquid on the radar to prevent liquid from flowing into the device.
Install the radar in a well-ventilated place, and do not block the ventilation of the device.
Operate the radar within the rated range of power input and output.
Do not dissemble the radar.
Transport, use and store the radar under the allowed humidity and temperature conditions.
Electrical Safety
Use the recommended power cables in the region and conform to the rated power
specification.
Use the power adapter provided with the radar; otherwise, it might result in people injury
and device damage.
The power source shall conform to the requirement of the Safety Extra Low Voltage (SELV)
standard, and supply power with rated voltage which conforms to Limited power Source
requirement according to IEC60950-1. Please note that the power supply requirement is
subject to the device label.
Connect the radar (I-type structure) to the power socket with protective earthing.
The appliance coupler is a disconnection device. When using the coupler, keep the angle
for easy operation.

User’s Manual
IV
Table of Contents
Foreword .................................................................................................................................................... I
Important Safeguards and Warnings .................................................................................................... III
1 Network Configuration.......................................................................................................................... 1
Network Connection...................................................................................................................... 1
Logging in to Web Interface.......................................................................................................... 2
1.2.1 Device Initialization............................................................................................................. 2
1.2.2 First-time Login................................................................................................................... 5
1.2.3 Forgetting Password........................................................................................................... 7
2 Live View .............................................................................................................................................. 10
Encoding Configuration............................................................................................................... 10
Video Tool.................................................................................................................................... 10
Video Window Adjustment ...........................................................................................................11
System Menu .............................................................................................................................. 12
Function Options......................................................................................................................... 12
Device List................................................................................................................................... 13
PTZ Control................................................................................................................................. 13
3 Playback ............................................................................................................................................... 15
Video Playback ........................................................................................................................... 15
3.1.1 Playing Video.................................................................................................................... 16
3.1.2 Record Types.................................................................................................................... 17
3.1.3 Auxiliary Functions............................................................................................................ 17
3.1.4 Record Files...................................................................................................................... 17
3.1.5 Clipping Records .............................................................................................................. 18
3.1.6 Time Format of the Time Bar............................................................................................ 19
Snapshot Playback ..................................................................................................................... 19
3.2.1 Playing Snapshots............................................................................................................ 20
3.2.2 Snapshot Files.................................................................................................................. 20
3.2.3 Snapshot Types ................................................................................................................ 21
4 Setting .................................................................................................................................................. 22
Radar........................................................................................................................................... 22
4.1.1 Video................................................................................................................................. 22
4.1.2 PTZ Camera ..................................................................................................................... 28
4.1.3 Linkage ............................................................................................................................. 29
4.1.4 Region Management ........................................................................................................ 34
4.1.5 Protection Zone Management .......................................................................................... 37
4.1.6 IVS Configuration.............................................................................................................. 39
Network ....................................................................................................................................... 39
4.2.1 TCP/IP .............................................................................................................................. 40
4.2.2 Port ................................................................................................................................... 42
4.2.3 PPPoE .............................................................................................................................. 43
4.2.4 DDNS................................................................................................................................ 44
4.2.5 SMTP (Email).................................................................................................................... 45

User’s Manual
V
4.2.6 UPnP................................................................................................................................. 47
4.2.7 SNMP................................................................................................................................ 48
4.2.8 Bonjour.............................................................................................................................. 51
4.2.9 Multicast............................................................................................................................ 51
4.2.10 802.1x ............................................................................................................................. 52
4.2.11 QoS ................................................................................................................................. 53
4.2.12 Access Platform .............................................................................................................. 53
Event Management..................................................................................................................... 54
4.3.1 Alarm................................................................................................................................. 55
4.3.2 Abnormality ....................................................................................................................... 57
Storage........................................................................................................................................ 60
4.4.1 Schedule........................................................................................................................... 60
4.4.2 Destination........................................................................................................................ 63
4.4.3 Record Control.................................................................................................................. 66
System ........................................................................................................................................ 67
4.5.1 General ............................................................................................................................. 67
4.5.2 Date & Time ...................................................................................................................... 68
4.5.3 Account ............................................................................................................................. 69
4.5.4 Onvif User......................................................................................................................... 74
4.5.5 Safety................................................................................................................................ 75
4.5.6 Firewall.............................................................................................................................. 82
4.5.7 Default............................................................................................................................... 84
4.5.8 Import/Export .................................................................................................................... 84
4.5.9 Auto Maintain .................................................................................................................... 84
4.5.10 Upgrade .......................................................................................................................... 85
Information .................................................................................................................................. 86
4.6.1 Version .............................................................................................................................. 86
4.6.2 Log .................................................................................................................................... 86
4.6.3 Remote Log ...................................................................................................................... 88
4.6.4 Online User....................................................................................................................... 88
5 Alarm..................................................................................................................................................... 89
6 Logging out.......................................................................................................................................... 91
Cybersecurity Recommendations ................................................................................... 92

User’s Manual
1
1 Network Configuration
Figures that do not distinguish between the models in this manual all take the 50/120m radar as
an example.
Network Connection
There are mainly two connection methods between the radar and PC. See Figure 1-1 and
Figure 1-2. Connected by network cable
Connected through router or switch
Radar models presented in the figures are for reference only.
The IP address of the radar is 192.168.1.108 by default. You need to use IP segment
reasonably according to actual network environment so that the radar can connect to
network.

User’s Manual
2
Logging in to Web Interface
1.2.1 Device Initialization
The radar needs to be initialized for the first-time use.
Open IE browser, enter the IP address of the radar in the address bar, and then press
Enter key.
After the radar is successfully connected, the Device Initialization interface is
displayed. See Figure 1-3. Device initialization
Set the password. See Figure 1-4.
The password should consist of 8 to 32 non-blank characters and contain at least two
types of characters among upper case, lower case, number, and special characters
(excluding ' " ; : &). Make sure that the password and the confirmed password are the
same. Follow the password strength prompt to set a password with high security.

User’s Manual
3
Set admin password
(Optional) Set the email address which is used to reset password.
Email address function is enabled by default and you can disable it. We recommend
you to enter the email address to guarantee normal use of the radar.
Click Save.
The End-User License Agreement interface is displayed. See Figure 1-5.
End-user license agreement
Select I have read and agree to all terms check box, and then click Next.
The P2P interface is displayed. See Figure 1-6.

User’s Manual
4
P2P
Read on-screen notifications, select P2P check box as needed, and then click Next.
The Online Upgrade interface is displayed. See Figure 1-7.
Online upgrade
Read on-screen notifications, select Auto-check for updates check box as needed,
and then click Next.
The Country/Region Setting interface is displayed. See Figure 1-8.

User’s Manual
5
Country or region setting
Select region, language, and video standard as needed, and then click Save.
The login interface is displayed. See Figure 1-9.
Login
1.2.2 First-time Login
You need to download and install the plug-in for the first-time login.
Enter username and password, and then click Login.
The Live interface is displayed. See Figure 1-10.

User’s Manual
6
Install the plug-in
If you enter the wrong password for continuously 5 times, the account will be locked for
5 minutes. After the locked time ends, you can log in to the radar again. You can set the
allowed wrong password times in Setting > Event > Abnormality > Illegal Access.
For details, see "4.3.2.3 Illegal Access."
Download and install the plug-in according to the on-screen instructions.
After the plug-in is installed, the login interface is displayed automatically. Enter
username and password, and then click Login.
The Live interface is displayed. See Figure 1-11.
Live

User’s Manual
7
The Live interface might vary with different device models, and the actual interface
shall prevail.
1.2.3 Forgetting Password
You can reset the admin password through the reserved email address when you forget it.
Open IE browser, enter the IP address of the radar in the address bar, and then press
Enter.
The login interface is displayed. See Figure 1-12.
Login
Click Forget password?
The Prompt interface is displayed. See Figure 1-13.
Prompt
Click OK.
The QR code scanning interface is displayed. See Figure 1-14.
After clicking OK, your information such as email address, MAC address, and device
SN might be collected for authentication.

User’s Manual
8
QR code
Read notes and scan the QR code. Enter security code acquired from the reserved
email and then click Next.
The password resetting interface is displayed. See Figure 1-15.
Reset the password within 24 hours after you get the security code; otherwise it will be
invalid. If the security code is not used twice continuously, for the third time, the system
will prompt that you fail to acquire the security code. For normal use of the radar, you
need to restore the radar to default and then acquire the security code again, or acquire
the security code after 24 hours. Reset the password
Set the new admin password and then confirm it.

User’s Manual
9
The password should consist of 8 to 32 non-blank characters and contain at least two
types of characters among upper case, lower case, number, and special characters
(excluding ' " ; : &). Follow the password strength prompt to set a password with high
security.
Click Save.
The login interface is displayed.

User’s Manual
10
2 Live View
You can do the operations such as watching live video, taking snapshots and records, and
setting video stream.
Click Live tab. The Live interface is displayed. See Figure 2-1. For live view parameter
descriptions, see Table 2-1. Live view
Table 2-1 Live view parameter descriptions
No.
Description
No.
Name
1
Set encoding mode.
2
Video tool.
3
Adjust video window.
4
Function tabs.
5
Function options.
6
Device list.
Encoding Configuration
You can select stream media protocol from TCP, UDP, and RTP multicast. See Figure 2-2.
Encoding configuration
Video Tool
You can view bit rate, and resolution, and take records and snapshots, and so on. See Figure
2-3. For parameter descriptions, see Table 2-2.

User’s Manual
11
Video tool
Table 2-2 Video tool parameter descriptions
No.
Name
Description
1
Bit Rate
Display the current video bit rate.
2
Resolution
Display the current video resolution.
3
Digital
Zoom
Click the icon, and then draw a box at any area to zoom in the selected
part. Scroll on the selected part to zoom in or zoom out the image; point
anywhere, and then scroll to zoom in or zoom out the image. Right-click
or click the icon again to restore to the original status.
4
Snapshot
Click the icon to capture the
picture of live image.
Snapshot and record configurations
are for the radar only.
You can modify the storage path in
Setting > Radar Settings >
Video > Path. For details, see
"4.1.1.4 Storage Path."
5
Record
Click the icon to take record
of the live video.
6
Audio
Click the icon to mute or unmute the video.
Video Window Adjustment
You can set window split mode, play the video in full screen, original size, and adaptive size,
and more. For details, see Figure 2-4 and Table 2-3.
Video window adjustment
Table 2-3 Icon descriptions
No.
Name
Description
1
Image size
Click the icon to display the video in its original size and the icon
switches to . Click the icon again, and the video is displayed in
adaptive size.
2
Full screen
Click the icon to play the video in full screen. Double-click or press
Esc key to exit full screen.
3
W:H (Width
and height
Click the icon and then select the ratio as Original or Adaptive.

User’s Manual
12
No.
Name
Description
ratio)
4–6
Window split
Click the icon to set window split mode.
Single live image: . It is set by default.
Double live images:
Four live images:
7
Picture in
picture mode
Click the icon, click the small window at the lower-right corner of the
main live image, and then double-click the linked camera from the
Device List. The live view of the selected camera will be displayed in
the small window.
System Menu
You can click each tab to enter its corresponding interface. See Figure 2-5.
System menu
Function Options
Click each icon to use different functions such as manual positioning, and taking snapshots and
records. For details, see Figure 2-6 and Table 2-4.
Function options
Table 2-4 Function icon descriptions
No.
Name
Description
1
Manual
Positioning
In 2 or 4 window split mode, click any area on the radar map, and all
linked cameras position to that specified area. If you have no
operation for more than 30 s after clicking, the camera will restore to
default position.
To make manual position valid, you need to:
Log in to the linked camera.
Complete radar positioning and radar calibration. For details, see
"4.1.3 Linkage."
2
Relay-out
Display the alarm output status.

User’s Manual
13
No.
Name
Description
An alarm is triggered: The icon turns red.
No alarm: The icon is gray.
You can click the icon to enable or disable alarm manually.
3
Snapshot
See Table 2-2.
4
Record
See Table 2-2.
Device List
You can view IP addresses of radar and the linked cameras, and set video stream. See Figure
2-7. Device list
Click to select video streams. For details, see Figure 2-8 and Table 2-5.
Select video stream
Table 2-5 Video stream icon descriptions
No.
Name
Description
1
Main Stream
Under the selected stream media protocol, use main stream to
monitor and store video. Main stream is applied in live view and
record storage by default. Click the icon again to close live video.
2
Sub Stream 1
Under the selected stream media protocol, use sub stream 1 to
monitor if the network bandwidth is insufficient. Click the icon again to
close live video.
3
Sub Stream 2
Under the selected stream media protocol, use sub stream 2 to
monitor if the network bandwidth is insufficient. Click the icon again to
close live video.
PTZ Control
You can control PTZ function of the linked camera by PTZ control bar on Live interface.

User’s Manual
14
PTZ control is only for radar speed dome tracking system, and you can skip this function
as needed.
Before using PTZ control, you need to add a PTZ camera. For details, see "4.1.2 PTZ
Camera."
PTZ control can only be operated on the selected camera channel.
For PTZ control bar, see Figure 2-9. For detailed icon descriptions, see Table 2-6.
PTZ Control
Table 2-6 PTZ control descriptions
Name
Description
Direction
Support eight directions: Up, down, left, right, upper-left, upper-right,
lower-left, and lower-right.
Quick position
Click the icon, draw a box on radar's live interface, and then the PTZ
camera will rotate, focus and quickly locate that area.
Speed
PTZ rotation speed. The larger the value is, the higher the speed will
be.
Zoom/Focus/Iris
Click to increase the value and click to decrease the value.
Zoom: Tap or to zoom in or zoom out the image.
Focus: Tap or to adjust the lens focus to get a desired
definition of the video.
Iris: Tap or to adjust the brightness of the video.
This manual suits for next models
3
Table of contents
Other Dahua Technology Radar manuals
Popular Radar manuals by other brands

Sensors & Software
Sensors & Software Noggin 100 user guide

Endress+Hauser
Endress+Hauser HART Micropilot S FMR533 operating instructions

Crosley
Crosley CR37 instruction manual

Endress+Hauser
Endress+Hauser Micropilot FMR62B Brief operating instructions

Emerson
Emerson Rosemount 3308A Reference manual

Baumer
Baumer R600V.DAE0 manual