manuals.online logo
Brands
  1. Home
  2. •
  3. Brands
  4. •
  5. Dals
  6. •
  7. Landscape Lighting
  8. •
  9. Dals LSP3-CC-BK User manual

Dals LSP3-CC-BK User manual

ITEMS INCLUDED IN THE BOX / ARTICLES INCLUS DANS LA BOÎTE
Installation guide for
Guide d'installation pour
3" or 4” landscape spotlight
Projecteur paysager de 3" ou 4"
1 2 Extension arm
Bras d'extension
Waterproof wire nuts
Marettes étanches
4
Metal ground stake
Piquet de terre en métal
3
WARRANTY /GARANTIE
1 877 430 1818
www.dals.com
DALS offers a 5 year warranty from the date of purchase which covers repairs or replacements of defective parts of the housing, optics, and electronics.
To contact DALS customer service call 1 877 430 1818 or send an e-mail to [email protected].
DALS offre une garantie de 5 ans à partir de la date d’achat qui couvre la réparation ou le remplacement des pièces du boîtier, des pièces optiques et électroniques défectueuses.
Pour contacter le service à la clientèle de DALS, composez le 1 877 430 1818 ou par courriel à [email protected].
COMPATIBLE ACCESSORIES (SOLD SEPARATELY):
ACCESSOIRES COMPATIBLES (VENDUS SÉPARÉMENT) :
LTR60-BK: Transformer / Transformateur - Max. 60W
LTR300-BK: Transformer / Transformateur - Max. 300W
LAN-ACC-MS: Metal ground stake/ Piquet de terre en métal
LSP-EXT04: 4” extension arm / Bras d'extension de 4”
LCBL-50: 50 feet of Low voltage wiring / 50 pieds de câblage basse tension
LCBL-100: 100 feet of Low voltage wiring / 100 pieds de câblage basse tension
LCBL-200: 200 feet of Low voltage wiring / 200 pieds de câblage basse tension
LSP-WM: Spotlight wall mount adapter/ Adaptateur mural pour projecteur de paysage
4
LSP3-CC-BK
LSP4-CC-BK
Landscape transformer, model LTR60-BK or LTR300-BK, is required for installation. Sold separately.
Transformateur, modèle LTR60-BK ou LTR300-BK, est requise pour l'installation. Vendu séparément.
123
MODEL / MODÈLE LUMENS WATTS KELVIN
LSP3-CC-BK 500 lm
10W2700, 3000, 3500, 4000, 5000K
LSP4-CC-BK 20W
INPUT / ENTRÉE
12VAC
12VAC2700, 3000, 3500, 4000, 5000K1000 lm
AVANT DE DÉBUTER L’INSTALLATION, COUPER L’ALIMENTATION DU FIL DU SECTEUR À L’AIDE DU DISJONCTEUR.
AVANT DE COMMENCER
LSP3-CC-BK
LSP4-CC-BK
Installation guide
Guide d'installation
1 877 430 1818
www.dals.com
INS_LSPX-CC_REV1
BEFORE STARTING INSTALLATION, SHUT THE LINE FEED POWER OFF USING THE CIRCUIT BREAKER.
BEFORE YOU START
Instructions pertaining to a risk of fire, electric shock or injury to persons. Installation must be done according to local electrical codes.
Installation should be done by a certified electrician.
Ces instructions se rapportent à un risque d’incendie, de chocs électriques ou de blessures corporelles.
L'installation doit être éffectuée conformément aux codes électriques locaux. L'installation devrait être effectuée par un électricien qualifié.
Installation with ground stake
Installation avec piquet de terre
Ensure that the power from the transformer
is turned off (sold separately).
Assurez-vous que l'alimentation du
transformateur est coupée (vendu séparément).
1
Adjust the angle of fixture head for best
illumination. Tighten hex screw on
adjustable knuckle to lock in position.
Ajustez l'angle de la tête du luminaire pour
un meilleur éclairage. Serrez la vis
hexagonale sur la fusée réglable pour
verrouiller en position.
4
To adjust color temperature of light,
use the 5-CCT slider switch on the back
of the fixture head to switch between
2700K, 3000K, 3500K, 4000K, and
5000K CCT.
Pour régler la température de couleur de
la lumière, utilisez le commutateur
coulissant 5-CCT à l'arrière de la tête du
luminaire pour basculer entre 2700K,
3000K, 3500K, 4000K et 5000K CCT.
6
Turn on power to test fixture operation.
Mettez l'appareil sous tension pour tester le
fonctionnement de l'appareil.
5
OFF
ON
CCT switch
Commutateur CCT
The fixture head, extension arm, and
mounting stake all have matching
threaded ends. To attach extension
arm, screw threaded end to the fixture
head by turning clockwise until fully
seated. To attach mounting stake,
follow the same procedure.
La tête du luminaire, le bras d'extension
et le piquet de terre ont tous des
extrémités filetées correspondantes.
Pour fixer le bras d'extension, vissez
l'extrémité filetée à la tête du luminaire
en tournant dans le sens des aiguilles
d'une montre jusqu'à ce qu'elle soit bien
en place. Pour fixer le piquet de terre,
suivez la même procédure.
Mounting Stake
Piquet de terre
2
3Connect wires from fixture to LED driver
(sold separately). The extension arm may
be used as a wire chase. Ensure all
connections are shielded (either sealed or
within an enclosure) to prevent exposure
to the elements.
Connectez les fils de l'appareil au
transformateur DEL (vendu séparément).
Le bras d'extension peut être utilisé comme
chemin de câbles. Assurez-vous que
toutes les connexions sont blindées (soit
scellées, soit dans un boîtier) pour éviter
toute exposition aux éléments.
Adjustable Knuckle
Articulation réglable
DC 12V
Low Voltage
Connection Wires
Fils de connexion
basse tension
DC 12V
Extension Arm
Bras d'extension
Fixture Head
Tête de luminaire
Threaded End
Extrémité filetée

This manual suits for next models

3

Popular Landscape Lighting manuals by other brands

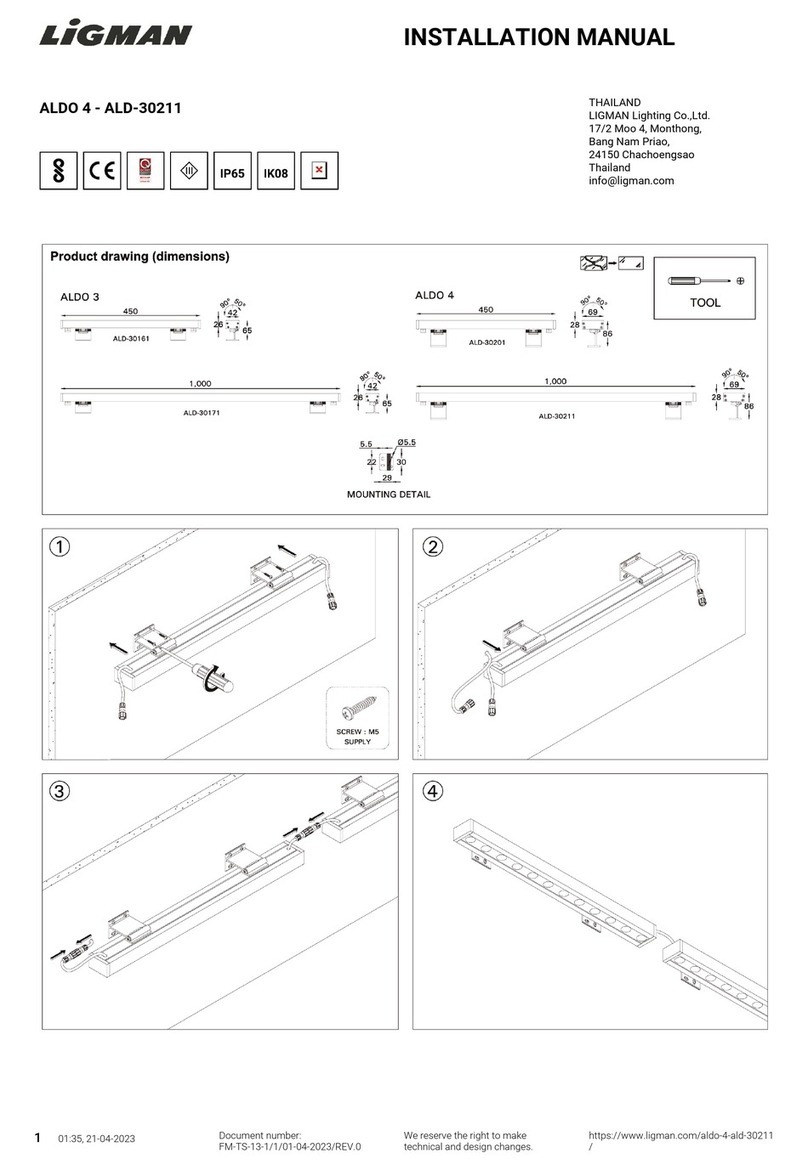
LIGMAN ALDO 4 installation manual

LIGMAN

LIGMAN ALDO 4 installation manual

Intex SL1006 owner's manual

Intex

Intex SL1006 owner's manual

LED Group ROBUS R2IN13W quick start guide

LED Group

LED Group ROBUS R2IN13W quick start guide

Patriot Lighting 343-1484 installation manual

Patriot Lighting

Patriot Lighting 343-1484 installation manual

LIGMAN JET 44 installation manual

LIGMAN

LIGMAN JET 44 installation manual

Hess SERA G: SERA S Installation and operating instructions

Hess

Hess SERA G: SERA S Installation and operating instructions

LIGMAN MALTA 1 installation manual

LIGMAN

LIGMAN MALTA 1 installation manual

Saxby Lighting Islay 68784 Instruction leaflet

Saxby Lighting

Saxby Lighting Islay 68784 Instruction leaflet

LIGMAN EU-10016-3 installation manual

LIGMAN

LIGMAN EU-10016-3 installation manual

LIGMAN KI-60475 installation manual

LIGMAN

LIGMAN KI-60475 installation manual

Cooper Lighting McGraw-Edison ZD Credenza specification

Cooper Lighting

Cooper Lighting McGraw-Edison ZD Credenza specification

Cooper Lighting Generation CLB25MWW5C373 Specification sheet

Cooper Lighting

Cooper Lighting Generation CLB25MWW5C373 Specification sheet

Malibu Boats CM110P instructions

Malibu Boats

Malibu Boats CM110P instructions

AMP Lighting OrchardPro APL-3018-B-BZ Installation & maintenance guide

AMP Lighting

AMP Lighting OrchardPro APL-3018-B-BZ Installation & maintenance guide

Cooper Lighting Invue 42 - 175W Specification sheet

Cooper Lighting

Cooper Lighting Invue 42 - 175W Specification sheet

ABBA SPB12 installation guide

ABBA

ABBA SPB12 installation guide

Techmar Garden Lights GILVUS + manual

Techmar

Techmar Garden Lights GILVUS + manual

LIGMAN RADO 1 installation manual

LIGMAN

LIGMAN RADO 1 installation manual

manuals.online logo
manuals.online logoBrands
  • About & Mission
  • Contact us
  • Privacy Policy
  • Terms and Conditions

Copyright 2025 Manuals.Online. All Rights Reserved.