®
➊
➋
➌
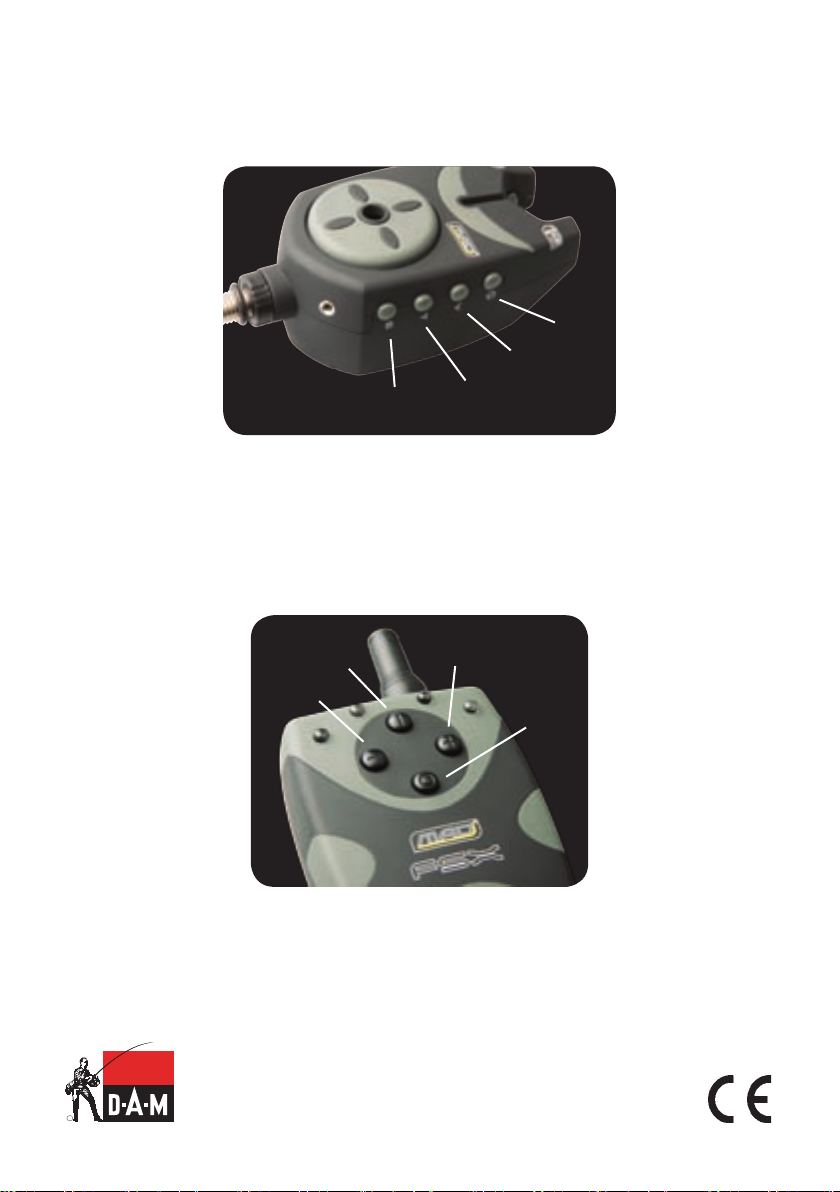
Auswahl von 4 Stufen durch mehrfaches Drücken des Lautstärkeknopfes. Zudem kann
man außer den Einstellungen „niedrig, mittel und hoch“ auch die Sonderfunktion ‘Vibration’
auswählen.
➍
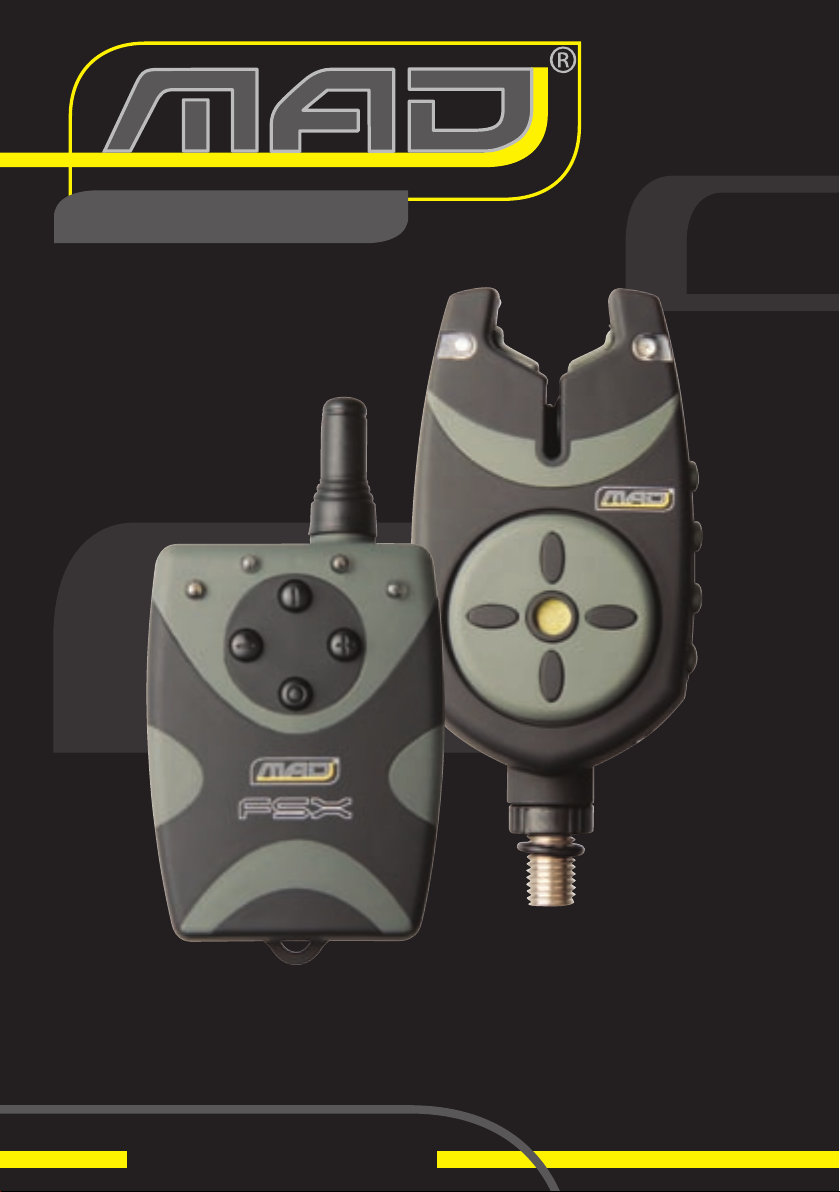
b) LEDs zeigen an, welcher der Bißanzeiger gerade „in Betrieb“ ist
c) Halterung zur Sicherung des Empfängers mittels Kette oder Schnur
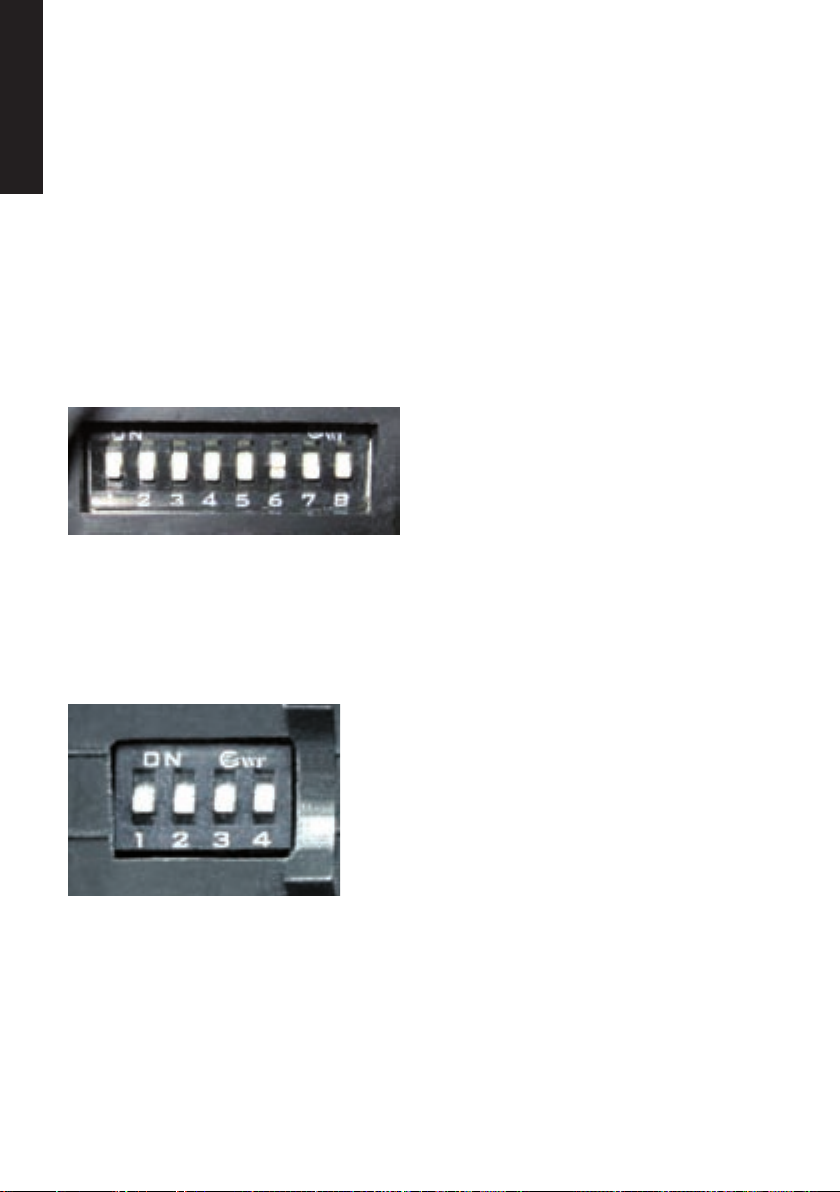
Die Kommunikation der Bißanzeiger mit dem Empfänger kann durch Einstellung der DIP-Schalter
sehr einfach programmiert werden. Und so funktioniert es:
Das DIP-Schaltersystem bendet sich im
Batteriefach der Anzeiger. Die ersten 4 Schalter
sind für die Abstimmung des Alarms mit dem
Empfänger. Es muss sichergestellt sein, dass sich
die entsprechenden 4 Alarmschalter von Anzeiger
und Empfänger immer in der gleichen Position
benden. Die restlichen 4 DIP-Schalter (5 – 8)
sind für die Farbeinstellung des Alarms:
Alle Schalter unten: Rot
Schalter 5 oben: Grün
Schalter 6 oben: Gelb
Schalter 7 oben: Blau
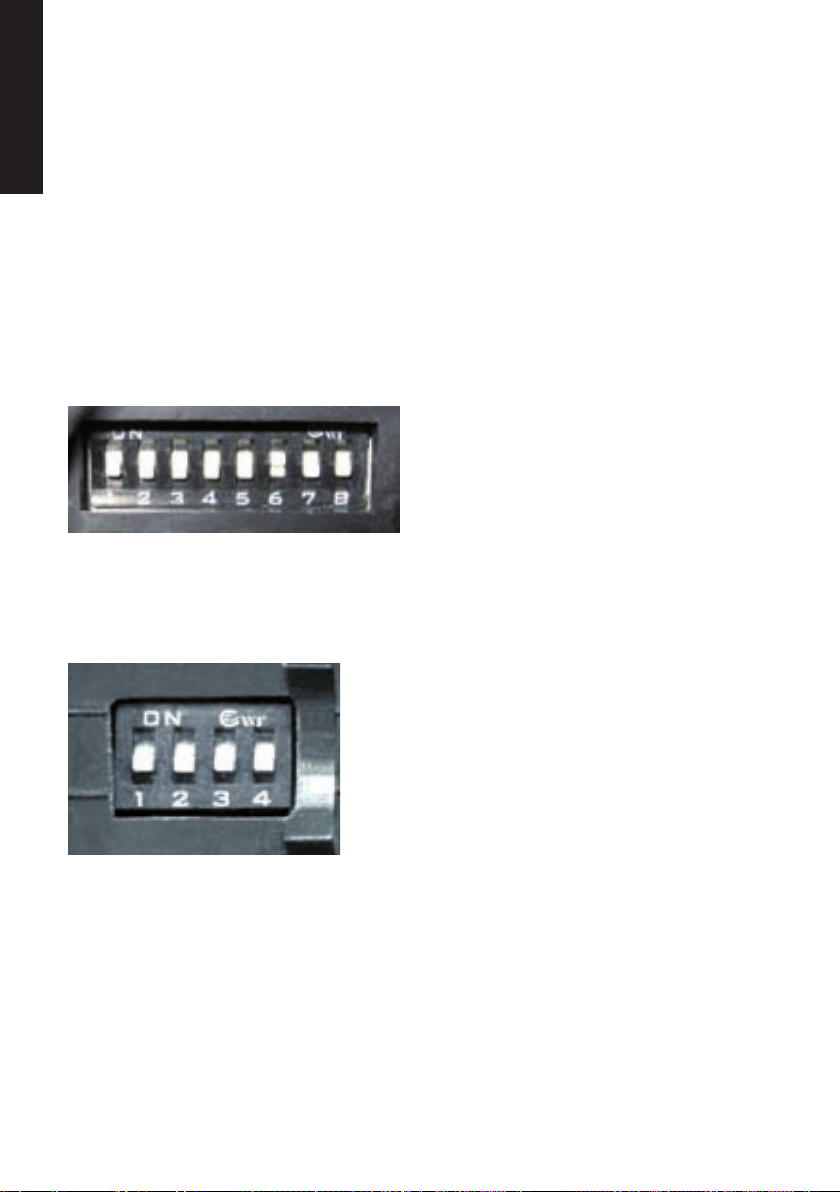
Das DIP-Schaltersystem bendet sich im Batteriefach
des Empfängers. Es muss sichergestellt sein, dass die
4 Schalter immer in der gleichen Position wie die der
Anzeiger sein müssen um die richtige Abstimmung des
Alarms zu gewährleisten.
Dieses Bissanzeige-Set wurde so konzipiert, dass es nahezu bei allen Wetterverhältnissen
einsatzfähig ist – sogar bei starkem Regen. Jedoch ist dieses Gerät nicht absolut wasserdicht! Bitte
achten Sie darauf, dass es niemals in Wasser fällt, da ansonsten die Elektronik beschädigt oder
zerstört werden kann. Wenn die Benutzung in regnerischem Wetter stattgefunden hat, unbedingt
das Gerät danach warm und trocken aufbewahren. So wird die Lebensdauer des MAD FSX-Sets
beträchtlich erhöht. Die Anzeiger dieses Sets wurden zur Benutzung durch Freilauf-Systeme
entworfen. Verwenden Sie daher diese Bissanzeiger nicht, wenn die Schnur nicht im Freilauf von
der Rolle gelassen werden kann. Sollte also die Einstellung der Bremsfunktion nicht einwandfrei
sein, kann die Funktion der Anzeiger nicht gewährleistet werden. Zudem bitten wir Sie zu beachten,
dass die Schraube am unteren Ende der Anzeiger zwar sehr stabil ist, jedoch nicht zu hohem
Druck beim Befestigen ausgesetzt werden sollte. Bei längerem Nichtbenutzen des Sets bitte die
Batterien entnehmen. Schäden, die durch unsachgemäße Aufbewahrung (undichte Batterien)
entstehen, können von uns nicht reguliert werden!