4.
Note: If you are playing a 45 RPM Single (small size record), place the supplied 45 RPM adapter to
the center spindle then place the record onit.
5.
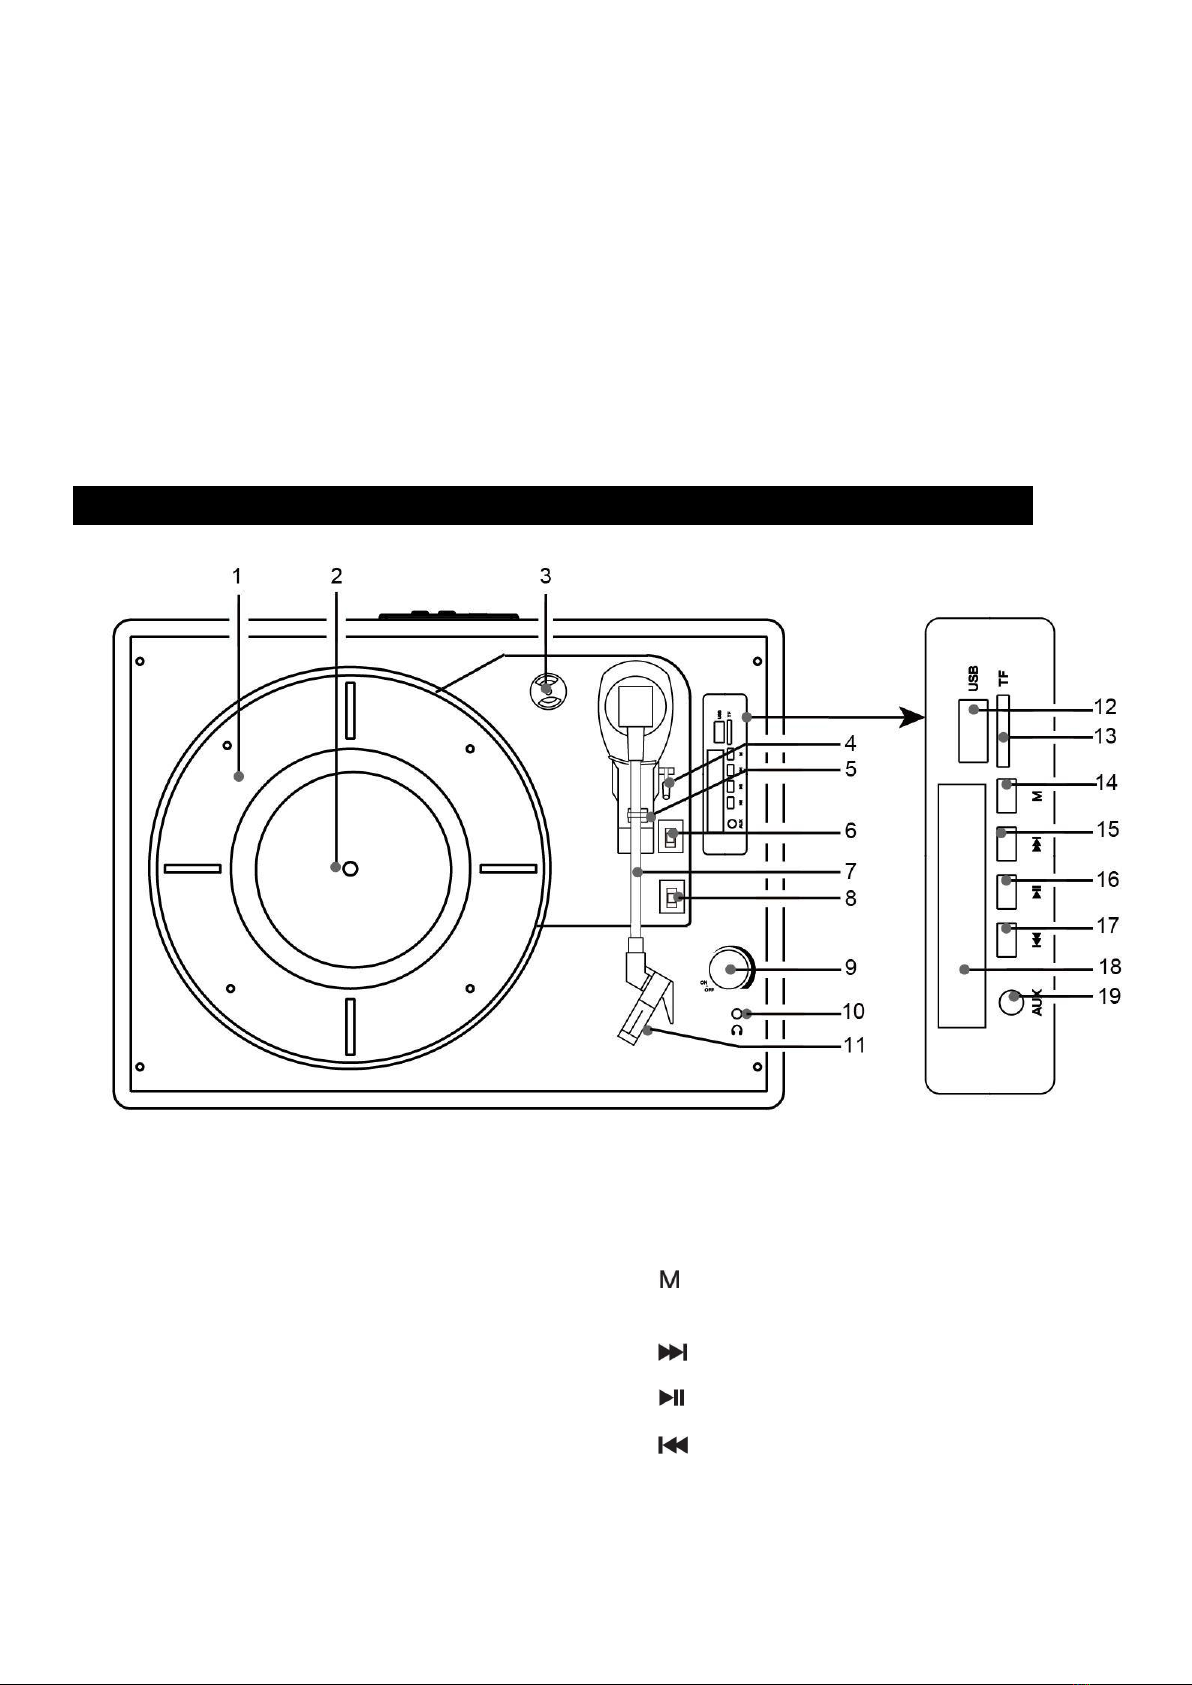
Slide the speed selector to 33 45 or 78 to match the play speed of the record.
6.
Set the auto stop control to ON if you want the turntable to stop turning when it has reached the
end of the record. If the switch is set to OFF , the turntable will continue turning at the end of the
record.
7.
Turn on the Power Switch to on position, which will go to the phono mode position automatically,
the display will show “-Pho” take note the switch also controls the volume.
8.
Raise the Lever to raise the Tone Arm then move it to the top of the desired location of the record.
Release the Lever to put the Tone Arm onto the record. Playing will start automatically.
9.
When the record has stopped playing, the turntable will stop automatically if the Auto stop switch is in
the ‘ON’ position. If the Auto stop switch is set to the “OFF’ position, the turntable will continue
turning at the end of the record.
10.
Raise the Lever to raise the Tone Arm then put it back to the Tone Arm Holder position .
Release the Lever then lock the Tone Arm on the Holder.
Bluetooth function
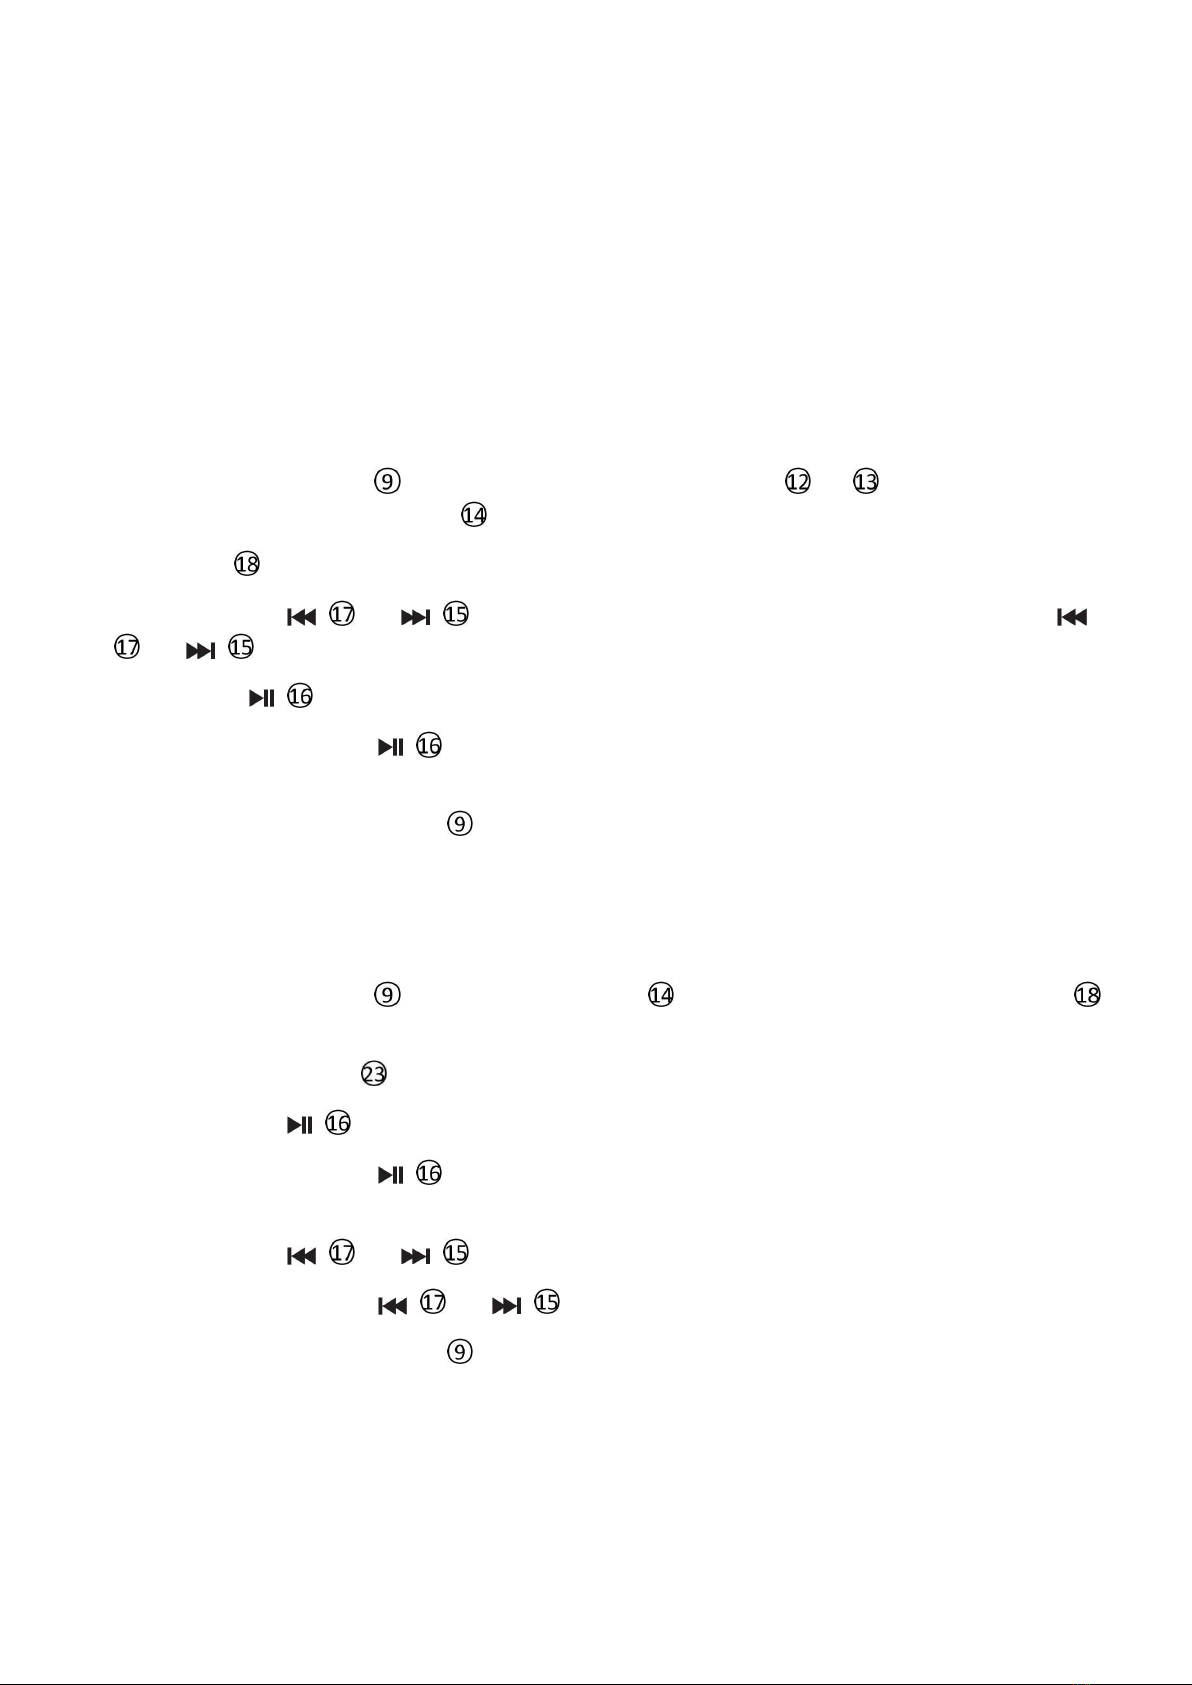
(lift up the tone arm and put it on the Tone Arm Holder position)
For first time use or re-pairing to a new BT Device, pairing it as below:
Turn on the Power Switch , then press “ M” button till it enters into the Bluetooth mode. The
display will show “ bt” .
Note: The display will show “-Lod” when it is connecting .
Turn on the Bluetooth function of your device and enable the search or scan feature to find the
Bluetooth pairing name “TE-012”. (See your device’s instructions to add or setup a Bluetooth device)
Select "TE-012"from the device list when it appears on your device screen. If required, enter the pass
code “0000” to pair (link) with your device.
It will sound a ‘beep’ if connected successful, then you can play music from your Bluetooth device.
Press the Button
or
to select the previous or next track.
Press button to pause and play music.
Adjust volume by volume control or by your Bluetooth device.
Normal operation after paired:
Turn on the Power Switch , then press “ M” button till it enters into Bluetooth mode. The
display will show “ bt” .
Wait a few seconds until the unit has auto paired to the external BT Device.
It will sound a ‘beep’ if connected successful, then Plays the music in the paired BT Device as usual.
During playback, using the control buttons on the paired cell phone to skip the tracks; pause; play...etc.