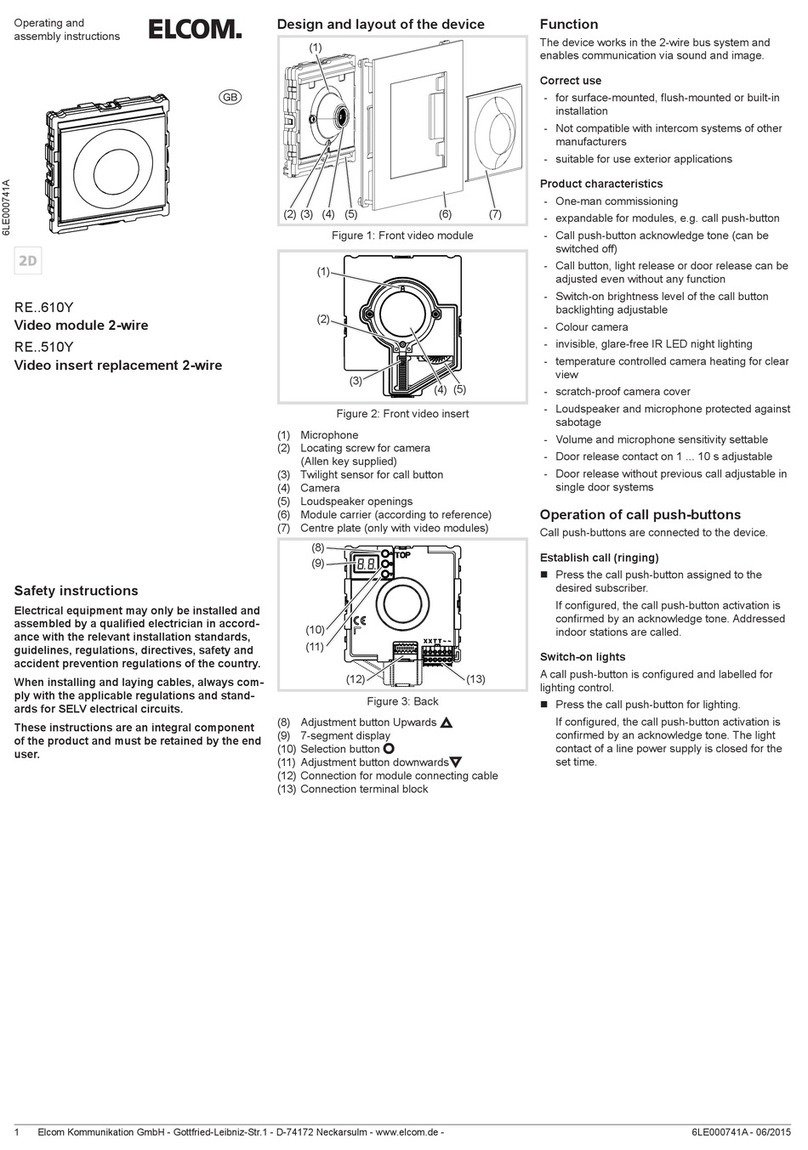
DECK MOUNT respirare BI-PAP User manual

ISO 80601-2-12
IEC 60601-1-1
IEC 60601-1-2
Ver.1.0


Chapter 1. Introduction..........................................................................................1-2
Chapter 2. System Overview..................................................................................3-4
Chapter 3. Device Setup .......................................................................................5-7
Chapter 4. Therapy Modes and Features........................................................ ....8-14
Chapter 5. Cleaning ,Disinfection & Sterilization.....................................................15
Chapter 6. Warning And Cautions...........................................................................16
Chapter 7. Technical Specification ....................................................................17-18
Chapter 8 . Warranty Statement & Warranty Card...................................................19
TABLE OF CONTENTS

Respirare may include the following components. Depending upon the model, some
components or accessories may not be a part of your device package
Read the entire manual before using this breathing assistance device
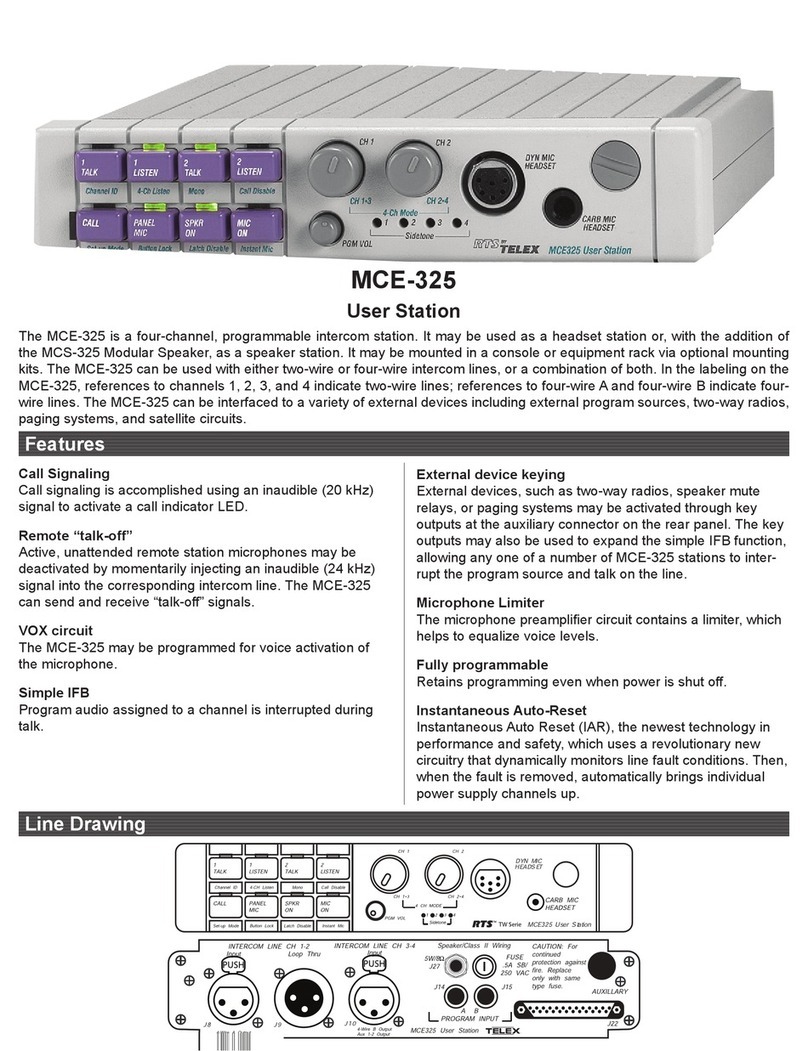
Respirare Bi-PAP is intended to provide ventilation for non-dependent, spontaneously
breathing adult & pediatric patient (13 kg and above) with respiratory insufficiency with
or without obstructive sleep apnea. The device is meant for non-invasive use in
stationary mode — hospitals or home or mobile mode — wheelchair, ambulance etc.
Respirare is not a life support device. If you have any of the following conditions,
consult your doctor before using this device:
ŸPneumothorax or Pneumomediastinum
ŸPathologically low blood pressure, particularly if associated with intra-vascular
volume depletion
ŸCerebrospinal fluid leak, recent cranial surgery or trauma
ŸSevere bullous lung disease
ŸDehydration.
ŸThe use of the Respirare is contraindicated in an MRI environment and Invasive
use.
INTRODUCTION
1.1 KNOW YOUR DEVICE
1.2 INTENDED USE1.2 INSIDE THE BOX
1.3 CONTRADICTION
1
VENTED TUBE
1

You should report unusual chest pain, severe headache or increased breathless
to your physician. The following side effects may arise during the course of non-
invasive ventilation with the device:
ŸDrying of nose, mouth or throat
ŸNosebleed
ŸBloating
ŸEar or sinus discomfort
ŸEye irritation
ŸSkin rashes
ŸGastric distension (Aerophobia)
1.4 CAUTION
2

Respirare Bi-PAP is a non-invasive ventilation device which augments patient
breathing by supplying pressurized air through a breathing circuit. It senses the
patient’s breathing behaviour by monitoring airflow in the breathing circuit and
adjusts its output to assist in inhalation and exhalation. This therapy is known as Bi-
level Ventilation. Bi-level intimation provides a higher pressure, known as IPAP
(Inspiratory Positive Airway Pressure), when you inhale, and a lower pressure, known
as EPAP (Expiratory Positive Airway Pressure), when you exhale. The higher
pressure makes it easier for you to inhale, and the lower pressure makes it easier for
you to exhale.
Though these are the part of the devices only but, we have to fit two components to the
device to make it functional -
ŸPatient Tube
ŸFull face mask (Non-vented) (a Vented mask should be used if there is no other
leak port in the breathing circuit)
The following table illustrates some of the device connectors and features as
described in the table below:
SYSTEM OVERVIEW2
2.1 FEATURES
Air Filter
The reusable filter screens out normal
household dust and pollens.
Front veiw
Back veiw
Humidifier
This machine comes with a detachable
Humidifier. By warming and moistening
the air you’re breathing, humidification
reduces dry nose and throat using a
humidifier can improve comfort.
Mask needs to be placed on the face
of the patient in such a way that it
covers the nose of the patient.
Connect the power cord here.
12V/5Amp.
Connect the Vented tube here.
DC Power Socket
3

Front face of the Bi-PAP has two buttons (as shown in the picture).
1.The First button (on the left side) is meant for starting the Bi-PAP Machine.
2.Second button (on the right side) is a rotary switch for operating the settings of
the machine.
2.2 FRONT VIEW
DC Power Socket
Air Outlet Port
REAR VIEW
Rotary switch for settings
‘On / Off’ Button
Humidifier
FRONT VIEW
1. At the rear of the Bi-PAP there is one Air Outlet Port which is to be connected to the
Vented Tube for completing the breathing circuit.
2.Below the Air outlet port, there is a DC Power socket which needs to be connected to
the Power connector of the adaptor provided with the machine
4

This device comes with a ‘Breathing Circuit’ containing Face Mask & Vented Tube.
These individual parts need to be connected together to construct the breathing
circuit.
Step -1: Connect one side of the Vented tube with the face mask. As shown in the
picture below -
DEVICE SETUP
3.1 DEVICE BREATHING CIRCUIT
FACE MASK WITH TUBE
3
VENTED TUBEMASK
3
5

3.2 POSITION THE DEVICE
3.3 INSTALL THE AIR FILTER
STEP-2: Connect the other side of the Vented tube to the Air outlet port located at the
rear of the device. After connecting the tube, the final arrangement should look like as
shown in the picture below.
With this, breathing circuit arrangement is complete.
Place the Device on a flat level surface Do not operate the Device while on its side,
upside-down, or in any other orientation. Make sure that the air inlet on the back of the
device is not blocked. If you block the air flow around the device, the Device may not work
properly.
The device uses a washable foam filter (supplied with the device) at the device air inlet.
The reusable filter screens out normal household dust and pollens. The filter must be in
place at all times when the device is operating.If the filter is not already installed when
you receive the device, you must install the filter before using the Device. Install the filter
as shown below.
6

3.5 HOW TO SET DATE AND TIME
Home Screen >> My Options >> Time set
Switch on the machine by pressing the power button . Set the Date & Time by Selecting
the desired Parameters by navigating the options through Rotary switch.
1.Gently pull out the Humidifier as shown
below
2.Open the Humidifier pulling the latch as
shown below
3.Fill RO / Purified water in the Humidifier upto Maximum Level indicator & Replace in reverse order
3.4 HOW TO USE HUMIDIFIER
7

The device provides Pressure Control Ventilation (PCV) for non-invasive therapy.
Pressure Control ventilation delivers a prescribed pressure to the patient according to
set breath rate and set inspiration time parameters. This means that each breath is
controlled so that a prescribed amount of pressure is delivered to the patient. The
device offers four different Pressure Control modes of operation:
THERAPY MODES AND FEATURES
4.1 THERAPY MODES
APCV— Pressure Control
S/T — Spontaneous/Timed Ventilation
T — Timed Ventilation
S — Spontaneous Ventilation
4
APCV Pressure Control
8

4.2 STARTING / STOPPING THE THERAPY
Make sure your device is functioning properly each time before starting therapy.
1. Turn off the device by pressing the power switch.
2. Inspect the device and all the provided accessories. If there are any visible
defects, the system should not be used.
3. Check the integrity of the circuit configuration (device and provided
accessories) according to the setup descriptions in this User Guide and that
all connections are secure.
4. Press the power switch of the device once to turn on the device. The device
is ready for use when the Treatment screen is displayed.
Therapy Mode
Press The Therapy button for Start, Rotate Up or Down For Shift Page
9

1. The first screen, which appears after the successful boot is the “home screen".
2. The home page has three options , You can change the rotary upwards and
downwards for select home screen options. You push the rotor then enter the
selected options page.
A. My Option
B. Use Report
C. About
3. Home Screen >> My Option
4. This page have five options
A. Home - This is the back to home screen
B. Pressure Set - Pressure Set screen
C. Work Mode - Work Mode Screen
D. Time Set - Time Set Screen
E. Humidifier - Humidifier
4.3 WORKING WITH DEVICE MENU
10

5 Home Screen >> My Option >> Pressure Set
A. For S, T, ST mode
B. For APCV Mode
11

6. Home Screen >> My Option >> Work Mode
A. S Mode B. T Mode
C. ST Mode D. APCV Mode
12

7. Home Screen >> My Option >>
Humidifier For ON or OFF Rotate the Rotary
9. Home Screen >> My Option >>
Tidal Volume
8. Home Screen >> Use Report >>
(Shows the Machine Running Time)
13

9. Audible Alarm
When an alarm condition occurs, device will raise an audible alarm .
Alarm Condition:
Condition-1: This is not an alarm but an audible beep will occur confirming that device
started and is ready for the therapy.
Condition-2: If therapy is on but mask is not fixed on the face of the patient, you will
have 3 continuous buzzer beeps .
Condition-3: If therapy is running on ST Mode, and there is a shift from S Mode to T
Mode, there will be 3 beeps in low volume.
14

CLEANING, DISINFECTION & STERILIZATION
Face mask and tubing system are the only parts which require cleaning
STAGE - I Cleaning method
STEP-1: The cleaning of reusable parts usually begins soon after use. Soil is wiped from
device surface with a moist sponge or towel. Masks and vented Tube, are usually
placed in a basket or tray for transportation to the processing area.
STEP-2: Manual cleaning of the mask and components should be done under water in
cool to lukewarm water (45 degree maximum) . Use a neutral pH (7) mild deter gent.
Typical concentration of detergent is one ounce to 2 litre of water. Water Hardness,
temperature and the type of the soil affect the effectiveness of the detergent. Use a small
brush to clean the inner groove at the mask outlet and vented Tube. Additional cleaning
supplies may be required to clean stubborn stains or hard to reach areas.
STEP-3: Mask and vented Tube, must be thoroughly rinsed with clean water to remove
the detergent residuals and debris from the components.
STEP-4: Dry all components thoroughly using a clean cloth or disposable paper towels.
STAGE - II: Steam Sterilization (Silicon Rubber Face mask only)
Sterilization of the silicon rubber face mask can be achieved with steam sterilization.
Type of Cycle — Gravity Displacement Temperature: 90 degree - 100 degree Type of
Load — Wrapped Method Cycle Time: 7 — 10 minutes
STEP — 1: Face mask should be disassembled from vented Tube, Mask should be
individually packaged in an acceptable packaging material and sterilized in a position
that ensures adequate steam contact with all the surfaces.
STEP -2: Loading the sterilizer
Allow free circulation of steam around each mask. Position device in the sterilizer to
allow adequate air elimination and drainage of condensate without wetting of other
items in the load. While sterilizing, it is important that we follow the Manufacturer’s
instruction.
STEP-3: Unloading the sterilizer
All items removed from the sterilizer must remain in the sterilizer cart until adequately
cooled. They shouldn’t be touched during the cooling process.
Sterile items should be stored away from floors, ceiling or outside walls. They should be
positioned so that the packaging is not crushed, bent or compressed.
Closed or covered cabinets are recommended for the storage of sterile packages.
5
15

WARNING AND CAUTIONS
6
The device may only be operated at temperatures between 5°C and
40°C (41°F and 104°F).
Environment
Temperature
Do not use this device if room temperature is more than 40°C
because pressure unit of the device also generates heat.
Do not use the device, if it is kept in direct sunlight .
Improperly
Functioning device
If you notice any unexpected changes in the performance of
the device, unusual sounds, if the device is dropped or water
is spilled on the device - discontinue using the device and
contact the supplier.
Cleaning To avoid electrical shock, always unplug the power cord from
the wall outlet before cleaning the device.
Periodically inspect electrical cords and cables for damage or
signs of wear.
Discontinue use and replace if damaged.
Never use water or heating element in cleaning the device.
Do not use harsh detergents, abrasive cleaners, or brushes to
clean the device
Electrostatic
Discharge (ESD) Do not use conductive tube/mask with the device
Extension Cords Do not run the device on Extension Cord
Periodically inspect the power cord for damage or signs of wear.
Discontinue use and replace if damaged.
16
For optimum performance, have your machine serviced from the nearest
authorized service centre every 6 months.

TECHNICAL SPECIFICATION
7
Weight
Power Consumption
Breathe Rate
Pressure Range
Waveform
Max leak flow compensation
Max Flow Rate
Mode- Non-Invasive Mode
Maximum Input current
IPAP
1.8 kg approx.
60 Watt
(40 Watt — Idle state)
0-60 BPM (Titration Mode)
0-30 cm HO
Flow/Pressure
10 L/min
240 L/min
S / ST/ T / APCV
5.0 Amp
upto 30 cm HO
17
Table of contents
