Decor Living HANNA EC7300 User manual

WALL MOUNT SIDE CABINET
Model: EC7300
SKU: 1001-642-277
USE AND CARE GUIDE
We appreciate the trust and condence you have placed in Decor Living through the purchase of this bathroom vanity. We strive to continually create
quality products designed to enhance your home. Visit us online to see our full line of products available for your home improvement needs.
Thank you for choosing Decor Living!
THANK YOU
16MAR17
Questions, problems, missing parts? Before returning to the store,
call Decor Living Customer Service
9 a.m. - 5 p.m., EST, Monday - Friday
1-800-936-3213
AMGROUPINC.COM
Enchanté Accessories
New York, NY 10016
HANNA

2
Table of Contents........................................................................ 2
Safety Information ....................................................................... 2
Warranty ....................................................................................... 3
What is Covered ......................................................................
3
What is Not Covered
..............................................................3
Pre-installation ........................................................................... 4
Planning Installation ............................................................... 4
Tools Required
........................................................................4
Hardware Included ................................................................. 4
Package Contents
..................................................................5
Installation ..................................................................................6
Care and Cleaning ......................................................................9
Table of Contents
Safety Information
Carefully read and understand the information given in this
manual before beginning the assembly and installation.
NOTICE: The cabinet (A) is one piece. Do not disassemble.
CAUTION: Professional installation is recommended.
CAUTION: Do not let items come in contact with
high heat sources.
NOTICE: Do not let any sharp objects scratch the cabinet’s surfaces.
NOTICE: Screws for wood studs and metal studs are included.
CAUTION: Do not expose any part of the cabinet to
direct prolonged sunlight. It will cause discoloration.
CAUTION: Do not let the surface of the cabinet come
in contact with corrosive liquids, such as: alcohol,
banana oil, gasoline, nail polish, acid, alkali and other
chemical hazards.
NOTICE: Mount the cabinet with a wall stud or metal stud in the center
for optimal installation.
WARNING: These instructions are for mounting the cabinet
into wood & metal studs. If no stud is found in desired
mounting location, contact a contractor.

WHAT IS NOT COVERED
WHAT IS COVERED
LIMITED WARRANTY
3 AMGROUPINC.COM
Please contact 1-800-936-3213 for further assistance.
Contact the Customer Service Team at 1-800-936-3213 or visit WWW.AMGROUPINC.COM.
Warranty
The manufacturer warrants this xture to be free from defects in materials and workmanship for a period of one (1) year from date of
purchase. This warranty applies only to the original consumer purchaser and only to products used in normal use and service. If this product
is found to be defective, the manufacturer’s only obligation, and your exclusive remedy, is the repair or replacement of the product at the
manufacturer’s discretion, provided that the product has not been damaged through misuse, abuse, accident, modications, alterations,
neglect or mishandling. This warranty is limited to any labor/expense costs involved in the replacement or repair of said product.
This warranty shall not apply to any product that is found to have been improperly installed, setup, or used in any way not in accordance
with the instructions supplied with the product. This warranty shall not apply to a failure of the product as a result of an accident, misuse,
abuse, negligence, alteration, or faulty installation, or any other failure not relating to faulty material or workmanship. This warranty shall not
apply to the nish on any portion of the product, such as surface and/or weathering, as this is considered normal wear and tear. The
manufacturer does not warrant and specially disclaims any warranty, whether express or implied, of tness for a particular purpose, other
than the warranty contained herein. The manufacturer specically disclaims any liability and shall not be liable for any consequential or
incidental loss or damage, including but not limited to any labor/expense costs involved in the replacement or repair of said product.

PLANNING INSTALLATION
TOOLS REQUIRED (NOT INCLUDED)
HARDWARE INCLUDED
4
Pre-installation
Read all instructions before assembly and installation. Before starting installation of this vanity xture or removal of a previous xture, turn
off the water supply. Open the faucet handles to relieve water pressure and ensure complete water shut-off. To avoid any damage, assemble
this product on a soft, non-abrasive surface such as a carpet or cardboard. Inspect each part for defects that may have occurred during
shipping. Report any damaged or missing items to the Customer Service Team immediately.
ESTIMATED INSTALLATION TIME
Twenty-four hours is needed to complete the installation process.
NUMBER OF PEOPLE REQUIRED
Two people are recommended to complete the installation process.
NOTE: Hardware not shown to scale.
NOTE: Keep your receipt and these instructions for
proof of purchase.
Measuring
tape
Stud
nder Pencil
Ruler
Soft
mallet
Electric
drill
Phillips
screwdriver
Safety
goggles
GlovesLevel
Toggle bolt
Metal washer
Long toggle bolt screw Wood stud screw
AA 2 + 2 extra
2 + 2 extra
2 + 2 extra
BB
CC
Description QuantityParts
DD 2 + 2 extra
2 + 2 extra
Screw capsEE 2
Metal stud screwFF
Description QuantityParts
BB DDAA CC EE FF

5
AMGROUPINC.COM
Please contact 1-800-936-3213 for further assistance.
Pre-installation (continued)
PACKAGE CONTENTS
A Side Cabinet
DescriptionPart
1
Quantity
A

6
Installation
1Finding the stud (recommended)
□Decide the mounting location. Use a stud nder to locate
the wall stud in the desired mounting location. Mark the
location with a pencil.
□Using the stud location as the central point, mark the
position of the screws by measuring the space between the
centers of the pre-drilled holes on the top and bottom of the
back board. Use a level to ensure the screw holes are
vertically aligned.
Stud
Floor
Floor
□Horizontal position is decided by the purchaser,
with a recommended height range of 24-in to 36-in
from the oor to the bottom of the side cabinet.
Bottom of
side cabinet
24-in - 36-in
NOTICE: Screws for wood studs and metal studs are included.
NOTICE: Mount the cabinet at least on a wood stud or metal stud
for optimal installation.
WARNING: These instructions are for mounting the side
cabinet into wall studs. If no stud is found in desired
mounting location, contact a contractor.

7 AMGROUPINC.COM
Please contact 1-800-936-3213 for further assistance.
Installation (continued)
□Use a ½-in drill bit to drill holes in the center of the two
marked locations.
□Insert the long toggle bolt screws (AA) and washers (CC)
through the top pre-installed L brackets. From behind the
vanity, screw the toggle bolts (BB) onto the long toggle bolt
screws (AA).
□Pinch close the toggle bolts (BB) and insert compressed
toggle bolts all the way through the hole in the wall until the
toggle bolt spring releases. Hand tighten.
2aInstalling the side cabinet into
drywall
NOTICE: The side cabinet (A) is one piece. Do not disassemble.
NOTICE: Screws for wood studs and metal studs are included.
NOTICE: Mount the cabinet at least on a wood stud or metal stud
for optimal installation.
BB
CC
BB
BB
CC
CC
AA
AA
AA
EE
EE
½-in
□Cover the screw tops with the provided caps (EE).
A

8
Installation (continued)
□Use a ⅛-in drill bit to drill holes into the wall according to the
central pre-drilled holes on the back cabinet board.
3Installing the side cabinet into
wall stud (recommended)
□Thread the metal washers (CC) onto wood stud screws (DD)
or metal stud screws (FF) and insert into drilled holes. Use
the electric drill to insert wood stud screws or metal stud
screws through the central holes of the cabinet, wall and
stud. Tighten all screws with electric drill.
Wood Stud
CC
DD
A
□Cover the screw tops with the provided caps (EE).
Metal Stud
CC
FF
A
A
EE
DD
CC
EE
A
EE
FF
CC
EE

9
AMGROUPINC.COM
Please contact 1-800-936-3213 for further assistance.
Maintenance
□Check the support connections and brackets at least
twice a year to make sure they are secure. Due to
constant use, some connections may become loose
over time.
Care and Cleaning
□To clean the xture, wipe with a soft, dry cloth.
□Do not expose the vanity to direct prolonged sunlight. It will
cause discoloration.
Do not let any sharp objects scratch the vanity.
Do not let the xture come in contact with high heat sources.
□
□
□
Do not use any cleaners with chemicals, solvents,
or harsh abrasives.
□Wipe down any spills and liquids immediately.

Questions, problems, missing parts? Before returning to the store,
call Decor Living Customer Service
9 a.m. - 5 p.m., EST, Monday - Friday
Retain this manual for future use.
1-800-936-3213
AMGROUPINC.COM
1-800-936-3213
AMGROUPINC.COM
This manual suits for next models
1
Table of contents
Popular Indoor Furnishing manuals by other brands
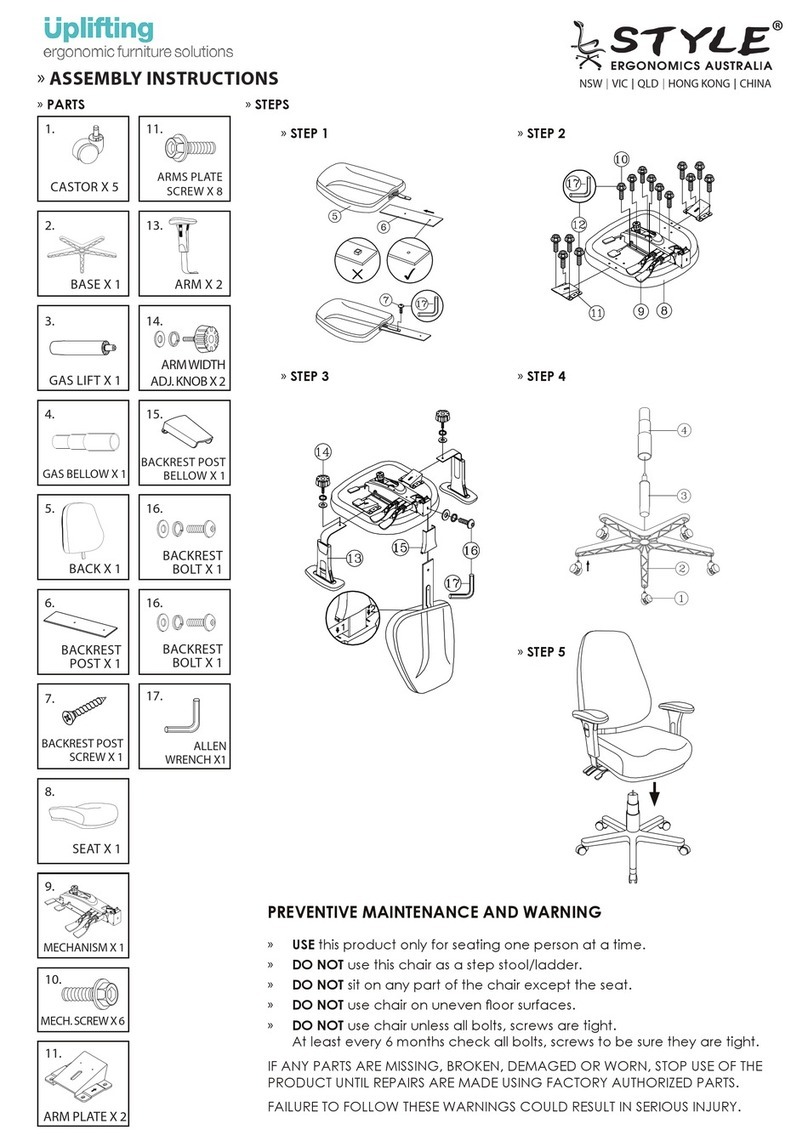
Ergo Furniture
Ergo Furniture STYLE Assembly instructions
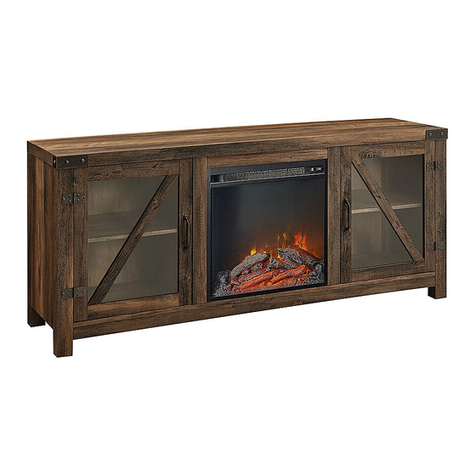
Walker Edison
Walker Edison W58FPBDGD Assembly instructions
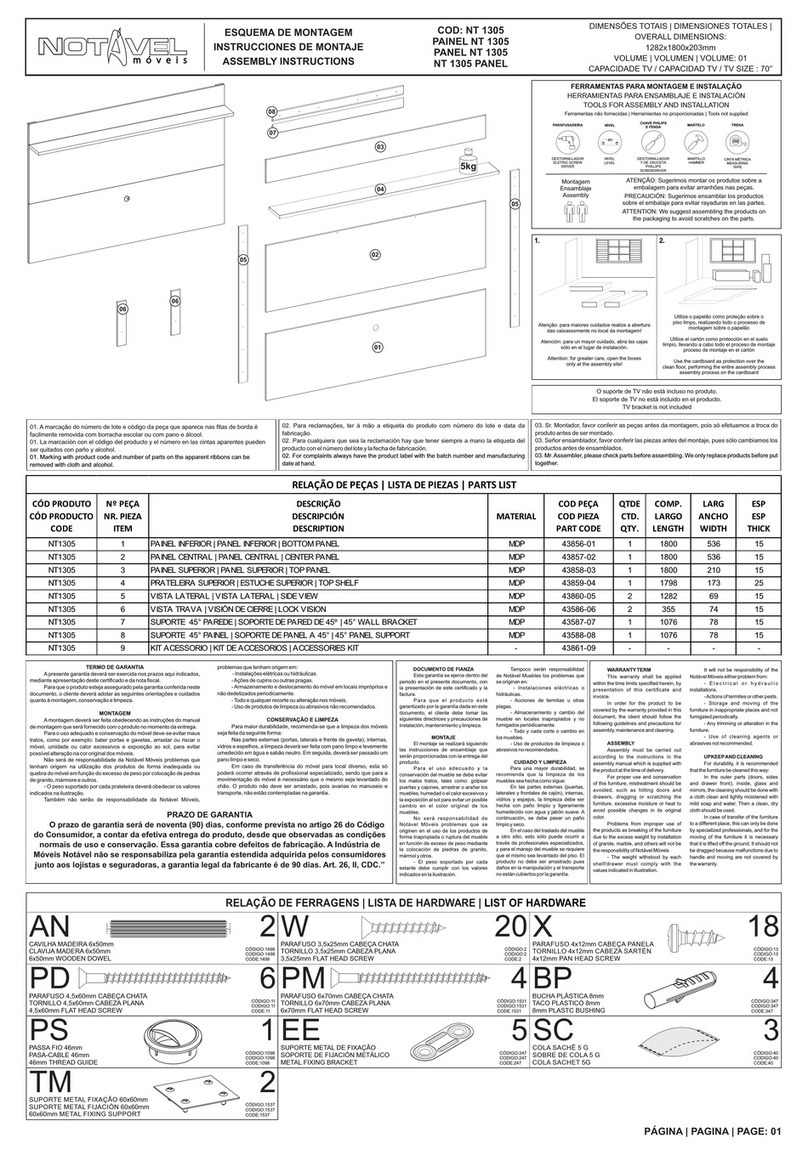
Notável Móveis
Notável Móveis NT 1305 Assembly instructions

Furinno
Furinno Brahms 19211 Assembly instruction
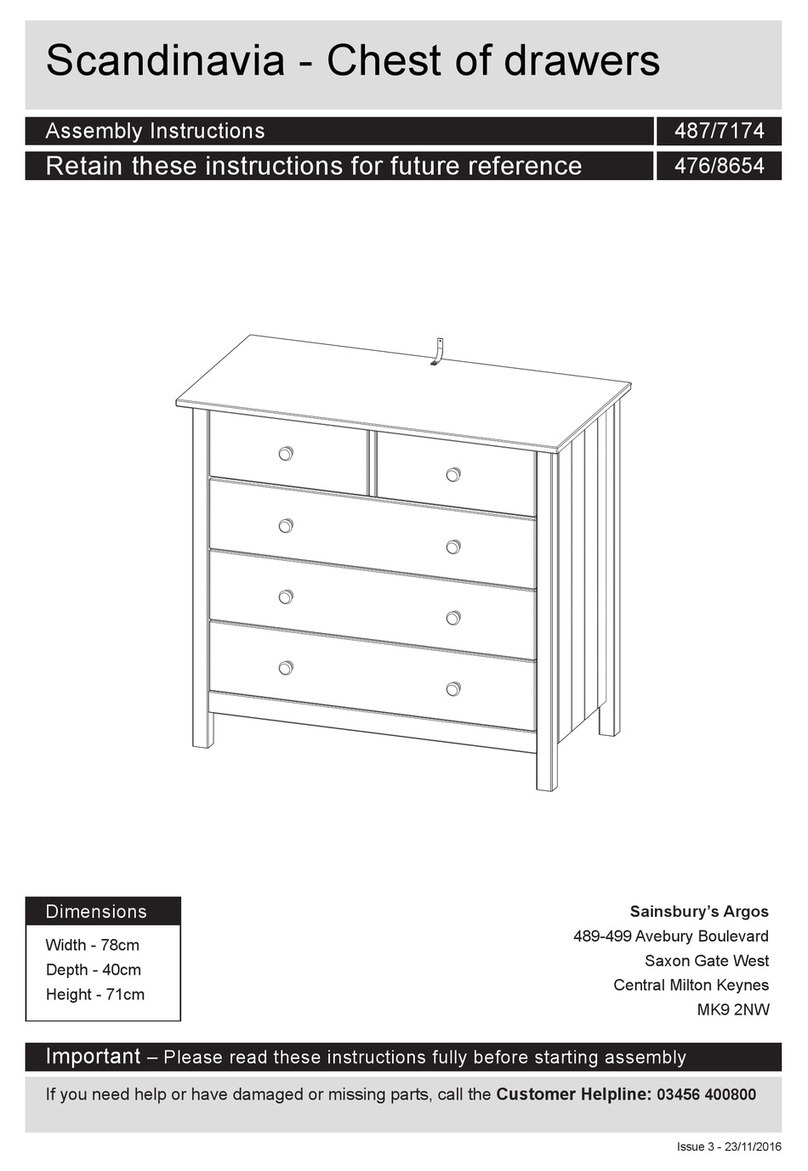
Home
Home Scandinavia - Chest of drawers Assembly instructions
Okamura
Okamura 865SAR Assembly & instruction manual
