dellonda DG216 User manual
Model No. DG216
Thank you for purchasing a Dellonda product. Manufactured to a high standard, this product will,
if used according to these instructions, and properly maintained, give you years of trouble free performance.
www.dellonda.co.uk
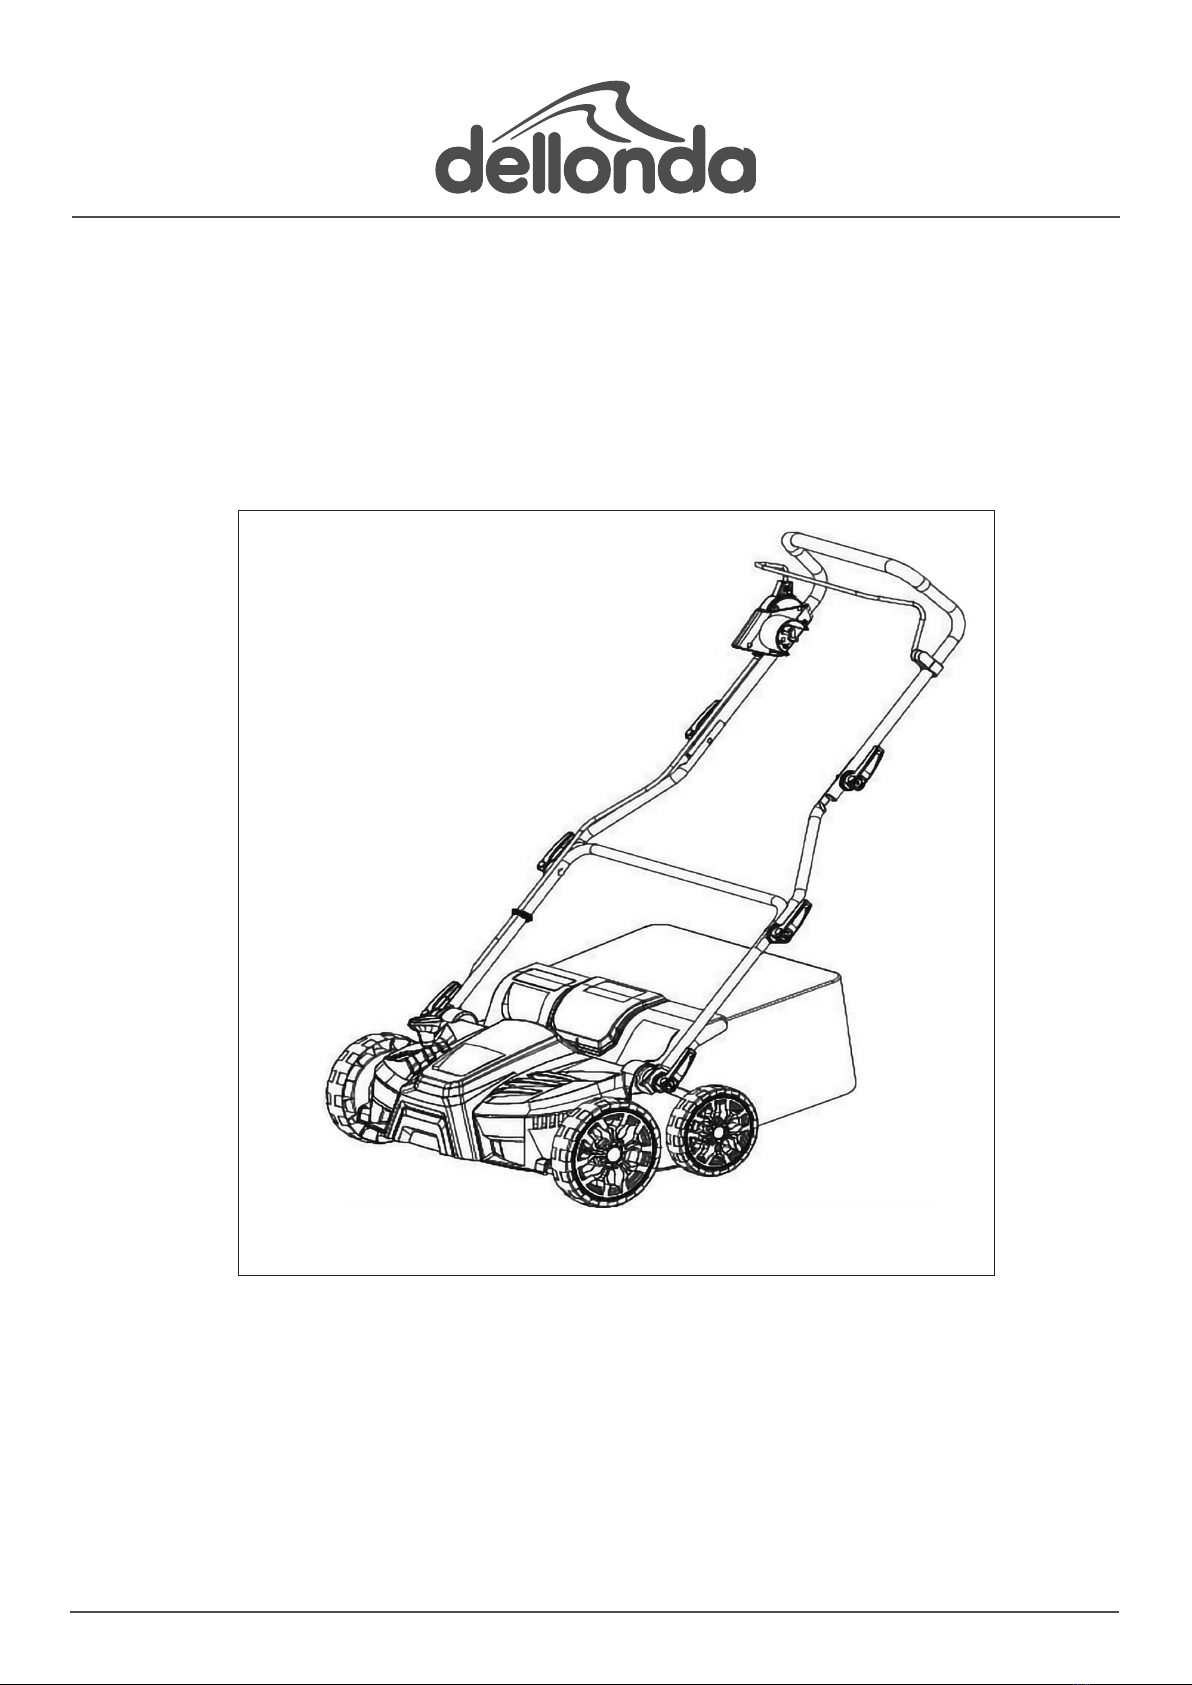
Dellonda 1500W Electric 2-in-1 Scarier with 5-Heights, 36cm
Cutting Diameter, 45L Grass Collection Bag, 10m Mains Cable,
Hand Push
DG216 Issue:2 12/08/2022
Important Information
Please read these instructions carefully. Note the safe operational requirements, warnings & cautions. Use the product correctly and with care
for the purpose for which it is intended. Failure to do so may cause damage and/or personal injury and will invalidate the warranty. Keep these
instructions safe for future use.
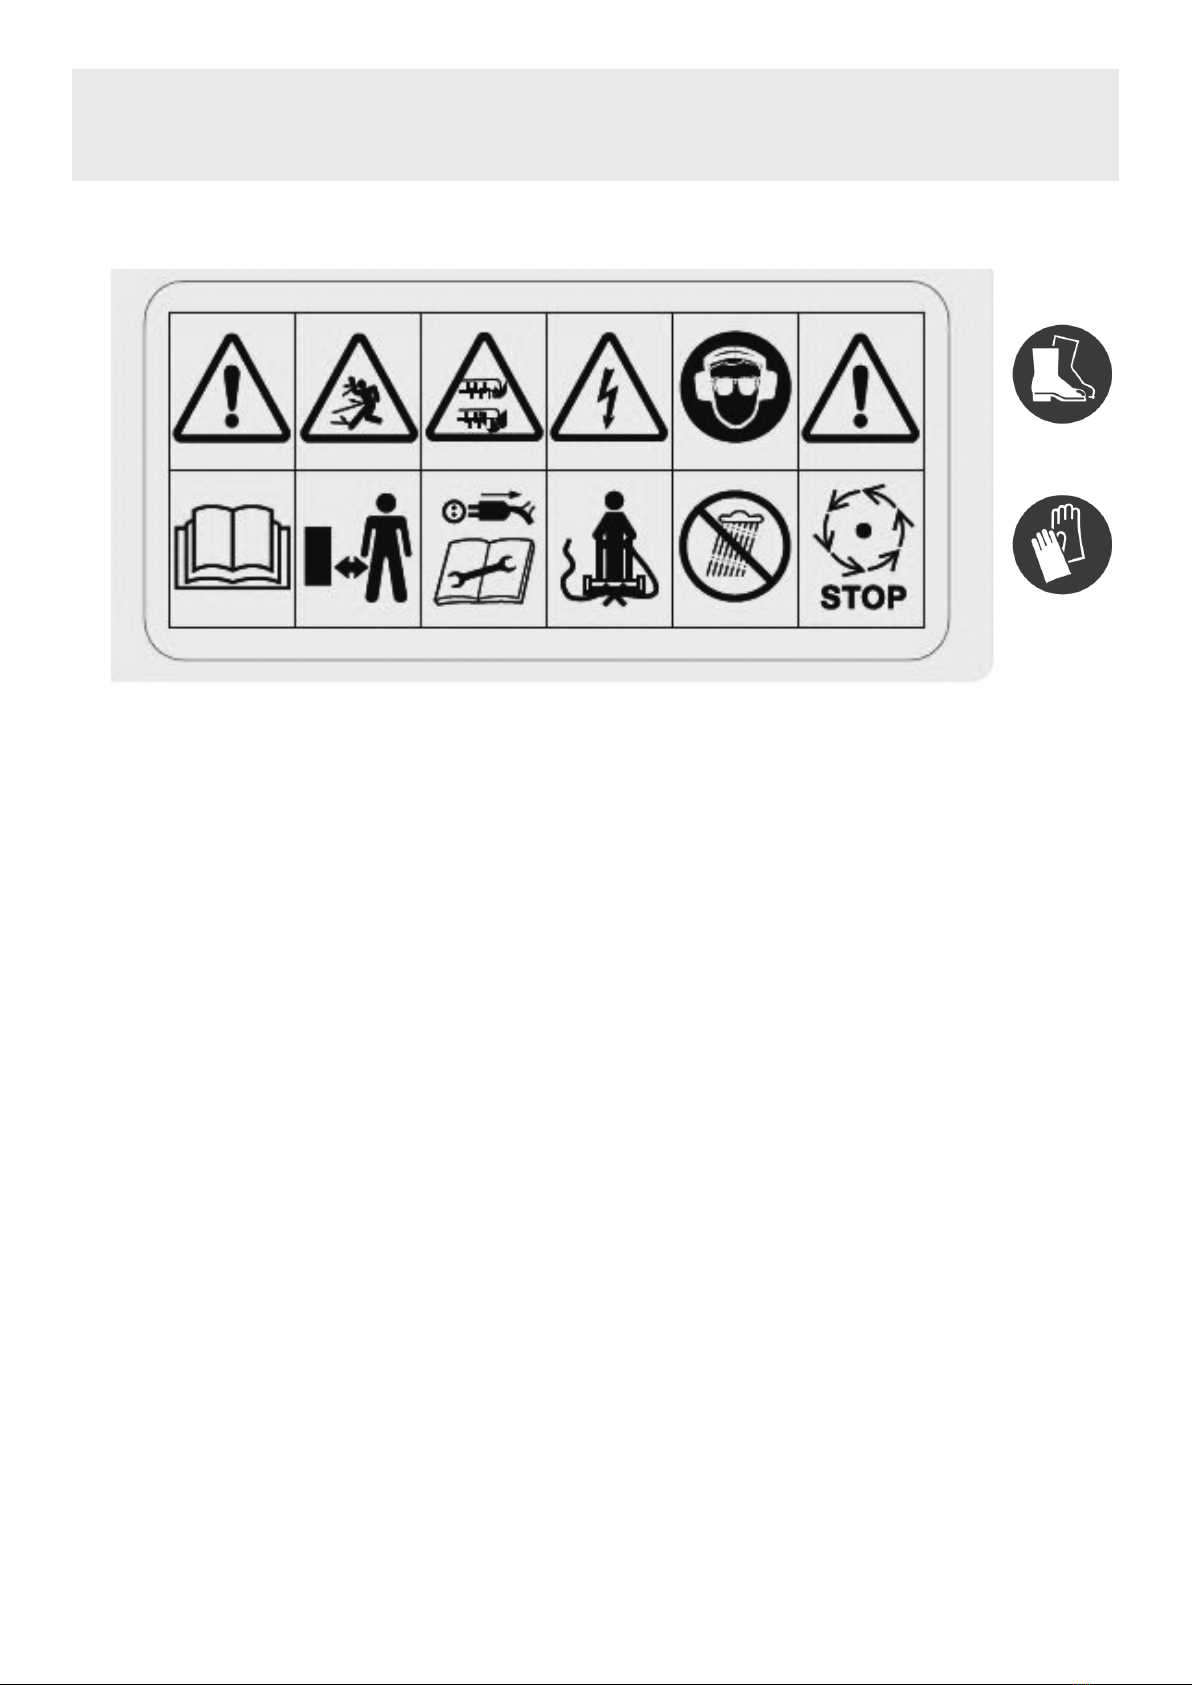
Warning! Keep
bystanders away
Warning!
Ejected objects
Warning!
Keep hands and
feet away from
the blades
Wear protective
footwear
Safety Instructions
9Read and fully understand instruction manual before using the machine. Retain manual for future use and future users.
9Users must be fully trained before using this unit.
WARNING! Keep hands and feet away from moving blades. Be aware of the danger of being drawn in by moving parts.
WARNING! Be aware of live electrical parts.
WARNING! Before carrying out any maintenance or adjustments remove the power source and ensure all moving parts have come to a
complete standstill and cannot start again unexpectedly.
9Suitable/protective clothing (long trousers) and appropriate PPE must be worn: ear protection, safety, slip resistant footwear.
8DO NOT use whilst tired, ill or under the inuence of alcohol or other drug.
9ALWAYS inspect and risk assess the area to be worked prior to working. Review for items such as foreign objects (stones, toys, wires
sticks, bones), slope, ditches, drop-offs.
8DO NOT use the unit on slopes. Be aware of the risk of overturning or slipping on too steep a slope. Always ‘travel’ along slope contours
not up and down slopes.
9ALWAYS inspect the unit prior to use for loose ttings, fatigue and damage.
9ALWAYS keep bystanders and pets at a safe distance from the mower when in use.
9Only use the unit when there is good visibility (daylight or good articial light.)
8DO NOT use the unit without either the grass bag or deector tted.
8DO NOT use the unit if there is a risk of lightning.
8DO NOT use in the rain.
8DO NOT leave the unit running without supervision.
9Allow the unit to cool down completely before moving or storing.
9Use genuine replacement parts only.
9Keep the unit in good operating condition and perform regular maintenance. Keep unit clean.
9Check for and replace worn or damaged parts.
8DO NOT modify the unit in any way. DO NOT tamper with or modify safety features in any way.
NOTE: This appliance can be used by children aged from 8 years and above and persons with reduced physical, sensory or
mental capabilities or lack of experience and knowledge if they have been given supervision or instruction concerning use of the
appliance in a safe way and understand the hazards involved. Children shall not play with the appliance. Cleaning and
user maintenance shall not be made by children without supervision.
About the Product
Rejuvenate your lawn/garden with the Dellonda 2 in 1 Electric Scarier. Powerful 1500W motor together with a cutting width of 36cm gets the job
done quickly and eciently. 5 depth settings ranging from -12 to 10mm give you complete control over the nish of your lawn/garden. Features
spacious 45L grass collection bag. Weighing in at just 12kg makes this scarier easy and comfortable to use around the garden.
Warning! Keep
unit dry
Warning! Avoid
cutting power
cable
Remove power
supply before
cleaning/
maintenance
Wear ear
protection
Read instructions
before use
Warning!
Electricity
Warning!
Live electrical
parts
Warning!
Rotating
equipment
Wear protective
gloves when
changing tools.
Warning! Blades
continue to move
3
Contents
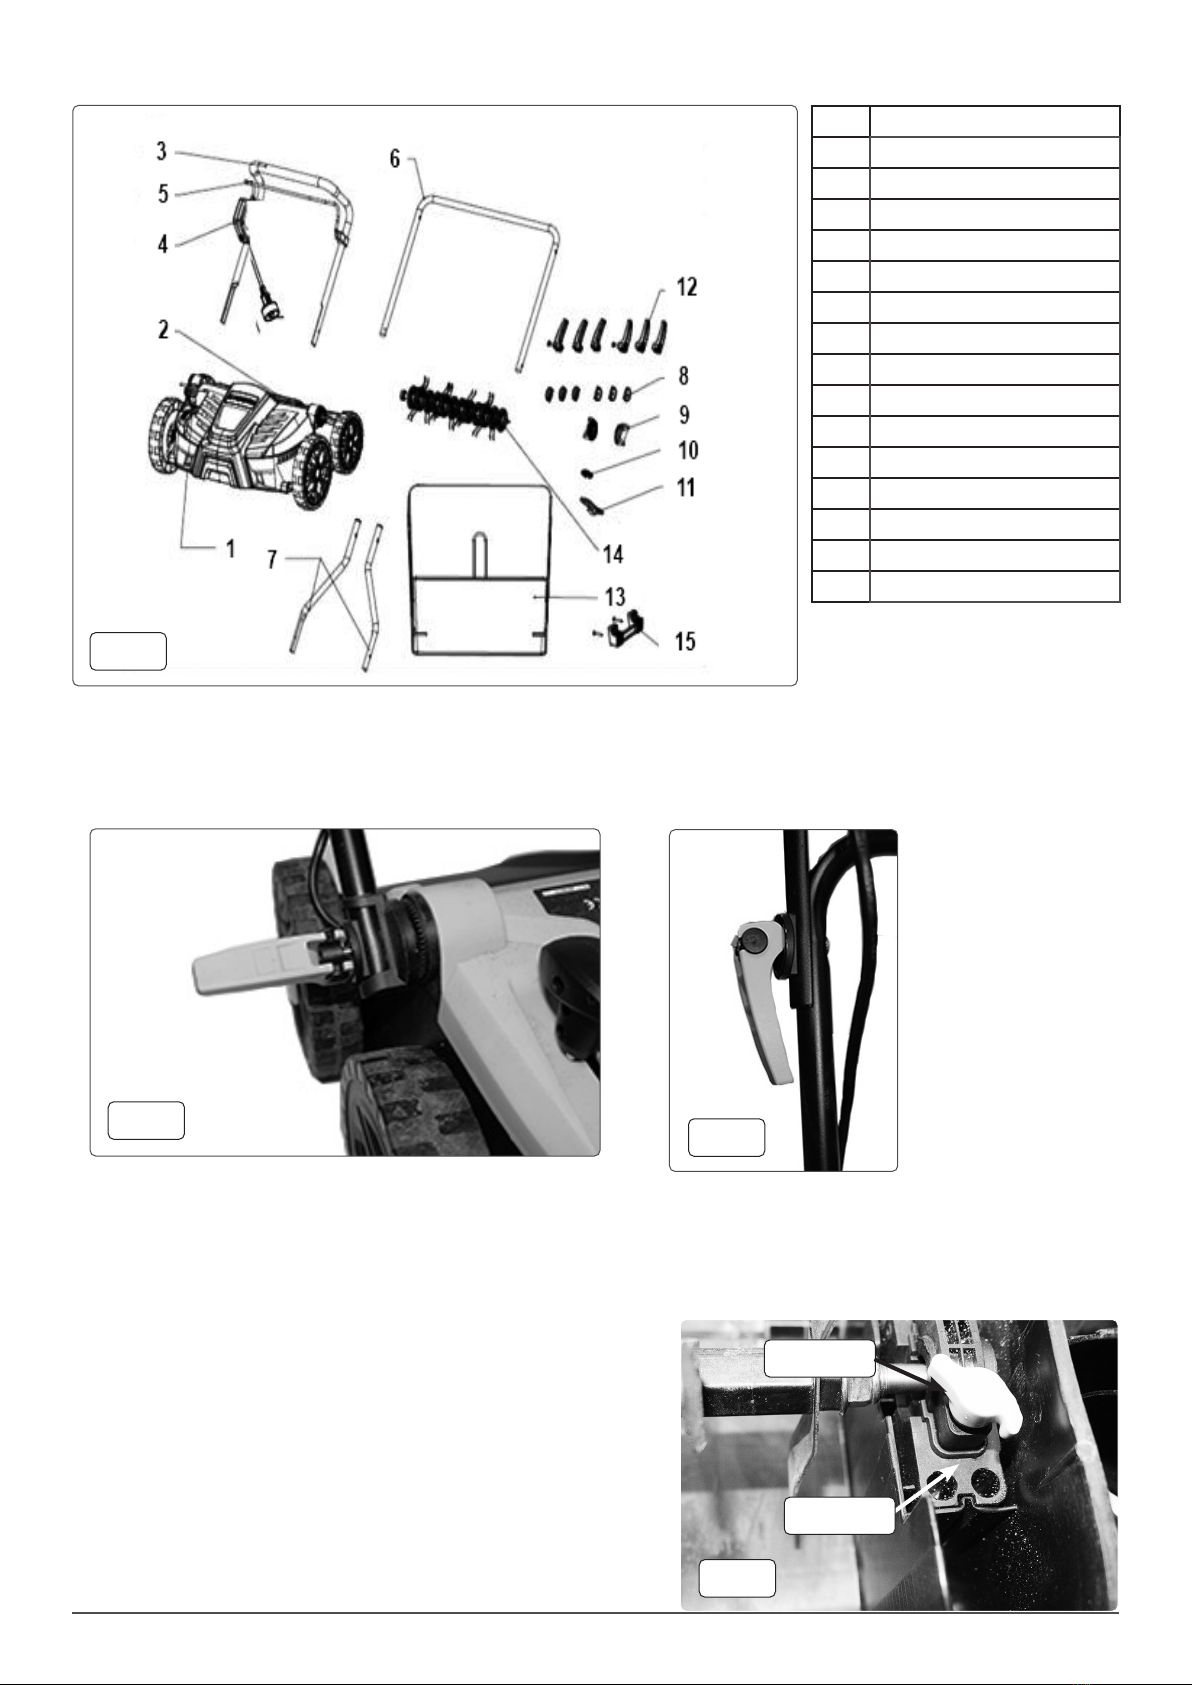
Assembly
• Insert lower handle (g.1.6) into the angle adjusting block (g.1.9).
• Slide the tube and block over the stud tted in unit’s body, t the locking tab (g.1.8) and screw the quick clamp (g.1.12) onto the thread.
• Adjust the engagement of the clamp lever such that the clamp lever can be closed thus rmly locking the adjusting block to the body.
• Typical quick clamp arrangement shown in g.3.
• Pass Coach bolt through the tubular frame from the inside edge of handle, slide the handle locator (g.1.8) onto the thread and thread the quick
clamp onto the exposed bolt thread.
• Engage the clamp suciently onto the thread of the bolt and adjust position such that the clamp lever can be closed thus rmly joining the
handle frames together.
• Once the frame is complete, clip the control cable at suitable locations on the handle frame using the clips supplied.
Changing the tool bar
WARNING! Disconnect from the power supply before attempting any
maintenance or work on the unit.
WARNING! Both tools (scarier and rotavator) have sharp edges. Wear
suitable gloves to protect yourself.
• Place the unit upside down on a stable, clean surface.
• Full unscrew the wing nut and push up the latch (g.4).
• Partially lift the tool bar out of the unit and slide it out to the side.
• Replacing a tool bar is the reverse process.
Item Description
1 Height Adjuster
2 Rear Flap
3Upper Handle
4 Switch box
5Switch Bar
6 Lower Handle
7 Middle Handle
8 Handle Locator
9Angle Adjustment Block
10 Cable Clamp
11 Cable Holder
12 Quick Clamps
13 Grass Bag
14 Scarier or Aerator Tool
15 Wall Hanging Hook
fig.1
fig.2fig.3
fig.4
Wing Nut
Latch
4
Adjusting the handle angle
• While supporting the handle frame, release the clamp levers (g.2) and rotate the handle to the desired angle.
• Retighten the clamp levers and check that the handle is rmly held in position.
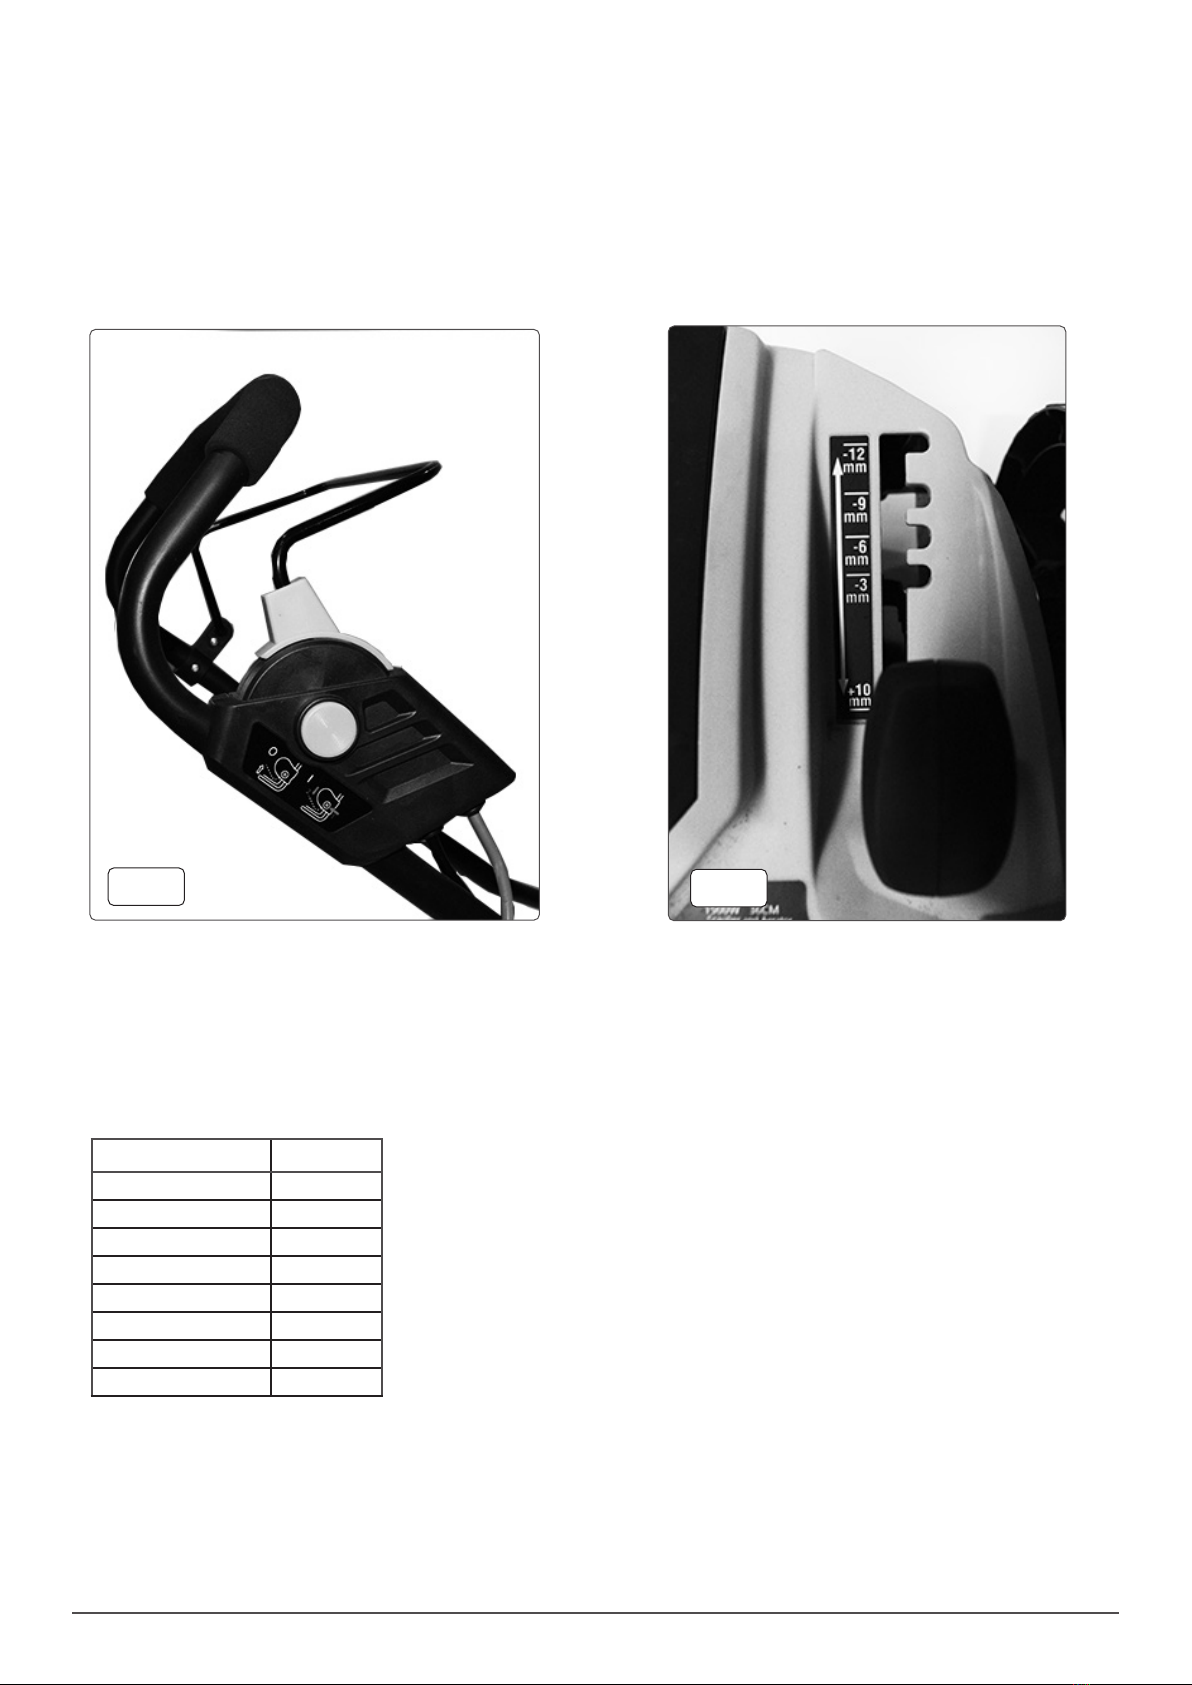
Operation
• DO NOT attempt to set the depth while the blades are spinning.
• To set the depth of cut push the spring loaded selector lever (g.6) out of the current slot and slide it to the required depth setting as indicated on
the unit’s label.
• To start the unit, depress the start button on the control unit (g.5) and pull the start bar towards the handle (g.5).
• Releasing the start button the will cause the unit to stop working.
• NOTE: The blades may still spin and eventually stop after the start button is released.
Maintenance
WARNING! DO NOT attempt any cleaning or maintenance without having disconnected the power supply.
• After each use and before stowage, wipe off and dry all outer surfaces.
• When removing the blade, wear safety gloves to avoid personal harm.
• NOTE: Hanger and screws provided for wall mounting storage if required.
Specication
Attribute Value
Cable Length 10m
Cutting Width 36cm
Noise Power/Pressure 102/90dB(A)
Power 1500W
Speed 3600rpm
Supply 230V
Type Hand Push
Vibration/Uncertainty 3.5/1.8m/s2
fig.5fig.6

5
Dellonda Limited
Kempson Way, Suffolk Business Park, Bury St Edmunds, Suffolk. IP32 7AR
Environment Protection and Waste Protection and Electrical Equipment Regulations (WEEE)
Recycle unwanted packaging materials. When this product is no longer required, or has reached the end of it’s useful life, please dispose of it in
an environmentally friendly way. Drain any fluids (if applicable) into approved containers, in accordance with local waste regulations. It is our
policy to continually improve products and we reserve the right to alter data, specifications and parts without prior notice. No liability is accepted
for incorrect use of this product. Guarantee is 12 months from purchase date, proof of which is required for any claim.
Table of contents
Other dellonda Lawn And Garden Equipment manuals

Popular Lawn And Garden Equipment manuals by other brands

Sunforce
Sunforce SOLAR user manual

GARDEN OF EDEN
GARDEN OF EDEN 55627 user manual

Goizper Group
Goizper Group MATABI POLMINOR instruction manual

Rain Bird
Rain Bird 11000 Series Operation & maintenance manual

Cub Cadet
Cub Cadet BB 230 brochure

EXTOL PREMIUM
EXTOL PREMIUM 8891590 Translation of the original user manual


Vertex
Vertex 1/3 HP Maintenance instructions

GHE
GHE AeroFlo 80 manual

Land Pride
Land Pride Post Hole Diggers HD25 Operator's manual

Yazoo/Kees
Yazoo/Kees Z9 Commercial Collection System Z9A Operator's & parts manual

Premier designs
Premier designs WindGarden 26829 Assembly instructions

Snapper
Snapper 1691351 installation instructions