manuals.online logo
Brands
  1. Home
  2. •
  3. Brands
  4. •
  5. DeLonghi
  6. •
  7. Dishwasher
  8. •
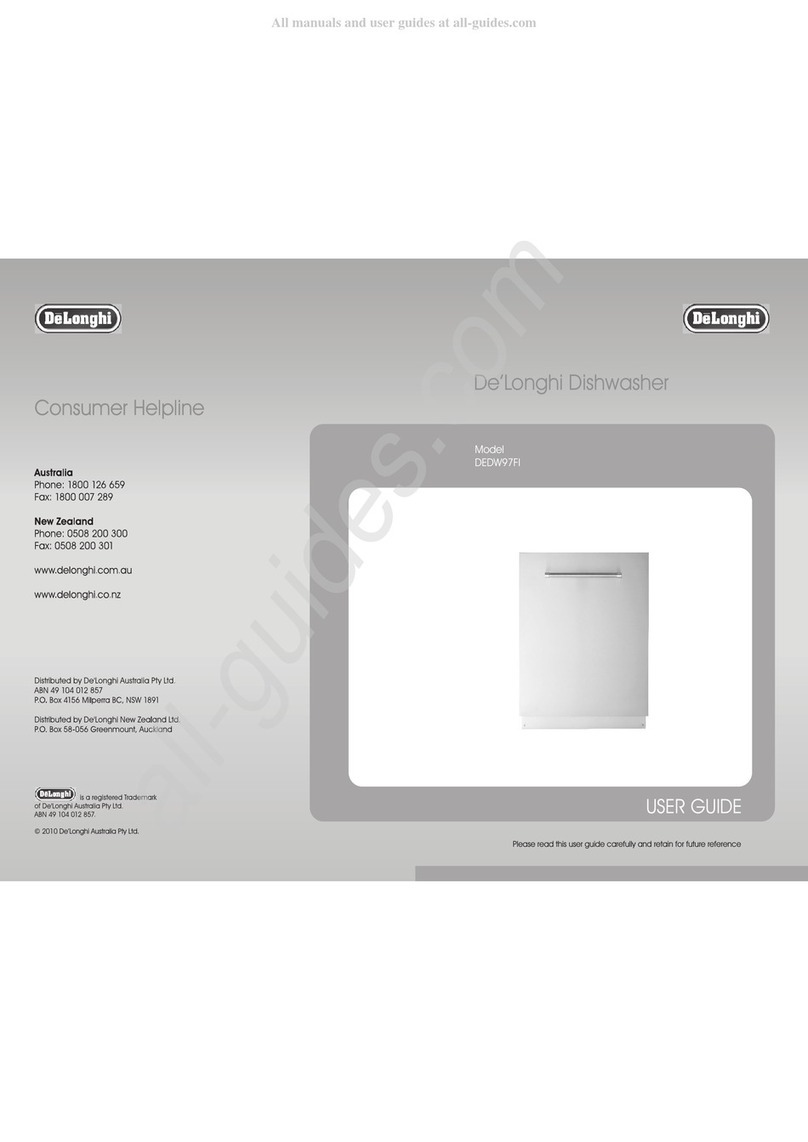
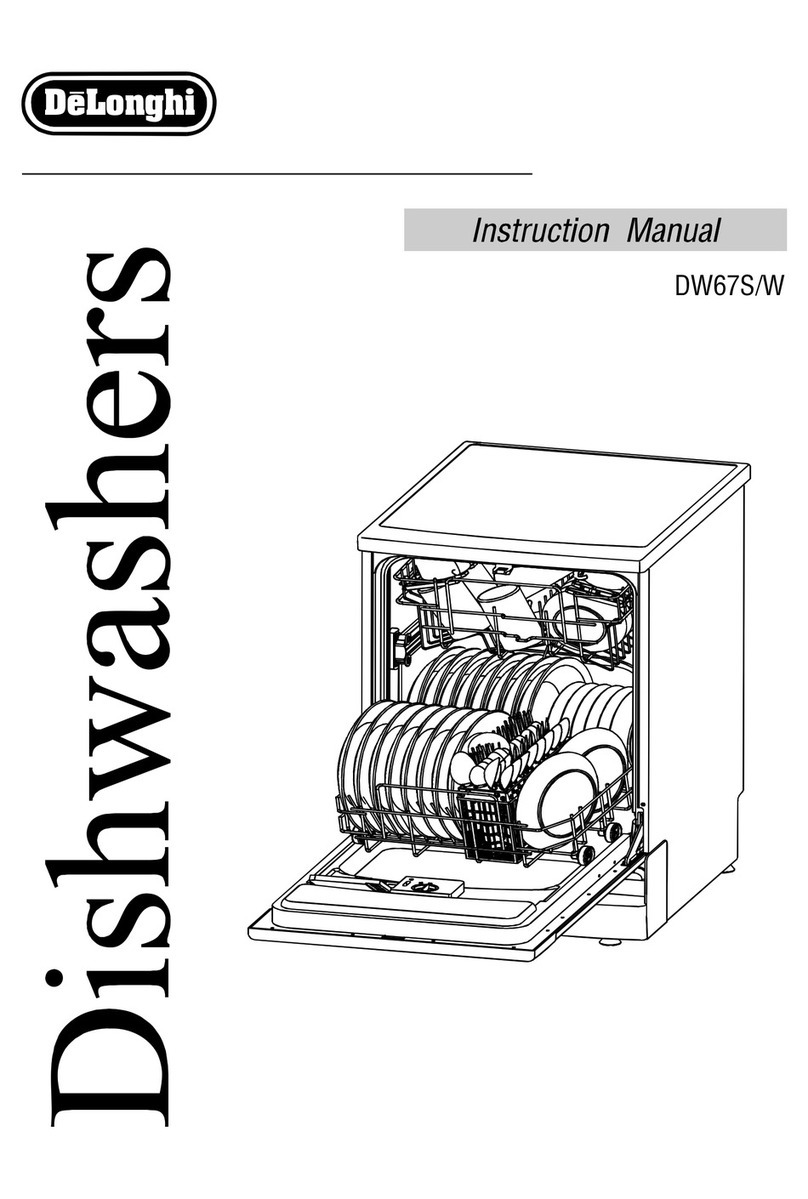
  9. DeLonghi DEDW97FI User manual

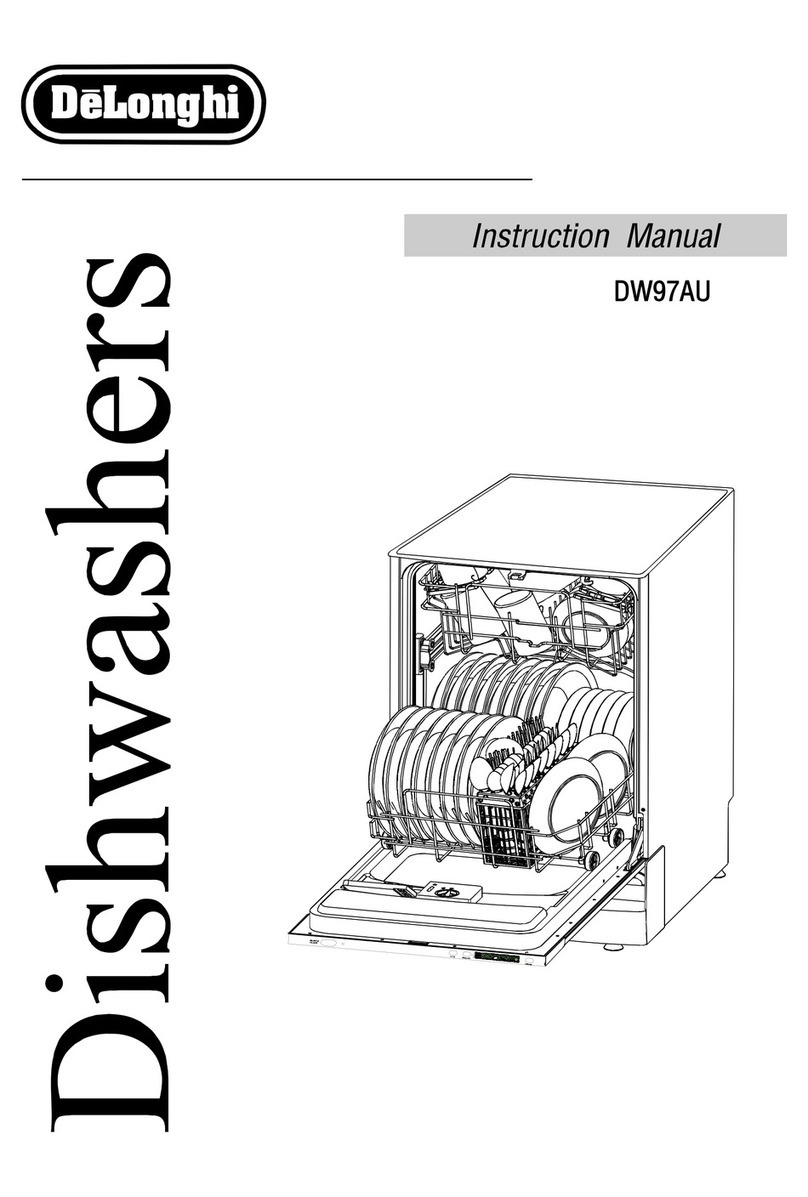
DeLonghi DEDW97FI User manual

De’Longhi Dishwasher
USER GUIDE
Please read this user guide carefully and retain for future reference
Model
DEDW97FI
© 2010 De’Longhi Australia Pty Ltd.
Contents Warranty Information
Page 27
The De’Longhi Dishwasher is warranted against faults
resulting from manufacturing or material defects. The
warranty period for normal domestic installation and use is
three years from the date of purchase. In non-domestic
use De’Longhi limits the voluntary warranty to 6 months.
De’Longhi undertakes to repair or replace the Dishwasher
at our discretion if the product is found to be defective due
to a manufacturing fault during the warranty period.
This warranty excludes any damage caused by misuse,
neglect, shipping accident, or incorrect installation.
Normal wear and tear is also expressly excluded. The
warranty claim is void if no fault is found with the product
or if work is carried out by anyone other than an authorised
De’Longhi Service Agent.
In Australia, this warranty is additional to the conditions
and guarantees which are mandatory as implied under the
Trade Practices Act 1974 and State and Territory
legislation.
NOTE: Warranty is determined by unit serial number and
date of purchase.
How to contact us about a warranty claim
Talk to a De’Longhi representative for further warranty
or product information please call the number in your
country:
Australia
www.delonghi.com.au
Phone: 1800 126 659
New Zealand
www.delonghi.co.nz
Phone: 0508 200 300
Page 2
Parts and Features . . . . . . . . . . . . . . . . . . . . . . . . . . . . . . . . . . 03
De’Longhi Safety Precautions. . . . . . . . . . . . . . . . . . . . . . . . . . . 04
Dishwasher Safety Precautions . . . . . . . . . . . . . . . . . . . . . . . . . 05
Installation Safety Precautions . . . . . . . . . . . . . . . . . . . . . . . . . . 07
Installation . . . . . . . . . . . . . . . . . . . . . . . . . . . . . . . . . . . . . . . . 08
- Cabinet Preparation
- Aesthetic Fascia Panel Dimensions and Installation
- Tension Adjustment of the door
- Cold Water Connection
- Drain Hose Connection
- Positioning the Appliance
Using your Dishwasher . . . . . . . . . . . . . . . . . . . . . . . . . . . . . . . 12
- Before Starting the Dishwasher
- Prior to using for the first time
- Loading the Dishwasher Basket
- Starting a Washing Program
- Control Panel
- Turning on the Appliance
- Change the Program
- Forget to add a Dish?
- At the end of the Wash Cycle
Care and Cleaning. . . . . . . . . . . . . . . . . . . . . . . . . . . . . . . . . . . 21
- Filtering System
- Filter Assembly
- Cleaning the Filter
- Caring for the Dishwasher
- Protect against Freezing
- Cleaning the Spray Arms
- How to keep your Dishwasher in shape
Troubleshooting . . . . . . . . . . . . . . . . . . . . . . . . . . . . . . . . . . . . 24
Error Codes . . . . . . . . . . . . . . . . . . . . . . . . . . . . . . . . . . . . . . . 25
Help us Help You. . . . . . . . . . . . . . . . . . . . . . . . . . . . . . . . . . . . 26
Warranty Information . . . . . . . . . . . . . . . . . . . . . . . . . . . . . . . . . 27
SS
0808
1
2
1
2
onon
OffOff
Help us Help You Parts and Features
Model: DEDW97FI
Read this guide carefully, it is intended to help you
operate and maintain your new Dishwasher properly.
Keep it handy to answer your questions. If you don't
understand something or you need more assistance,
please call the De’Longhi Helpline.
To help us provide prompt answers to your queries,
please record your Dishwasher model and serial
numbers. You’ll find them on a plate located on the
rear outside wall of the Dishwasher.
Dishwasher details
Before you call for service
Check the Troubleshooting Section on page 24. It lists
causes of minor operating problems that you can
correct yourself.
Components:
1. Upper Basket 7. Cutlery Basket
2. Spray Arms 8. Coarse Filter
3. Lower Basket 9. Rinse Aid Dispenser
4. Main Filter 10. Drain Pipe Connector
5. Detergent Dispenser 11. Inlet Pipe Connector
6. Cup Shelf
Dimensions:
Height 820mm (Adjustable +60mm)
Width 595mm
Depth 560mm
Voltage connected Load: see rating label
Water pressure: 0.04-1.0MPa
Hot water connection: max 60°C
Power supply: see rating label
Capacity: 14 place settings
1
3
2
5
Page 3Page 26
4
10 11
6
7
8
9
595
540
820
11 5
4
De’Longhi’s Safety Precautions Troubleshooting
De’Longhi pride themselves on their innovative range
of the highest quality consumer products.
De’Longhi ensures all of its products are 100% safe
through quality design and manufacture. All products
meet or exceed stringent laboratory-tested safety
requirements.
It is necessary for anyone using an electrical appliance
to be safety conscious. The following precautions are
essential for the safe use of an electrical appliance.
Carefully read all of the instructions provided with your
appliance:
Always turn the power off at the power outlet before
Ÿyou insert or remove a plug. Remove by grasping
the plug, do not pull on the cord.
Do not use your appliance with an extension cord
Ÿunless this cord has been checked and tested by a
qualified technician or service person. The
extension cord must be a VDE-Listed, 3-wire
grounding extension cord that has a grounding
plug and outlet and that the electrical rating of the
cord is 220-240 volts and at least 10 amperes.
Always use your appliance from a power outlet of
Ÿthe voltage (A.C. only) marked on the appliance.
Do not use an appliance for any purpose other than
Ÿits intended use.
Do not attempt to repair an electrical appliance.
ŸReturn a damaged or malfunctioning appliance to a
qualified service centre for adjustment or repair if
required.
The appliance must be positioned so the AC plug is
Ÿaccessible.
This appliance is designed exclusively for
Ÿhousehold use. All other uses are strictly forbidden.
The appliance is not intended for use by persons
Ÿ(including children) with reduced physical, sensory
or mental capabilities, or lack of experience and
knowledge, unless they have been given
supervision or instruction concerning use of the
appliance by a person responsible for their safety.
Children should be supervised to ensure that they
do not play with the appliance.
If the power cable is damaged, it must be replaced
Ÿby the manufacturer, an authorised service centre
or a qualified electrician in order to eliminate all risk.
Page 25Page 4
The dishes were not
loaded correctly.
See notes in " Loading the Dishwasher Baskets ".
Select a more intensive program.
See" Wash Cycle Table ".
Use more detergent, or change your detergent.
Rearrange the items so that the spray can rotate freely.
Clean and/or fit the filter combination correctly.
Clean the spray arm jets. See "Cleaning the Spray
Arms".
Use less detergent if you have soft water and select
a shortest cycle to wash the glassware and to get
them clean.
Use a mild abrasive cleaner to eliminate those marks.
Re-loading the dishes properly.
Load the dishwasher as suggested in the directions.
Increase the amount of rinse-aid/refill the rinse-aid
dispenser.
Do not empty your dishwasher immediately after
washing. Open the door slightly so that the steam can
escape. Begin unloading the dishwasher only once t
he dishes are barely warm to the touch. Empty the low
basket first. This prevents water form dropping off
dishes in the upper basket.
In short program the washing temperature is lower.
This also lowers cleaning performance. Choose
a program with a long washing time.
Water drainage is more difficult with these items.
Cutlery or dishes of this type are not suitable for
washing in the dishwasher.
The program was
not powerful enough.
Not enough detergent
was dispensed.
Items are blocking
the path of spray arms.
The filter combination
in the base of wash
cabinet is not clean or
is not correctly fitted.
This may cause
the spray arm jets
to get blocked.
Combination of soft
water and too much
detergent.
Aluminum utensils have
rubbed against dishes.
Dishes block
detergent cups.
Improper loading
Too little rinse-aid
Dishes are removed
too soon
Wrong program
has been selected
Use of cutlery with
a low-quality coating
Unsatisfactory washing result
Unsatisfactory
drying results
Problem Possible Causes Solution
The dishes
are not clean
Cloudiness
on glassware
Black or gray
marks on dishes
Detergent left in
dispenser cups
The dishes are
not drying
ERROR CODES
When some malfunctions occur, the appliance will display error codes to warn you:
Codes Meanings Possible Causes
E1 Longer inlet time. Faucets is not opened, or water intake is restricted, or water
pressure is too low.
E2 Longer draining time. The installation position of the drain pipe is too high.
E3 Longer heating time, but not Malfunction of temperature sensor or of heating element.
reaching required temperature.
E4 Overfilled. Too much inlet water
E6 Failure of temperature sensor. Open circuit or break of temperature sensor.
E7 Failure of temperature sensor. Short circuit or break of temperature sensor.
WARNING!
If overflow occurs, turn off the main water supply before calling for service.
ŸIf there is water in the base pan because of an overfill or small leak, the water should be removed before restarting
Ÿthe dishwasher.
Dishwasher Safety Precautions
DANGER
WARNING
CAUTION
Troubleshooting
Your safety and the safety of others is very important.
Safety messages are displayed in this manual and on
your appliance.
Read and obey these safety messages as they will alert
you to potential hazards and tell you how to reduce the
chance of injury.
Safety Alert Symbol
This symbol alerts you to potential hazards.
Danger
Danger indicates a high level of risk to yourself and others.
Ensure that care is taken to avoid severe injury or even
death.
Warning
Warning indicates a moderate level of risk to yourself, others
and the product. Ensure that care is taken to avoid extensive
product damage or serious injury.
Caution
Caution indicates a level of risk to yourself, others and the
product. Ensure care is taken to avoid moderate product
damage or injuries.
Page 5Page 24
Before Calling for Service, review the following troubleshooting tips.
Problem Possible Causes Solution
Fuse blown, or the
circuit breaker acted
Replace fuse or reset circuit breaker. Remove any other
appliances sharing the same circuit with the dishwasher
Spilled rinse-aid Always wipe up rinse-aid spills immediately.
Hard water minerals
The affected items are
not corrosion resistant.
The lid of the softer
is loose
A spray arm is
knocking against
an item in a basket
Items of crockery
are loose in the
wash cabinet
This may be caused
by on-site installation
or the cross-section
of the piping.
A program was not
run after dishwasher
salt was added. Traces
of salt have gotten
into the wash cycle.
To clean the interior, use a damp sponge with
dishwasher detergent and wear rubber gloves.
Never use any other cleaner than dishwasher
detergent for the risk of foaming or suds.
Always run the quick wash program .
without any crockery in the dishwasher and
without selecting the Turbo function (if present),
after adding dishwasher salt.
Check the lip .Ensure the fix is fine.
Interrupt the program, and rearrange the items
which are obstructing the spray arm.
Interrupt the program,
and rearrange the items of crockery.
This has no influence on the dishwasher function.
if in doubt, contact a suitably qualified plumber.
Detergent with
colourant was used
Make sure that the detergent is the one without
colourant.
Improper detergent
Make sure the dishwasher is turned on and the door is
closed securely.
Check that the water supply is connected properly and
the water is turned on.
Make sure to close the door properly and latch it.
Make sure the power cord is properly plugged into the
wall socket.
Power supply is not
turned on
Error code:E1;
Water pressure is low
Door of dishwasher
not properly closed.
Kink in drain hose
Filter clogged
Kitchen sink clogged
Check drain hose.
Check coarse the filter
(see section titled " Cleaning The Filter ")
Check the kitchen sink to make sure it is draining well.
If the problem is the kitchen sink not draining ,you may
need a plumber rather than a serviceman for dishwashers.
Use only the special dishwasher detergent to avoid
suds. If this occurs, open the dishwasher and let suds
evaporate. Add 1 gallon of cold water to the tub. Close
and latch the dishwasher, then Start the "soak" wash
cycle to drain out the water . Repeat if necessary.
Technical problems
General problems
Noise
Dishwasher
doesn’t start
Water not pumped
from dishwasher
Suds in the tub
Stained tub interior
White film on
inside surface
There are rust
stains on cutlery
Knocking noise
in the wash cabinet
Rattling noise
in the wash cabinet
Knocking noise
in the water pipes

Other manuals for DEDW97FI

2

Other DeLonghi Dishwasher manuals

DeLonghi DEDW6012SC User manual

DeLonghi

DeLonghi DEDW6012SC User manual

DeLonghi DDW60W16 Service manual

DeLonghi

DeLonghi DDW60W16 Service manual

DeLonghi DDW45X16 Service manual

DeLonghi

DeLonghi DDW45X16 Service manual

DeLonghi DDW45X17 Service manual

DeLonghi

DeLonghi DDW45X17 Service manual

DeLonghi KDW60X15 Service manual

DeLonghi

DeLonghi KDW60X15 Service manual

DeLonghi DEDW60SI User manual

DeLonghi

DeLonghi DEDW60SI User manual

DeLonghi EPAM960.75.GLM User manual

DeLonghi

DeLonghi EPAM960.75.GLM User manual

DeLonghi DEDW650S User manual

DeLonghi

DeLonghi DEDW650S User manual

DeLonghi DDW60W17 Service manual

DeLonghi

DeLonghi DDW60W17 Service manual

DeLonghi DEDW654FI User manual

DeLonghi

DeLonghi DEDW654FI User manual

DeLonghi DDW60X16 Service manual

DeLonghi

DeLonghi DDW60X16 Service manual

DeLonghi DDW45W19 Service manual

DeLonghi

DeLonghi DDW45W19 Service manual

DeLonghi DEDW60SI User manual

DeLonghi

DeLonghi DEDW60SI User manual

DeLonghi DEDW875 User manual

DeLonghi

DeLonghi DEDW875 User manual

DeLonghi DEDW60158S4 User manual

DeLonghi

DeLonghi DEDW60158S4 User manual

DeLonghi DEDW4510S User manual

DeLonghi

DeLonghi DEDW4510S User manual

DeLonghi DW 27 S Manual

DeLonghi

DeLonghi DW 27 S Manual

DeLonghi DEDW6112S User manual

DeLonghi

DeLonghi DEDW6112S User manual

DeLonghi DEDW97FI User manual

DeLonghi

DeLonghi DEDW97FI User manual

DeLonghi DDW45W17 Service manual

DeLonghi

DeLonghi DDW45W17 Service manual

DeLonghi DDWTT17 Service manual

DeLonghi

DeLonghi DDWTT17 Service manual

DeLonghi DEDW87S User manual

DeLonghi

DeLonghi DEDW87S User manual

DeLonghi DDW45W16 User manual

DeLonghi

DeLonghi DDW45W16 User manual

DeLonghi DEDW645SI User manual

DeLonghi

DeLonghi DEDW645SI User manual

Popular Dishwasher manuals by other brands

Samsung DW-FN320T user manual

Samsung

Samsung DW-FN320T user manual

LG LDS 5811WW Service manual

LG

LG LDS 5811WW Service manual

Elba EDW-B1462D owner's manual

Elba

Elba EDW-B1462D owner's manual

VESTEL NOVUS Series Service manual

VESTEL

VESTEL NOVUS Series Service manual

Bosch SMS4EMW00E Instructions for use

Bosch

Bosch SMS4EMW00E Instructions for use

Global-Tek GT-CR 2 manual

Global-Tek

Global-Tek GT-CR 2 manual

Smeg Dishwasher 85028 Instructions for installation and use

Smeg

Smeg Dishwasher 85028 Instructions for installation and use

LG LD-4080W Service manual

LG

LG LD-4080W Service manual

Bauknecht GCF 625 operating instructions

Bauknecht

Bauknecht GCF 625 operating instructions

Sharp QW-HX13F47EI-EU user manual

Sharp

Sharp QW-HX13F47EI-EU user manual

Asko D5536XLFI operating instructions

Asko

Asko D5536XLFI operating instructions

Modena WP 7134 WVM User manual book

Modena

Modena WP 7134 WVM User manual book

Beko DFN39340X instruction manual

Beko

Beko DFN39340X instruction manual

AEG FAVORIT 65050 VI1P user manual

AEG

AEG FAVORIT 65050 VI1P user manual

Siemens SN23HI37VE user manual

Siemens

Siemens SN23HI37VE user manual

Maytag MDB4651AWB - Tall Tub Dishwasher User instructions

Maytag

Maytag MDB4651AWB - Tall Tub Dishwasher User instructions

Hotpoint Ariston LL 42 Instruction book

Hotpoint Ariston

Hotpoint Ariston LL 42 Instruction book

Siemens SN45ZW56CS user manual

Siemens

Siemens SN45ZW56CS user manual

manuals.online logo
manuals.online logoBrands
  • About & Mission
  • Contact us
  • Privacy Policy
  • Terms and Conditions

Copyright 2025 Manuals.Online. All Rights Reserved.