USE
Close the toaster and insert the plug.
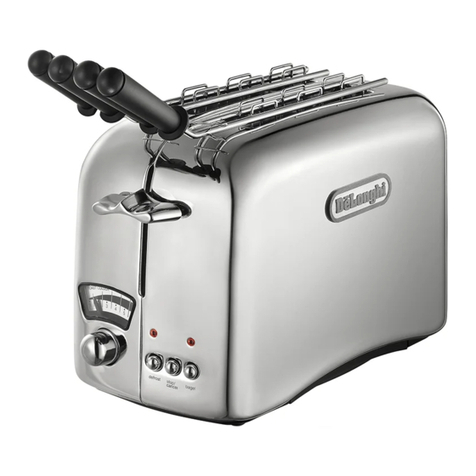
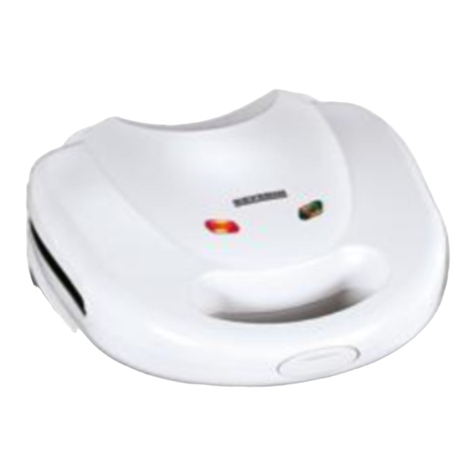
The red power indicator (6) will turn on.
Slide the thermostat (8) to the maximum position. After preheating for around 4 minu-
tes, the toaster will be ready.
The green “ready for use” indicator (7) will turn on.
The toaster is now ready for use. (Always preheat the appliance before use).
Slide the thermostat (8) to the desired position.
The thermostat will keep the correct temperature by turning the toaster on and off inter-
mittently. Always use this toaster in its closed position.
To enchance the taste and appearance of the toasted sandwich, spread the OUTSIDE of
the bread with butter or a spread suitable for cooking. Place the first slice of bread, but-
tered side down, on the toasters bottom plate. Then place or spread the filling on that
piece of bread. Be careful not to use too much filling to the edges of the bread as this
may cause the filling to overflow. At the same time, ensure there is sufficient filling for
your sandwich.
Finally, place the second slice of bread on the filling and then close the cover by gently
pressing the handle (1) until the plates are closed.
Toast the sandwiches to the degree of toasting desired.
Open the cover and remove the sandwiches using a plastic or wooden utensil, so as not
to ruin the toaster’s non-stick surface. Never use sharp or metal objects.
Warning: Wait several minutes before eating the sandwich to prevent burning your
mouth and tongue.
Remove the plug after use.
CLEANING
Warning: Pull the plug out of the socket and let the toaster cool off before cleaning it. Never
place any part of this equipment in water or other liquids.
After each use, clean the plates with a sponge or a warm, damp cloth and then dry them
carefully. To remove possible crusty matter, use a plastic scouring pad or whatever the case
only products made specifically for stick-proof surfaces.
ELECTRICAL CONNECTION (UK ONLY)
A) If your appliance comes fitted with a plug, it will incor-
porate a 13 Amp fuse. If it does not fit your socket, the
plug should be cut off from the mains lead, and an
appropriate plug fitted, as below.
WARNING: Very carefully dispose of the cut off plug
after removing the fuse: do not insert in a 13 Amp
socket elsewhere in the house as this could cause a
shock hazard.
With alternative plugs not incorporating a fuse, the
circuit must be protected by a 15 Amp fuse.
If the plug is a moulded-on type, the fuse cover must
be re-fitted when changing the fuse using a 13 Amp
Asta approved fuse to BS 1362. In the event of losing
the fuse cover, the plug must NOT be used until a
replacement fuse cover can be obtained from your
nearest electrical dealer. The colour of the correct
replacement fuse cover is that as marked on the base
of the plug.
B) If your appliance is not fitted with a plug, please fol-
low the instructions provided below:
WARNING - THIS APPLIANCE MUST BE EARTHED
IMPORTANT
The wires in the mains lead are coloured in accordance
with the following code:
Green and yellow: Earth
Blue: Neutral
Brown: Live
As the colours of the wires in the mains lead may not cor-
respond with the coloured markings identifying the termi-
nals in your plug, proceed as follows:
The green and yellow wire must be connected to the ter-
minal in the plug marked with the letter E or the earth sym-
bol or coloured green or green and yellow.
The blue wire must be connected to the terminal marked
with the letter N or coloured black.
The brown wire must be connected to the terminal marked
with the letter L or coloured red.
