Environmental Health and Safety | 2408 Wanda Daley Drive | Ames, IA 50011-3602 | Ph: (515) 294-5359 | www.ehs.iastate.edu
Reviewed 2019
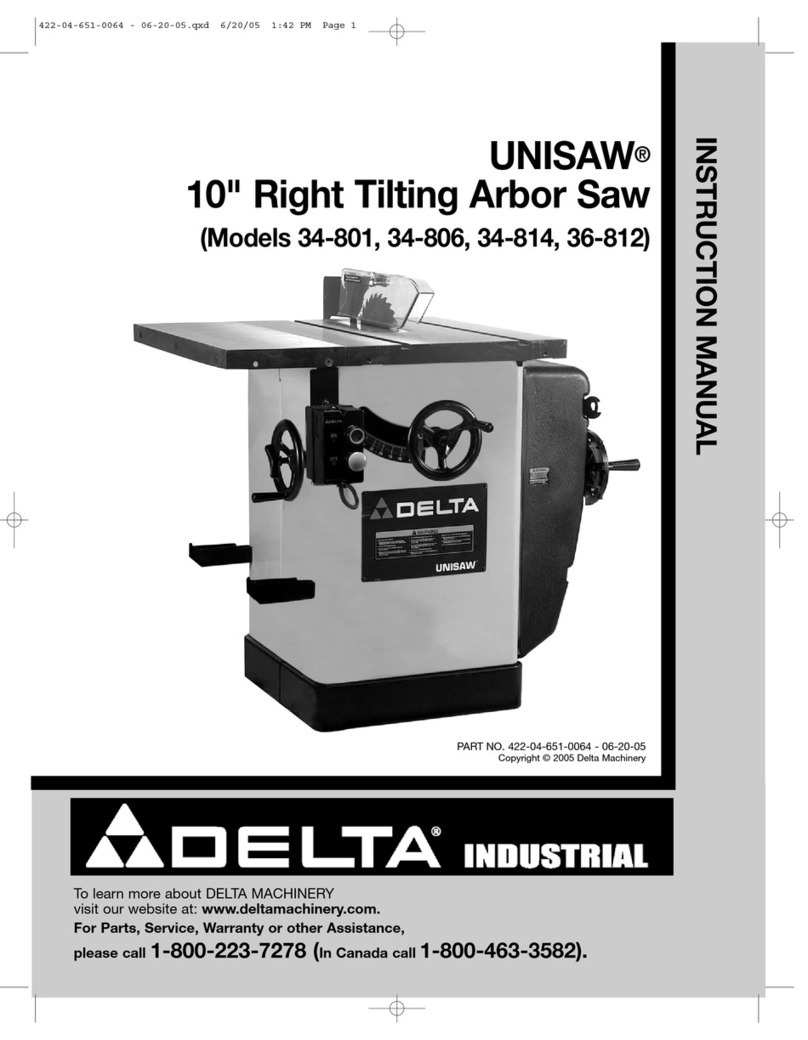
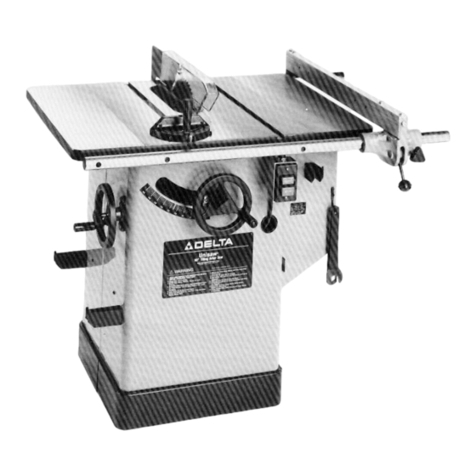
2. Angle Adjustment
a. Loosen lock knob (D) on hand wheel (C) located on left side panel
b. Turn the hand wheel until desired angle is met, (0⁰ - 45⁰ to the right). Use the red pointer on the
scale (E) to set desired angle.
c. Tighten lock knob to secure angle
Cross-cut (across the grain of wood)
1. Only use miter gauge when performing cuts across the grain
2. Do not use the rip fence with the miter gauge
3. Use the table groove that does not cause interference of your hand or miter gauge with the saw blade
guard
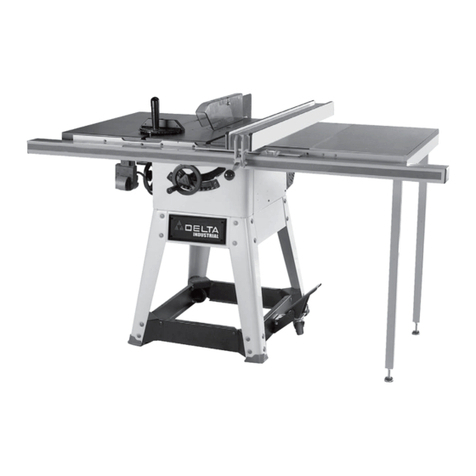
Rip cuts (cutting with the grain of wood)
1. Use the rip fence to position and guide the work piece through the saw blade
2. Do not stand in the line of the saw cut when ripping
3. Do not touch the cut off piece until the saw blade is stopped
4. When ripping boards longer than three feet, use out-feed supports at rear of saw table
5. Use a push stick when ripping work less than 4 inches wide
6. Use an auxiliary wood facing on rip fence when ripping work 2 inches or narrower
Blade Change – Performed by Authorized Personnel Only
1. DISCONNECT MACHINE FROM POWER SOURCE
2. Remove table insert and raise saw blade to its maximum height
3. Place the open end wrench (B) on the flats of the saw arbor to
keep the arbor from turning, and using wrench (A), turn the
arbor nut (C) clockwise. Remove the arbor nut, blade flange
and saw blade
4. Assemble the new blade, making certain the teeth are pointing
down at the front of the saw table and assemble the outside
blade flange and arbor nut
5. Tighten the arbor nut and replace the table insert
Replacing Belts and Tensioning Belts – Performed by Authorized Personnel Only
1. See Instruction Manual
Maintenance
•Use only 10” diameter saw blades with 5/8” arbor holes, rated for 4000 RPM
or higher
•Rip Fence
•Push Sticks

