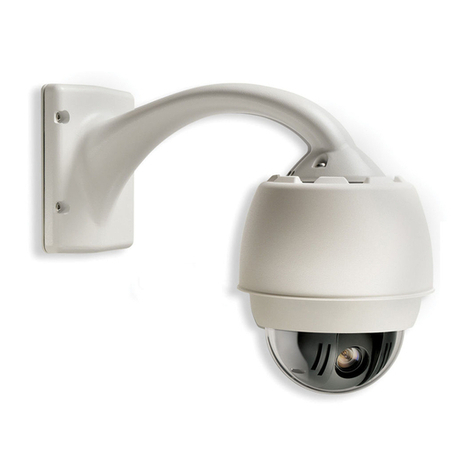
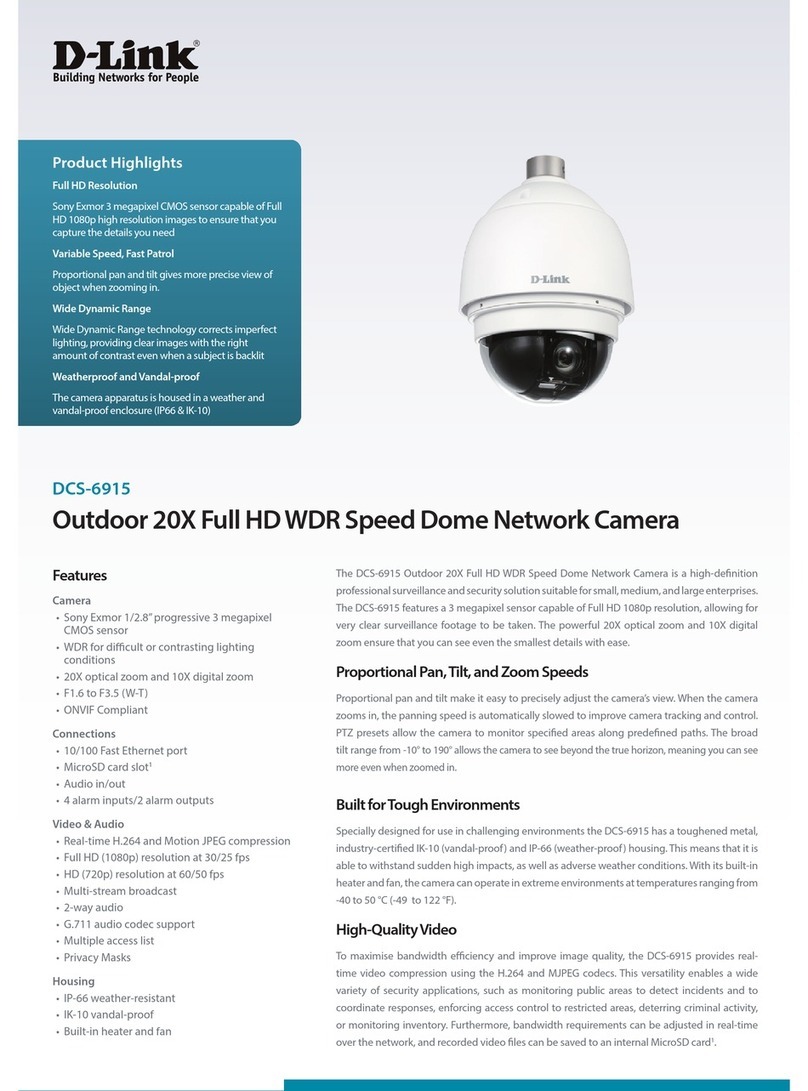
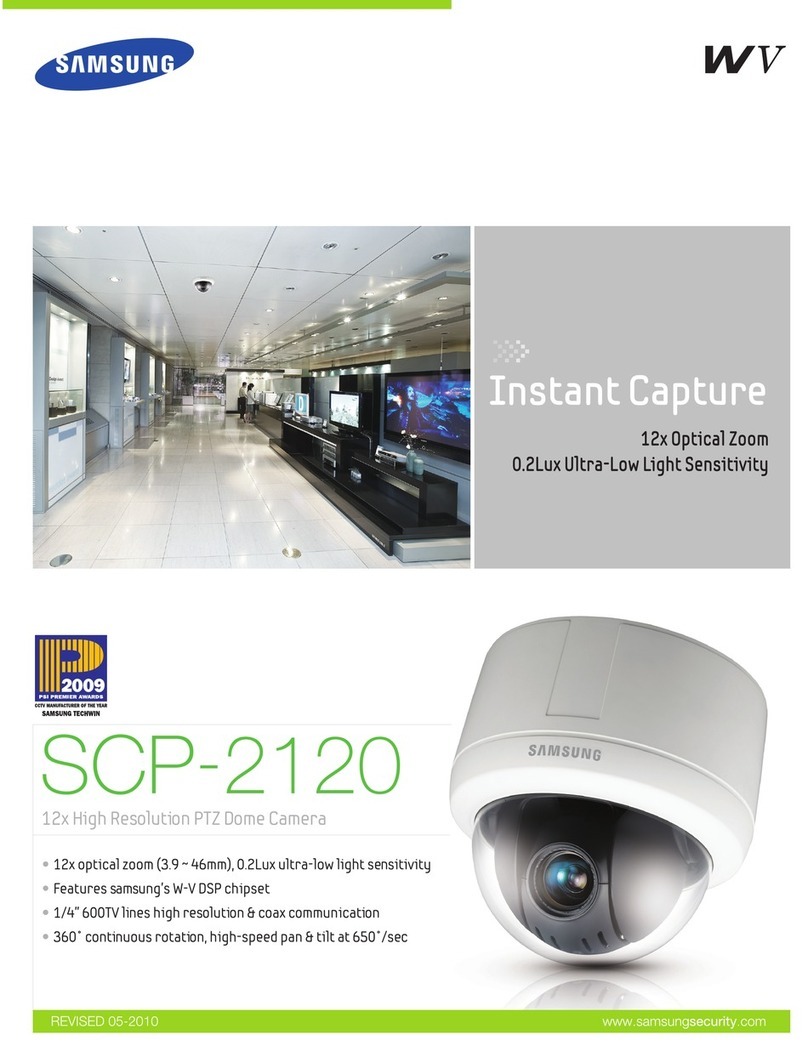
DENAVO DHS-700RX User manual

- 1 -
DENAVOTM
------------------------------------------------------
DHS 700 High Speed Dome Series
------------------------------------------------------
User Manual
RX
SX

- 2 -
Prologue
This manual explains how to install and operate DHS-700 Series speed dome. Speed dome camera,
named intelligent speed dome, high speed dome and quick dome, is an electromotor product with high
accuracy which aggregates camera, pan tilt, decoder, zoom lens, and housing. Speed domes are
separated into high speed dome, middle speed dome, low speed dome according to the speed.
There are many types of dome camera with different characteristics, more than twenty kinds of housing
and many suitable.
Caution
1. Please read the manual attentively before installing and using the high speed dome.
2. Power used must conform to the requirements of the equipment before wiring is set up with a correct
connection .Uncorrected power or connection cause permanent damage to the equipment.
3. To reduce the risk of electrical shock, do not expose components to sunshine, water and moisture.
4. Indoor dome camera cannot be rained and damped and used in damping places. Do not use it while
damped.
5. Do not take apart the high speed dome, No parts can be repaired by user.
6. Do not wash speed dome by strong and damaging detergent. Dirt should be cleaned up by dry cloth
or washed by mild detergent.
7. High speed dome should be used carefully to avoid shaking and shocking. It can be damaged
because of uncorrected use.
8. Dome camera should be installed on a position with enough bearing capacity.
9. Wipe off dirt on lens with lens paper.

- 3 -
CONTENTS
Chapter 1 Introduction …………………………………………………04
Chapter 2 Setup…………………………………………………………08
Chapter 3 Installation……………………………………………………13
Chapter 4 Control Operation……………………………………………19

- 4 -
Chapter 1 Introduction
1. Brief introduction
Speed dome is a surveillance product with high definition and color camera, pan and tilt motors, zoom
lens and universal shifting pan, decoder, zoom lens and protection cover etc. It reduces the connection
of the systematic part to the maximum extent, and improves systematic dependability. Meanwhile, it's
easy to install and vindicate with the advantages of outstanding appearance, light convenience and
simple operation.
DHS 700 series speed dome camera can supply multiple camera dome parameters, outdoor type,
day/night type and suitable bracket. It supplies best and all directions monitoring function for airports,
docks, highways, banks and hotels etc.
700 series speed dome which is installed into aluminum housing.
2. Sort
700 series speed dome is composed of camera dome, housing and various mounting. There are many
types of camera dome with different characteristics, more than twenty kinds of housing and many
selectable mountings.
3.Camera Index:
Model DHS-700RX DHS-700SX DHS-701RX DHS-701SX DHS-702RX DHS-702SX
System of signal PAL/NTSC PAL/NTSC PAL/NTSC PAL/NTSC PAL/NTSC PAL/NTSC
Sensor 480TVL 480TVL 480TVL 480TVL 480TVL 480TVL
Video output 1Vp-p 1Vp-p 1Vp-p 1Vp-p 1Vp-p 1Vp-p
S/N ratio >50dB >50dB >50dB >50dB >50dB >50dB
Min.
Illumination 1Lux 1Lux 0.1Lux 0.1Lux 0.1Lux 0.1Lux
Lens F=3.9~85.8mm
22X F=3.9~85.8mm
22X F=3.9~85.8mm
22X F=3.9~85.8mm
22X F=3.3~99.0mm
30X F=3.3~99.0mm
30X
Digital zoom 10X 10X 10X 10X 10X 10X
Day & Night No No Yes Yes Yes Yes

- 5 -
4. Functions and Characteristics
zMore than 10 kinds of aluminum housing, four colors (beige, white, black and green) are selectable.
zIP68 protection grade, workable under 10 meters water (please airproof the cable hole with silica
adhesive).
zChinese, English and Japanese title is selectable, time and date display are available.
z8 speed grade, 360 continuous and endless pan movement, 180 tilt movement, 300 million steps per
round, movement is very smooth.
zSupport multiple protocols including Pelco-D, Pelco-P, AD, SAMSUNG, PHILIPS, VCION etc.
zRS485 communication, Max control distance is more than 1200 meters, one pair of cable can control
up to 256 pieces of speed dome.
z128 programmable presets, 8 PTZ tours, 24 preset each tour. 2 tracks of 40 seconds track tours.
zMultiple scan modes: Auto Tour between 2 presets, 360 Pan+90 Tilt scan, 360 continuous and
endless Pan Scan, universal scan, Pan and Tilt speed are settable.
zPrivacy mask and password.
zPan and tilt coordinates display function.
z4 alarm inputs and 2 output, motion detect alarm function.
zHighly credible circuit of slip ring.
zFan and heater inside of housing, temperature auto control.
zAnti-lightening strike.
zCommunication port.
5. Technical characteristics
)Power: PTZ machine : AC24V/0.5A Outdoor heater:AC24V/1.5A
)Speed: High speed dome: Pan0.1-250°/S , Tilt 0.1-200°/S, Preset:300°/S
)Operating environment:
Indoor: Temperature: -5℃- 60℃Humidity: 90%
Outdoor: Temperature: -50℃- 60℃IP68

- 6 -
6. Models
Size Appearance
SX Indoor speed dome (Ceiling)
RX Indoor & Outdoor speed dome
(Single aluminum cover)
RX Outdoor speed dome
(Double aluminum covers)
All of the above aluminum housing can be choosing between these four colors, beige, white, black, and
green.

- 7 -
7. Bracket Size
Model 6750-OEM 6750-RX/ZX 6750-CX 6750-SX
Appearance
Size
Matching OEM RX,ZX SX SX
Remark Wall mount Wall mount In-ceiling mount In-ceiling mount
Model 6750-Z 6750-A/6750-T 6750-WZ 6750-DL
Appearance
Size
Matching 6750-OEM 6750-RX/ZX OEM;SX RX,SX
Remark Pole mount Corner mount Back Cover Pendant mount
Model 6750-DLC 6750-BLW 6750-HF 6750-HB
Appearance
Size
Matching RX,SX RX,SX 6750-F 6750-B
Remark Long Pendant mount Root Bracket Power case Power case

- 8 -
Chapter 2 Setup
1. Protocol Setup
The dome camera supports multi-protocol. Set the protocol via DIP switch (refer to the below
diagram.). Please confirm if the protocol is correct before using. The SX Model's DIP switch is on the
top of pan/tilt module, and the other Models' DIP switches are on
Corresponding diagram of protocol and code(if 8 switches, the last two are vacant):
No.1 code switch: selectable switch for 120-ohm adapter resistance of communication line. Last high
speed dome should be connected with adaptable resistance in the same line. Put No.1 to ON and don't
connect the other high speed dome with adaptable resistance side by side, put No.1 to OFF.
No.1 code switch 2, 3 is baud rate switch.
No.1 code switch 4, 5, 6 is Protocol switch.
2. Address Setup
Each high speed dome corresponds an address code. More intelligent
and high speed dome can be connected in the same control system.
Address code must be different, otherwise result in a conflict and
mistake operation. Select a certain high speed dome firstly while
controlled.
Address code is selected through S2 switch
Address Switch

- 9 -
1-64 Comparison diagram of code and switch

- 10 -
65-128 Comparison diagram of code and switch

- 11 -
129-192 Comparison diagram of code and switch

- 12 -
193-256 Comparison diagram of code and switch

- 13 -
Chapter 3 Installation
Installation Preparation
1. Check the parts
The parts in the carton (Deluxe) as follows:
(Optional)
AC24V Power Transformer Wrapping bag (OEM)
Outdoor: Indoor:
Housing (Appearance as per Model)
2. OtherAccessories (optional)
Keyboard, Infrared Controller, Matrix Controller, Bracket.
Installation
Ⅰ.Outdoor Speed Dome Installation Part 1
(Pan/Tilt Module and housing are packed in corporately)
1. Open the down cover with a screwdriver.
2. Take the sponges off(if there are any)
3. Set ID and protocol via DIP switches.
4. Tight down cover via screws.
5. Connect the wire as per the cable.

- 14 -
Cables connection diagram
1. Power cable: Connect the white and black wires to AC24V or DC30V power supplyAC and DC are
neither polarity. Connect the green wire to ground fully to release static electricity and lightning
faradism. Don’t connect the GND to power.
2. RS485 Cable: RS485 Aand RS485 B wires are for controller.
3. Video coaxial cable: BNC connector video output, 1Vp-p video signal.
4. Alarm cables: ALARM1-ALARM4 are alarm of input, GND is common port for alarms. N.C. is
normal close of alarm output. N.O. is normal open of alarm output. COM is common port of alarm
output.

- 15 -
Ⅱ. Outdoor Speed Dome Installation Part 2
(The Pan/Tilt Module and housing are packed dividedly)
Cable Connection diagram
SL/AL/PLW/GLW/SLW BL/BLW
Speed dome Installation
1. Connect the cables to the PC board, and then
turn over the PC board and tight the screws.
2. Insert the 24pin plugs into socket and tight the
screws.
3. Tight the screws of the clear bubble cover into
housing body.
4. Inject the glue into the hold and screw the
waterproof ring. Please don’t use the glue in
other places.

- 16 -
SX Series Pan/Tilt Module CX Series Pan/Tilt Module
Indoor Speed Dome Installation Part 3
Indoor SX/CX series installation
Cable connection diagram
1. Power: Connect AC24V power supply, connect to ground.
2. RS485 Cable: RS485 Aand RS485 B wires are for controller.
3. Video coaxial cable: BNC connector video output, 1Vp-p video signal.
4. Alarm cables:ALARM1-ALARM4 are alarms’input, GND is common port for alarms. N.C. is
normal close of alarm output. N.O. is normal open of alarm output.
SX Series DIP Swathes
SX type In-ceiling mount for SX Pan/Tilt module:

- 17 -
1. Install and fix stator onto the SX Pan/Tilt module
2. Push the XS bracket into ceiling and let the clips stretch out, screw the clips to tighten the bracket.
3. Set dome ID and protocol via DIP switches.
4. Connect cables as per cable connection diagram. Match the tabs, push and the Pan/Tilt Module into
XS bracket and tighten the screws on the stator.
IV. T8 type In-ceiling mount for SX series module Installation
(T7 for SX)
1. Cut off the circle from the ceiling.
2. Prepare the cables and put them into the housing.
3. Push housing into ceiling and let the clips stretch out. Finally, screw the three clips to tighten the
housing.
4. Set dome ID and protocol via DIP switches.
5. Insert cables into corresponding sockets on circuit board on Pan/Tilt Module.
6. Turn Pan/Tilt Module clockwise to match tabs into round stator's screw eye and tighten the settled
screw.
7. Match the clasps and mounting holes then turn clockwise.
Back Cover and Bracket Installation (IP66 Protection)

- 18 -
OEM Series Pan/Tilt Module for OEM housing and OEM bracket (IP68 Protection)
Self Testing
Please check if the connections are correct before the power is switched on. The high speed will
perform PTZ and lens self-testing for 10 seconds as soon as the power is on.

- 19 -

- 20 -
This manual suits for next models
5
Table of contents
