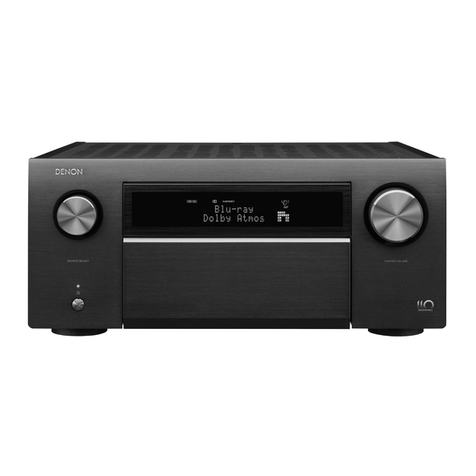
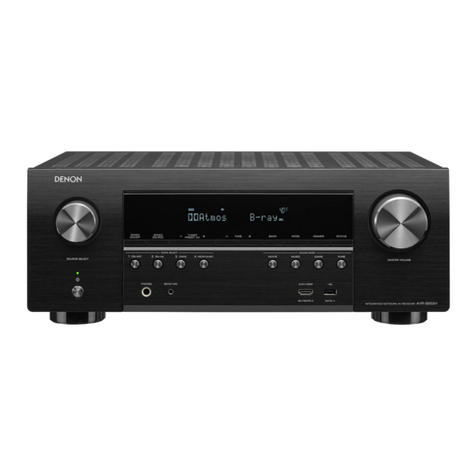
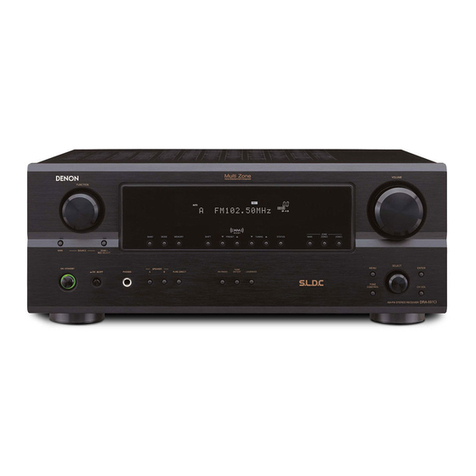
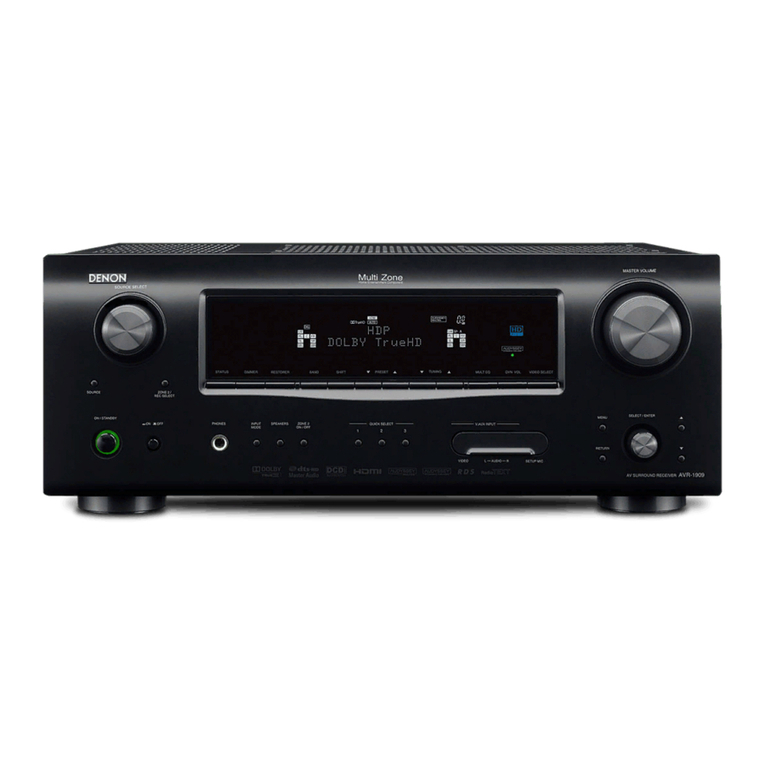
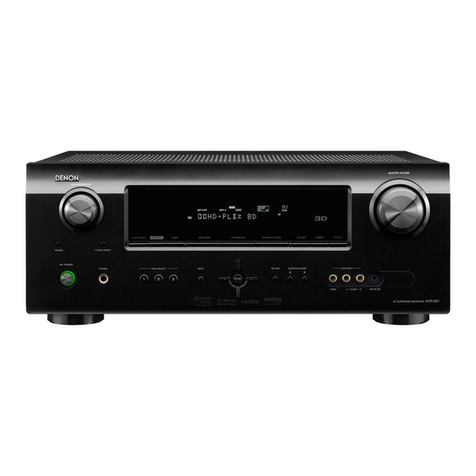
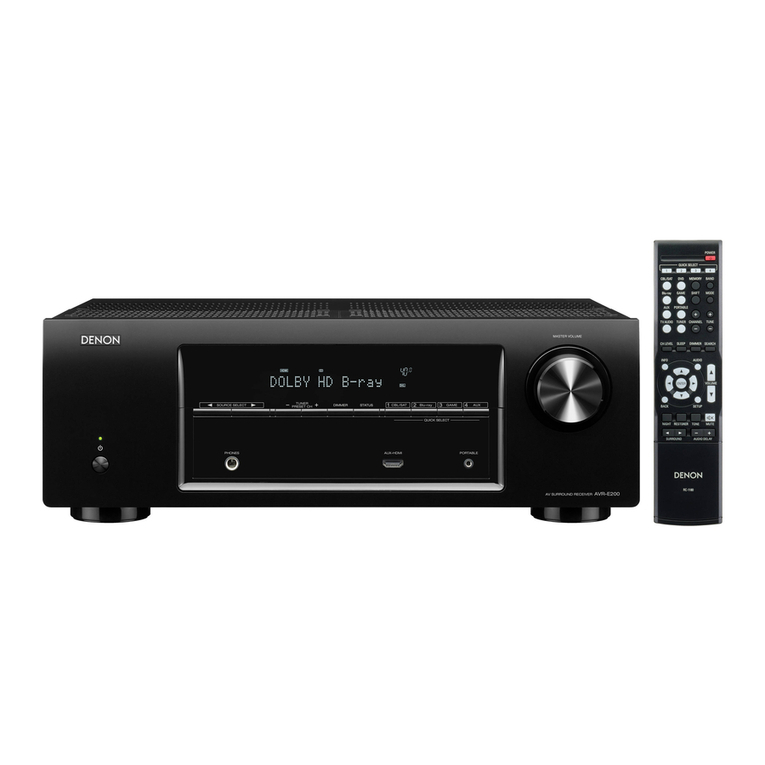
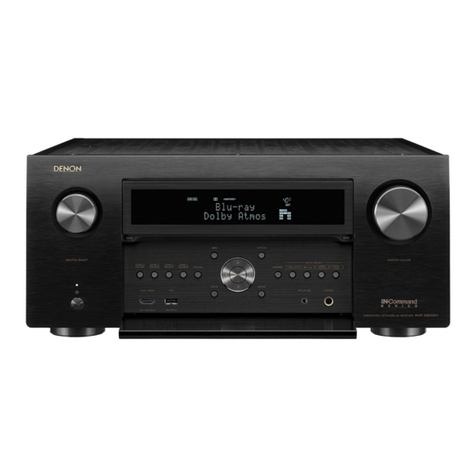
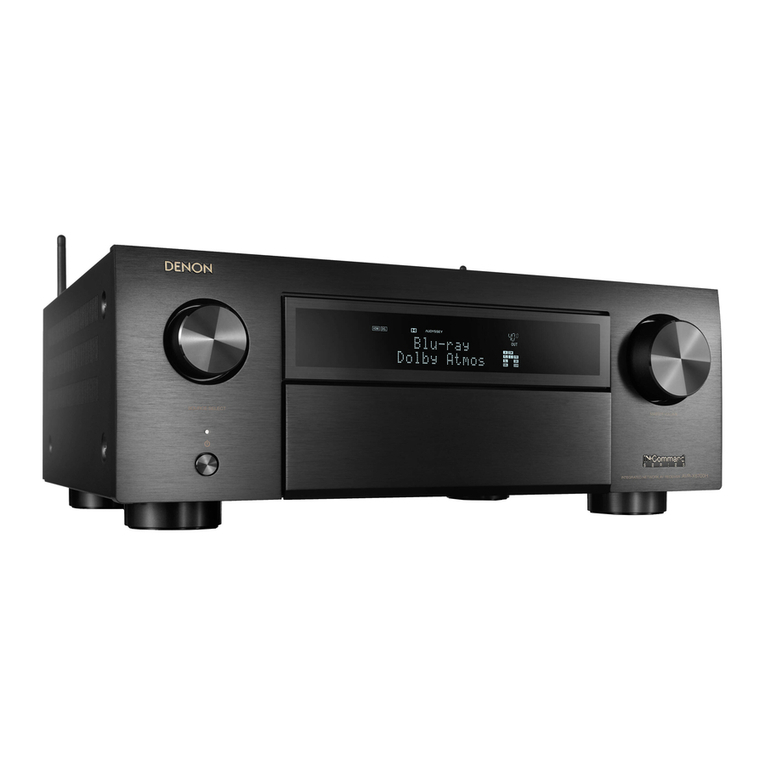
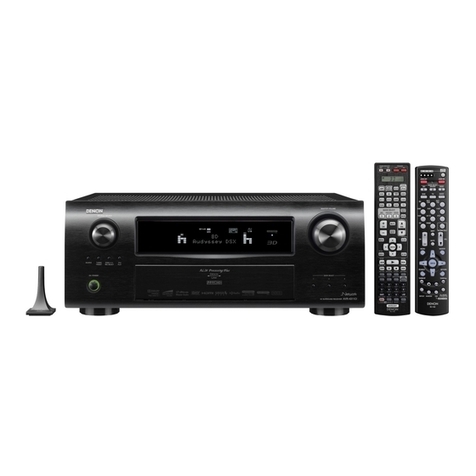
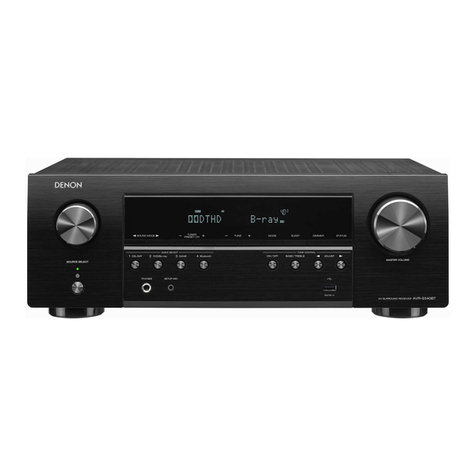
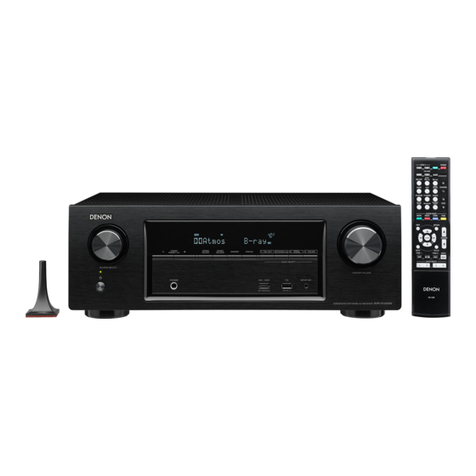
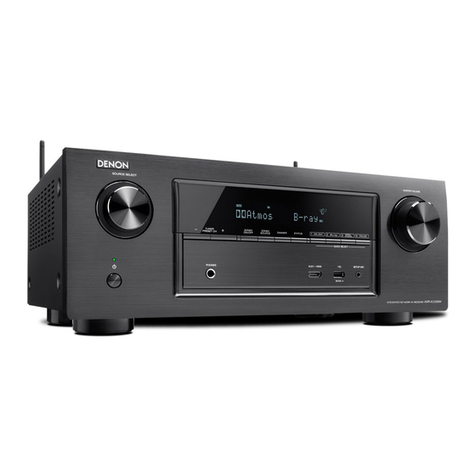
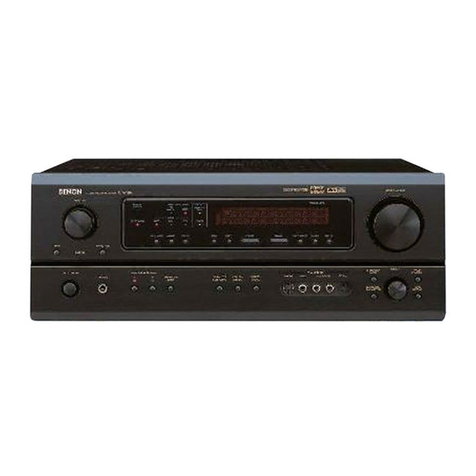
Denon AVR-S770H User manual

AVR-S770H
INTEGRATED
NETWORK
AV RECEIVER
■
UIC
ar
■
UI
DENON
®

1
Welcome
Thank you
for
choosing a Denon AVR.
Use
the
SetupAssistantfunction
to
help configure
the
settings
for
this unitwhen you first set it up.
Follow
the
guidance displayed on
the
TV
screen connected
to
this
unit
to
configure
the
settings.
This manualdescribesthe procedure up until starting the Setup Assistant.
Please do not return this product
to
the
store. If you need help...
~
-Sc-an-
th
_e_Q_R
code
or
visitsupport.denon.com/
for
setup
help, technical support, warranty assistance,
or
[
✓
_,_
c
-
ustomer
support
contact
information.

Before
you
begin
Required for setup Optional
TV
Speakercables LAN cable
or
HDM
I®cable
Subwoofer
cable Wi-Fi®
router
Speakers
•
When
connecting this
unit
to
a device
that
is compatible with
the
DeepColor, 4K, ARC and eARC functions, use a"High Speed
HDM
Icable
with Ethernet"
that
displays
the
HDMI logo.
•
When
connecting this
unit
to
a device
that
is compatible with 8K and
4K
120Hz
video, use a certified "Ultra High Speed HDMI cable". Ifyou
use a differentHDMI cable,
the
video may
not
display
or
other problems
may
occur.
2

3
What's
in
the box
Quick StartGuide Cable labels
Safetyinstructions
<>
AVR
Notes on radio
<>
FM
indoorantenna
Warranty
~
(for North America AM loop antenna
model only)
/
Sound calibration
microphone
Sound
ca
libration
microphonestand
Remote control
(RC-1257)
2x
R03/
AAA
batteries
~rnrn~
~
.
~
• The included sound calibration microphonestand is convenient
for
performing speakercalibration. Using your
own
tripod
or
the
supplied
Sound calibration microphonestand enables settings
to
be automaticallyconfigured
to
the
optimum
listening environment, providing
exceptionallyhigh performance.

..
Attach
the
included cable labels
The supplied cable labels include labels
for
the
speaker and HDMI cables.
Attach acable label
to
each cable
that
matches
the
speakers and HDMI devices being connected,
as
shown below.
This makes
it
easy
to
identifyand properlyconnect
the
cables between
your
components.
ES
4

5
Setup
0 Rotate the antennas
Rotate the antenna upwards
for
the best possible
reception.
[
l
~
> -
~
. .
-1
·
m:;6¢164
• Theantennas are required
for
both
Bluetooth and Wi-Fi
functions.
Optional
Ifyou are connecting
the
AVR
to
a wired network, connect
an
Ethernetcable (notincluded) between the AVR and
your
router.
Do
not
connect
the
Ethernetcable if you are connecting
the
AVR
to
awireless network.
............
Router
0
0
0
LAN
port
0 t::J-'"""
0

8 Connect
the
power cord
Place
the
AVR near
your
1V
and
connect
the
power
cord.
ES
u
\l
TV
0000 0000
0 0 • 0
AVR
Powercord
6

7
e Connect
the
AVR
to
your
TV
HDMIO
TV
.~
(ARC/eARC)
~<>
AVR
{Rear
panel)
HDMIIN
(ARC/eARC)
l=)
HDMI cable
Using a high qualityHDMIcable*, connect one end
to
the
HDMI
port
labeled "eARC"
or
"ARC" on yourTV. Connect
the
other
end
to
the
HDMI OUT
TV
port
on
your
AVR.
What
is
ARC
and
eARC?
Audio
Return Channel
or
"ARC" sends audio back
to
the
AVR
using
the
same HDMIcable
that
sends video
from
your
AVR
to
your
TV. This allows
your
AVR
to
process
the
sound
from
your
TV's built-in tuner and apps. TVs with an Enhanced Audio
Return Channel
or
"eARC"
port
provide additional
support
for
high bitrate multichannel audio (DolbyAtmos, DolbyTrueHD,
DTS-HD and DTS:X). Please refer
to
your
TV
owner'smanual
for
details abouteARC
support
for
your
particular model.
* For
4K
TVs,
we
recommend using
an
HDMI cable labeled
"High Speed" and "with Ethernet" .
* For
BK
TVs, we recommend using an HDMI cable labeled
"Ultra High Speed".

e
Turn
on
the
TV
TV
remote
control
Select
the
appropriate
HDMI
input
on
your
TV
HDMI
TV
remote
contro
l
FR
ES
8

9
Install batteries
in
the
AVR
remote control
:f,
• Batteries can betaken
out
in
reversed order.
8 Turn on
the
AVR
Press<!)
on
the
remote
control.
0 0
0 0 0 0
0000
0
0 0 0
E3
I J I I
0 0 @
ooo
:@
o
0 0
000
0000
0000

C,
Verify
the
connection
Verify
that
you can seethis screen on
your
TV.
Ifthis screen
is
not
displayed, please
go
backand retry
the
steps again in
the
recommended sequence.
• In case
the
unitwas alreadysetup back in
time
theSetup
Assistant
won't
startautomatically and you onlysee
the
Denon
logo
on screen.
In
such case you can access
the
Setup
Assistant
by
pressing SETUP on
the
remote control and
selecting SetupAssistant
from
the
menu.
C) Follow the on-screen Setup
Assistant
The
TV
is
now
connected
to
the
AVR.
The SetupAssistantwill walk you through connecting and
configuring
your
speakers and components
to
your
Denon
AVR. Use
the
remote control and follow
the
instructions
on
the
TV
screen
to
complete
the
AVR settings using
the
SetupAssistant.
FR
ES
10

Firmware
update
Ifyou see this screen after completing SetupAssistant, select Update
Now
to
make sure
your
new
AVR is
up
to
date
with
the
latest
firmware and features.
11
►

Download the
mObile
apps
Download
both
the
"HEOS" app and
the
"Denon AVR Remote"
app
for
the
full home entertainmentexperience.
The
HEOS
app
is required
to
access online music
through
your
AVR.
HEOSapp
The
HEOS app
al
l
ows
you
to
explore, browse, and play music
from
manyonline streaming services
or
from
your
own
music
library.
~
GETITON
~
Google
Play
Denon
AVR
Remote
Control
your
new
A
VR
with
the
latestDenon AVR Remote app.
FR
ES
12

Owner's
manual
Refer
to
the online manual
for
other
functions, information and
operation procedure details.
manuals.denon.com/AVRS770H/NA/EN/
Online manual
- I
For more information, visitwww.denon.com
13
..

Trademark information
0
Bluetooth
·
The Bluetooth•
word
markand logos are registered trademarks
owned
by
the
Bluetooth
SIG,
Inc. and any use
of
such marks by D&M Holdings
Inc. is
under
license.
Other
trademarks and tradenames are those
of
their
respective owners.
COMPATIBLE
WITH
It
Dolby
Atmos
It
DolbyVision
Manufactured underlicense
from
DolbyLaboratories.Dolby, DolbyAtmos,
DolbyAudio, Dolby Vision, and the double-D symbol are trademarks
of
DolbyLaboratories Licensing Corporation.Confidential unpublished works.
Copyright©
1992-2022 DolbyLaboratories. All rights reserved.
dbx
ForDTS patents, see
http:/
/patents.dts.com. Manufactured underlicense
from
DTS, Inc.DTS, DTS:X, and
the
DTS:X logo are registered trademarks
or
trademarks
of
DTS, Inc. in the UnitedStates and
other
countries.© 2021
DTS, Inc.
ALL
RIGHTS
RESERVED.
CERTIFIED
The
Wi-Fi CERTIFIED logo is a registered trademark
of
theWi-Fi Alliance.
Wi-Fi Certification provides assurance
that
the
device has passed
the
interoperability
test
conducted bythe Wi-Fi Alliance, a group
that
certifies
interoperabilityamong wireless LAN devices.
Hi:lm1
·
The
termsHDMI, HDMI High-Definition Multimedia Interface, HDMI trade
dress and
the
HDMI Logos are trademarks
or
registered trademarks
of
HDMI
Licensing Administrator, Inc.
App
Store• is registered in
the
U.S. and
other
countries.
fi::>...
GETITON
~
Google
Play
Google Play and
the
Google Play
logo
are trademarks
of
Google
LLC.
14
FR
ES

www.denon.com
Printed in Vietnam
541112047
00AS
© 2023
DEi
Sales, Inc. All Rights Reserved.
VQX1A2408Z

Accessories 8
Inserting the batteries 9
Operating range of the remote control unit 9
Features 10
High quality sound 10
High performance 11
Easy operation 15
Part names and functions 16
Front panel 16
Display 19
Rear panel 21
Remote control unit 24
Connections
Speaker installation 28
Connecting speakers 33
Before connecting speakers 33
Connecting speakers to the speaker terminals 37
Speaker configuration and “Amp Assign” settings 38
Connecting 5.1-channel speakers 39
Connecting 7.1-channel speakers 40
Connecting multi-zone speakers 46
Connecting a TV 47
Connection 1 : TV equipped with an HDMI connector and
compatible with the ARC / eARC 48
Connection 2 : TV equipped with an HDMI connector and
incompatible with the ARC / eARC 49
Connecting a playback device 50
Connecting a set-top box (Satellite tuner/cable TV) 51
Connecting a media player 52
Connecting a Blu-ray Disc player or DVD player 53
Connecting a game console or player device compatible with 8K 54
Connecting a turntable 55
Connecting a USB memory device to the USB port 56
Connecting FM/AM antennas 57
Connecting to a home network (LAN) 59
Wired LAN 59
Wireless LAN 60
Connecting the power cord 61
Contents Connections Playback Settings Tips Appendix
2
Front panel Display Rear panel Remote Index

Playback
Basic operation 63
Turning the power on 63
Selecting the input source 63
Adjusting the volume 64
Turning off the sound temporarily (Muting) 64
Playback a Blu-ray Disc player/DVD player 64
Playing a USB memory device 65
Playing files stored on USB memory devices 66
Listening to music on a Bluetooth device 69
Playing music from Bluetooth device 70
Pairing with other Bluetooth devices 71
Reconnecting to this unit from a Bluetooth device 72
Listening to audio on Bluetooth headphones 73
Listening to audio on Bluetooth headphones 74
Adjusting the volume of Bluetooth headphones 75
Reconnecting to a Bluetooth headphones 75
Disconnecting Bluetooth headphones 76
Listening to FM/AM broadcasts 77
Listening to FM/AM broadcasts 78
Tuning in by entering the frequency (Direct Tune) 80
RDS Search 80
PTY Search 81
TP Search 82
Radio text 82
Changing the tune mode (Tune Mode) 83
Tuning in to stations and presetting them automatically (Auto
Preset Memory) 83
Presetting the current broadcast station (Preset Memory) 84
Listening to preset stations 84
Specify a name for the preset broadcast station (Preset Name) 85
Skipping preset broadcast stations (Preset Skip) 86
Cancelling Preset Skip 87
Listening to Internet Radio 88
Listening to Internet Radio 89
Playing back files stored on a PC or NAS 90
Playing back files stored on a PC or NAS 91
Getting the HEOS App 94
HEOS Account 95
Playing from streaming music services 96
Listening to the same music in multiple rooms 99
Contents Connections Playback Settings Tips Appendix
3
Front panel Display Rear panel Remote Index

AirPlay function 103
Playing songs from your iPhone, iPod touch or iPad 104
Playing iTunes music with this unit 104
Play a song from your iPhone, iPod touch or iPad on multiple
synced devices (AirPlay 2) 105
Spotify Connect function 106
Playing Spotify music with this unit 106
Convenience functions 107
Playing back HEOS Favorites 108
Adding to HEOS Favorites 109
Deleting a HEOS Favorites 109
Adjusting the audibility of dialog and vocals (Dialog Enhancer) 109
Adjusting the volume of each channel to match the input source
(Channel Level Adjust) 110
Adjusting the tone (Tone) 111
Adjusting audio delay (Audio Delay) 112
Displaying your desired video during audio playback (Video
Select) 113
Playing the same music in all zones (All Zone Stereo) 114
Changing the speaker settings to match the listening environment
(Speaker Preset) 115
Selecting a sound mode 116
Selecting a sound mode 117
Direct playback 118
Pure Direct playback 119
Auto surround playback 119
Description of sound mode types 120
Sound mode that can be selected for each input signal 124
HDMI Control function 128
Setting procedure 128
Sleep timer function 129
Using the sleep timer 130
Quick select plus function 131
Calling up the settings 132
Changing the settings 133
Panel lock function 135
Disabling all key button operations 135
Disabling all button operations except VOLUME 135
Canceling the Panel lock function 136
Contents Connections Playback Settings Tips Appendix
4
Front panel Display Rear panel Remote Index
Other manuals for AVR-S770H
2
Other Denon Stereo Receiver manuals

Denon
Denon AVR-2803 User manual

Denon
Denon DRA-CX3 User manual

Denon
Denon AVRS650HOM User manual

Denon
Denon AVR-1508 User manual

Denon
Denon AVR-2307CI User manual

Denon
Denon AVR-2311CI User manual

Denon
Denon AVR-1909 User manual
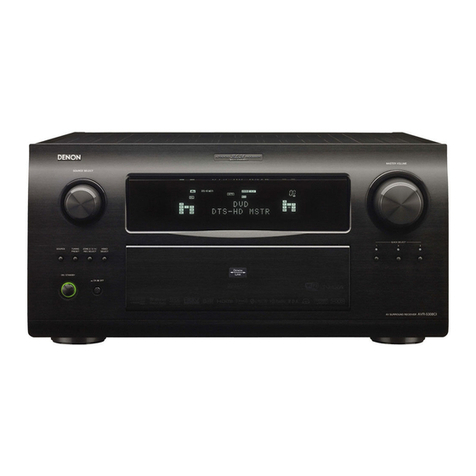
Denon
Denon AVR-X2700H User manual

Denon
Denon AVR-X2000 User manual

Denon
Denon AVR-X4500H User manual

Denon
Denon AVR-2803 User manual

Denon
Denon DRA-397 User manual
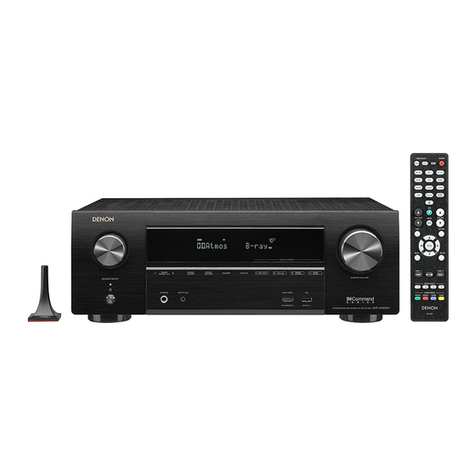
Denon
Denon AVR-2106 User manual

Denon
Denon 2310CI - AVR AV Receiver User manual

Denon
Denon AVR-A110 User manual

Denon
Denon AVR-X3700H User manual

Denon
Denon AVR-S710W User manual

Denon
Denon DRA-500AE User manual

Denon
Denon AVR-1909 User manual

Denon
Denon AVR-2308CI User manual