manuals.online logo
Brands
  1. Home
  2. •
  3. Brands
  4. •
  5. Desa
  6. •
  7. Indoor Fireplace
  8. •
  9. Desa GMC26F User manual

Desa GMC26F User manual

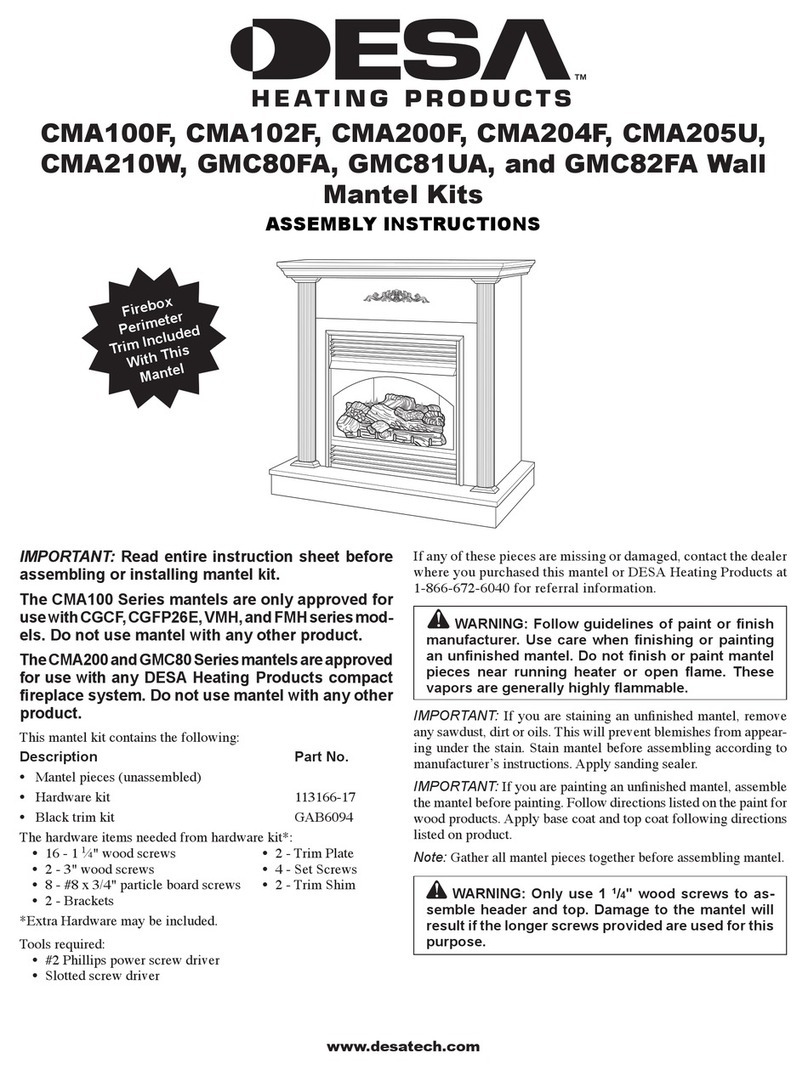
GMC26F and GMC27U Hardwood
GMC28F Oak
Prestige Mantel
Assembly Instructions
IMPORTANT:
Read entire instruction sheet before assembling or installing mantel kit.
This mantel is only approved for use with RF(N/P)28T and RF(N/P)30T series Natural
and Propane models. Do not use mantel with any other product.
This mantel kit contains the following pieces:
Part No.
Qty. GMC26F GMC27U GMC28F
1 Left leg 103755-01 103755-02 103755-11
1 Right leg 103755-03 103755-04 103755-12
1 Header 103755-05 103755-06 103755-13
1Top 103755-07 103755-08 103755-14
1 Base 103755-09 103755-10 103755-15
1 Hardware package 101223-02 101223-02 101223-02
2 Hardware bracket 103680-01 103680-01 103680-01
2 Mounting blocks 101527-01 101527-01 101527-01
The hardware package contains the following:
11 1 1/4" screws
2 1 3/4" screws
2 3" wood screws (not required)
Tools required:
#2 Phillips screw driver (regular length)
If any of these pieces are missing or dam-
aged, contact the dealer where you pur-
chased this kit or DESA International at 1-
800-972-7879 for referral information.
WARNING: Use care when
finishing an unfinished mantel.
Finish pieces before assembly.
Do not finish mantel pieces near
runningheateroropenflame.Va-
pors from most finishing prod-
ucts are highly flammable. Fol-
low manufacturer’s guidelines
when using finishing products.
IMPORTANT:
If you are painting an unfin-
ishedmantel,applyanoilbaseundercoatto
themantelbeforepainting.Thiswillsealthe
wood. After undercoat dries completely,
lightly sand and apply an oil base top coat.
Ifyoudonotapplyanoilbaseundercoatand
topcoat, the wood grain will bleed through
the paint.
Note:
Place all mantel pieces together be-
fore actually assembling mantel.
WARNINGICON G001
WARNING
Only use 1 1/4" screws to assemble header and
top.Damagetothemantelwillresultifthe longer
screws provided are used for this purpose.
2
103369
PRESTIGE MANTEL KIT
GMC26F, GMC27U, AND GMC28F
Left Side
TOP VIEW
Header
1 1⁄4" Screw
Left Side
Right Side
Header
Figure 1 - Installing Header
Mounting Block
ASSEMBLING MANTEL
1. Slide header between mantel right and
left sides. Push sides together to ensure
a tight fit.
2. Locate predrilled holes in header (see
Figure 2). Attach to sides with four
1 1/4" screws. The top of header must
be flush with top of legs.
Figure 2 - Attaching Header
3. Turn top and side assembly upside
down. Place assembly inside top. Flush
rear of sides with back of top. Make
sure the notches in the sides fit over the
back trim of the top (see Figure 3).
4. Locate predrilled holes in mounting
blocks located on back of mantel front
panel and sides (see Figure 3). Attach
mantel assembly to top with one 1 1/4"
screw in each block.
Figure 3 - Securing Top to Sides
Mounting
Blocks
Back Trim
1 1/4" Screw
Notch
Top
INSTALLATION
Note:
To flush mantel to wall, remove the
portion of the baseboard behind the mantel.
1. Set heater on wooden base. Line up
back of heater flush with back of base.
2. Line up holes in mounting block with
holes in heater.Attach mounting block
with two 1 1/4" screws (see Figure 4).
Repeat for other side.
Mounting Block
Screws
Hole in Back
of Heater
Side of
Heater
Figure4- SecuringHeaterwithMounting
Block
3. Set heater and base assembly indesired
location.
4. Using the same screws you used to
attach the brass trim, attach hardware
brackets to top front corners of heater
through the brass trim (see Figure 5).
Brass Screw
Hardware Brackets
Figure 5 - Attaching Header Brackets to
Heater
Brass Trim
3
103369
ASSEMBLY INSTRUCTIONS
Slot in
Base Base
Mantel
Figure 6 - Sliding Mantel Assembly over
Heater and into Slots in Base
6. Make sure the tabs on the hardware
brackets are behind the header (see
Figure 7).
Figure 7 - Location of Tab on Hardware
Bracket
Tab on Hardware
Bracket
Brass
Trim
Heater
Heater
Front
Header
Front
7. Slide open top of mantel. Mark floor
or wall behind heater for gas line.
IMPORTANT:
Make sure there are no
electrical lines where gas line will go
through the floor or wall.
8. Mark exact location of the base on the
floor.
9. Carefully remove mantel.
10. Attach wood base to floor with two
1 3/4" black screws provided (see
Figure 8). If the floor is concrete, use
anchor method below.
1 3/4" Black Screw
Figure 8 - Attaching Wood Base to Floor
Attaching Wood Base to Solid
Floor
For attaching base to solid floors (concrete
or masonry)
Note:
Floor anchors and mounting screws
areinhardwarepackage.Thehardwarepack-
age is provided with fireplace.
1. Drill holes at marked locations using
5/16"drillbit.Forsolidfloors(concrete
or masonry), drill at least 1" deep.
2. Fold floor anchor as shown in Figure
10.
3. Insert floor anchor (wings first) into
hole. Tap anchor flush to floor.
4. Insert mounting screws through base
and into floor anchors.
5. Tighten screws until base is firmly
fastened to floor.
Figure 10 - Folding Anchor
CONNECTING TO GAS
SUPPLY
1. Connect heater to gas line according to
instructions in heater owner’s manual.
Check all connections for leaks from
heater to gas meter or propane tank.
WARNING:Neveruseanopen
flame to check for a leak. Apply a
mixture of liquid soap and water
to all joints. Bubbles forming
show a leak. Correct all leaks at
once.
2. Carefully slide mantel over heater and
into slots on base (see Figure 6). Make
sure the tabs on the hardware brackets
are behind the header (see Figure 7).
5. Slide mantel assembly over heater and
into slots in base. (see Figure 6).
103369-01
Rev. B
12/97
2701 Industrial Drive
P.O. Box 90004
Bowling Green, KY 42102-9004
Technical Service Department 1-800-323-5190
Parts Department 1-800-972-7879
103369 01
NOT A UPC

This manual suits for next models

2

Other Desa Indoor Fireplace manuals

Desa (V)G36 Quick start guide

Desa

Desa (V)G36 Quick start guide

Desa Comfort Glow CF26NT Quick start guide

Desa

Desa Comfort Glow CF26NT Quick start guide

Desa S42 Series Quick start guide

Desa

Desa S42 Series Quick start guide

Desa UNVENTED (VENT-FREE) PROPANE/LP GAS... Operation manual

Desa

Desa UNVENTED (VENT-FREE) PROPANE/LP GAS... Operation manual

Desa Vanguard VI33NRA Quick start guide

Desa

Desa Vanguard VI33NRA Quick start guide

Desa (V)DVF36TCRP(E) Quick start guide

Desa

Desa (V)DVF36TCRP(E) Quick start guide

Desa CWC42C User manual

Desa

Desa CWC42C User manual

Desa CGEF32C Original instructions

Desa

Desa CGEF32C Original instructions

Desa LGFB32C Original instructions

Desa

Desa LGFB32C Original instructions

Desa Comfort Glow CGCF26NR Quick start guide

Desa

Desa Comfort Glow CGCF26NR Quick start guide

Desa MSBVBN Quick start guide

Desa

Desa MSBVBN Quick start guide

Desa (V)GM36 Quick start guide

Desa

Desa (V)GM36 Quick start guide

Desa (V)T32EP-A Series Quick start guide

Desa

Desa (V)T32EP-A Series Quick start guide

Desa LMFP33NR Quick start guide

Desa

Desa LMFP33NR Quick start guide

Desa Design Dynamics VTD-18NV-JHB Quick start guide

Desa

Desa Design Dynamics VTD-18NV-JHB Quick start guide

Desa Comfort Glow CGCF26NRA Quick start guide

Desa

Desa Comfort Glow CGCF26NRA Quick start guide

Desa VVF36 Quick start guide

Desa

Desa VVF36 Quick start guide
Desa Comfort Glow LFP33PRA Quick start guide

Desa

Desa Comfort Glow LFP33PRA Quick start guide

Desa VFF-32S-AKA Quick start guide

Desa

Desa VFF-32S-AKA Quick start guide

Desa EFS33PRB Quick start guide

Desa

Desa EFS33PRB Quick start guide

Desa ICBO# 3507 Quick start guide

Desa

Desa ICBO# 3507 Quick start guide

Desa VC42 Quick start guide

Desa

Desa VC42 Quick start guide

Desa (V)V42NA(1) Quick start guide

Desa

Desa (V)V42NA(1) Quick start guide

Desa LMFP33NR(A) Quick start guide

Desa

Desa LMFP33NR(A) Quick start guide

Popular Indoor Fireplace manuals by other brands

ZANTIA CRONOS Use and maintenance manual

ZANTIA

ZANTIA CRONOS Use and maintenance manual

Dimplex XHD28L owner's manual

Dimplex

Dimplex XHD28L owner's manual

Vermont Castings RHE32 Installation instructions & homeowner's manual

Vermont Castings

Vermont Castings RHE32 Installation instructions & homeowner's manual

Arlec Dekkar EFH432 user manual

Arlec

Arlec Dekkar EFH432 user manual

Palazzetti TERMOPALEX 116 Instructions for use and maintenance

Palazzetti

Palazzetti TERMOPALEX 116 Instructions for use and maintenance

Superior 828 installation instructions

Superior

Superior 828 installation instructions

Brilliant Fires Limited ADVANTAGE User, installation and servicing instructions

Brilliant Fires Limited

Brilliant Fires Limited ADVANTAGE User, installation and servicing instructions

Valcourt FP14 Cartier Installation and operation manual

Valcourt

Valcourt FP14 Cartier Installation and operation manual

Ambifuego KALIDO 73 Installation, user and servicing instructions

Ambifuego

Ambifuego KALIDO 73 Installation, user and servicing instructions

Warm House Oslo Important instructions & operating manual

Warm House

Warm House Oslo Important instructions & operating manual

Wamsler WO 109- 6F/A User instruction

Wamsler

Wamsler WO 109- 6F/A User instruction

Integra FIREBOY eco 144010 operating instructions

Integra

Integra FIREBOY eco 144010 operating instructions

Wamsler 11181 RIVA User instruction

Wamsler

Wamsler 11181 RIVA User instruction

HASE Delhi 114 Maintenance and installation manual

HASE

HASE Delhi 114 Maintenance and installation manual

FireRock FIREROCK OUTDOOR SERIES Assembly instructions

FireRock

FireRock FIREROCK OUTDOOR SERIES Assembly instructions

AFLAMO AV-INS23-01 owner's manual

AFLAMO

AFLAMO AV-INS23-01 owner's manual

LMS Cal Flame owner's manual

LMS

LMS Cal Flame owner's manual

TJ C17 Instructions for installation, use and maintenance

TJ

TJ C17 Instructions for installation, use and maintenance

manuals.online logo
manuals.online logoBrands
  • About & Mission
  • Contact us
  • Privacy Policy
  • Terms and Conditions

Copyright 2025 Manuals.Online. All Rights Reserved.