DesQ 80002 Technical manual
Universal Charger
Universele lader
Universal Ladegerät
Chargeur universel
Operation instruction
Gebruiksaanwijzing
Gebrauchsinformation
Opération d’instruction

Figure 1
Adjusting/Bevestigen/Fixieren/Attacher
Figure 2
Mounting/Installeren/Installieren/Installer
Figure 3
Cylindric battery/Cilinder batterij/AA und AAA akkus/Cylindre de la batterie
1 Anchor point for battery position /
Markering voor positie batterij
2Contact port / Contact schuifplaat
3Slip block / Schuifkap
4(-) polaritie /(-) Contactpool min
5(+) polaritie /(+) Contactpool plus
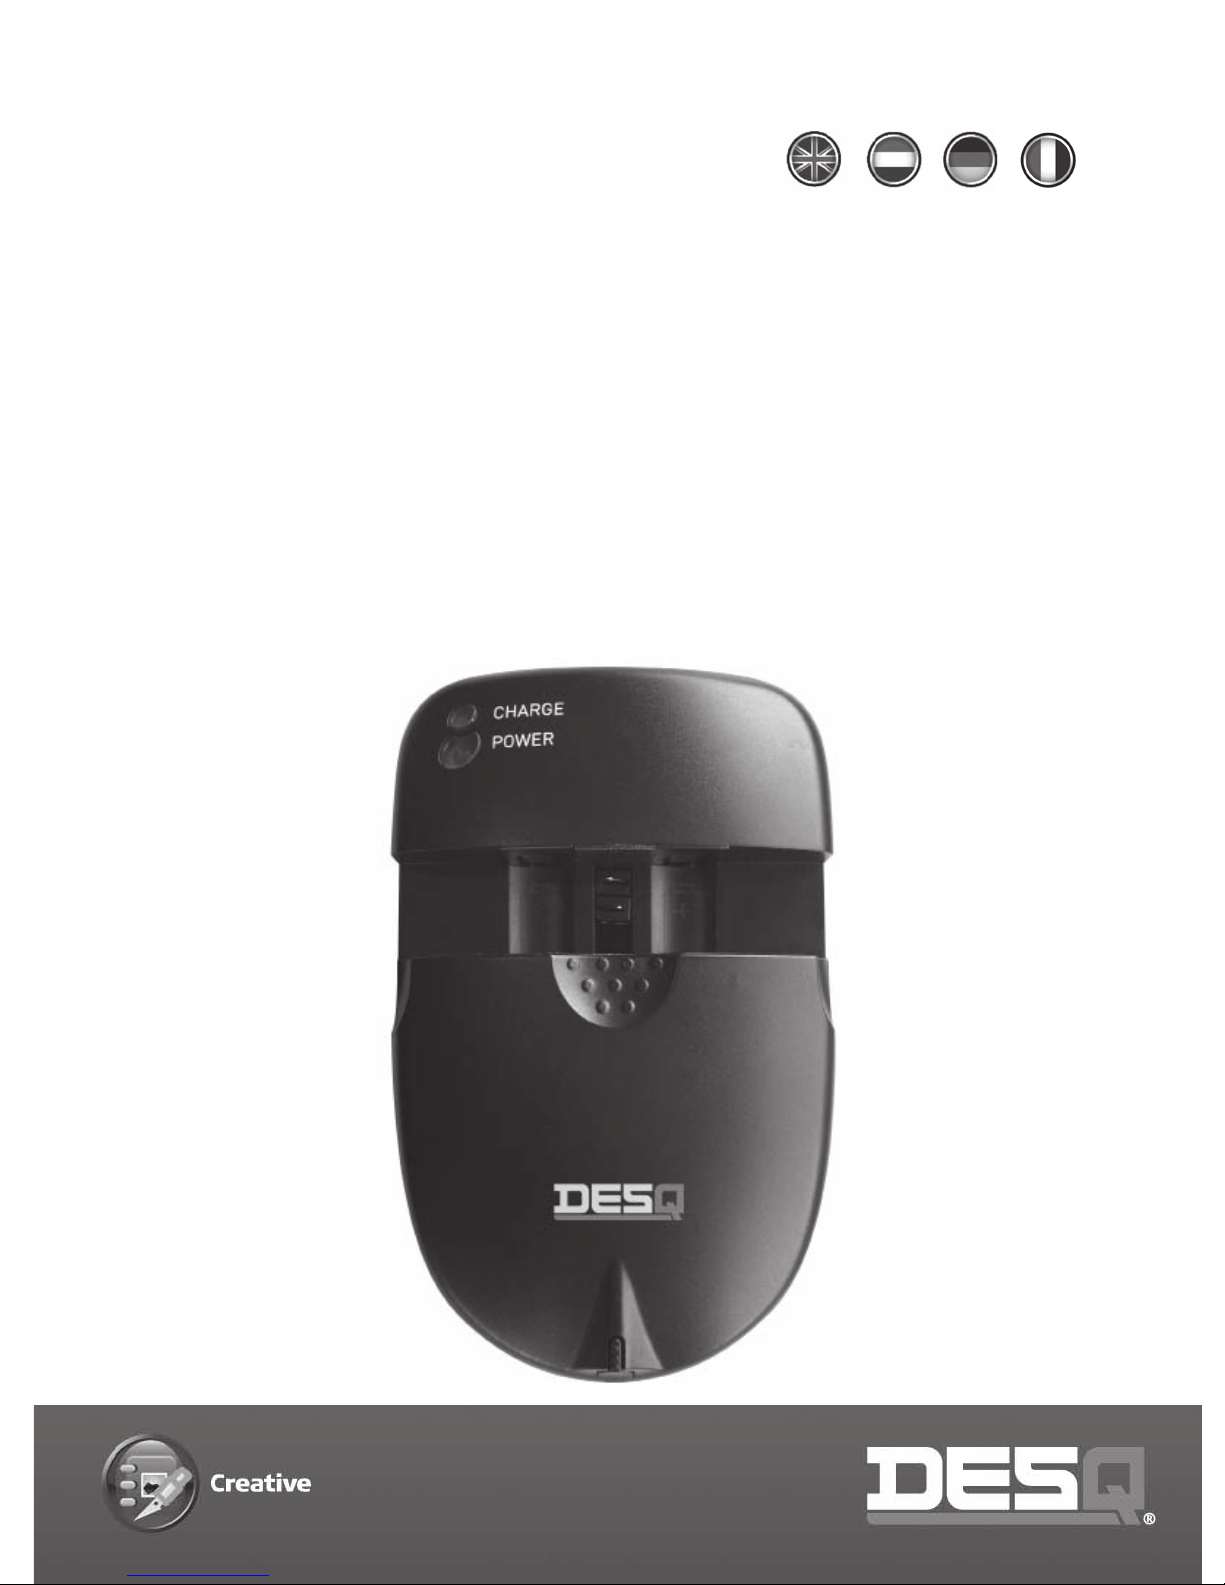
6Power indicator (green) /
Stroomindicator (groen)
7 Power indicator (red) /
Stroomindicator (rood)
8Power inputjack / Netstroom aansluiting
1
2
3
4
5
7
6
8

Operation instruction
FEATURES
Compatible with most 3.6-3.7V/7.2v digital camera, camcorder &
mobile phone Li-ion batteries
• Microprocessor identifies 3.6-3.7V/7.2-7.4V Li-Ion batteries
and NiMh/• NiCd cells and their +/- poles, and adjusts to
charge automatically.
• Controls fast/trickle charge accurately to ensure the batteries
charged swiftly and fully.
• Low-voltage battery activation.
• Over-voltage, short-circuit and over-time protections and
defective battery detection.
OPERATION INSTRUCTIONS
1 Power supply
• The charger is ready for use once the AC power adaptor is
connected to the main supply or the DC cigarette lighter
socket plug is connected to the charger, the red power
indicator will turn on.
• When using in car, connect the DC adaptor to the cigarette
lighter socket and the DC out-plug to the charger. Ensure that
current supply to the lighter socket is switched on. Some cars
require the ignition to be switched on.
2 Adjust the contact ports of the charger
(The step is for different battery to be charged. The same battery
goes to the step3 directly)
• Make sure of the + - contact plates position of the battery
(where there are signs)
• Withdraw the slip block to make the + - contact plates of the
battery closed to the one of the charger, then sandwich the
battery into the space.
• Make the contact ports of the charger adjusted to the
+ - contact plates of the battery with a thin and long thing
such as a pen.
3 Mounting the battery
• Square Li-ion battery
Withdraw the slip block to make the + - contact plates of the
battery corresponded to the contact ports of the charger and
sandwiched into the space.(We summarize four types of
batteries in the market for you. Adjust the contact ports of
the charger and battery sandwiched method correspondingly.
See figures 2. According to your habit, you can also adjust the
contact ports and install the battery with left hand)
• Battery with pole on the back side
There is a anchor point for battery position to help you install
battery more easier and correct.(see the photos on the first page)
1 Make two marks with pen or else on both edge of opposite
side from 1. pole, be sure it is parallel with pole
2 Pull the slip cover of the charger down, and insert the battery
from the right or the left. Pole side is up
3 Adjust the two contacts of the charger to be parallel with the
positive and negative poles of the battery by a pen.
(Don’t take care of the right polarities.)
4 Pull down the slip cover again, and turn over the battery, and
then fix the battery poles on the top of the charger contacts
according to the anchor point for battery position and mark
which you have done at the first step, make them to be parallel
• AA/AAA NiMH/NiCD battery
Withdraw the slip block, make the + - contact plates of the
battery corresponded to the contact ports of the charger.
See figures 3.
CHARGING THE BATTERY
As soon as the battery is properly connected, charging begins, as
indicated by the green blinking light of the charge status indicator.
When charging is complete, the charge status indicator stops flashing
and remains solid green. At this point, the battery can be removed
for use. However it is recommended that you leave the battery con-
nected to the charger for another 30 minutes to ensure full-charge.

TROUBLE SHOOTING
1 No indicator lights
• Ensure that the AC power adaptor or the DC car cord
connected properly to the power and the charger
• Check if power is available
2 Power light only
• Contact port of the charger isn’t adjusted correctly or the
battery isn’t installed exactly – take out the battery to adjust
and install again.
• Contact may be covered with dirt—clean contacts of the
charger and the battery
• Faulty battery
3 Power light and indicator flash alternately
• Contacts short-cut
• Faulty battery
SPECIFICATIONS
• input: 12v 500mA
• standby current: 30mA
• charge current: 800mA(max)
• charge termination: fixed voltage/min. current for Li-Ion
batteries. negative delta-V for NiMh/NiCd cells.
• Dimension: 117(l) X 62(w) X 27.5(h) mm
Gebruiksaanwijzing
EIGENSCHAPPEN
• Werkt met de meeste 3,6-3,7V/7,2V digitale camera-, camcorder &
mobiele telefoon Li-ion batterijen:
• Microprocessor herkent 3,6-3,7V/7,2-7,4V Li-ion batterijen,
NiMh/NiCd cel-batterijen en hun +/- polen, en start automatisch
het laadproces;
• Controleert nauwkeurig snellaad batterijen, zodat de batterijen
daadwerkelijk volledig geladen worden
• Laag-voltage batterij activering
•
Detecteert automatisch batterijen op gebreken en op juiste voltage
GEBRUIKERSHANDLEIDING
1 Apparaat inschakelen
• De lader is gereed voor gebruik op het moment dat deze is
aangesloten op het stroomnetwerk of via de adapter op de
sigaretten aansteker unit van de auto. De rode stroomindicator zal
dan oplichten. Bij gebruik in de auto dient u er op attent te zijn
dat bij sommige auto’s het noodzakelijk is dat dan het contact
aan staat voor juiste werking van de sigaretten aansteker unit.
2 Instellen van de contactplaatjes van de lader
(Alleen noodzakelijk indien u verschillende type batterijen achter
elkaar wilt laden. Bij het opladen van dezelfde type batterij gaat u
gelijk door naar stap 3)
• Bekijk op de lader waar de + en -contactpunten zich bevinden;
• Duw de schuifkap van de lader terug tot zover nodig is om de
batterij te plaatsen en laad dan de schuifkap los, zodat de batterij
vastgeklemd wordt
• Verschuif indien nodig de contactplaatjes van de lader naar de
+ en – contactpunten van de batterij met een dun en lang
instrumentje, zoals bijvoorbeeld een pen;

3 Batterij bevestigen
• Li-ion batterij: Duw de schuifkap van de lader terug tot zover nodig is
om de batterij te plaatsen en laad dan de schuifkap los, zodat de
batterij vastgeklemd wordt tussen de juiste +/- contactpunten (zie
figuur 2). Afhankelijk van uw voorkeur kunt u ook de contactplaatjes
verschuiven om debatterijen te installeren met uw linkerhand;
• Batterijen met contactpool op de achterzijde.
Er is een markeringspunt voor de batterij positie om u te helpen
de batterij eenvoudiger en correct te plaatsen:
1 Maak twee markeringen met bijv. een pen aan beide zijde van een
contactpool en zorg ervoor dat dit parallel loopt aan de polen van
de batterij;
2 Schuif de schuifkap naar beneden en installeer de baterij via de
rechter- of linkerzijde. Hou de contactpool naar boven gericht.
3 Schuif de twee contactpunten van de lader parallel met de
positieve (+) en negatieve (-) polen van de batterij. Gebruik
hiervoor bijv. een pen (u hoeft geen rekening te houden met
gelijke polen).
4 Duw de schuifkap opnieuw naar beneden, draai de batterij om en
plaats de batterij nu terug. De contactpolen dienen nu precies
tussen de markeerpunten van de lader te vallen. Mocht dit niet het
geval zijn markeer de polen opnieuw en herhaal de vorige stappen.
• AA/AAA NiMh/NiCd batterijen
Duw de schuifkap terug, zorg ervoor dat de positieve (+) en de
negatieve (-) polen van de batterij overeenkomen met de juiste
contactpunten van de lader (zie figuur 3);
HET LADEN VAN DE BATTERIJ
Op het moment dat de batterij goed is geplaatst begint het laadproces
automatisch. Het lampje van de status indicator zal groen knipperen. Als
het laadproces is voltooid stopt het knipperen en zal de status indicator
alleen op groen staan. De batterij is hiermee klaar voor gebruik en u kunt
de batterij uit de lader nemen. Ondanks dat de status groen aangeeft wil-
len wij graag aanbevelen om de batterij toch nog 30 minuten in de lader
te laten zitten om er zeker van te zijn dat de batterij 100% geladen is.
FOUTMELDINGEN
1 Het status indicator lampje geeft geen licht
• Controleer of de stekker of adapter goed zijn aangesloten op
de lader. Indien u gebruik maakt van de auto adapter controleer
ook of uw auto contact aan staat of zelfs soms dat uw auto
gestart dient te worden;
• Controleer of uw netstroom beschikbaar is;
2 Alleen het stroomlampje brandt, maar de status indicator niet
• De contactpolen van de lader bevinden zich niet op de juiste
plek of de batterij is niet helemaal goed vastgeklemd – haal de
batterij uit de lader, wijzig eventueel de afstelling van de polen
van de lader en plaats de batterij opnieuw
• De contactpolen zijn mogelijk vervuild – controleer of de
contactpolen van de batterij en lader schoon zijn
• Batterij is defect
3 Het stroomlampje en het status indicator lampje knipperen
om de beurt
• Er is kortsluiting op de contactpolen – controleer of de positieve
(+) en de negatieve (-) polen van de batterij overeenkomstig
geplaatst zijn met de polen van de lader
• Het batterij voltage of de batterij zelf worden niet herkent door
de lader
SPECIFICATIES
• Input: 12V 500mA
• Standby verbruik: 30mA
• Laadverbruik: 800mA (max)
•
Laadgrens: vastgesteld voltage/min. verbruik voor Li-Ion batterijen,
negatieve delta-V voor NiMh/NiCd celbatterijen
• Afmetingen: 117 (L) x 62 (B) x 27,5 (H) mm

Gebrauchsinformation
GERÄTEEIGENSCHAFTEN
100-240V für weltweiten Einsatz. Automatische Erkennung der Polarität,
automatische Abschaltung. Automatische Erkennung von Batterie-
kapazität und von defekten Akkus. Geeignet für die ladung über einen
12V-Anschluss. Automatische Erhaltungsladung mit Überladeschutz.
WICHTIGE HINWEISE
Laden Sie nur geeignete wiederaufladbare Batterien (Li-Ionen and
NiMH). Vermeiden Sie das Berühren der Batteriekontakte mit Ihren
Händen oder mit metallischen Gegenständen. Verwenden Sie zur
Verschiebung der Kontakte den mitgelieferten Kunststoffstift.
Nur in geschlossenen Räumen verwenden. Nicht gewaltsam öffnen.
Vor Feuchtigkeit schützen. Verwenden Sie ausschließlich das
beigefügte Netzteil bzw. KFZ-Ladekabel.
ANWENDUNG
Verbinden Sie das Ladegerät zuerst mit der Stromquelle. Die rote LED
signalisiert Funktionsbereitschaft. Justieren Sie die verschieb
baren
Kontakte am Ladegerät, so dass die Kontakte am Akku (+ und -)
berüh-
rt werden. Fixieren Sie den Akku und achten Sie auf die LED. Blinkt
die LED grün, so wird der Akku geladen. Grünes Dauerlicht bedeutet,
dass der Ladevorgang abgeschlossen ist. Blinken die grüne und die
rote LED gleichzeitig, so handelt es sich um einen defekten Akku.
Der Akku muss ersetzt werden. Beim Einlegen der AA und AAA-Akkus
ist auf die richtige Polung zu achten. Aus Sicherheitgründen wird der
Ladevorgang nach 10 Stunden automatisch beendet.
FUNKTIONSÜBERSICHT
Eingang: DC 100-240V 50/60HZ
Ladestrom: 800 mA
(max.)
Led-Anzeigen
Rot: Funktionsanzeige
Grün blinkend: Ladevorgang läuft
Grün: Ladevorgang adgeschlossen
Opération d’instruction
CARACTÉRISTIQUES MATÉRIEL
100-240V pour une utilisation partout dans le monde.
Polarité automatique, auto-stop. Détection automatique de la batterie
et la capacité de détecter les batteries défectueuses.
Convient pour le chargement d’une connexion 12V. Charge de compen-
sation automatique de protection contre la surcharge.
INFORMATIONS IMPORTANTES
Compatible avec les piles rechargeable (Li-ion et NiMH).
Évitez de toucher le contact avec vos mains ou des objets métalliques.
Pour se déplacer les contacts fournis stylo en plastique.
APPLICATION
Connectez le chargeur à la source d’alimentation. La LED rouge indique
l’état de préparation opérationnelle de. Faites glisser les contacts du
chargeur, afin que les contacts (sur la batterie + et -) sont placés.
Fixez la batterie et vérifiez les LED. Si la LED clignote en vert, la batterie
chargée. Vert fixe signifie; la charge est terminée. Clignote en vert et
rouge en même temps, il s’agit d’une batterie défectueuse, la batterie
doit être remplacée.
Lors de l’insertion des piles AA et AAA de polarité est importante.
Pour la sécurité, la redevance sera résilié automatiquement après 10
heures.
CARACTERISTIQUES
Input: DC 100-240V 50/60Hz
Courant de charge: 800 mA (max.)
Indication LED rouge: opérationnelle
Fonction vert clignote: la progression du chargement
Vert: Charge complète

DESQ International
Eenspan 38, 3897 AL Zeewolde, The Netherlands
Phone +31 (0)36 5471080, Fax +31 (0)36 5471089
e-mail: [email protected], www.desq.eu
Table of contents
Popular Batteries Charger manuals by other brands


NETGEAR
NETGEAR Arlo quick start guide

TecMate
TecMate Optimate Lithium Instructions for use

United Chargers
United Chargers Grizzl-E Classic User manual & installation guide

Parkside
Parkside PAP 20 A1 Translation of the original instructions

HEITECH
HEITECH HT1500 user manual

fontastic
fontastic FORT 21 user manual

Pro Charging Systems
Pro Charging Systems IS1220 Safety, installation and operating instructions

Miboxer
Miboxer C4 user manual

Dynamite
Dynamite Passport instruction manual

Hilti
Hilti B 3600 Original operating instructions

Copernicus
Copernicus Tech Tub2 FTT699 Assembly guide

Kingpan
Kingpan SPIRIT 1.0 Plus Fast Charger Series manual