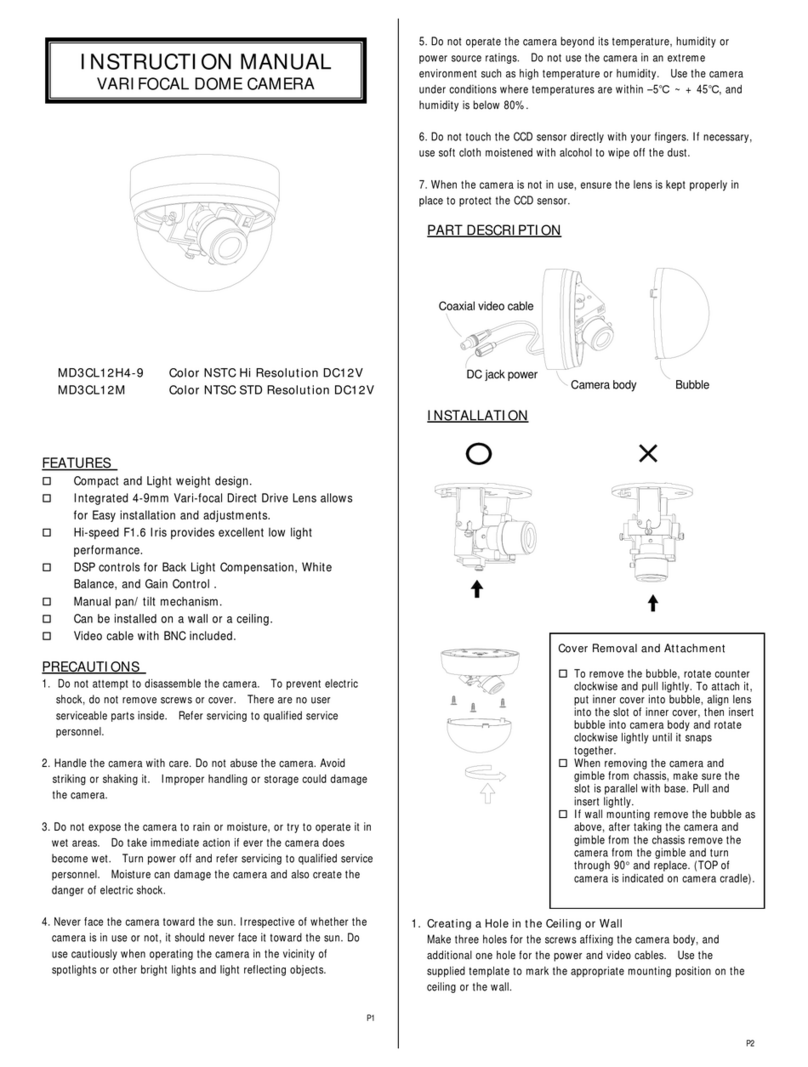
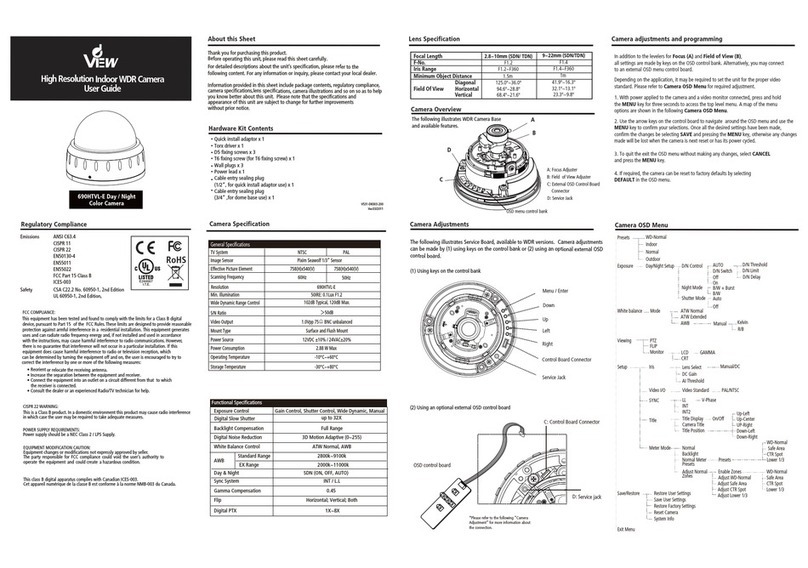
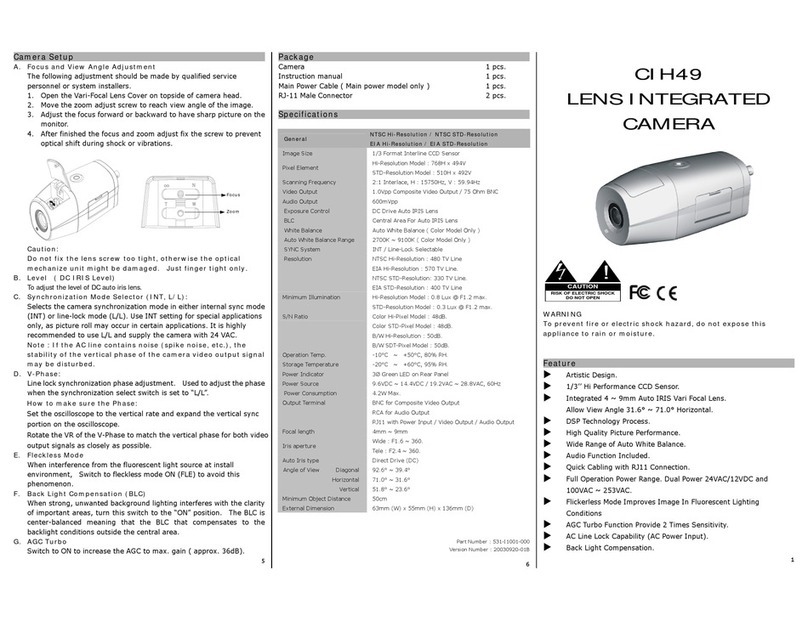
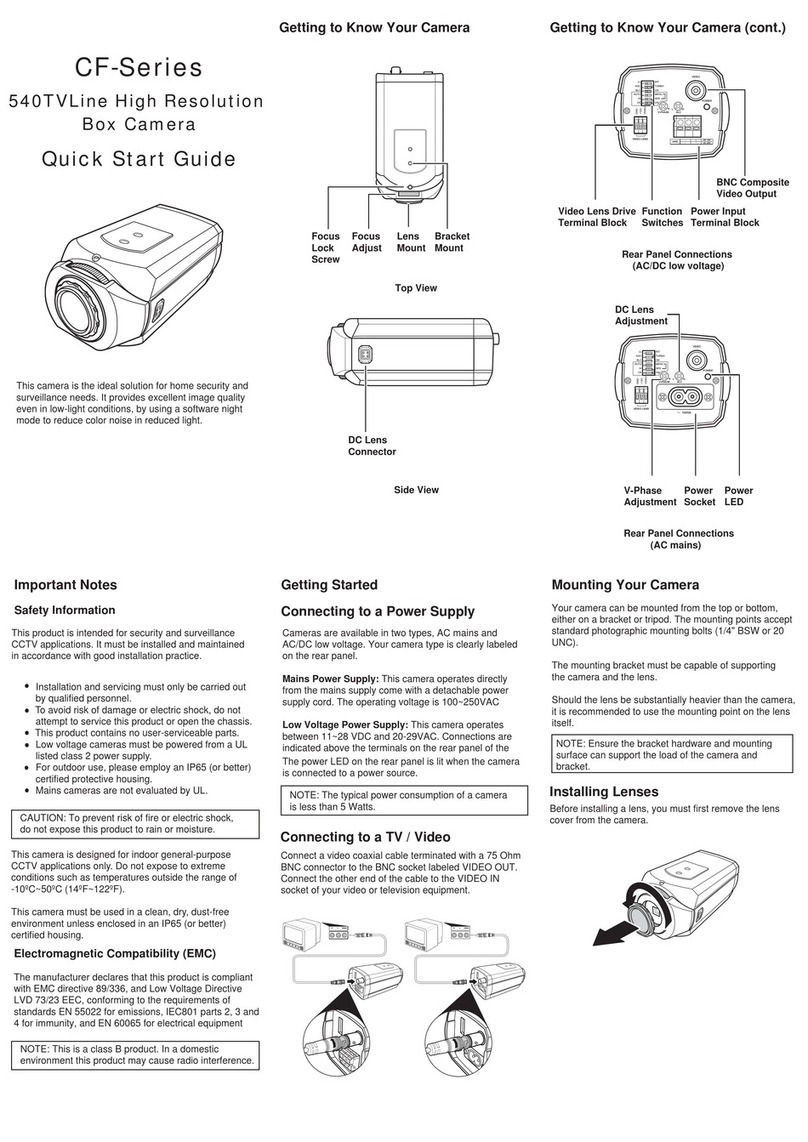
deView electronics CF Series User manual

CF /BF SERIES CAMERAS
INSTRUCTION MANUAL
Wide Dynamic NTSC Hi-Resolution Dual Power
Wide Dynamic PAL Hi-Resolution Dual Power
Wide Dynamic PAL Hi-Resolution Mains Power
PAL Hi-Resolution Mains Power
PAL Hi-Resolution Dual Power
NTSC Hi-Resolution Dual Power
PAL STD-Resolution Mains Power
PAL STD-Resolution Dual Power
CCIR Hi-Resolution Mains Power
CCIR Hi-Resolution Dual Power
EIA Hi-Resolution Dual Power
CCIR STD-Resolution Dual Power
CCIR STD-Resolution Main Power
EIA STD-Resolution Dual Power
Please Read this Instruction First !!!
Lens not Included

PRODUCT SAFETY
Warning
Installation and servicing is only carried out by suitable qualified and experienced
personnel.
Mains cameras contain hazardous voltage.
Do not open covers as there is a risk of injury or death by electric shock.
No servicing part inside camera.
Low voltage cameras must be powered from a UL listed class 2 power supply.
For outdoor use, an appropriate protective housing conforming to IP65 or better must
be used.
Mains camera are not evaluated by UL.
This camera range is designed for use in general-purpose CCVT applications and no other purpose.
Only operate your camera between the temperature of -10ºC to +50ºC ( 14ºF to 122ºF ). Do not
operate your camera outside its specified power supply range. Camera must only be used in clean,
dry, dust-free environments unless housed in suitable protective housings to IP65 or better.
ELECTROMAGNETIC COMPATIBILITY (EMC)
CAUTION
This is a class B product. In a domestic environment this product may cause
radio interference in which case the user may be required to take adequate
measures.
INTENDED PURPOSE : SECURITY AND SURVEILLANCE CCTV APPLICATIONS.
The product must be installed and maintained in accordance with good installation practice to enable
the product to function as intended and to prevent problems.
MANUFACTURER'S DECLARATION OF CONFORMANCE
The manufacturer declares that the equipment supplied with this manual is compliant with
the essential protection requirements of the EMC directive 89/336 and the Low Voltage
Directive LVD 73/23 EEC. Conforming to the requirements of standards EN 55022 for
emissions, IEC801 parts 2, 3 and 4 for immunity and EN 60065 for Electrical Equipment
safety.
2
To PREVENT FIRE OR SHOCK HAZARD, DO NOT EXPOSE THIS
APPLIANCE TO RAIN OR MOISTURE

CONTENTS
Product Safety
Electromagnetic Compatibility (EMC)
Manufacturer's Declaration of Conformance
Contents
Introduction
Packing List
Part Descriptions
Controls and Switches
Backlight compensation
Sharpness on/off
Gamma Selection
Automatic Gain Control on/off
Electronic Iris (EI) on/off
Synchronizations Selection (LL / INT)
Power LED on/off
Line Lock Phase Adjustment Potentiometer
Auto-iris lens Type Selector Switch (Video Drive or Direct DC Drive)
Auto-iris lens Connector
Composite Video Output BNC Connector
Power Supply
Mains power supply
Auto-switching power supply
Back Focus Adjustment
Installing Fixed & manual Iris Lenses
Installing Direct (or D.C.) Drive Lenses
Installing Video Drive Lenses
Camera Mounting
Specifications
3

INTRODUCTION
Read all of these instructions before using this camera. Retain them for reference for the lifetime of the camera.
Note that not all cameras have all of the features described in this manual. Refer to the table below for the features
of individual cameras. All cameras are fitted with a Direct Drive (DD) and Video Drive Auto Iris (AI) lens connector,
have adjustable back focus and accept C and CS lenses.
Option
Wide Dynamic NTSC Dual Power
Wide Dynamic PAL Dual Power
Wide Dynamic PAL Mains Power
PAL Hi-Res. Dual power
PAL Hi-Res. Mains power
PAL STD-Res. Dual power
PAL STD-Res. Mains power
CCIR Hi-Res. Dual power
CCIR Hi-Res. Mains power
NTSC Hi-Res Dual power
NTSC STD-Res. Dual power
EIA Hi-Res. Dual power
CCIR STD-Res, Dual Power
CCIR STD-Res. Main Power
EIA STD-Res. Dual Power
Monochrome
Colour
Digital Signal Process
1/3 CCD Sensor Size
PAL / CCIR Scanning System
NTSC / EIA Scanning System
Wide Dynamic
4x Auto Frame Integration
Resolution 480 480 480 480 480 330 330 580 580 480 330 580 400 400 400
Sensitivity 0.6 0.6 0.6 0.6 0.6 0.4 0.4 0.2 0.2 0.6 0.4 0.2 0.1 0.1 0.1
Lens Auto Detect
Direct Drive / Video Drive
Line Lock and Phase Adjustable
Auto Electronics Shutter
AGC Turbo
Backlight Compensation ON/OFF
Low – light Color Killer
Simple Back Focus Adjustment
Power Supply Requirements:
12VDC / 24VAC SPS
100VAC ~ 230VAC Universal
PACKING LIST'
Camera x1pcs.
DustCover x1pcs.
InstructionManual x1pcs.
Mains Power cable (Available for Main Power model only) x 1pcs.
4

PART DISCRIPTION AND DIMENSION
1. Lens Mount. 8. Variable Resistor for Line Lock Phase Adjustment.
2. Back Focus Adjustment. 9. Variable Resistor for DC Lens Adjustment.
3. Back Focus Lock Screw. 10. LED for power Indication.
4. Bracket Mounting Screw Hole 11. 3 pin Terminal Block for Video Lens Drive.
5.. 4 Pin Lens Connector for DC Drive Lens. 12. Terminal Block for Power Input ( Dual Power )
6. Switches for Function ON/OFF. 13. Figure 8 Power Socket for Mains Power.
7. BNC Composite Video Output.
5
1
2
3
5
4
7
6
9
8
10
11 12 13

CONTROLS AND SWITCHES
Refer to the figure below for the various adjustments, controls and functions selectable from the 6pin DIP-switch
switches.
LL / INT
This switch is used to select the synchronization mode of the camera. When the camera is connected to an AC
supply, the Line-lock (LL) mode can be used. This locks the camera's frame rate to the mains frequency so that
each camera in the system can be triggered at the same point on the supply's AC-cycle. See also Line Lock Phase
Adjustment Potentiometer. The default setting is INT.
AGC and TURBO
The Automatic Gain Control feature can improve picture quality when the level of scene illumination is low. Select
TURBO for most applications. Setting to AGC will remove “noise” from the image, which will also limit the
sensitivity of the camera.
BLC / ON
Switch to ON to enable the BackLight Compensation. This feature can be used to eliminate the effect of an area of
strong background lighting in a scene. If strong background lighting, such as a window, exists in a scene, the
camera will try to compensate for it by reducing the overall exposure. This would mean that the areas surrounding
the window would become too dark.
The default setting is off (BLC).
BLC ON will only function with a manual iris lens when the Electronic Iris feature is switched on.
For direct drive and video drive lenses, BLC ON will still function even though the Electronic Iris feature is switched
off.
6

Auto / Manual Lens Type Selection ( Not available for Wide Dynamic Camera )
When set to AUTO the camera will automatically detect which type of lens is attached and configure itself
accordingly. Plugging a DC lens into the side connector will enable DD lens drive. Connecting a Video Iris lens to the
connector on the rear will select Video Iris drive. No connection will default to AES mode.
AUTO is the default setting.
WD ON / Off
AI / AES Mode Selection
This switch operates when Auto / Man is set to MAN mode. Setting to AES forces Electronic Iris mode,
compensates for excessive light levels by automatically adjusting the shutter speed of the camera.
AI will force DD or Video Iris mode, depending which type of lens is connected.
CK / ON
Chroma Killer. When set to on and AGC is in TURBO mode, chroma information is suppressed within the image in
low light. The resulting monochrome image produces a higher resolution image by removing chroma noise
contained in the image. This also permits more efficient recording with a DVR.
LINE LOCK PHASE ADJUSTMENT POTENTIOMETER
When the camera is in line-lock mode it is possible to adjust the point on the AC cycle at which the camera triggers.
This facility is provided so that cameras that are connected to different mains phases may still be synchronized.
The line lock phase adjustment potentiometer allows the line lock phase trigger point to be adjusted by :1:120°.
Rotating the potentiometer clockwise advances the trigger point and turning it anticlockwise retards the trigger
point. The factory default setting is the zero crossing point. If all cameras in a system are on the same mains phase
then no line lock phase adjustment should be made-see also Synchronization Selection (LL/INT).
ALC LEVEL ADJUSTMENT POTENTIOMETER
The DD lens level is controlled by this potentiometer. The video output signal is converted into a DC voltage by
circuitry within the camera. The potentiometer sets a reference voltage against which this derived DC voltage is
compared. If the DC voltage is less than the reference level, the lens iris opening is increased. If the DC voltage is
greater than the reference level, the lens iris opening is decreased. This control loop attempts to continually match
the DC voltage derived from the video signal, to the reference voltage set by the potentiometer. This feature allows
the installer to set the required video output amplitude (e.g. 1Vpp) that the lens should strive to maintain.
7
POWER LED ON/OFF
In normal operation, the LED on the rear panel of the camera is illuminated when power is connected to the
camera.
COMPOSITE VIDEO OUTPUT BNC CONNECTOR
Connect a video coaxial cable terminated with a 75 Ohm BNC connector to the BNC socket marked VIDEO OUT.
POWER SUPPLY
Cameras are available in AC mains, and AC and DC low voltage types. The voltage required to operate the camera
is clearly marked on the rear panel of the camera. Low voltage cameras must be powered from a UL listed class 2
power supply. The typical power consumption of a camera is less than 5 Watts.
Mains power supply:
Cameras that are intended to operate directly from the mains supply are fitted with a detachable power supply cord.
The operating voltage is 100~250VAC
Low Voltage power supply:
These cameras are fitted with an automatic switching power supply that will operate between 11-28 VDC and 20-29
VAC. Connections are indicated above the terminals on the rear panel of the camera. The power supply must be a
UL listed class 2 type.
LENS SELECTION
Suitable lens types are C and CS mount in fixed iris, manual iris, auto iris or direct drive versions. Cameras are
factory set for CS mount lenses. If using a C mount lens, rotate the back focus adjustment mechanism fully
clockwise (when viewed from the front of the camera) before fitting the lens, see Back Focus Adjustment.
BACK FOCUS ADJUSTMENT
There is a back focus adjustment accessible at front of the camera housing,
that is used to adjust the back focal length or coarse picture focus. The range
of adjustment allows both C and CS mount lenses to be used without the need
for a spacer ring. To use the back focus mechanism:
1. Unlock the back focus mechanism using the Back Focus adjustment lock screw (figure 1).
2. Rotate the back focus adjustment ring as required. When viewed from the front of the camera, clockwise
adjustment moves the CCD sensor away from the back of the lens; counter clockwise adjustment moves the
CCD sensor towards the back of the lens
3. Lock the back focus mechanism.
8
Back Focus Adjustment
Lock Screw.
Figure 1

Installing Fixed IRIS lenses & Manual Iris lenses
1. Turn the back focus adjustment ring fully clockwise (when viewed from the front -see Back Focus Adjustment),
if using a C-mount lens.
2. Fit the lens to the camera.
3. Ensure the Electronic Iris (EI) and Automatic Gain Control (AGC) features are both turned ON (AUTO or MAN
& AES and TURBO).
4. If the lens has an IRIS, open this fully.
5. If the lens has a focusing ring fitted, set it to infinity (00) and then adjust the back focus.
6. If the lens has an IRIS, close accordingly if a greater depth of field is required.
Installing Direct (OR D.C.) Drive lenses
1. Turn the back focus adjustment ring fully clockwise (when viewed from the front) if fitting a C-mount lens.
2. Fit the lens to the camera and connect it according to the diagram below.
WARNING The maximum load for this type of lens must not exceed 25mA.
3. Set the lens type selector switch to AUTO (or MAN and AI).
4. Set the AGC switch to AGC.
5. If the lens has a focusing ring fitted, set it to infinity (00) and then adjust the back focus.
6. With typical scene illumination, set the ALC Level adjustment potentiometer for the correct exposure. This
can be achieved either visually or more accurately by using an oscilloscope or level meter to set the output of
the camera to 1 V peak-peak.
7. Ensure the Automatic Gain Control feature is turned to TURBO.
Installing Video Drive Lenses
1. Turn the back focus adjustment ring fully clockwise (when viewed from the front) if fitting a C-mount lens.
2. Fit the lens to the camera and connect it according to the diagram below.
WARNING The maximum load for this type of lens must not exceed 50mA.
9
Pin 1
Pin 3
Pin 4 DC Drive
Damp -
PIN #
Pin 1
Pin 2
Pin 3
Pin 4
Damp +
Drive +
Drive -
Pin 2
VIDEO LEVEL
VIDEO
+12V
GND

3. Set the lens type selector switch to AUTO (or MAN and AI).
4. Set the AGC switch to AGC.
5. If the lens has a focusing ring fitted, set it to infinity (00) and then adjust the back focus.
6. With typical scene illumination, set the Lens Level adjustment potentiometer on the lens for the correct
exposure. This can be achieved either visually or more accurately by using an oscilloscope or level meter to set
the output of the camera to 1 V peak-peak.
If the scene lighting conditions are extremely uneven, it may be necessary to adjust the lens's Peak Average
potentiometer. Refer to the lens instructions.
7. Ensure the Automatic Gain Control feature is switched to TURBO.
CAMERA MOUNTING
Mounting points are provided on the top and bottom of the camera and are used to mount the camera on a bracket
or tripod. They are designed to accept standard photographic mounting bolts (1/4" BSW or 20 UNC). The mounting
bracket must be capable of supporting the weight of the camera and its lens. In cases where the lens is
substantially heavier than the camera, it is better to use the mounting point on the lens itself.
NOTE:
Ensure that any fixings used to mount the bracket are adequate to support the load of the camera and bracket on
the surface to which the bracket is fixed.
10

SPECIFICATIONS
General Wide Dynamic NTSC Dual Power Wide Dynamic PAL Dual Power
Wide Dynamic PAL Main Power
Image Size 1/3 Format Interline CCD Sensor Ye, Cy, Mg, G, color complementary mosaic filter
Pixel Element 768 (H) ×494 (V) approx. 380K pixels 752 (H) ×582 (V) approx. 440K pixels
Scanning Frequency NTSC 2 : 1 Interlace / H : 15750Hz , V : 59.94Hz PAL 2 : 1 Interlace / H : 15625Hz , V : 50Hz
Operation Temperature -10˚C ~ +50˚C
Storage Temperature -20˚C ~ +60˚C
Output Terminal BNC 75Ohm Unbalance
Input Terminal Dual Power 2 pin Screw Type Terminal Block 2 pin Screw Type Terminal Block
Main Power ----- European Power Socket
Power Operation Range Dual Power 12VDC +/- 10% , 24VAC +/- 10% 60Hz 12VDC +/- 10% , 24VAC +/- 10% 50Hz
Main Power ----- AC100V ~ AC250V 50Hz
Power Consumption 4.5W Max.
Power Indicator 3ø Green LED on Rear Panel
IRIS Connector Video Drive 3pin Push Lock Terminal Block on Rear
DC Drive 4pin Connector on Side ( Panasonic Standard )
Lens Mount CS ~ C Mount Adjustable
Back Focus Adjust CS Mount 11mm ~ C Mount 18mm
Mounting Hole 1/4” Top and Bottom
External Dimension 58mmW x 66mmH x 131mmL
Functional Specification
Exposure Control Auto Detect : Auto Electronics Shutter / Video Auto IRIS / DC Auto IRIS
AES Auto Luminance Control 1/60 ~ 1/100000 sec Max. Auto Luminance Control 1/50 ~ 1/100000 sec Max
Auto IRIS Control Video Drive / DC Drive Separate Output
Video IRIS Output 1.0Vpp ( 100IRE Video Output )
DC IRIS Output 650mV at 85Ohm Impendent
Wide Dynamic Range 52dB ON / OFF
BLC Center Area for Auto IRIS and AES
White Balance Auto White Balance
Auto White Balance Range 2500K ~ 9500K
Day & Night Color Killer Auto Detect by Luminance < Fuzzy 30IRE ~ 80IRE>
AGC Boost Enhance AGC Gain to Max. 36dB
Color Killer Fuzzy ON / OFF
SYNC System INT / Line Lock
Line Lock Phase Adjust Range 0˚~ 270˚
Frequency Range 60Hz +/- 1Hz 50Hz +/- 1Hz
Video Specification
Resolution Normal Mode 480 TV Line
CK Mode 500 TV Line
Minimum Illumination 0.6Lux @ F=1.2 ( 50IRE Video Output )
Video Output 1.0Vpp 75Ohm BNC unbalance
S/N Ratio 50dB
AGC Preset Gain 30dB
H Aperture 10 IRE ( r 0.45 100IRE Video Output )
V Aperture 10 IRE ( r 0.45 100IRE Video Output )
Gamma Compensation 0.45
Function Control or Adjustment
Exposure Control Auto Detect : Auto Electronics Shutter / Auto IRIS
Manual Exposure Control AES / Video Drive / DC Drive
Color Killer Fuzzy ON / OFF
BLC ON / OFF Switchable
Wide Dynamic ON / OFF Selectable
SYNC System INT / LL Switchable on Rear Panel
V-Phase Via Resistor on Rear panel
11

General PAL Hi-Resolution Dual Voltage
PAL Hi-Resolution Mains Voltage PAL STD-Resolution Dual Voltage
PAL STD-Resolution Mains Voltage CCIR Hi- Resolution Dual Voltage
CCIR Hi- Resolution Mains Voltage
Image Size 1/3 Format Interline CCD Sensor Ye, Cy, Mg, G,
color complementary mosaic filter
1/3 Format Interline CCD
Solid State Image Sensor
Pixel Element 752 (H) × 582 (V) approx. 440K pixels 500 (H) × 582 (V) approx.290K pixels 752 (H) × 582 (V) approx.440K pixels
Scanning Frequency PAL 2 : 1 Interlace H : 15625Hz , V : 50Hz CCIR 2 : 1 Interlace
H : 15625Hz , V : 50Hz
Operation Temperature -10˚C ~ +50˚C
Storage Temperature -20˚C ~ +60˚C
Output Terminal BNC 75Ohm Unbalance
Input Termina LV Power 3pin Push Lock Terminal Block
Mains Power Figure 8 wire end lead
Power Source LV Power DC12V / AC24V +/- 20%
Mains Power AC100V ~ AC240V
Power Consumption 4.2W Max,
Power Indicator 3mm Green LED on Rear Panel
DC Iris 4pin Connector on Side ( Panasonic Standard )
IRIS Connector Video iris 3pin Push Lock Terminal Block
Lens Mount CS ~ C Mount Adjustable
Back Focus Adjust CS Mount 11mm ~ C Mount 18mm
Mounting Hole 1/4” Top and Bottom
External Dimension 67.5mm (W) x 58.5mm (H) x 133.5mm (D)
Functional Specification
Exposure Control Auto Electronics Shutter / Video Auto RIS / DC Auto IRIS
AES Auto Luminance Control 1/50 ~ 1/100000 sec Max.
Auto IRIS Control Video Drive / DC Drive
Video IRIS Output 1.0Vpp ( 100IRE Video Output )
DC IRIS Output 650V at 85Ohm Impendent
BLC Center Area for Auto IRIS and AES
White Balance Auto White Balance 2500K ~ 9500K
AGC Turbo Enhance AGC Gain to Max. 36dB
SYNC System INT / Line Lock
Line Lock Phase Range 0˚~ 270˚
Frequency Range 50Hz +/- 1Hz
Video Specification
Resolution 480 TV Line 330 TV Line 580 TV Line
Minimum Illumination 0.6Lux @ F=1.2
( 50IRE Video Output ) 0.4Lux @ F=1.2
( 50IRE Video Output ) 0.2 Lux @ F=1.2
( 50IRE Video Output )
Video Output 1.0Vpp 75Ohm BNC unbalance
S/N Ratio 50dB
AGC LOW Gain 36dB
AGC HIGH Gain 30dB
H Aperture 10 IRE ( r 0.45 100IRE Video Output )
V Aperture 10 IRE ( r 0.45 100IRE Video Output )
Gamma Compensation 0.45
Function Control or Adjustment
Exposure Control Auto Electronics Shutter / Auto IRIS
Lenses Drive Video or DC Drive - auto detect
BLC ON / OFF Switchable
AGC Selectable AGC Normal / AGC Turbo
SYNC System INT / LL Switchable on Rear Panel
V-Phase Via variable resistor on Rear panel
Lens Level Control Via Resistor on Rear Panel (For DC Drive Lenses only)
12

General NTSC Hi-Resolution Low Voltage NTSC STD-Resolution Dual Power
Image Size 1/3 Format Interline CCD Sensor Ye, Cy, Mg, G, color complementary mosaic filter
Pixel Element 768 (H) × 494 (V) approx. 380K pixels 510 (H) × 492 (V) approx. 250K pixels
Scanning Frequency NTSC 2 : 1 Interlace / H : 15750Hz , V : 59.94Hz
Operation Temperature -10˚C ~ +50˚C
Storage Temperature -20˚C ~ +60˚C
Output Terminal BNC 75Ohm Unbalance
Input Terminal 3pin Push Lock Terminal Block
Power Source DC12V / AC24V +/- 20%
Power Consumption 4.2W Max,
Power Indicator 3ø Green LED on Rear Panel
DC Iris 4pin Connector on Side ( Panasonic Standard )
IRIS Connector Video iris 3pin Push Lock Terminal Block
Lens Mount CS ~ C Mount Adjustable
Back Focus Adjust CS Mount 11mm ~ C Mount 18mm
Mounting Hole 1/4” Top and Bottom
External Dimension
Functional Specification
Exposure Control Auto Electronics Shutter / Video Auto RIS / DC Auto IRIS
AES Auto Luminance Control 1/60 ~ 1/100000 sec Max.
Auto IRIS Control Video Drive / DC Drive
Video IRIS Output 1.0Vpp ( 100IRE Video Output )
DC IRIS Output 650V at 85Ohm Impendent
BLC Center Area for Auto IRIS and AES
White Balance Auto 2500K ~ 9500K
AGC Boost Enhance AGC Gain to Max. 36dB
SYNC System INT / Line Lock
Line Lock Phase Range 0˚~ 270˚
Frequency Range 60Hz +/- 1Hz
Video Specification
Resolution 480 TV Line 330 TV Line
Minimum Illumination 0.66Lux @ F=1.2 ( 50IRE Video Output )
Video Output 1.0Vpp 75Ohm BNC unbalance
S/N Ratio 50dB
AGC HIGH Gain 36dB
AGC LOW Gain 30dB
H Aperture 10 IRE ( r 0.45 100IRE Video Output )
V Aperture 10 IRE ( r 0.45 100IRE Video Output )
Gamma Compensation 0.45
Function Control or Adjustment
Exposure Control Auto Electronics Shutter / Auto IRIS
Lenses Drive Video or DC Drive - auto detect
BLC ON / OFF Switchable
AGC Selectable AGC Normal / AGC Turbo
SYNC System INT / LL Switchable on Rear Panel
V-Phase Via variable resistor on Rear panel
Lens Level Control Via Resistor on Rear Panel (For DC Drive Lenses only)
13

General EIA Hi-Resolution Dual Power
Image Size 1/3 Format Interline CCD Solid State Image Sensor
Pixel Element 768 (H) × 494 (V) approx. 380K pixels
Scanning Frequency EIA 2 : 1 Interlace / H : 15750Hz , V : 59.94Hz
Operation Temperature -10˚C ~ +50˚C
Storage Temperature -20˚C ~ +60˚C
Output Terminal BNC 75Ohm Unbalance
Input Terminal 3pin Push Lock Terminal Block
Power Source DC12V / AC24V +/- 20%
Power Consumption 3.2W Max,
Power Indicator 3ø Green LED on Rear Panel
DC Iris 4pin Connector on Side ( Panasonic Standard )
IRIS Connector Video iris 3pin Push Lock Terminal Block
Lens Mount CS ~ C Mount Adjustable
Back Focus Adjust CS Mount 11mm ~ C Mount 18mm
Mounting Hole 1/4” Top and Bottom
External Dimension
Functional Specification
Exposure Control Auto Electronics Shutter / Video Auto RIS / DC Auto IRIS
AES Auto Luminance Control 1/60 ~ 1/100000 sec Max.
Auto IRIS Control Video Drive / DC Drive
Video IRIS Output 1.0Vpp ( 100IRE Video Output )
DC IRIS Output 650V at 85Ohm Impendent
BLC Center Area for Auto IRIS and AES
AGC Boost Enhance AGC Gain to Max. 36dB
SYNC System INT / Line Lock
Line Lock Phase Range 0˚~ 270˚
Frequency Range 60Hz +/- 1Hz
Video Specification
Resolution 580 TV Line
Minimum Illumination 0.2 Lux @ F=1.2 ( 50IRE Video Output )
Video Output 1.0Vpp 75Ohm BNC unbalance
S/N Ratio 50dB
AGC Turbo Gain 36dB
AGC Preset Gain 30dB
H Aperture 10 IRE ( r 0.45 100IRE Video Output )
Gamma Compensation 0.45
Function Control or Adjustment
Exposure Control Auto Electronics Shutter / Auto IRIS
Lenses Drive Video or DC Drive - auto detect
BLC ON / OFF Switchable
AGC Selectable AGC Normal / AGC Turbo
SYNC System INT / LL Switchable on Rear Panel
V-Phase Via variable resistor on Rear panel
Lens Level Control Via Resistor on Rear Panel (For DC Drive Lenses only)
14

Drawing and Dimension - standard Range Camera
15

Drawing and Dimension – Wide Dynamic Camera
16
Other manuals for CF Series
1
This manual suits for next models
1
Table of contents
Other deView electronics Security Camera manuals

deView electronics
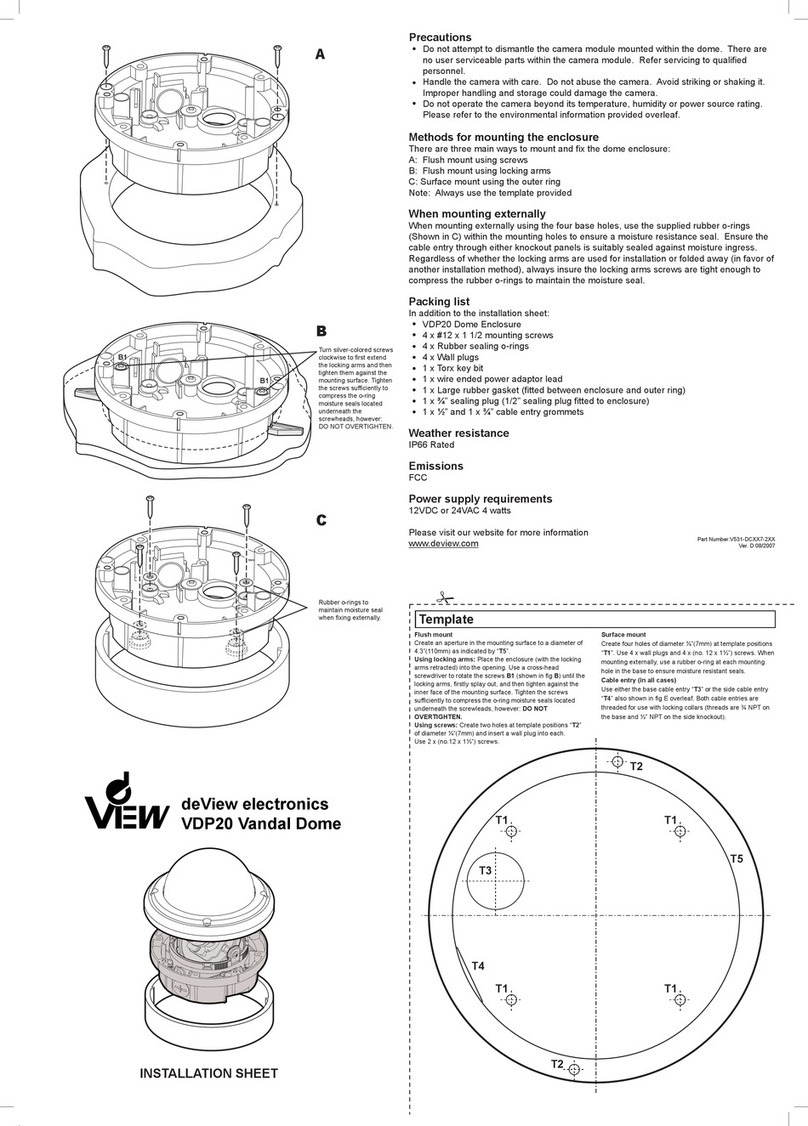
deView electronics vdp20 vandal dome Assembly instructions

deView electronics
deView electronics 690HTVL-E User manual

deView electronics
deView electronics CF Series User manual

deView electronics
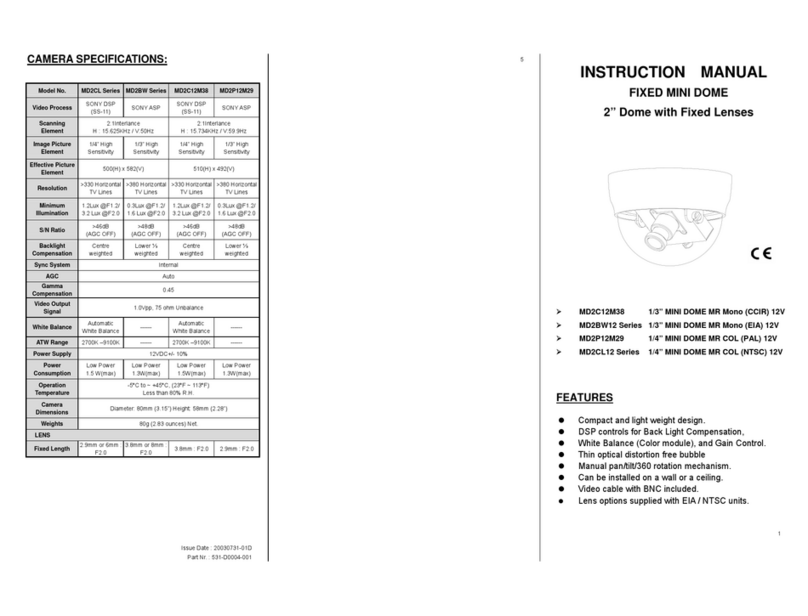
deView electronics MD2C12M38 User manual

deView electronics
deView electronics MD3CL12H4-9 User manual

deView electronics
deView electronics CIH49 User manual