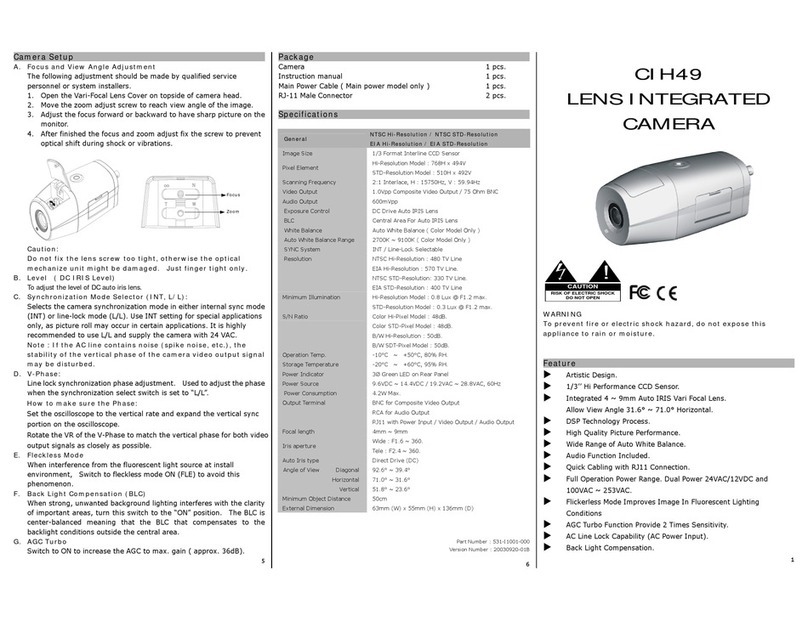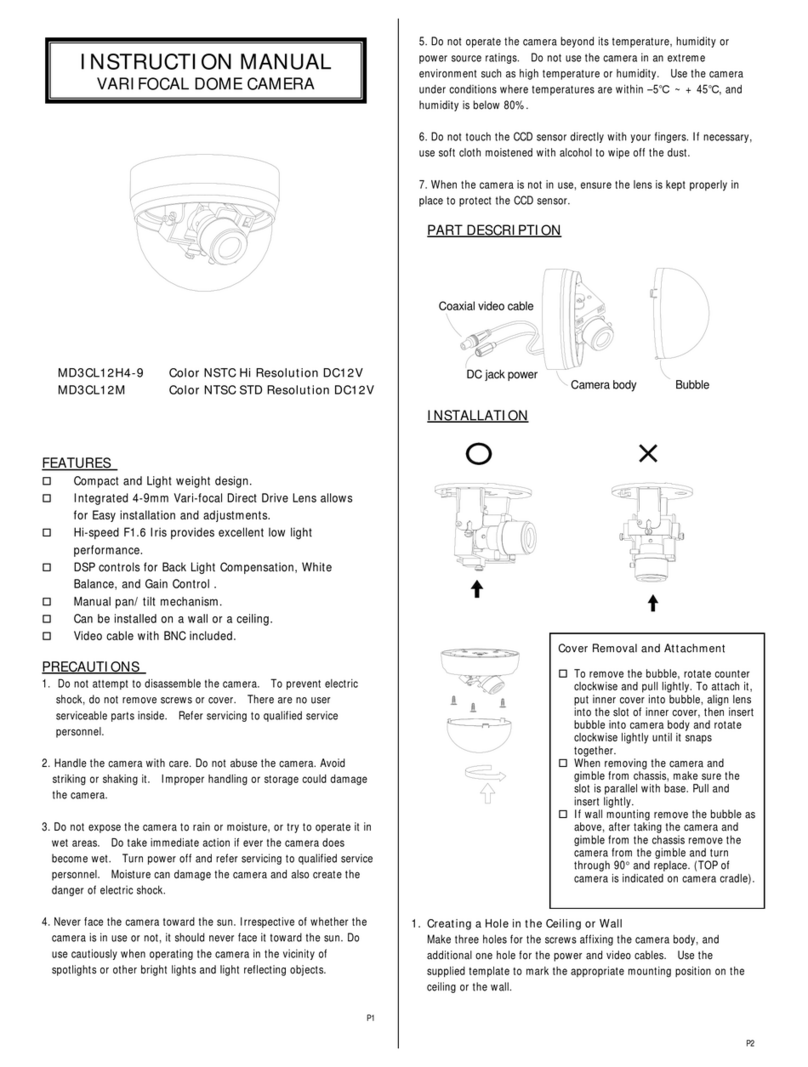
Pin Number DC Drive
Pin 1 Damp-
Pin 2 Damp +
Pin 3 Drive -
Pin 4 Drive +
Installing a Direct (DC) Drive Lens
1. If using a C-mount lens, turn the back focus adjustment
fully counter-clockwise with the lens facing towards you
(see Setting the Focus).
2. Fit and connect the lens to the camera according to the
following pin assignments.
3. Set the lens type selector switch to AUTO (or MAN
and AI/AES set to AI).
4. Set the AGC switch to AGC.
5. If a focus ring is fitted to the lens, set it to infinity (∞)
and then adjust the back focus.
6. With typical scene illumination, set the ALC Level
adjustment potentiometer to the correct exposure.
This can be achieved manually or by using and
oscilloscope or level meter to set the output of the
camera to 1 V peak-peak.
7. Ensure the Automatic Gain Control switch is set to
TURBO.
CAUTION: The maximum load for this type of lens
must not exceed 25mA.
DC LENS
1
2
4
3
Setting the Focus
The picture focus is adjusted using the back focus
adjustment mechanism which is located on the front of the
camera,above and below the lens mount. The range of
adjustment allows both C and CS mount lenses to be used
without a spacer ring.
Use the following procedure to adjust the focus:
1. Unscrew the back focus adjustment lock screw.
2. Turn the focus adjustment counter-clockwise (if facing
the lens) to move the CCD sensor away from the back
of the lens, or clockwise to move the CCD sensor
towards the back of the lens.
3. Tighten the lock screw to fix the focus adjustment in
place.
Installing Fixed and Manual Lenses
1. If using a C-mount lens, turn the back focus adjustment
fully counter-clockwise with the lens facing towards you
(see Setting the Focus).
2. Screw the lens on to the camera.
3. Ensure the electronic iris is enabled: AUTO/MAN set to
AUTO or AUTO/MAN set to MAN AI-AES set to AES
4. Ensure that the AGC control is set to TURBO
5. If the lens has an iris, open this fully.
6. If the lens has a focusing ring fitted, set it to infinity (∞)
and then adjust the back focus.
6. If the lens has an iris, close according to the required
depth of field.
Installing a Video Drive Lens
CAUTION: The maximum load for this type of lens
must not exceed 50mA.
1
2
1. If using a C-mount lens, turn the back focus adjustment
fully counter-clockwise with the lens facing towards you
(see Setting the Focus).
2. Fit the lens to the camera according to the following pin
assignments.
3. Set the lens type selector switch to AUTO (or MAN
and AI/AES set to AI).
4. Set the AGC switch to AGC.
5. If a focus ring is fitted to the lens, set it to infinity (∞)
and then adjust the back focus.
6. With typical scene illumination, set the ALC Level
adjustment potentiometer to the correct exposure.
This can be achieved manually or by using an
oscilloscope or level meter to set the output of the
camera to 1 V peak-peak.
If lighting conditions are very uneven, it may be
necessary to adjust the lens Peak/Average
potentiometer.
6. Ensure the Automatic Gain Control switch is set to
TURBO.
VIDEO LENS
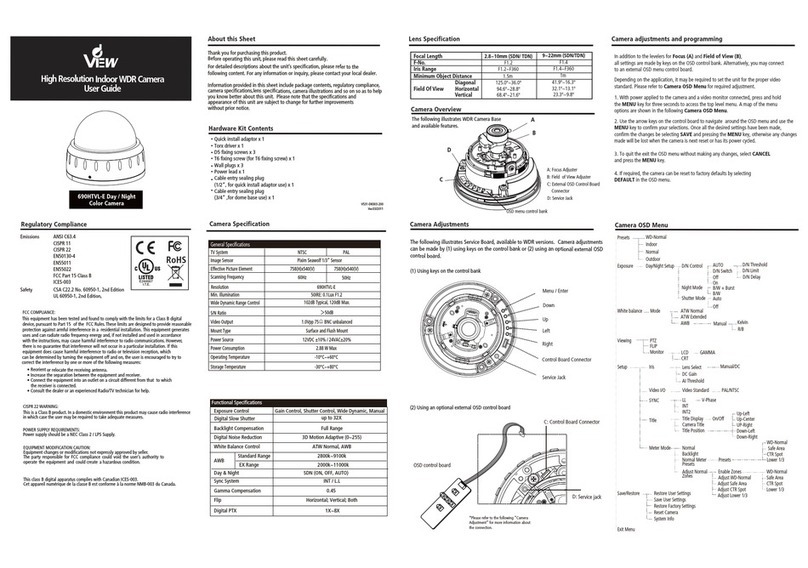
Controls and Switches
LL / INT
Selects the camera's synchronization mode. When the
camera is connected to an AC power supply, the Line
Lock (LL) mode can be used.
AGC / TURBO
The Automatic Gain Control feature can improve picture
quality in low lighting conditions. Select TURBO for most
applications. Setting to AGC will remove 'noise' from the
image, but it will also limit the camera's sensitivity.
BLC / ON
The Backlight Compensation feature eliminates the effect
of strong background lighting, maintaining the correct
exposure. Switch to ON to activate. When switched to
BLC, the feature is off.
AUTO / MAN
The AUTO feature automatically detects the type of lens
attached to the camera. Plugging a DC lens into the side
connector will enable DD lens mode. Connecting a video
lens to the rear connectors wil enable Video Drive lens
mode. If no lens connections are made the the camera
will assume a manual or fixed ir
The MAN setting is provided as a manual overide in the
case that a lens is incorrectly detected. If MAN is selected
the AI/AES switch must as also be set for the appropriate
lens type - see below.
AI/ AES
This feature is only active when AUTO/MAN is set to
MAN.
Selecting AI enables DD or Video Drive mode, depending
on the type of lens connected.
Selecting AES enables Electronic Iris mode, which
compensates for excessive light levels by automatically
adjusting the camera shutter speed. This mode should
only be used with fixed or manual iris lenses.
CK / ON
The CK (Chroma Killer) mode can be activated when
AGC is in TURBO mode, and suppresses chroma
information within the image in low light, producing a
monochrome image. Switch to ON to activate.
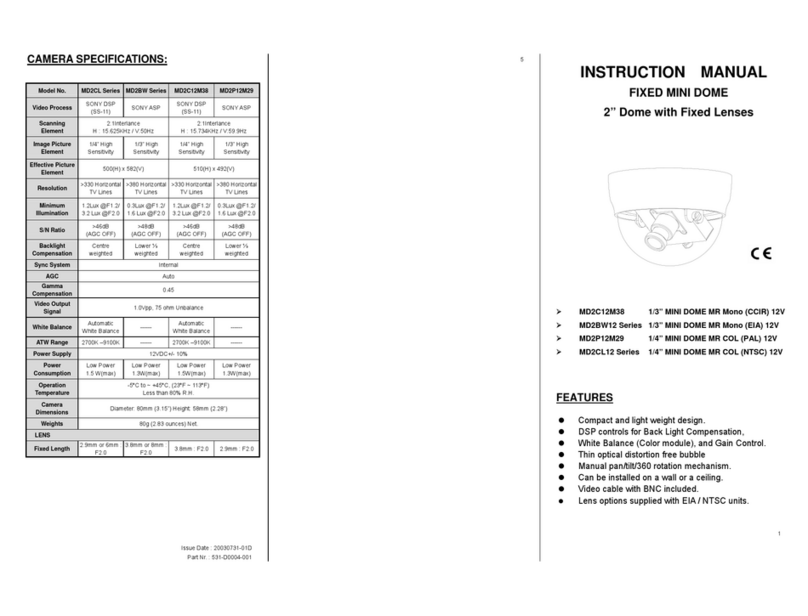
Specifications
NTSC PAL
1/3 Format Interline CCD Sensor
768(H) x 494(V) 752(H) x 582(V)
380K pixels 430K pixels
NTSC 2:1 Interlace PAL 2:1 Interlace
H:15750Hz V:59.94Hz H:15625Hz V:50.0Hz
-10°C~+50°C / -20°C~+60°C
BNC 75Ωunbalanced
3pin Push Lock Terminal Block
20~28VAC
11VDC~28VDC
4W Max
3Ø Green LED on Rear Panel
3pin Push Lock Terminal Block on Rear
4pin Connector on Side
CS ~ C Mount Adjustable
CS Mount 11mm ~ 18mm
1/4” Top and Bottom
67.5mm(W) x 58.5mm(H) x 133.5mm (L)
General
Image Size
Pixel Element
Scanning Frequency
Operation/Storage Temperature
Output Terminal
Input Terminal
AC Power Supply
DC Power Supply
Power Consumption
Power Indicator
Video Drive
DC Drive
Lens Mount
Back Focus Adjust
Mounting Hole
External Dimension
Line Lock
IRIS Connector
Power Source
Functional Specification
Exposure Control
AES
Auto IRIS Control
Video IRIS Output
DC IRIS Output
BLC
Auto White Balance
Auto White Balance Range
Day & Night
AGC Boost
SYNC System
Phase Adjust Range
Frequency Range
NTSC PAL
Auto Detect : Auto Electronic Shutter / Video
Auto IRIS / DC Auto IRIS
Auto Luminance Control
1/60 (1/50) ~ 1/100000 sec Max.
Video Drive / DC Drive - Separate Outputs
1.0Vpp (100 IRE Video Output)
650mV at 85ΩImpendance
Center Area for Auto IRIS and AES
Auto White Balance
AWB : 2700K ~ 11000K
AWB-EX : 2000K ~ 18000K
Fuzzy Software Nightmode ON/OFF
Enhanced AGC Gain to Max. 36dB
INT / Line Lock
0°C~270°C
60Hz +/- 1Hz 50Hz +/- 1Hz
Video Specification
Normal Mode
S-DN Mode
Minimum Illumination
Video Output
S/N Ratio
AGC Turbo Gain
AGC Preset Gain
H Aperture
V Aperture
Gamma Compensation
NTSC PAL
540 TV Line
570 TV Line
0.7Lux @ F=1.2 (50 IRE Video Output)
1.0Vpp 75ΩBNC unbalanced
50dB
36dB
26dB
10 IRE (r 0.45 100 IRE Video Output)
10 IRE (r 0.45 100 IRE Video Output)
0.45
Resolution
Function Control or Adjustment
Exposure Control
Color Killer
BLC
AGC Gain Control
SYNC System
V-Phase
Lens Level Control
NTSC PAL
Auto Detect : Auto Electronic Shutter / Auto
IRIS
Fuzzy ON / OFF
ON / OFF Switchable
AGC Normal / AGC Turbo
INT / LL Switchable on Rear Panel
Via Resistor on Rear Panel
Via Resistor on Rear Panel for DC Drive Lens
V-Phase
When the camera is connected to analogue display
equipment that is connected to a different mains supply
phase, picture roll may be experienced.
The V-Phase potentiometer can used to reduce this
effect by varying the field sync trigger point.
This feature is only active when the camera is connected
to an AC supply and the LL/INT switchis set to LL. The
control will give 0~270º of adjustment
ALC
The ALC control is used adjust the video signal level
when using a DC Iris lens.
See: Installing a Direct (DC) Drive Lens
