manuals.online logo
Brands
  1. Home
  2. •
  3. Brands
  4. •
  5. Deye
  6. •
  7. Inverter
  8. •
  9. Deye SUN-1K-G User manual

Deye SUN-1K-G User manual

User Manual
R
AC
DC Al arm
Normal
Grid-connected PV Inverter
1. Introduction
1.1 Appearance Introduction
1.2 Parts list
2. Safety warnings and instructions
2.1 Safety signs
2.2 Safety instructions
2.3 Notes for using
3. Operation Interface
3.1 Interface View
3.2 Status Indicator
3.3 Buttons
3.4 LCD Display
4. Product installation
4.1 Select installation location
4.2 Inverter Installation
5. Electrical Connection
5.1 DC input terminal connection
5.2 AC input terminal connection
5.3 The connection of the ground line
- 1 -
- 1 -
- 2 -
- 3 -
- 3 -
- 3 -
- 4 -
- 5 -
- 5 -
- 5 -
- 6-
- 6 -
- 7 -
- 7 -
- 9 -
- 11 -
- 11 -
- 13 -
- 16 -
…………………………………………………………
…………………………………………
………………………………………
…………………………………………………………
…………………………………………………………
…………………………………………………
……………………………………………………
……………………………………………………
……………………………………………………
……………………………………………………
………………………………………………………
……………………………………………………
…………………………………………………………
…………………………………………
…………………………………………
………………………………………
………………………………………
…………………………………
…………………………………
………………………………………………
5.4 Max. over current protection device - 17 -
5.5 Inverter monitoring connection - 17 -
…………………………………
5.6 Installation of datalogger
5.7 Configuration of datalogger
6. Startup and Shutdown
6.1 Start up the inverter
6.2 Inverter Shutdown
7. Zero-export function (Optional)
7.1 Zero-export function (Optional)
7.2 Sensor Clamp(optional)
7.3 Use of limiter function
- 18 -
- 18 -
- 19 -
- 19 -
- 19 -
- 20 -
- 20 -
- 23 -
- 25 -
………………………………………
……………………………………
…………………………………………
…………………………………………
………………………………………
………………………………………………
………………………………………………
………………………………………………
……………………………………………
7.4 Notes while using limiter function
8. General Operation
8.1 The initial interface
8.2 Submenus in the Main Menu
8.3 System param setting
8.4 Running param set
- 26 -
- 26 -
- 28 -
- 28 -
- 30-
- 32 -
- 32 -
……………………………………
……………………………………………………
…………………………………………………
………………………………………
………………………………………………
…………………………………………………
- 38-
- 39 -
- 39 -
- 43-
………………………………………………
……………………………………
…………………………………………………………
………………………………………………………
9. Repair and Maintenance
10. Error information and processing
10.1 Error code
11. Specification
8.6 Comm. param set
- 36 -
- 38-
……………………………………………………
8.5 Protect Param ……………………………………………………
7.5
How to browse the load power of your PV grid-tieplant on monitoring platform?
- 01 -
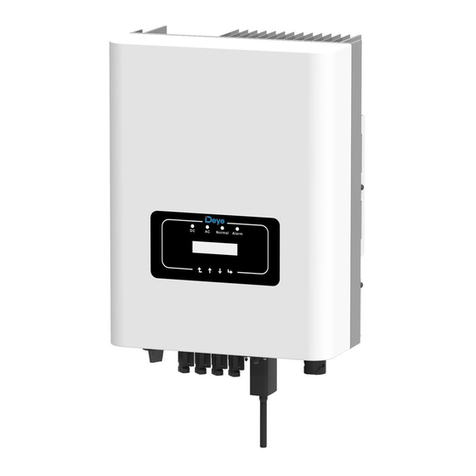
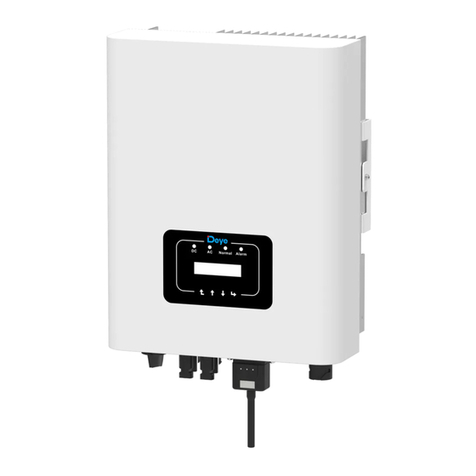
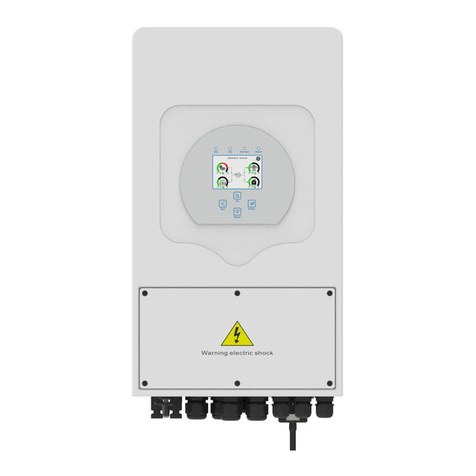
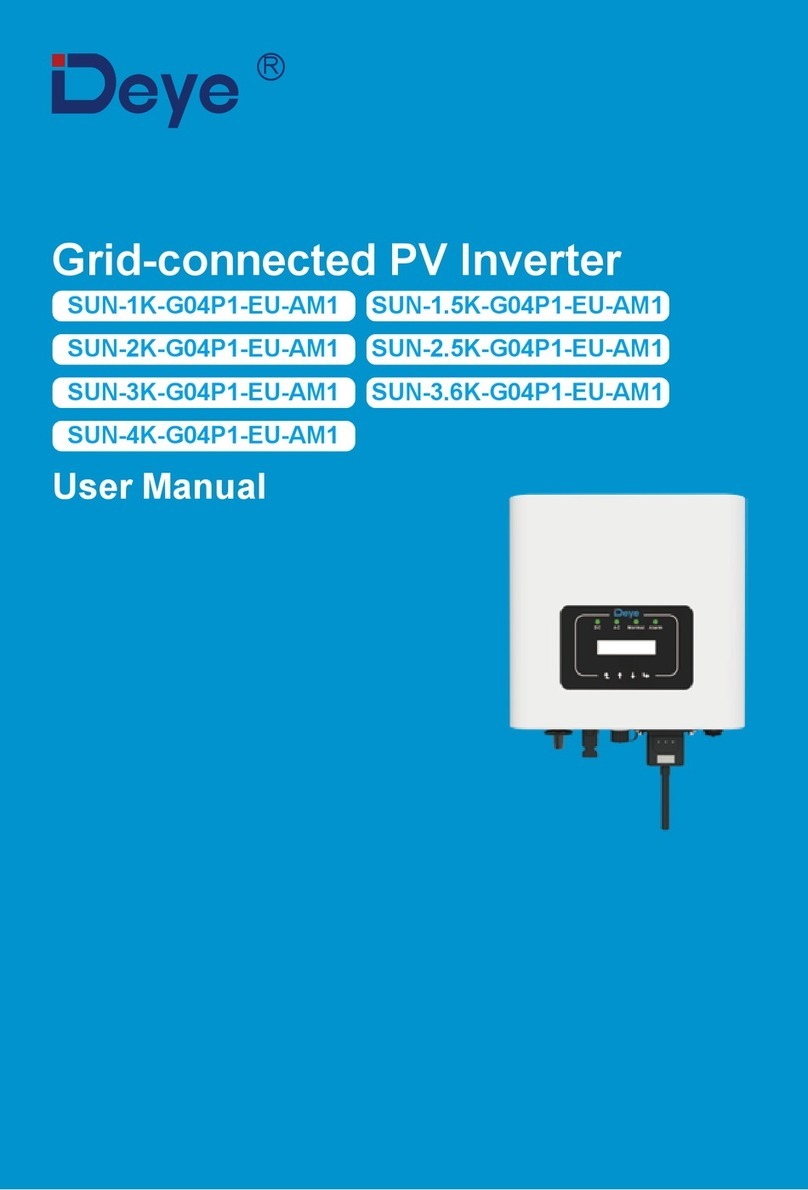
Single Phase String Power Inverter can convert solar panel DC power into AC power which can
directly input to the grid. Its appearance is shown below.These models contain SUN-1K-G,
SUN-1.5K-G, SUN-2K-G, SUN-2.5K-G and SUN-3K-G.

Pic 1.1 Front view
Photovoltaic Grid-connected System

Inverter MeteringPV array Power grid
Family load
About This Manual


How to Use This Manual

Contents may be periodically

 The latest manual can be acquired via [email protected]



1.2 Parts list
- 02 -
Please check the following table, to see whether all the parts are included in the package:
x1
DC power connectors
 
x1
AC power connectors x1
User
manual
User manual x1

x1

screws M4×12
x4

x1
DDSU666 DIN-RAIL METER
230V 5(60) A 800imp/kWh

x1


bolt M6×80
x2
- 03 -

2.1 Safety signs






Shock Hazard:

which if not correctly followed, could result in electric shock.
High Temperature Hazard:

followed, could result in burns.
Safety Hint:


Warning:

followed, could result in serious injury or death.
Shock Hazard:


Warning:

of the country or local area.
Warning:
Inverter adopts non-isolated topology structure, hence must insure DC input and


Otherwise it will damage the inverter.
- 04 -
2.3 Notes for using

It can ensure the personal safety of the user. But as a electric device, it may cause shock or





3. Local temperature of the inverter may exceed 80 ℃


obtaining the permission of the local power supply department, the professionals can
connect the inverter to the grid.

6. Please install where children can not touch.


disconnect the DC side.

9. The DC input voltage of the inverter must not exceed the maximum value of the model.
Shock Hazard:
When PV module is exposed to sunlight, the output will generate DC voltage.

Shock Hazard:
While disconnect the input and output of the inverter for maintenance, please

High Temperature Hazard:
Local temperature of inverter may exceed 80℃
Please do not touch the inverter case.
- 05 -
3.2 Status Indicator
Pic 3.1 Front panel display
3.1 Interface View
ACDC AlarmNormal
There are four LED status indicator lights in the front panel of the inverter.Please see table 3.1
for details.
Table 3.1 Status indicator lights

Explanaon
Inverter detects DC input
Low DC input voltage
Grid Connected
Grid Unavailable


Detected faults or report faults

Indicator status
●DC
●AC
●NORMAL
● ALARM
on

on

on

on

- 06 -

3.4 LCD Display









Esc Up Down Enter
- 07 -










sunlight or raining.


sunlight when the ambient air temperature around the unit exceeds 100°F/40℃.

- 08 -
Safety Hint:
Do not place or store any items next to the inverter.
≤15°



less than expected output power.

each inverter must be at least 500mm above and below. And must install the inverter at the
place where children cannot touch. Please see picture 4.3.

indicator status clearly.


- 09 -
≥500mm
≥500mm
Anchoring
Stainless steel screws
Inverter






- 10 -








accessory to lock inverter heat sink to the hanging plate, to ensure that the inverter will not
move.

- 11 -




2. Switch the DC lsolator OFF.
3. Assemble PV input connector to the inverter.
Safety Hint:

cause serious damages to the inverter.
Safety Hint:

within the 550V of the inverter.
Safety Hint:


Safety Hint:
Please use approved DC cable for PV system.
 
Cable type Range Recommended value
Cross secon(mm )
Industry generic PV cable

4.0~6.0
 
- 12 -

.



Pic 5.3 Disassemble the connector cap nut
7mm
7mm
Pic 5.5 connector with cap nut screwed on
Pic 5.4 Crimp the contact pin to the wire
- 13 -
, shown as
picture 5.6

Warning:
Sunlight shines on the panel will generate voltage, high voltage in series may

panel needs to be blocked by the opaque material and the DC switch should
be 'OFF', otherwise, the high voltage of the inverter may lead to life-



AC side of the inverter, the AC side is equipped with single-phase AC terminals that can be
-

Warning:



Warning:
Use the DC power connector of the accessories. Do not interconnect the

Cable CSAModel Cable outer dia AWG Breaker Max cable length
Outside cable

SUN-1.5K-G 12 10A/400V2.5mm 15-18mm
SUN-1K-G 12 10A/400V2.5mm 15-18mm
SUN-2K-G 12 16A/400V2.5mm 15-18mm
SUN-3K-G 12 20A/400V2.5mm 15-18mm
SUN-2.5K-G 12 16A/400V2.5mm 15-18mm
- 14 -
-



body has two locking holes, and press the locking valve in the hole inward to separate
the matching socket from the sleeve.

1. Matching socket 2.Sleeve 3.Sealing core 4.Sealing nut
Pic 5.7 AC connector structure
1 2 3 4
Pic 5.8 Strip AC cable
8~15mm
40mm

right length, as shown in Picture 5.8.
Warning:

- 15 -







- 16 -

-


all PE cables of the inverter need to be connected to the same grounding copper platoon to

picture 5.11.

Warning:


than 300 mA or higher, otherwise inverter may not work properly.
- 17 -
Rated output
voltage(V)
Inverter Rated output
current(A) device(A)
PC
Web Server
Smart Phone
Router
GPRS
WIFI
Internet
SUN-1.5K-G 230 106.5
SUN-1K-G 230 104.3
SUN-2K-G 230 168.7
SUN-3K-G 230 13.1 20
SUN-2.5K-G 230 1611


prevent overcurrent. See table 5.3 below.







- 18 -


plate as shown in Picture 5.13. When installing the datalogger, remove the sealing plate,



and the inverter DC power on. When the inverter is on the DC power, it is determined whether





This manual suits for next models

4

Other Deye Inverter manuals
Deye SUN-5K-SG01LP1-US User manual

Deye

Deye SUN-5K-SG01LP1-US User manual

Deye SUN-30K-G041 User manual

Deye

Deye SUN-30K-G041 User manual

Deye SUN-3K-SG04LP1-24-AU User manual

Deye

Deye SUN-3K-SG04LP1-24-AU User manual

Deye SUN-50K-SG01HP3-EU-BM4 User manual

Deye

Deye SUN-50K-SG01HP3-EU-BM4 User manual

Deye SUN-30K-G03 User manual

Deye

Deye SUN-30K-G03 User manual

Deye SUN-3.6K-SG01LP1-EU User manual

Deye

Deye SUN-3.6K-SG01LP1-EU User manual

Deye marvelTech SUN-10K-SG02LP1-EU-AM3 User manual

Deye

Deye marvelTech SUN-10K-SG02LP1-EU-AM3 User manual

Deye SUN-4K-G05 User manual

Deye

Deye SUN-4K-G05 User manual

Deye SUN-1.5K-G User manual

Deye

Deye SUN-1.5K-G User manual

Deye SUN-60K-G User manual

Deye

Deye SUN-60K-G User manual

Deye SUN-5K-SG01HP3-EU-AM2 User manual

Deye

Deye SUN-5K-SG01HP3-EU-AM2 User manual

Deye SUN-3.6K-SG05LP1-AU User manual

Deye

Deye SUN-3.6K-SG05LP1-AU User manual

Deye SUN-15K-G03 User manual

Deye

Deye SUN-15K-G03 User manual

Deye SUN-10K-G03-LV User manual

Deye

Deye SUN-10K-G03-LV User manual

Deye SUN-3.6K-G User manual

Deye

Deye SUN-3.6K-G User manual

Deye SUN-40K-G03 User manual

Deye

Deye SUN-40K-G03 User manual

Deye SUN-6K-G03-LV User manual

Deye

Deye SUN-6K-G03-LV User manual

Deye SUN-35K-G-LV User manual

Deye

Deye SUN-35K-G-LV User manual

Deye SUN-5K-SG01HP3-AU-AM2 User manual

Deye

Deye SUN-5K-SG01HP3-AU-AM2 User manual

Deye SUN-12K-G03 User manual

Deye

Deye SUN-12K-G03 User manual

Deye SUN-15K-G05 User manual

Deye

Deye SUN-15K-G05 User manual

Deye SUN-18K-G02 User manual

Deye

Deye SUN-18K-G02 User manual

Deye SUN-6K-SG03LP1-EU User manual

Deye

Deye SUN-6K-SG03LP1-EU User manual

Deye SUN-10K-G03-LV User manual

Deye

Deye SUN-10K-G03-LV User manual

Popular Inverter manuals by other brands
Hyundai power products HG3000I instructions

Hyundai power products

Hyundai power products HG3000I instructions

KaiDeng Wireless R3 Series user manual

KaiDeng

KaiDeng Wireless R3 Series user manual

JVA WA190 quick start guide

JVA

JVA WA190 quick start guide

Kipor IG3000E Operator's manual

Kipor

Kipor IG3000E Operator's manual

MYERS LV Series manual

MYERS

MYERS LV Series manual

FujiFilm FU-SUN-15K-G03 user manual

FujiFilm

FujiFilm FU-SUN-15K-G03 user manual

Cobra CPI 1575 operating instructions

Cobra

Cobra CPI 1575 operating instructions

Voltacon LV 6KVA-48V user manual

Voltacon

Voltacon LV 6KVA-48V user manual

SunSynk FSPKL2N user manual

SunSynk

SunSynk FSPKL2N user manual

Yotta DPI-208 Installation & user manual

Yotta

Yotta DPI-208 Installation & user manual

Watt Drive S3 Series manual

Watt Drive

Watt Drive S3 Series manual

Flin Energy FlinSlim 1 kVA user manual

Flin Energy

Flin Energy FlinSlim 1 kVA user manual

TESTO REXS user manual

TESTO

TESTO REXS user manual

leco 20006 999 manual

leco

leco 20006 999 manual

Clenergy SPH15 Installation and operation manual

Clenergy

Clenergy SPH15 Installation and operation manual

Mastervolt WHISPER 9.5 ULTRA installation manual

Mastervolt

Mastervolt WHISPER 9.5 ULTRA installation manual

DASS Tech DASS 3.0i LV Manual for use and installation

DASS Tech

DASS Tech DASS 3.0i LV Manual for use and installation

SolarEdge BI-EU1P Quick installation guide

SolarEdge

SolarEdge BI-EU1P Quick installation guide

manuals.online logo
manuals.online logoBrands
  • About & Mission
  • Contact us
  • Privacy Policy
  • Terms and Conditions

Copyright 2025 Manuals.Online. All Rights Reserved.