Diamond Digital A202 User manual

A202
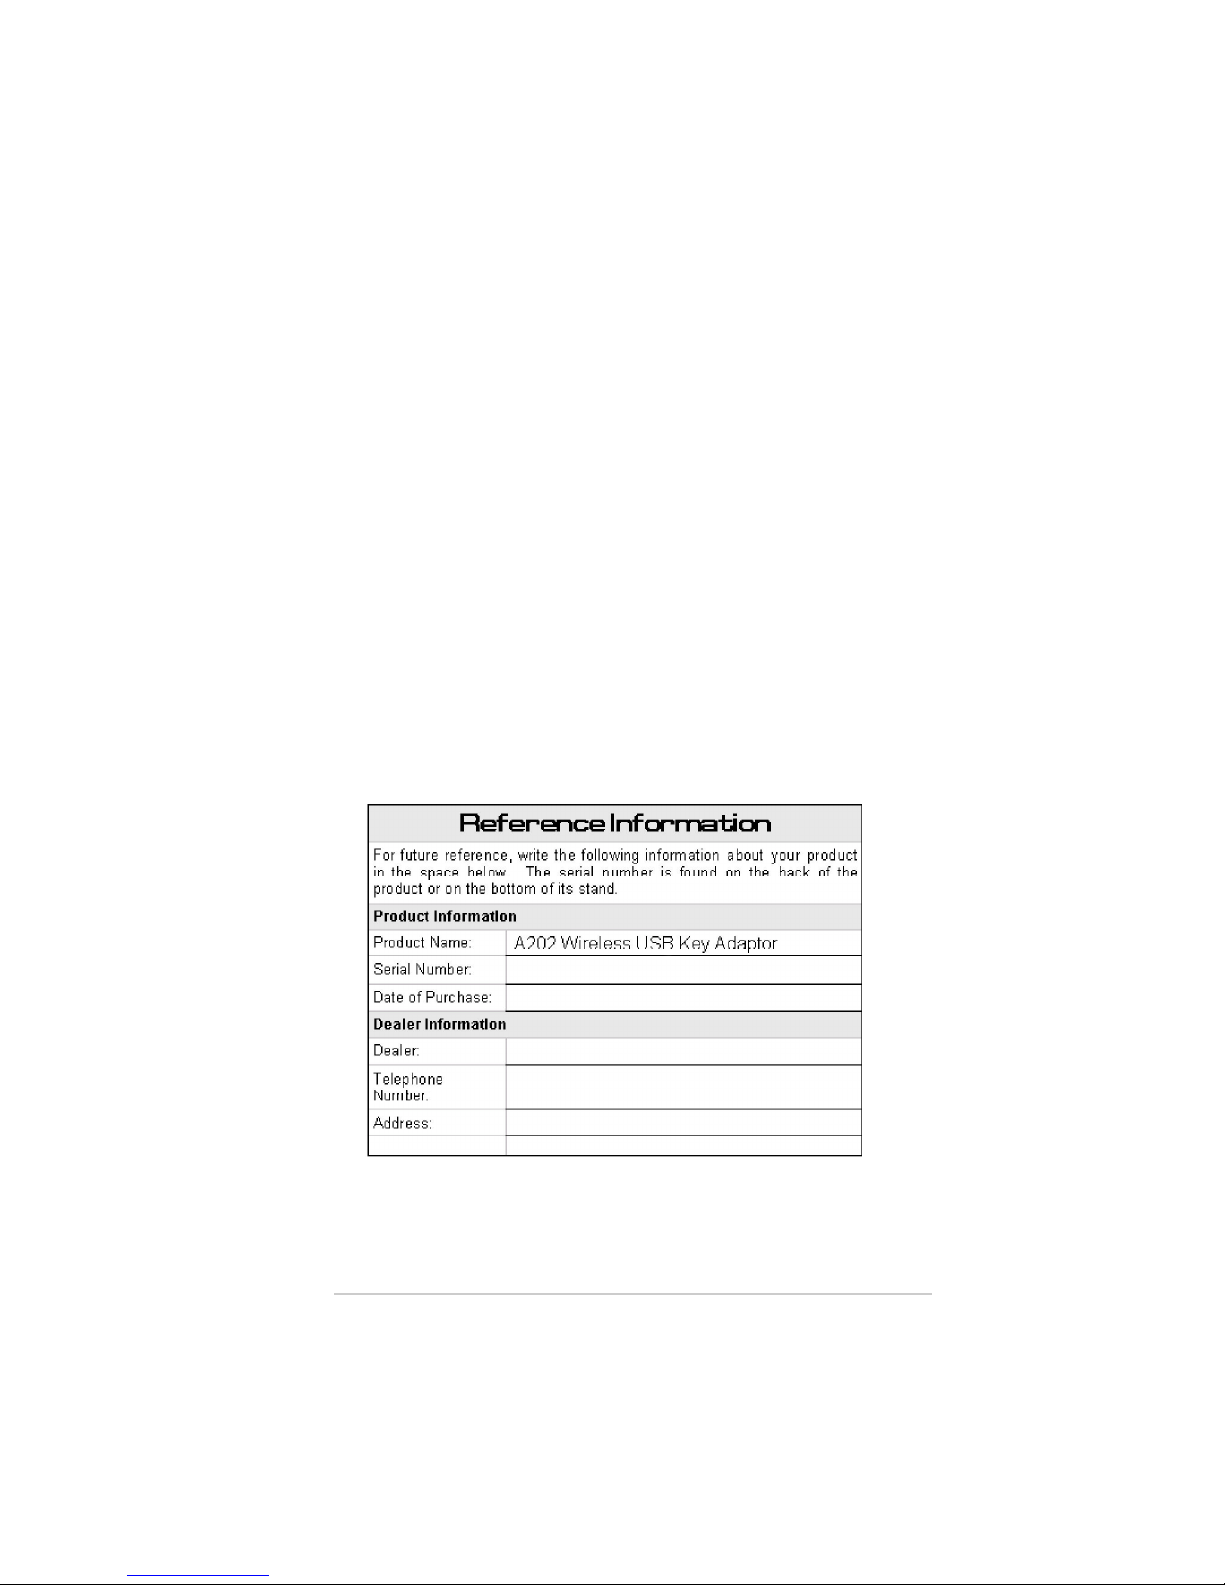
Wireless USB Key Adaptor
User’s Manual

ii
Copyright 2004, Mitsubishi Electric Australia Pty. Ltd. All rights reserved.
No part of this publication may be reproduced, transmitted, transcribed, stored in a
retrieval system or translated into any language or computer language, in any form or
by any means, electronic, mechanical, magnetic, optical, chemical, manual or
otherwise, without the prior written permission.
iii

iv
Contents
Safety statements............................................................................vi
Product specifications..................................................................... vii
Chapter 1: Product introduction
1.1 Welcome! ............................................................................ 1-2
1.2 Package contents ................................................................ 1-2
1.3 Features.............................................................................. 1-3
1.4 LED indicators ..................................................................... 1-3
1.5 Network setup ..................................................................... 1-4
1.5.1 Ad-hocnetwork........................................................ 1-4
1.5.2 Infrastructurenetwork .............................................. 1-4
Chapter 2: Installation
2.1 Systemrequirements ........................................................... 2-2
2.2 Installation procedures ......................................................... 2-2
2.2.1 Installing the device drivers and utilities .................... 2-2
2.2.2 Installing the device ................................................. 2-3
2.2.3 Supportsoftwareoverview ....................................... 2-4
Chapter 3: Software support
3.1 Control Center ..................................................................... 3-2
3.1.1 Control Center icons ................................................ 3-2
3.1.2 ControlCenterright-clickmenu ................................ 3-3
3.1.3 Control Center left-click menu .................................. 3-3

v
Contents
3.2 Wireless Settings ................................................................. 3-4
3.2.1 Status ...................................................................... 3-4
3.2.2 Configuration ........................................................... 3-7
3.2.3 Site Survey .............................................................3-10
3.2.4 About Wireless Settings ..........................................3-11
3.2.5 LinkState ...............................................................3-11
3.2.6 Command icons......................................................3-12
3.2.7 Other right-click options...........................................3-12
3.3 Mobile Manager ..................................................................3-14
3.3.2 Creating a new configuration ...................................3-16
3.3.3 Editing a configuration.............................................3-20
3.4 Site Monitor ........................................................................3-24
3.4.1 Launching Site Monitor............................................3-24
3.4.2 Site Monitor main window........................................3-24
3.4.3 Monitoring a connection ..........................................3-25
Chapter 4: Troubleshooting
Troubleshooting ........................................................................... 4-2
ServiceContacts .......................................................................... 4-5

vi
About this guide
This user guide contains the information you need to install and configure
yourA202WirelessUSBKey Adaptor.
How this guide is organized
This guide contains the following parts:
•Chapter 1: Product introduction
This chapter describes the physical features of the A202 Wireless USB
Key Adaptor. This part also presents the package contents, LED
indicators,andrecommendednetworksettings.
•Chapter 2: Hardware installation
This chapter provides information on how to install the A202 Wireless
USBKeyAdaptor.
•
Chapter 3: Configuration
This chapter provides information on the software included with the
A202.
•Chapter 4: Troubleshooting
This chapter contains a troubleshooting guide for solving common
problems you may encounter when using the A202 Wireless USB Key
Adaptor.
Conventions used in this guide
To make sure that you perform certain tasks properly, take note of the
following symbols used throughout this guide.
WARNING:
Information to prevent injury to yourself when trying to
complete a task.
CAUTION:
Information to prevent damage to the components when
trying to complete a task.
IMPORTANT:
Information that you MUST follow to complete a task.
NOTE:
Tips and additional information to aid in completing a task.

vii
Product specifications*
Standard
IEEE802.11b/g
Interface
USB 2.0
Technology
OrthogonalFrequencyDivisionMultiplexing(OFDM)
DirectSequenceSpreadSpectrum(DSSS)
Data transfer rate
802.11g: 54Mbps with auto-fallback to 48, 36,
24, 18, 12, 9, and 6Mbps
802.11b: 11Mbps with auto-fallback to 5.5, 2,
and 1Mbps
Network types
SupportsInfrastructureandAd-hocnetworks
Frequency band
2.4 GHz ~ 2.5 GHz
Security
64-bit/128-bitconfigurableWEP,WPA-PSK
encryption
Operating distance
Indoors @ 11Mbps :130 ft (40 m)
Indoors@54Mbps :80 ft (25 m)
Outdoors @ 11Mbps LOS** :1000 ft (310 m)
Outdoors@54MbpsLOS** :200 ft (60 m)
Compatibility
CompatiblewithIEEE 802.11band802.11gdevices
Power requirement
USBbus-powered
Supported OS
Windows
®
2000/XP
Software support
ControlCenter
Wireless Settings
MobileManager
SiteMonitor
TroubleShooting
*
Specifications are subject to change without notice.
** Line-of-Sight
The A202 Wireless USB Key Adaptor operating distance may be
shorter if there are walls, barriers or interferences in the home layout
or operating environment.

viii

Chapter 1
This chapter describes the physical features
of the A202 Wireless USB Key Adaptor.
This part presents the package contents,
LED indicators, and recommended network
settings.
Product introduction

1-2
Chapter 1: Product introduction
1.1 Welcome!
Thank you for choosing the A202 Wireless USB Key Adaptor!
The A202 Wireless USB Key Adaptor is an easy-to-install and use
wireless LAN adaptor. Conforming to the IEEE 802.11b/g standards for
wireless local area networks (WLAN), the A202 Wireless USB Key
Adaptor is capable of up to 54Mbps data transmission rate using the
Direct Sequence Spread Spectrum (DSSS) and the Orthogonal
Frequency Division Multiplexing (OFDM) technologies.
The A202 Wireless USB Key Adaptor also comes with the latest wireless
technology to keep you ahead in the world of wireless computing.
1.2 Package contents
Check the following items are in your A202 Wireless USB Key Adaptor
package. Contact your retailer if any item is damaged or missing.
A202 Wireless USB Key Adaptor
USB 2.0 extension cable (type A to type A)
Support CD
Quick Start Guide
Users Manual
Unless otherwise specified, the term “device” in this User Guide refers
to the A202 Wireless USB Key Adaptor.
Table of contents
Other Diamond Digital Modem manuals


