EnglishDeutsch
 logo
Brands
  1. Home
  2. •
  3. Brands
  4. •
  5. Diamond
  6. •
  7. Recording Equipment
  8. •
  9. Diamond vc500 User manual

Diamond vc500 User manual

Other manuals for vc500

2

Popular Recording Equipment manuals by other brands

Philips CDR 765 null

Philips

Philips CDR 765 null

Philips CDR770 null

Philips

Philips CDR770 null

KV2 Audio 500 Series user guide

KV2 Audio

KV2 Audio 500 Series user guide

Robotics Technologies microBus-Cam II installation manual

Robotics Technologies

Robotics Technologies microBus-Cam II installation manual

Seca 460 quick start guide

Seca

Seca 460 quick start guide

Cognex MVS-8000 Series Hardware manual

Cognex

Cognex MVS-8000 Series Hardware manual

Mect MPNC006 Series user manual

Mect

Mect MPNC006 Series user manual

Bad Caf THE LEASH operating manual

Bad Caf

Bad Caf THE LEASH operating manual

Strymon NIGHTSKY user manual

Strymon

Strymon NIGHTSKY user manual

Mitsubishi Electric 16CH DIGITAL RECORDER DX-TL5000U user manual

Mitsubishi Electric

Mitsubishi Electric 16CH DIGITAL RECORDER DX-TL5000U user manual

Tews Technologies TPMC465 user manual

Tews Technologies

Tews Technologies TPMC465 user manual

Honeywell Excel 50 user guide

Honeywell

Honeywell Excel 50 user guide

SeaLevel COMM+8.LPCI user manual

SeaLevel

SeaLevel COMM+8.LPCI user manual

Arturia AUDIOFUSE STUDIO user manual

Arturia

Arturia AUDIOFUSE STUDIO user manual

Rukra RK-1240 quick start guide

Rukra

Rukra RK-1240 quick start guide

Samson SCOM owner's manual

Samson

Samson SCOM owner's manual

Dynacord DPS260 owner's manual

Dynacord

Dynacord DPS260 owner's manual

Pyle Pro PSS8 manual

Pyle Pro

Pyle Pro PSS8 manual

https://manuals.online logo
https://manuals.online logoBrands
  • About & Mission
  • Contact us
  • Privacy Policy
  • Terms and Conditions

Copyright 2026 Manuals.Online. All Rights Reserved.

1
VC500
Quick Installation Guidance
System requirement
Inter Pentium4 1.4G CPU, recommended Pentium4 2.0G or higher
Windows 7, 8, 8.1 and 10
Memory 128M min, recommend 256M or higher
A high speed USB2.0 interface
VGA card supports DirectX9.0
CD/DVD-ROM (for installation) Note: The full installation disk can be downloaded at:
http://www.dmmdownload.com/downloads/CURRENT/PVR/VC500W10PD_Complete_install.zip
300MB HD space (install driver and applications, like EZ Grabber), 600MB to 3GB per hour for recording
Contents
VC500
AV cable (Composite RCA cable)
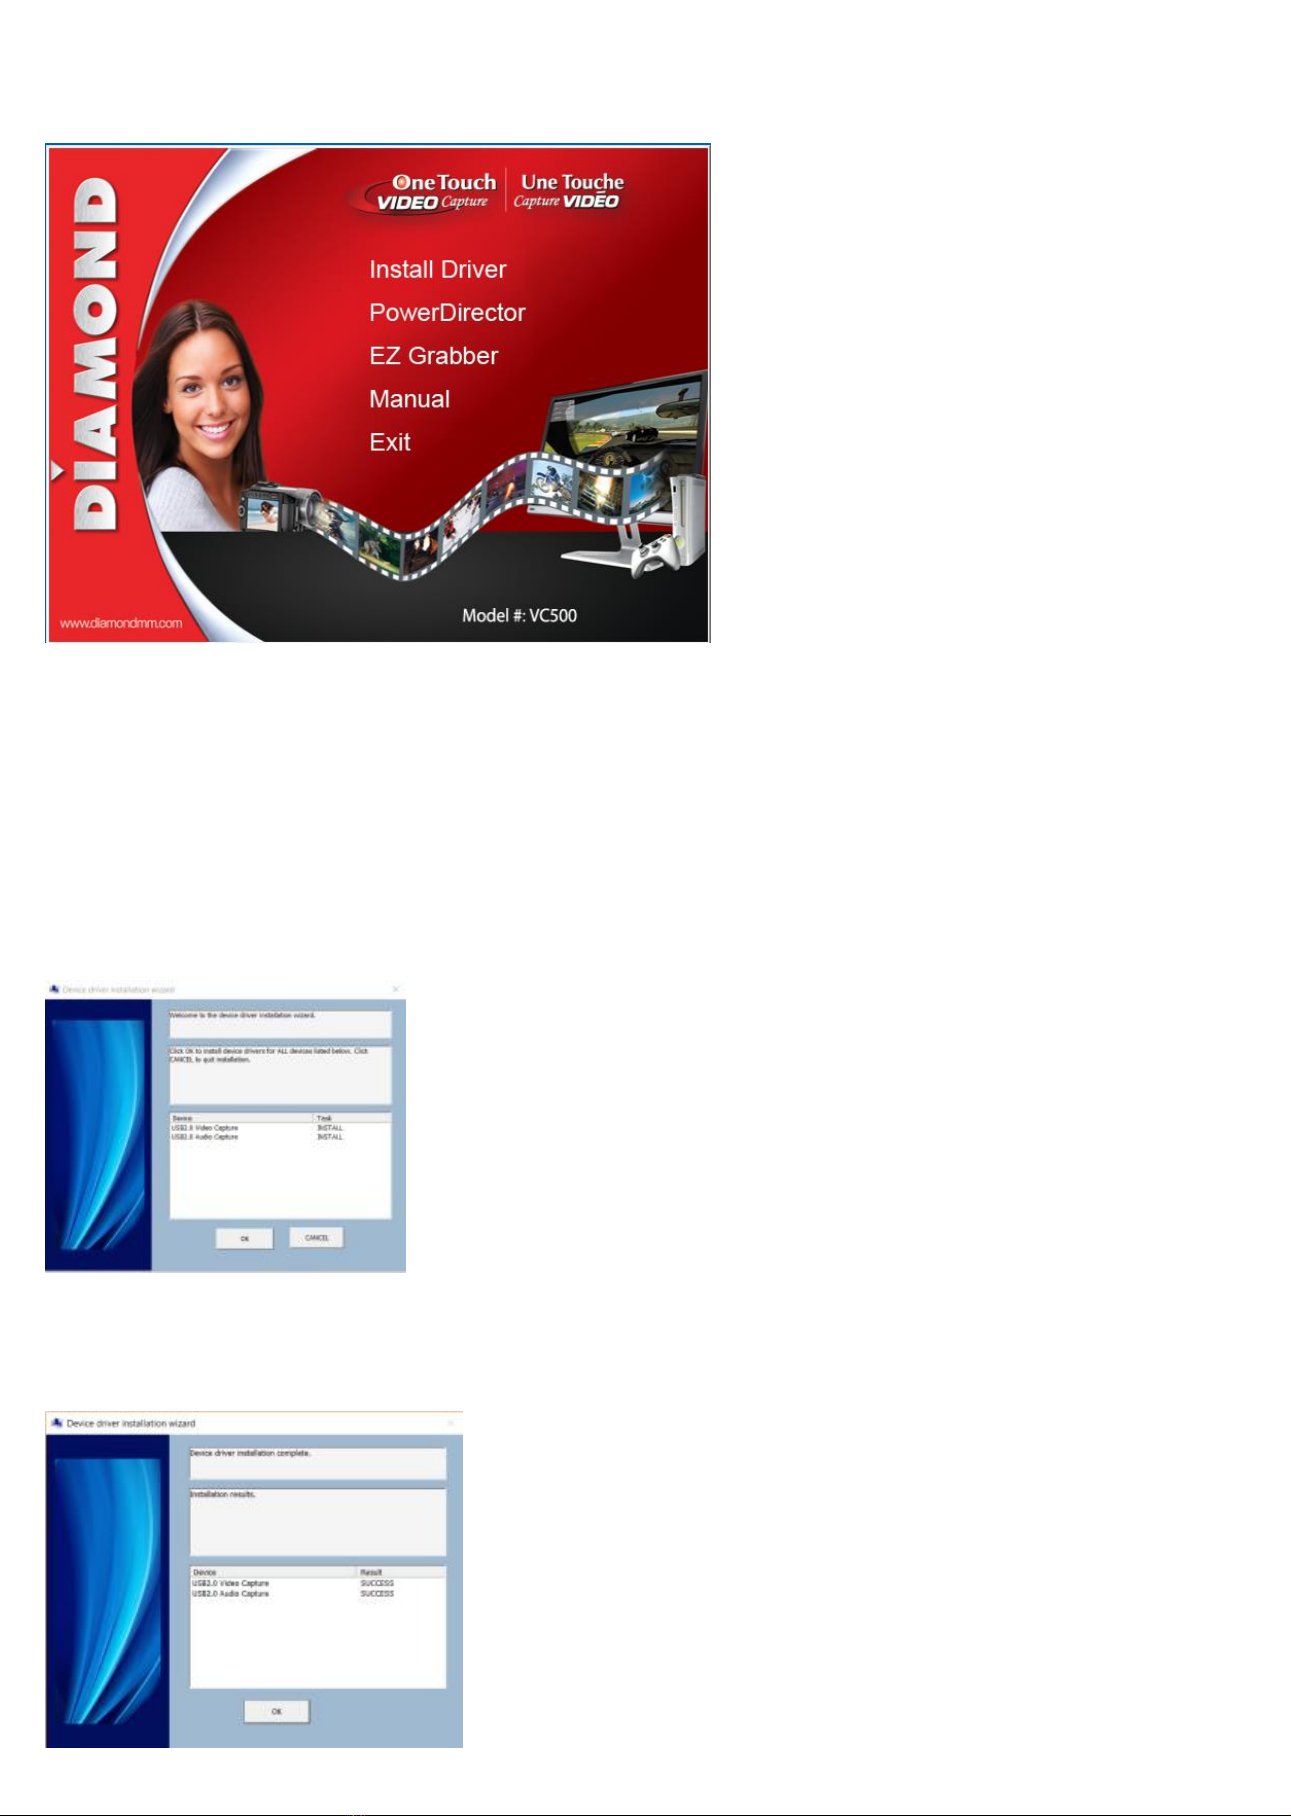
Software Installation Disk (Includes the following)
•Windows Driver
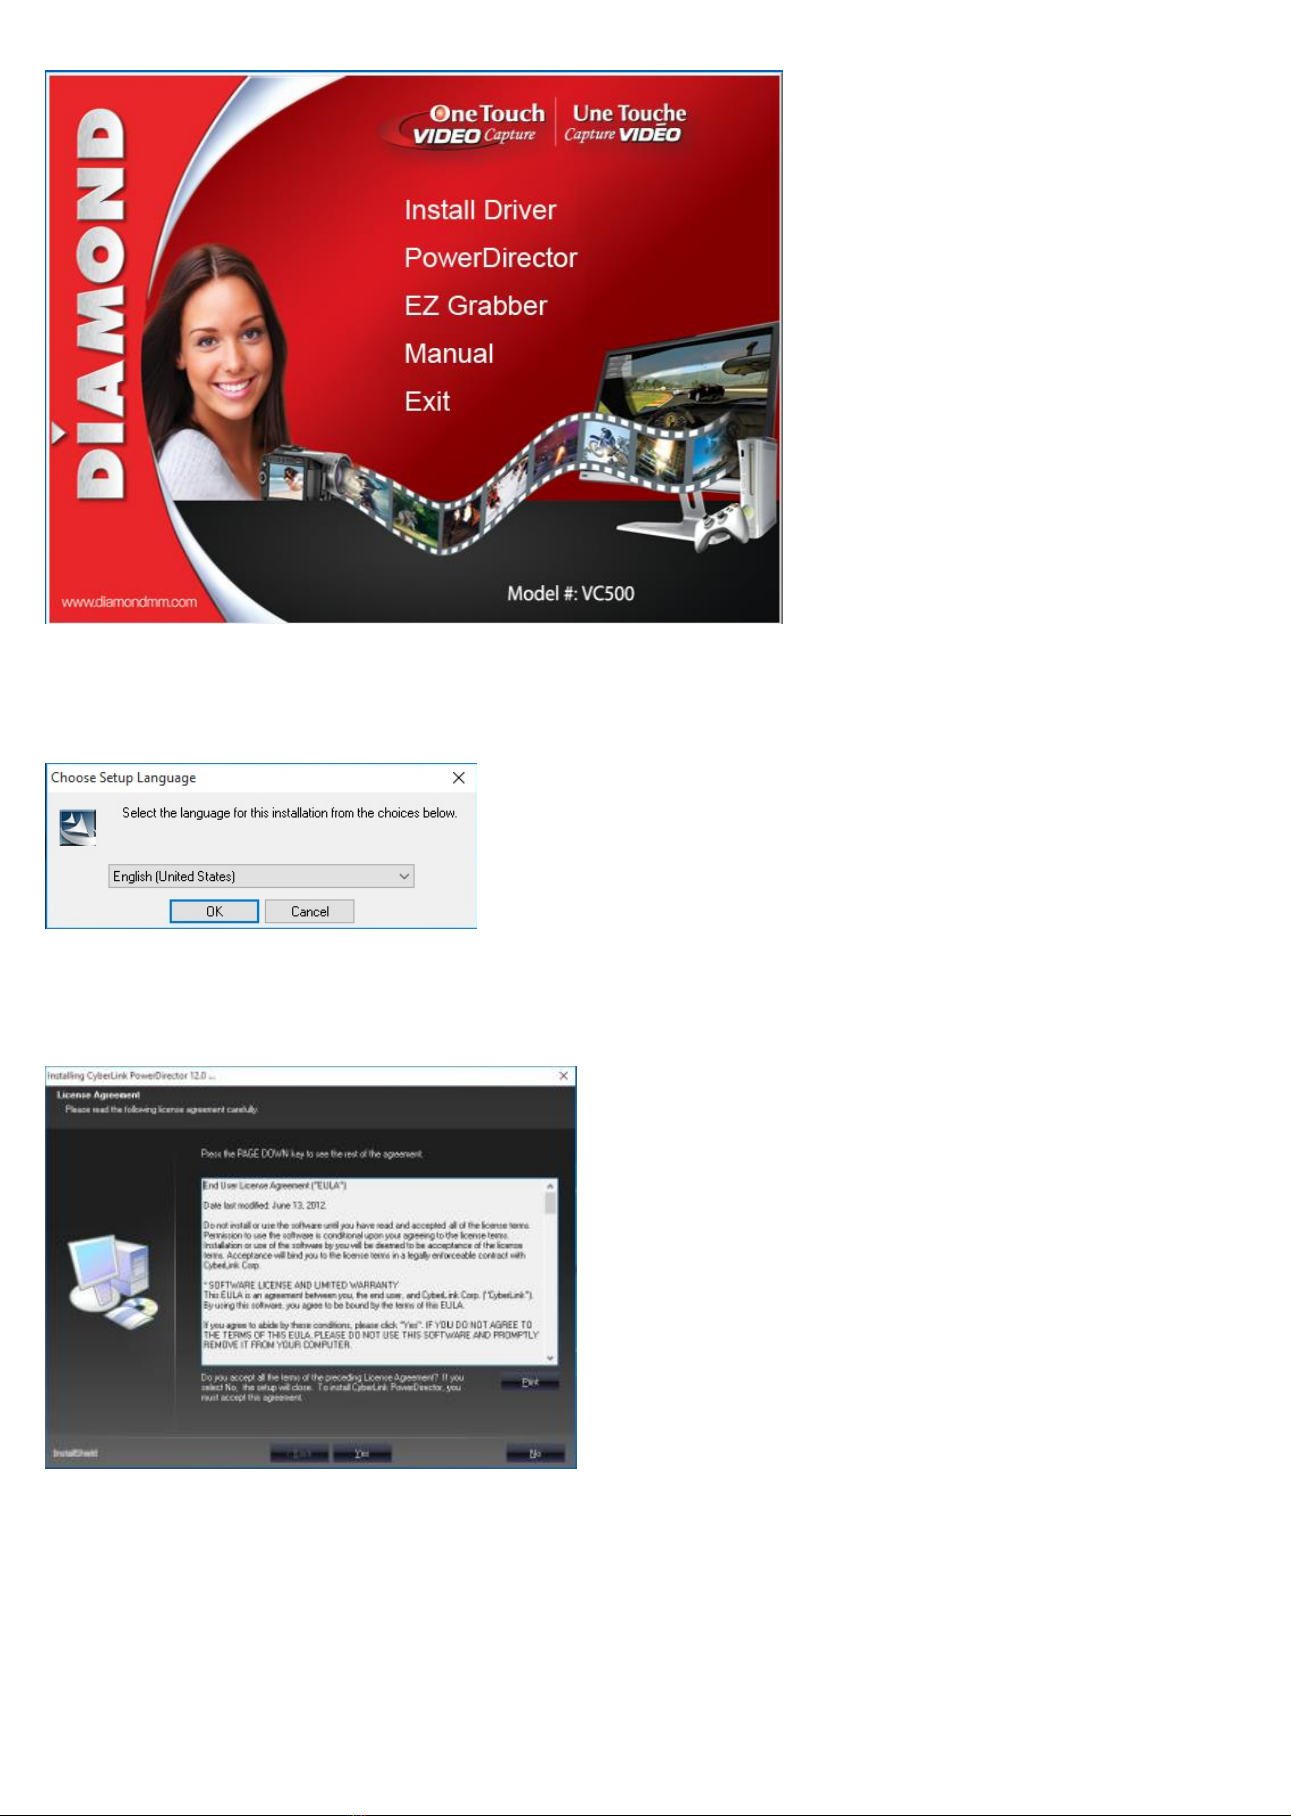
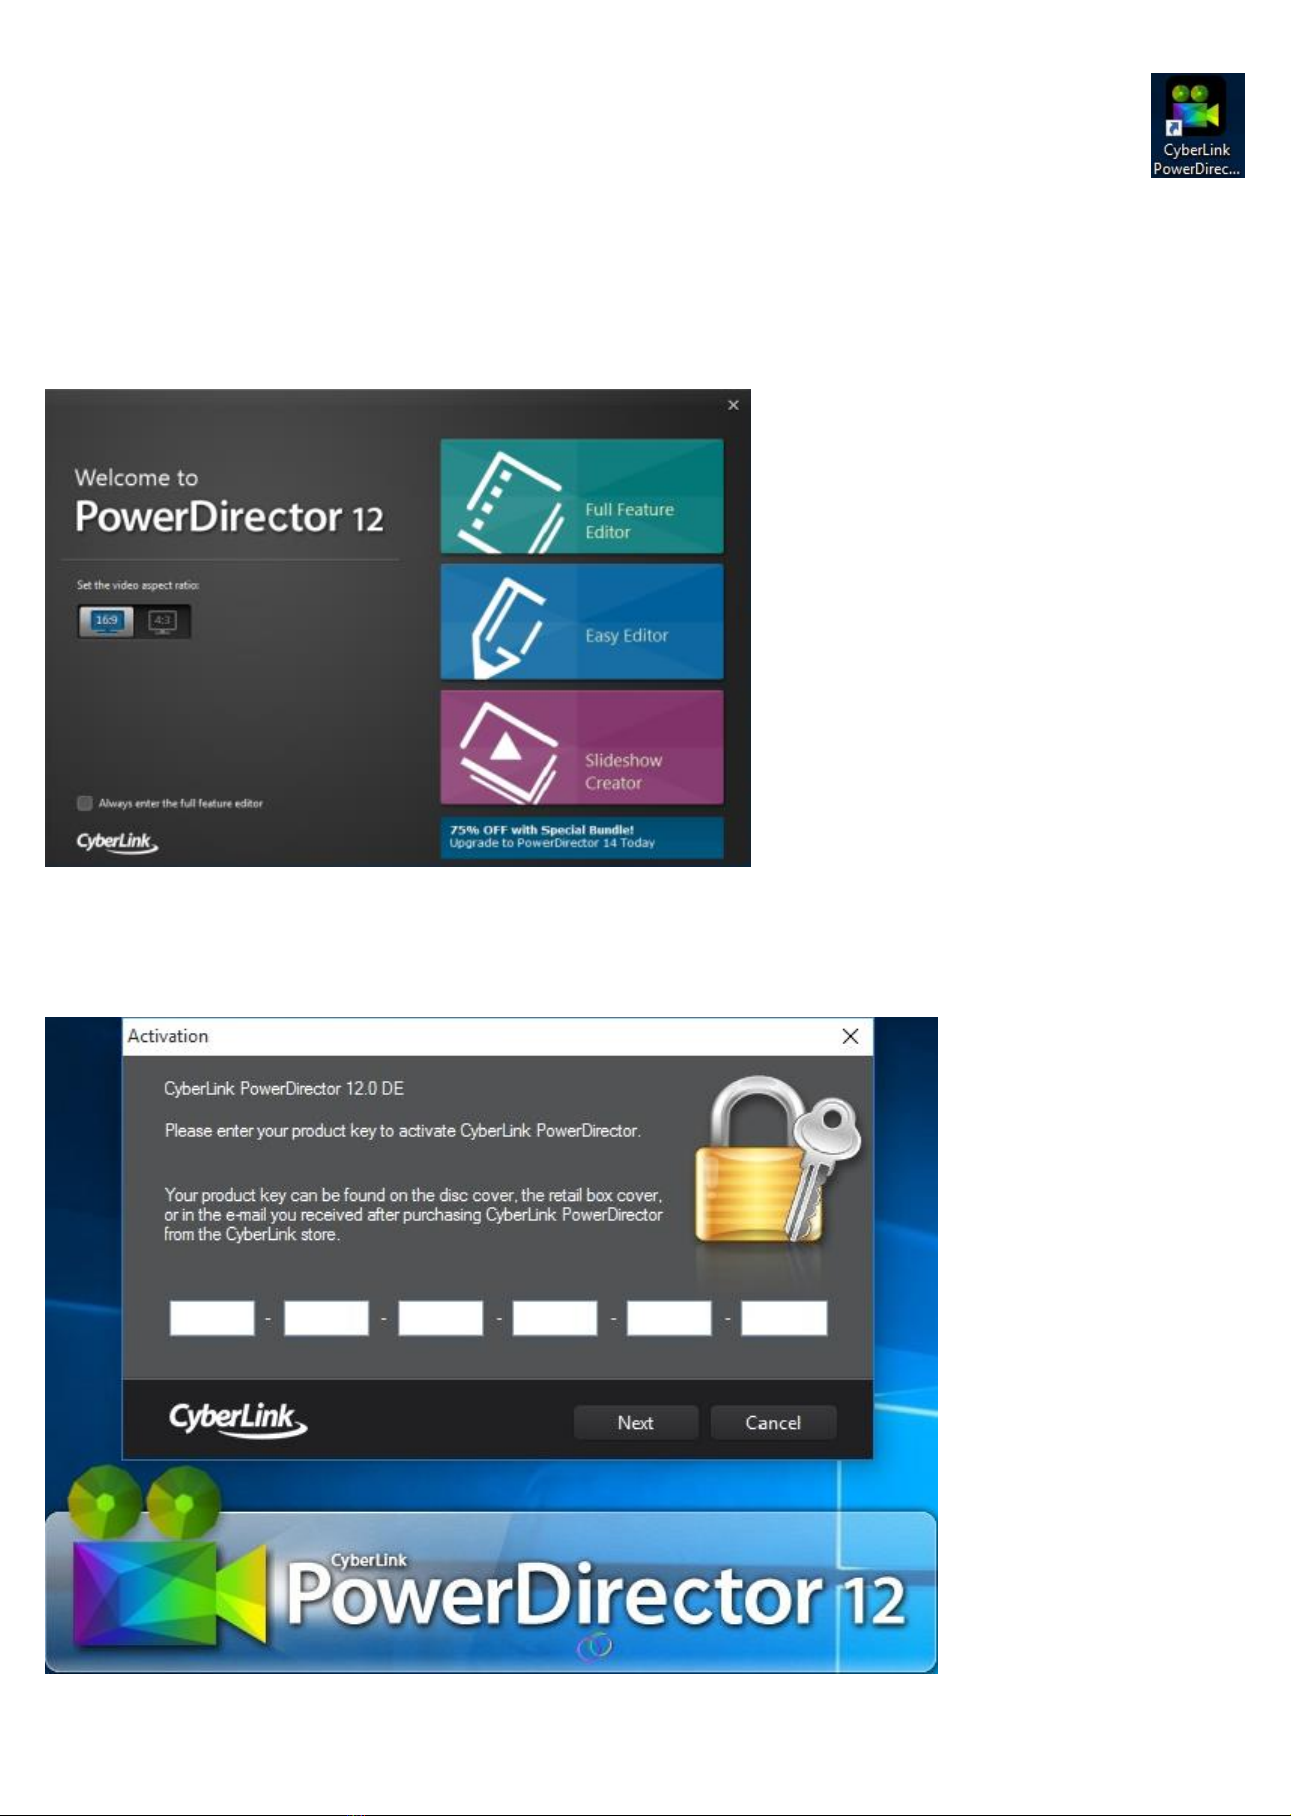
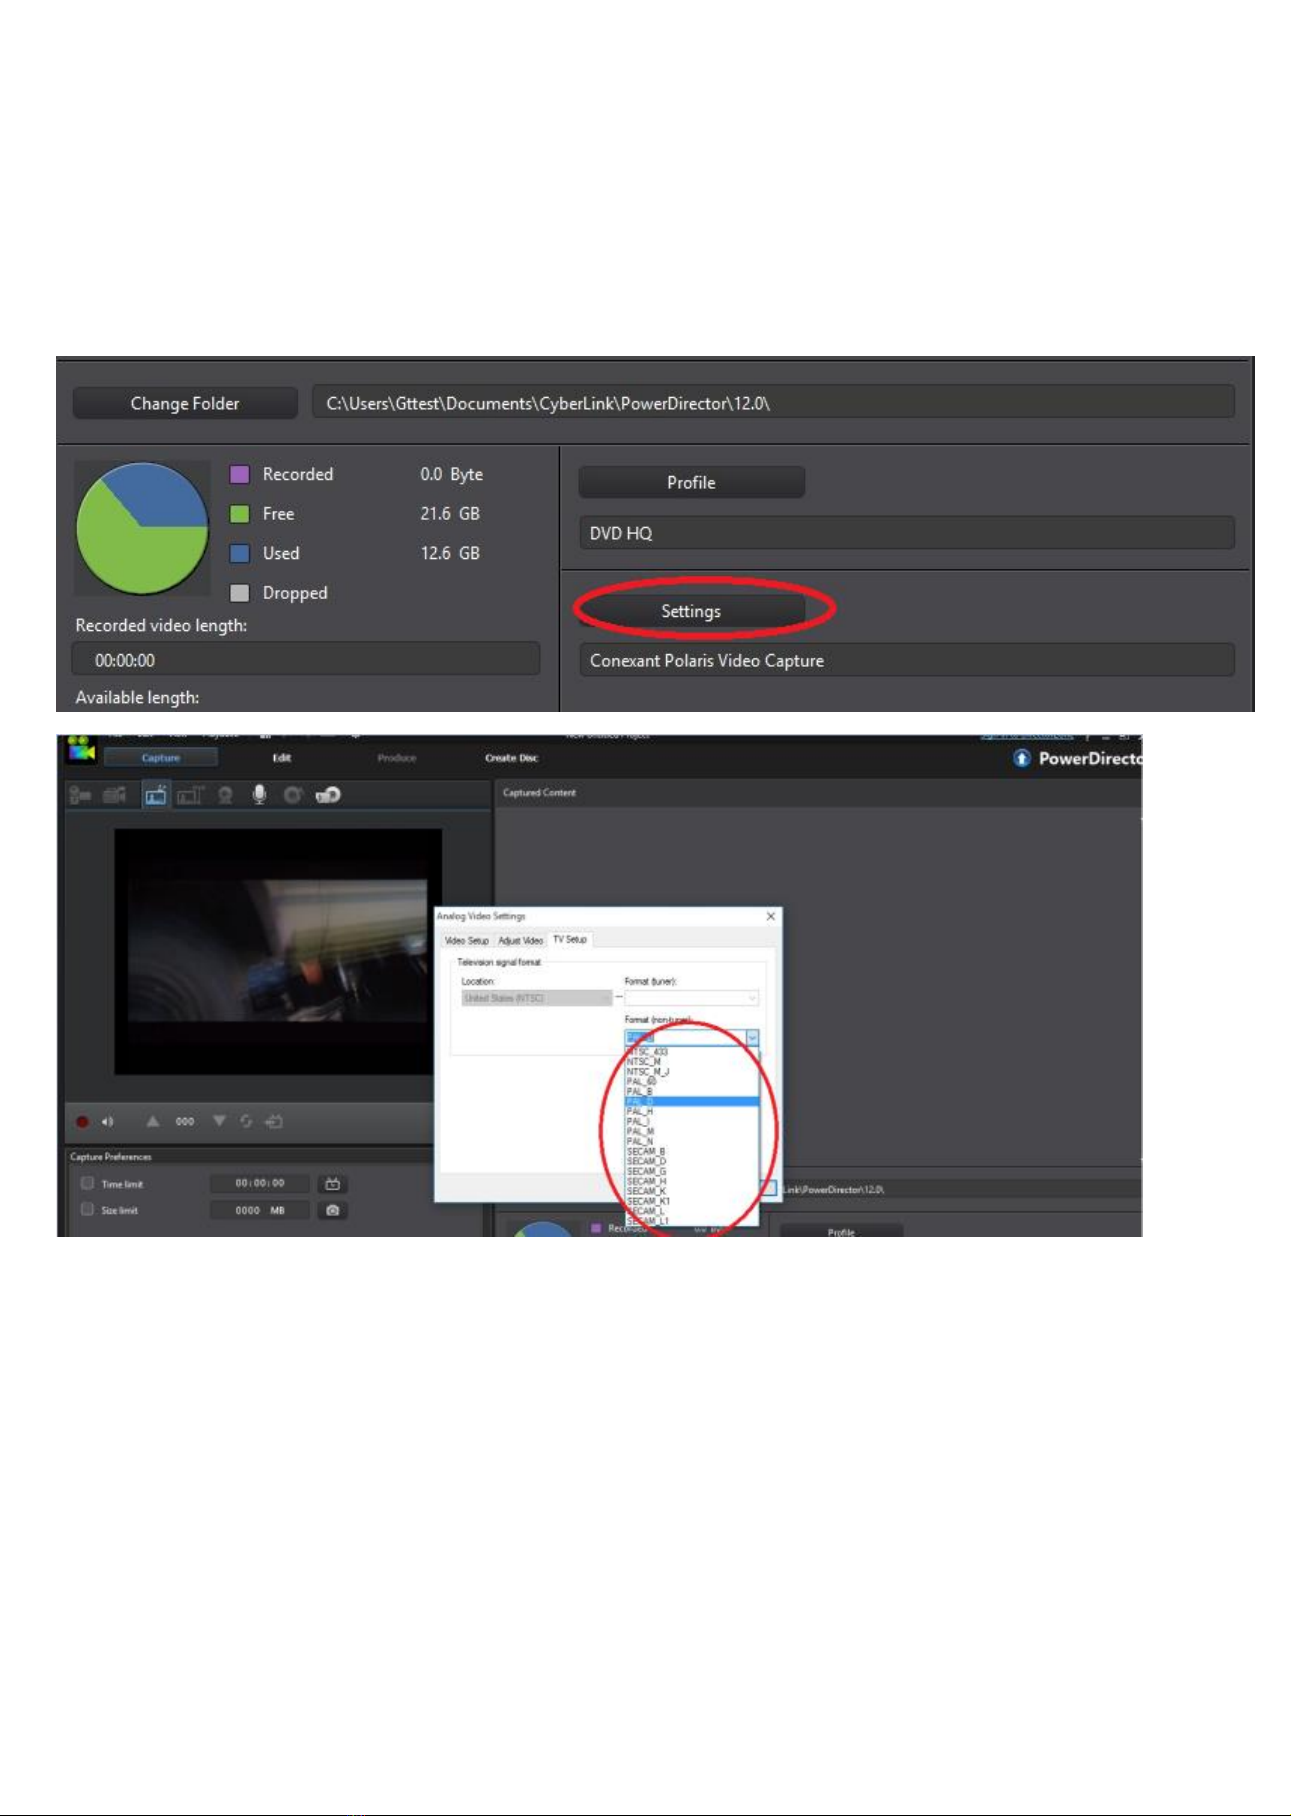
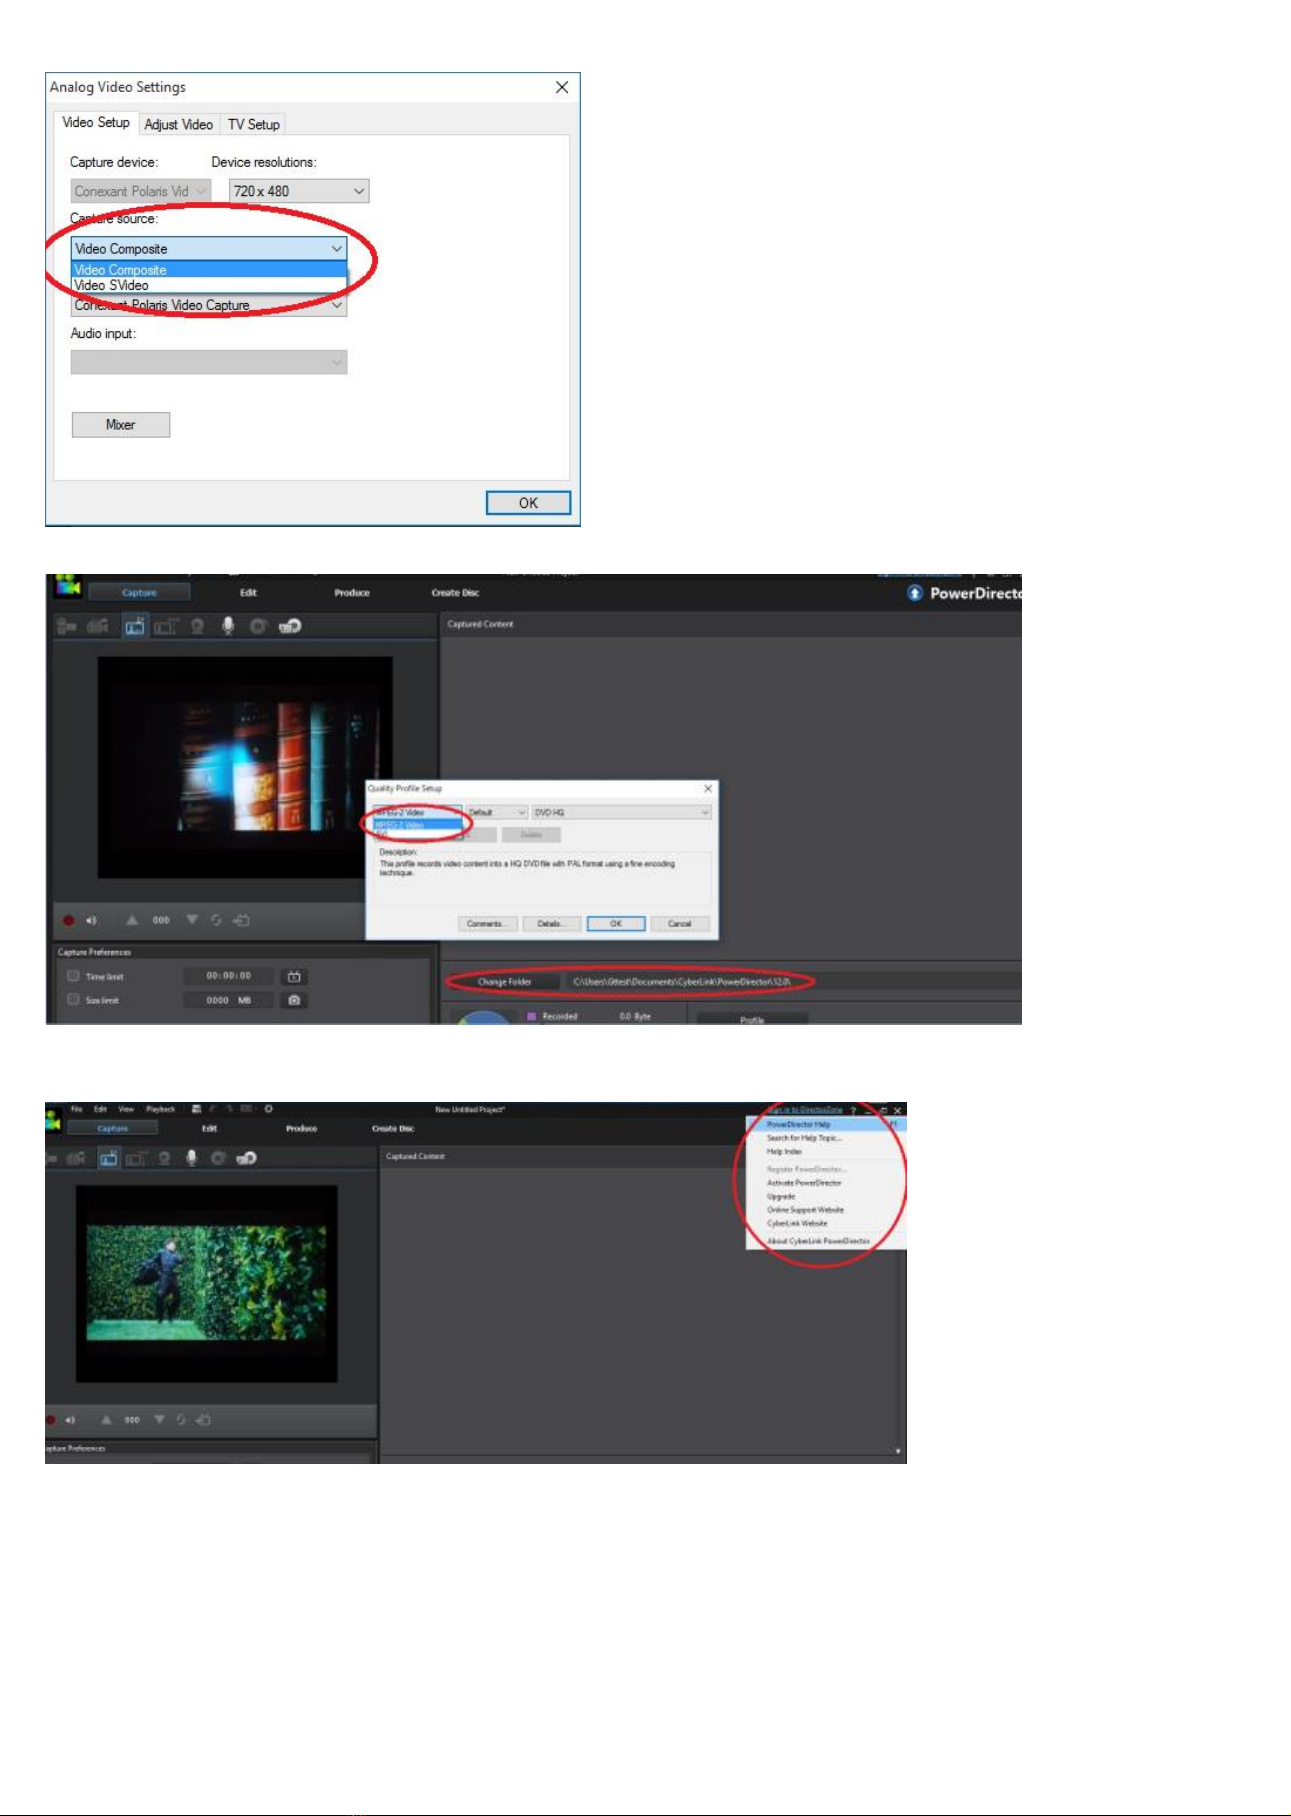
•Power Director 12 for Video capture, Video editing and creating/burning videos to DVD
•Ez Grabber for Video or Audio Capture (This is an optional video capture utility as Power Director 12
has the same features plus much more)
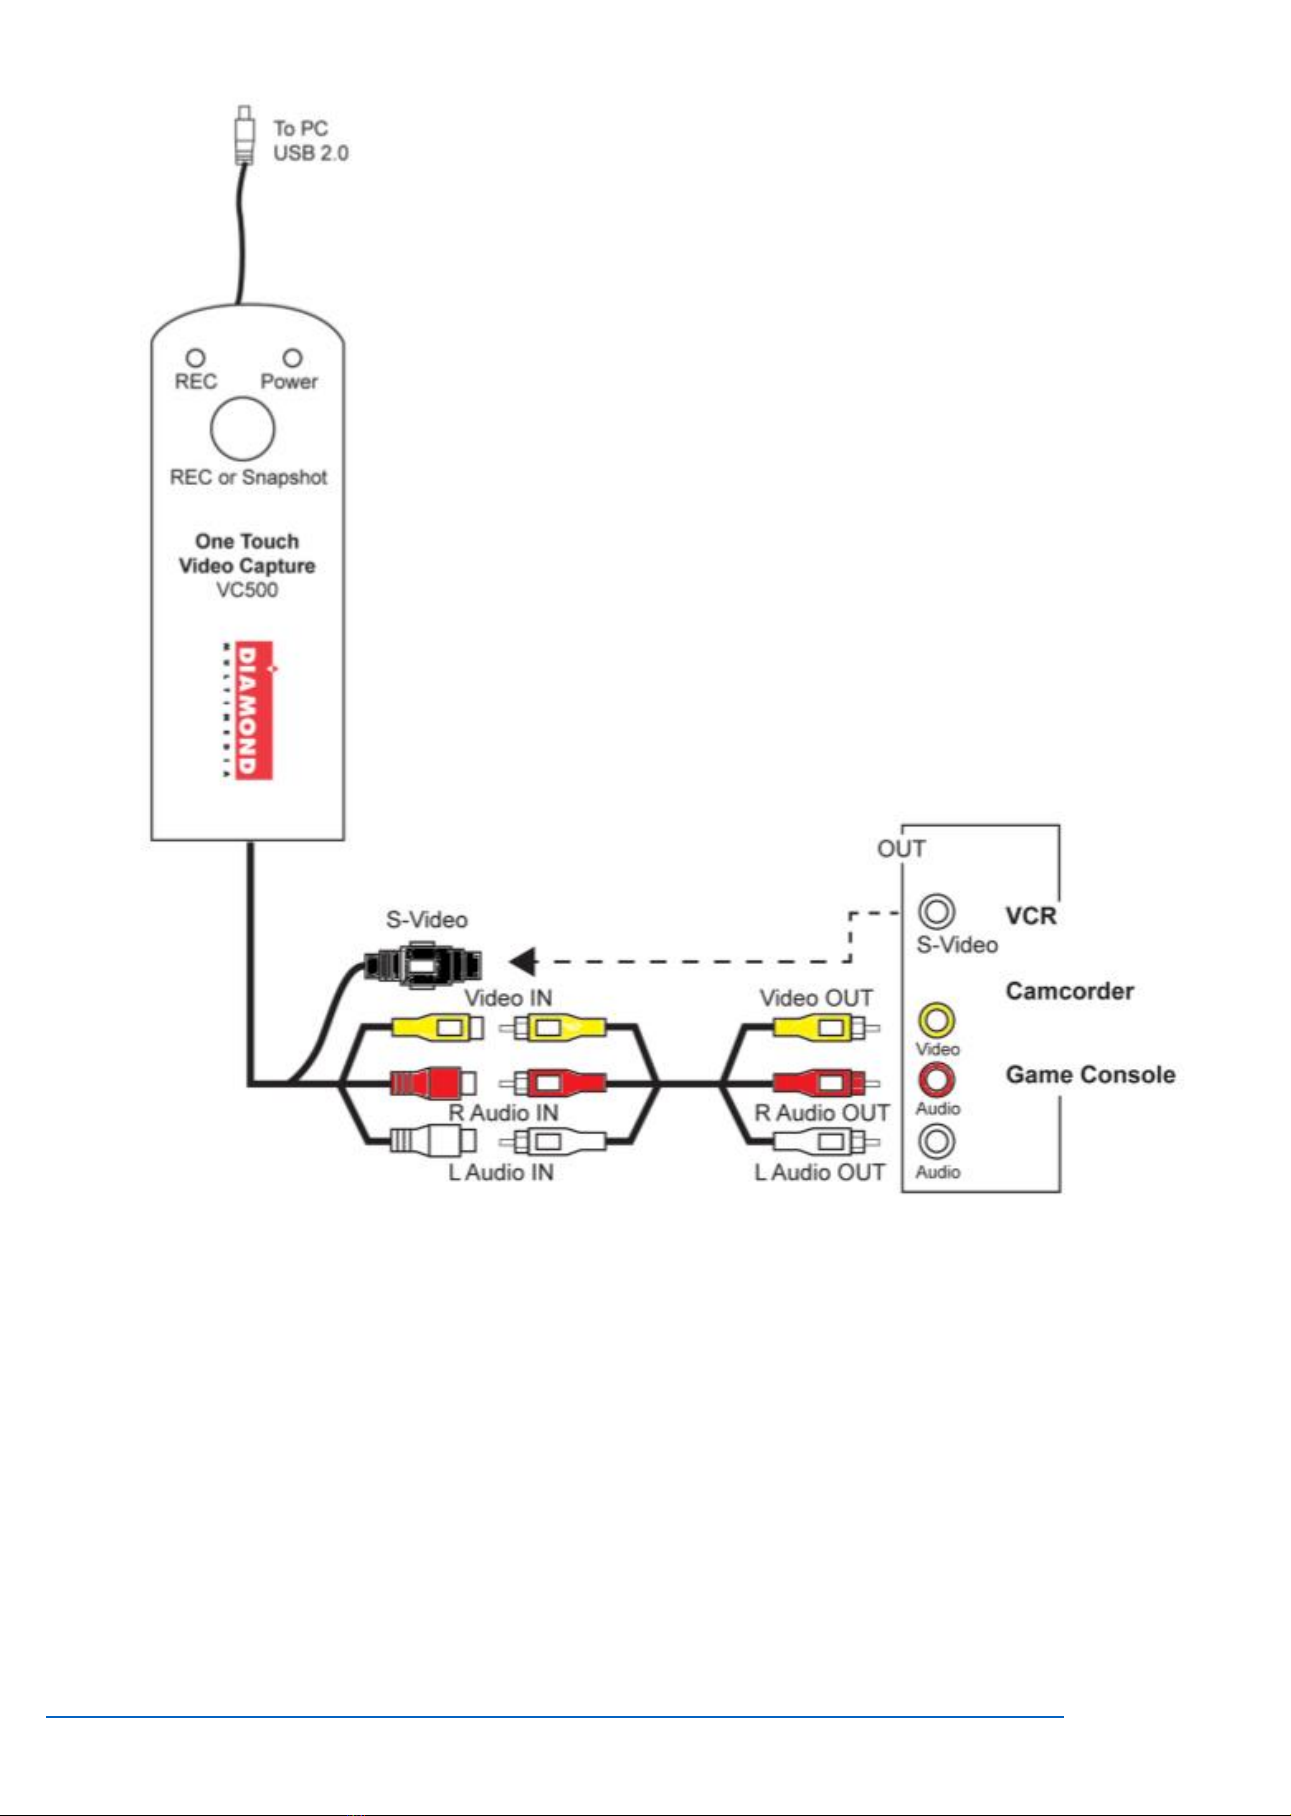
VC500 Connection Diagram
Note:
make sure you connect the V500 inputs to your video source (VHS or Camcorder) outputs. The device source
example; your VCR will be labeled Video out. Connect the Yellow cable to the Yellow video out of the source.
Connect the Red and White cable to the audio out of the source. You also have the option to use the S-Video
input but note you still need to connect the red and white audio cables. In some cases, your VHS or Camcorder
only has one output (Mono) in this case you can connect the one audio output to either the red or white audio
inputs on the VC500.
2
Driver and Application Installation
Step1:
Insert the VC500 USB capture device into your USB Port. Note: the blue light should come on. If it does not or if
the light is red there is a hardware problem and you should try another USB port. Once plugged in Windows may
display “New Hardware Device” found. Please choose “Cancel” and continue to the next step.
Step2:
Insert the installation CD and open up the CD contents. Note: you may have to double click on your CD/DVD drive
while the disk is in the drive to see the contents of the disk. Select and run VC500.EXE. If you get a windows User
Account Control message, click Yes to allow the app to run. You will see the menu below:
If you do not have a CD/DVD drive you can download the complete installation CD from the link below:
http://www.dmmdownload.com/downloads/CURRENT/PVR/VC500W10PD_Complete_install.zip
3
Note: Do not throw away your installation CD sleeve, the serial number to activate the Cyberlink Power Director
12 application is printed on the back.
Step 3:
Click on “Install Driver” as shown on the above menu
Step 4:
You will get the message shown below. Click on “OK” If you get a “Windows Security” Alert message and just
click on “Continue Anyway”
Step 5:
After the installation is complete you should see the screen below. Click on “OK” to finish.
4
Step 6: (Optional)
If you need to verify the driver installation open the windows device manager. Under “Sound, video and game controllers”.
You should see two new devices "USB2.0 Audio Capture" and "USB2.0 Video Capture" as shown below:
Installing Power Director Capture and Editing Software.
Step 1:
Click “Power Director” as shown below:
5
Step 2:
Select your preferred language and click “OK”
Step 3:
Click “Yes” to accept the license agreement to continue the “PowerDirector” installation.
Step 4:
Click “Next” As shown below:
6
Step 5:
PowerDirector" installation is now in progress ...
Step 6:
Click “Finish” “PowerDirector” installation is complete
Step 7:
7
If you choose not to launch the Power Director you can do so later by Double-clicking on the desktop icon "
" to launch the "PowerDirector" program.
Step 8:
Select the video aspect ratio and then click on full feature editor
Step 9:
Please enter the license key to activate the program. Key is located on the CD Jacket and click “Next”.
8
Step 10:
Select "Full Feature Editor" modules to enter video capture interface. If you get the User Account Control warning just lick Yes to
continue to the screen below:
Step 11:
Click the "Capture" button
9
How to use PowerDirector basic settings. Note: the full users guide is located on the
installation disk, in the folder named Manual.
Capture module.
It will detect video format automatically, or click “Settings” to change it. (Default settings are recommended for North America.
Outside of North America you may have to change the video standard settings
If you are using the red, white and yellow composite video connectors there is no need to change the video
source settings. If you use the S-Video connector. Choose Video SVideo as shown below:
10
Choose video format and location of recorded files.
Please click”?” button to get online help.
Ez Grabber Installation:
Ez Grabber is a simple capture tool. If you want to capture, edit and burn to DVD we recommend using the
Power Director application and only use Ez Grabber if you just want to do a simple video or audio capture to
store locally or external storage drives.