91500 Revision B
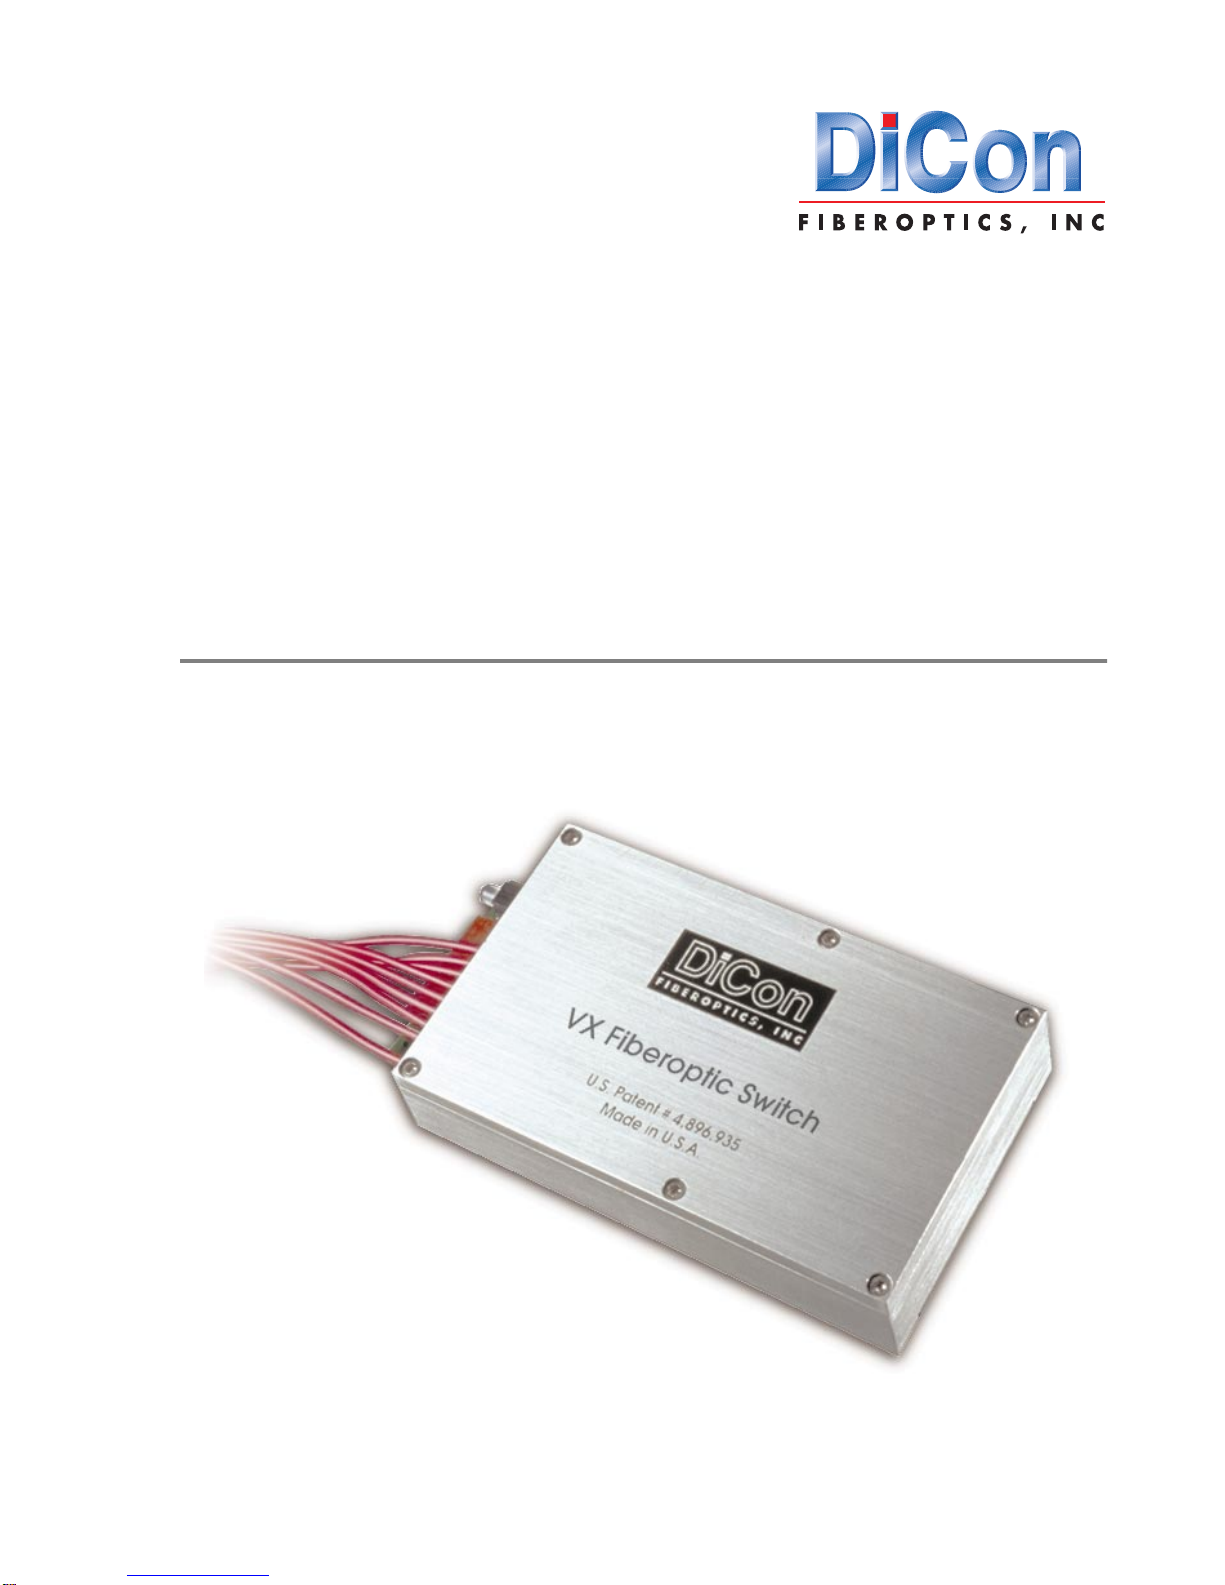
2 DiCon Fiberoptics VX500 Fiberoptic Switch
Copyright © 1998 DiCon Fiberoptics, Incorporated.
All rights reserved. Printed in the United States of America.
No part of this manual may be reproduced, in any form or by any means, electronic or
mechanical, including photocopying, without the express written permission of DiCon
Fiberoptics.
We have reason to believe that a number of the company and product names appearing
herein constitute trademarks or have been designated as such by their respective holders.
No attempt has been made to designate these words as trademarks or as registered trade-
marks. The inclusion, or exclusion of a word or term is not intended to affect, or express a
judgment on, the validity or legal status of the word or term as a trademark, or other propri-
etary term.
The information provided within this manual has been carefully reviewed for technical accu-
racy. DiCon Fiberoptics reserves the right to correct technical or typographical errors at any
time, without prior notice. In no event shall DiCon Fiberoptics be liable for errors contained
herein, or for incidental or consequential damages arising out of or related to, this docu-
ment or the information contained in it.
Warranty
DiCon Fiberoptics warrants this product to be free from defects in both workmanship and
performance for a period of one year from the time of original shipment. During the war-
ranty period, DiCon Fiberoptics will, at its option, repair or replace any material found to be
defective.
The foregoing warranty extends to all cases, except where the product has been damaged
through misuse, mishandling, inadequate maintenance, owner modification, failure to fol-
low the installation and operating instructions provided by DiCon Fiberoptics, flood, fire or
other events outside our reasonable control.
EXCEPT AS SPECIFIED HEREIN, DICON FIBEROPTICS MAKES NO OTHER WAR-
RANTIES, EXPRESSED OR IMPLIED, INCLUDING BUT NOT LIMITED TO, THE
IMPLIED WARRANTIES OF MERCHANTABILITY AND FITNESS FOR A PARTICULAR
PURPOSE.DICONFIBEROPTICSSHALLNOT BELIABLEFORDAMAGESRESULTING
FROM LOSS OF DATA, PROFITS, USE OF PRODUCTS, OR INCIDENTAL OR CONSE-
QUENTIAL DAMAGES. This limitation of the liability of DiCon Fiberoptics will apply regard-
less of the form of action whether based on contract, tort, or any other legal theory.
All Returns
Contact DiCon Fiberoptics before returning any product.
DiCon will provide a Return
Material Authorization (RMA) number and shipping instructions. No product will be
accepted for return without an RMA number clearly marked on the outside of the shipping
material.
Any unit that is returned under warranty, but for which evidence of misuse or mishandling is
found, will be subject to testing and processing fees, in addition to any repair costs.
DiCon Fiberoptics will cover anyfreight costs for returning warranty returned material to the
customer. The customer is responsible for covering any freight costs for sending materials
to DiCon Fiberoptics. The customer is responsible for all freight costs for returned materials
found to be out of warranty.
Use the original packing materials when returning material to DiCon Fiberoptics. If the orig-
inal packing materials are unavailable, the customer is responsible for ensuring adequate
packing materials are used to prevent damage during shipping.