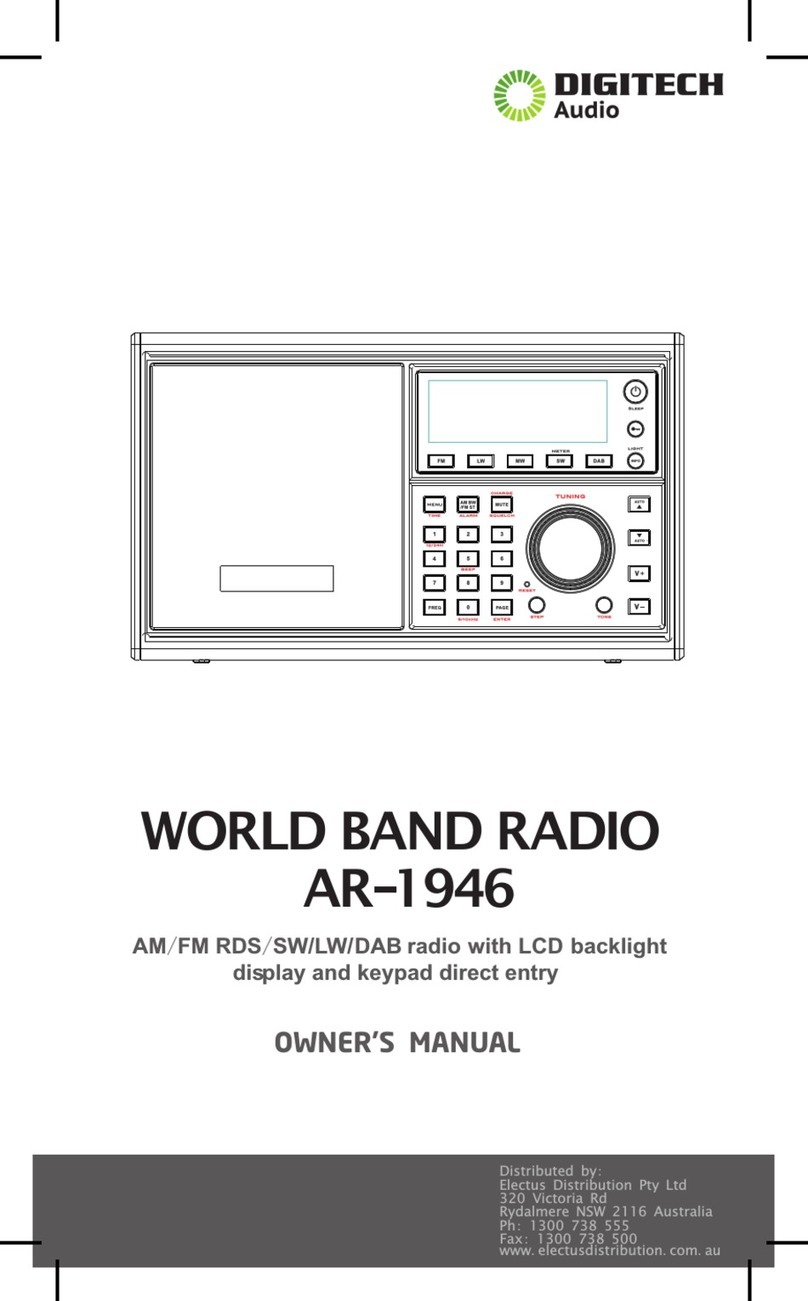
digi-tech AR1945 User manual

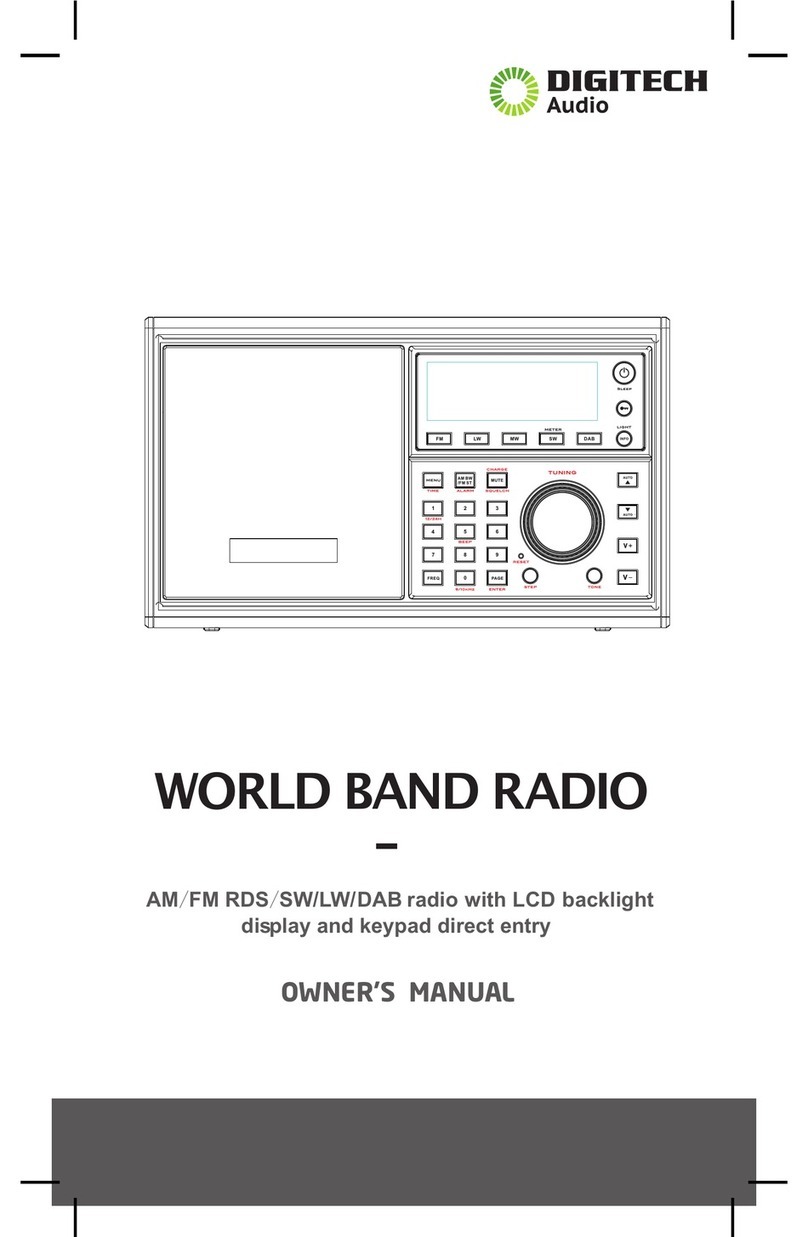
WORLD BAND RADIO
AM/FM/SW/L W/AIR Band /SSB radio with LCD backlight
d keypad direct entryna yalpsid
OWNER’S MANUAL

3
WARNING
Do not expose this appliance to rain or moisture
Do not submerge or expose to water.
P
r
otect from high humidity and rain.
Only operate within specified temperature range (0 ℃to 40 ).℃
Unplug immediately if liquid has been spilled or object have fallen
into the apparatus.
Clean only with a dry cloth. Do not use detergents or chemical
solvents as this might damage the finish.
Unplug and disconnect external antennas during lightning storms.
Do not remove cover [or back].
Refer servicing to qualied service personnel.

Radio Identification - Front View
4
1
3
4
5
6
7
8
9
10
11
12
Tuning knob
2Dial Speed selection
Frequency button
”0" and 9k/10k button
Power and Sleep button
World/Local timer button
Lock button
Numeric key button
UP button
Down button
Band & ATS button
Page button
13 Beep/Snooze button
14 Time Set button
15 Volume control button
16 Bandwidth & Stereo/mono button
17 SSB mode selection/Squelch button
18 Treble control button
19 Timer B button
21 Timer A button
20 Quick tune and 12/24 hour clock button
22 Bass button
23
AM RF GAIN Control
24
Reset button
2
1
1111
7
8
9
10
11
12
13
14
3
4
5
6
18 16
17
15
19
20
21
22
24 23

Radio Identification - Side Views
Left
2425
Right
26
27
29
30
31
28
5
25 DC Power In jack
26
27
28
Antenna DX/Local switch
Antenna Sens Ext./Int. switch
Key light switch
29 Line out jack
30
31
Line in jack
Earphone jack (3.5mm)

Radio Identification - Rear View
2432
2433
2434
2435
2436 2437
32
33
34
35
36
37
Whip Antenna
FM/SW External Antenna
Ground AM IF Output
MW External Antenna
Battery Compartment
6

7

ff
r12 9
‘
” ”
fi
8

It toggles between “WORLD” and “LOCAL” time clock with the
radio ‘on’ or ‘off’. The radio displays the word WORLD or LOCAL
indicating which the clock time is the default display time clock.
With the radio ‘off’,hold the button down for 2 seconds, the radio
display will change displaying the word LOCAL or WORLD. See
“CLOCK SETTING” to set the time on the default clock.
Quickly press the button to lock out the operations of all buttons
except back light. The “lock” icon will be displayed.
Press and release the “LOCK” button for 2 seconds unlock the
operations of all buttons, the “lock” icon will disappear.
With the radio ‘off’,there are used to directly enter a frequency or
memory channel. See TIME or CLOCK SETTING to direct enter digits
to set time clock and alarm.
With the radio ‘on, quickly press numeric buttons (0-9) to recall presets;
hold the buttons down for 2 seconds to preset stations. Quickly press
“PAGE” button then select the desired numeric key (0-9) to set page.
With the radio ‘off’, hold the numeric key “0" down for 2 seconds
to toggle between ‘9K’ or ‘10K’.
MW: 522-1620kHz (9k)
520-1710kHz (10k)
WORLD/LOCAL TIME SETTING
USING THE NUMERIC KEYPAD (0-9)
LOCK SETTING
SETTING 9K/10K STEP (MW)
6
9

This is used to directly enter a frequency. You must in the radio band
of your choice before you enter a frequency. AM and SW is straight-
forward. Press “FREQ” and enter AM or SW frequency using numeric
keys.
For FM, you must enter a last digit. To enter 100.3 FM, you must
press “FREQ” and then press 1-0-0-3; To enter 98.5 FM, press the
button to auto fill the last zero to confirm.
Pressing the “BAND” button with the radio ‘on’ changes band
in order: FM, LW, MW, SW, AIR.
Hold the button down for 2 seconds to enter ATS(auto tuning
storage) from low end to high end frequency.
With the radio ‘on’, quickly press the button, the ‘page’ icon will
flash, then select the desired numbered key to set page(0-9).
Directly enter the numeric key to recall page (0-9) to press PAGE
button quickly.
USING THE ‘FREQ’UENCY BUTTON
SETTING PAGE
USING THE BAND BUTTON
SETTING BEEP/SNOOZE
With the radio ‘off’ or ‘on’, hold the button down for 2 seconds
to turn on or off “BEEP” .
SNOOZE: when the alarm is activated, quickly press “BEEP” button
to pause an alarm, each time the “BEEP” bar is pressed, the alarm
will be paused for 5 minutes.
10

When the radio is on:
1)It will increase or decrease the frequency one step at a time with
each press and release of the button.
FM step : 100kHz, LW step: 3kHz, SW step: 5kHz ,AIR step: 25kHz
AM step: 9kHz or 10kHz
2)It will automatically search ‘up’ or ‘down’ in frequency until it finds
a strong station to stop on when you press and hold the button for
two seconds.
When the radio is on,
1)Quickly press the button at a time to set the desired frequency step,
‘0kHz’ indicates “STOP”;
2)In LW/AM/SW mode, quickly press “MODE” button to activate SSB
to switch between “LSB” and “USB”. Press “STEP” button to select
SSB fine tuning step: 1 or 10.
The “TUNING” dial has two functions:
1)When the radio is “on”, it is used to tune in stations at fast/slow
frequency step; and
2)In LW/AM/SW mode, when SSB is activated, rotate tuning knob to
increase or decrease fine tuning step as (-99,-98,...-1,0,+1,....+98,+99)
at 1kHz step; and
3)At 10kHz step, rotate tuning knob to increase or decrease fine
tuning step as (-90,-80,...-0,10,+20,...+80,+90).
Turn up the volume by turning the volume knob clockwise (right),
down by turning the knob counterclockwise (left)
USING UP /DOWN BUTTON
USING TUNING KNOB
VOLUME KNOB
>
<
THE TUNING KNOB CONTROLS: FAST,SLOW,STOP
11

When listening to AM(MW) broadcast stations, this control knob
should be dialed to or near position 5. If you are listening to a
weak station, increase the gain; When listening to extremely
strong stations, decrease the gain. For listening to Shortwave
stations, place this control to maximum gain and decrease the gain
as necessary.
When the radio is off, hold “T. SET” (short for “TIME SET”) down for
two seconds and release to enter time setting. Directly enter hour
and minute digits to complete setting. For 12 hour format, also
enter 4 digits directly, like 0-9-3-2.
When the radio is on,
1)In LW/AM/SW/AIR mode, quickly press the button to switch
between WIDE and NARROW bandwidth. 3kHz indicates narrow
bandwidth; 6kHz indicates wide bandwidth.
2)In FM mode, quickly press the button to switch between STEREO
and MONO. If “Stereo” icon displays for 2 seconds, it means
STEREO is on; If “Stereo” icon flashes for 2 seconds, it means
STEREO is off.
BASS/TREBLE KNOB
SETTING TIME
STEREO/ MONO, WIDE/NARROW BANDWIDTH
USING THE AM RF GAIN KNOB
Use these knobs to control the bass and treble response of the
radio’s speaker system.
12

When the radio is off,
1)In LW/MW(AM)/SW band, quickly press the button at a time to
switch among LSB and USB and SSB OFF; and
2)Hold the button down for 2 seconds to enter SQUELCH mode,
the “SQUELCH” icon will flash in the LCD. The default is “OFF”,
rotate TUNING knob to select squelch level as “1-2-3-4-5-OFF” in
cycle, press the button again to confirm selection.
TIP: It is best to set squelch level as low as possible. This way you hear
signals that may be weak. If set squelch too high, you may miss
some weak voice transmissions.
If the station you’re listening to is so strong that it sounds distorted,
turn this switch to the LOCAL position. Otherwise, leave it on DX,
which stands for maximum distance.
USING THE QUICK TUNE BUTTON
ANTENNA DX/LOCAL SWITCH
ANT. SENS SWITCH: EXT OR INT
SETTING MODE/SQUELCH BUTTON
When the radio is on, press the “Q. TUNE” button at a time to tune
across a band quickly at fixed step (FM at 1000kHz, LW at 10kHz,
MW at 100kHz, AIR at 1000kHz). For Shortwave band, it can be
used quickly step to the beginning of each of commonly designated
SW broadcast bands.
When the radio is off, hold the button down for 2 seconds to select
12 or 24 hour display format. If 12 hour is selected, the “AM” or
“PM” icon will be displayed in the LCD.
(right side of radio)
Use this switch to enable the use of FM or SW internal or external
antennas. MW Ext. Ant. - This is a 500 ohm impedance socket, for
use with long wire antennas.
(right side of radio)
13

Flip this switch to ON to make the keys light when they are pressed.
Flip it to OFF to shut down this feature.
SETTING THE ALARM CLOCK
USING THE LINE IN/ OUT SOCKETS
USING KEY LIGHT SWITCH
There are two different alarm modes to choose from, TIMER A and
TIMER B. You can choose to wake up the radio or to buzzer tone.
1) Quickly press TIMER A or B button to display TIMER A or TIMER B
alarm time; and
2) To set the alarm time, if the alarm is deactivated, press and hold
until word “TIMER A” begins to flash
in the display.
the button for two seconds
3) While they are flashing, directly enter digits by pressing numeric
keys (0-9) to set HOUR and MINUTE. Press the TIMER A or B button
again to confirm finishing setting.
(Note: directly enter 4 digits either in 12 hour or 24 hour mode)
4) If the alarm is activated, hold the button down for 2 seconds to
shut down dual alarm and will not enter dual alarm setting.
5) To set TIMER B alarm, repeat the same procedure as described
for TIMER A.
(right side of radio)
(right side of radio)
These sockets are on the right side of the unit, an 1/8 inch stereo
type (3.5mm), An external audio device (such as an MP3 player) can
be played by connecting an AUX line from the device into the Line-in
socket. The Line out socket can be used to feed audio from the unit
to amplified external speakers.
14

The EARPHONE jack will be in stereo for FM stations that broadcast
in stereo. FM sound is in stereo if the signal is sent in stereo and
the STEREO is selected.
This socket locates on the back of the radio is primarily for antennas
designed to be fed with 50 or 70 ohm coaxial cable, such as dipoles
or comparable antennas, It can also be used for long wire antennas.
Use PAL type connector for feeding this socket.
USING THE EARPHONE JACK
FM/SW EXTERNAL ANTENNAS
If you are in a brick or metal building, AM can be greatly improved
with the addition of a simple antenna. A small diameter insulated
stranded wire, about 60" in length is a good place to start. Antenna
wire can be attached by pressing the spring loaded lever and
inserting the wire.
The “GND” jack is used with the “MW EXT. ANT.”. Attached one end
of a length of wire to be Ground jack and the other end to a good
earth ground.
USING AM IF OUT SOCKETS
MW(AM) EXTERNAL ANTENNA/GND Jack
The jack is used for AM/SW only. This is an interesting feature if you
are a radio experimenter. There are many different digital formats
that are currently being broadcast such as weather,marine,aeronautical
information, and a digital SW format called DRM. you can search the
internet for free utility programs to decode these broadcasts. For long
range broadcasts, SW is the only frequency range that can cover hundreds
To connect to this jack, a PAL type connector is needed.
15

USING SINGLE SIDE BAND (SSB)
In shortwave mode, press the “MODE” button repeatedly to select
Upper Side Band (USB) or Lower Side Band (LSB).
1) “USB” showing in the display indicates USB mode;
2) “LSB” showing in the display indicates LSB mode;
4) Suggest to key in SSB frequency directly, then rotate TUNING knob
to fine tuning as selected step.
3) “USB” or “LSB” disappearing means SSB OFF mode;
TIP: When single-sideband is used for amateur radio voice
communication, it is common practice that LSB is used for
frequencies below 10MHz and USB is used for frequencies
above 10MHz.
RESET RADIO
“RESET” is used to clear up the radio if it becomes scrambled
and buttons do not respond. Use the end of paperclip and push
it into the hold briefly. Stations stored in Memory are save after
you reset the radio
16

SPECIFICATIONS:
FREQUENCY COVERAGE
FM Band: 87.5 - 108 MHZ
AM(MW) Band: 522 - 1620 kHz (9kHz step)
520 - 1710 kHz (10kHz step)
SW Band: 1711 - 29999 kHz
LW Band: 144 - 450 kHz
Air Band: 118 - 137MHz
MEMORY PRESETS
500 Total ( 100 Per Band)
SPEAKER
5 Watt 4 ohm
INPUT POWER
6 “D” size batteries (not included)
9V DC 500mA tip negative
EARPHONE JACK
3.5mm 32 ohm
AM IF OUTPUT
For expansion of CW, SSB, DRM etc
AM DUAL CONVERSION
55.845 MHZ 1st IF
455 kHz 2nd IF
DIMENSIONS
W 310mm x H 195mm x D 100mm
WEIGHT
1.71 kg without batteries
ACCESSORIES
Owner’s manual
AC/DC adapter
D size battery adapter
Carry strap
*Specifications subject to change without notice.
17
Table of contents
Other digi-tech Radio manuals
